So long story short? I have multiple models that I’m only using parts of. Let’s say a whole kitchen, with the tables, cabinets, sink, etc. but I’m only using the stove and fridge and deleted everything else.
Now the stove and fridge have different parts each that are textured over multiple textures. Think every metal part has their own texture, every glass part their own, etc. So you basically have 5 textures for the stove and fridge, but each part of those models are UV Mapped in different parts of the textures themselves.
What I’m trying to do is basically have Blender take the parts that are UV mapped from each texture on the fridge, combine all of them in one single texture, a mini atlas of sorts. Same thing for the stove.
Of course, I could just take photoshop or something and combine them manually by cutting and pasting but if there’s an easier and faster way…
If you find it useful, here’s an example file of texture remapping: uvRemapping.blend (949.2 KB) [simply press “Bake” to see it working]
The idea is to create a second UV map with its islands re-arranged in a desired fashion. First UV map should be explicitly connected to original Image Texture Nodes, and the second should be selected in UV Map list (with render icon on). Then create a new Image Texture and bake Color (or any other maps, one by one) to it.
My texture nodes are empty. I can’t seem to be able to add one. Each mesh also has like 10 materials each, some are principled, some are glossy, some are glass, etc.
How do I add the texture nodes to the UVs? Do I have to do this for all the materials?
It would’ve been easier if you made a few screenshots
I’m afraid, should you attempt it, the process IS tedious (and I’m not confident I can explain it properly, sorry). Could be less painful than using Photoshop, but that’s subjective of course.
So. You have a fridge with, say, three materials, each has a texture (which should mean it has a Texture Node and they have an image assigned to them).
You need parts of these textures transferred to a single one, right?
I suggest you make a backup of the file. Better yet, test the method on a simpler setup first, with less materials.
make a second UV, arrange islands in space. Before baking make sure it’s enabled for rendering, (“camera” icon is on). It might screw up texture at first, but the next step will fix it;
in every material add a UVmap Node (Add > Input), select first map, connect that node to every Image Texture Node (Vector input);
in every material add an Image Texture Node (Add > Texture), don’t connect it to anything, but make sure it’s selected;
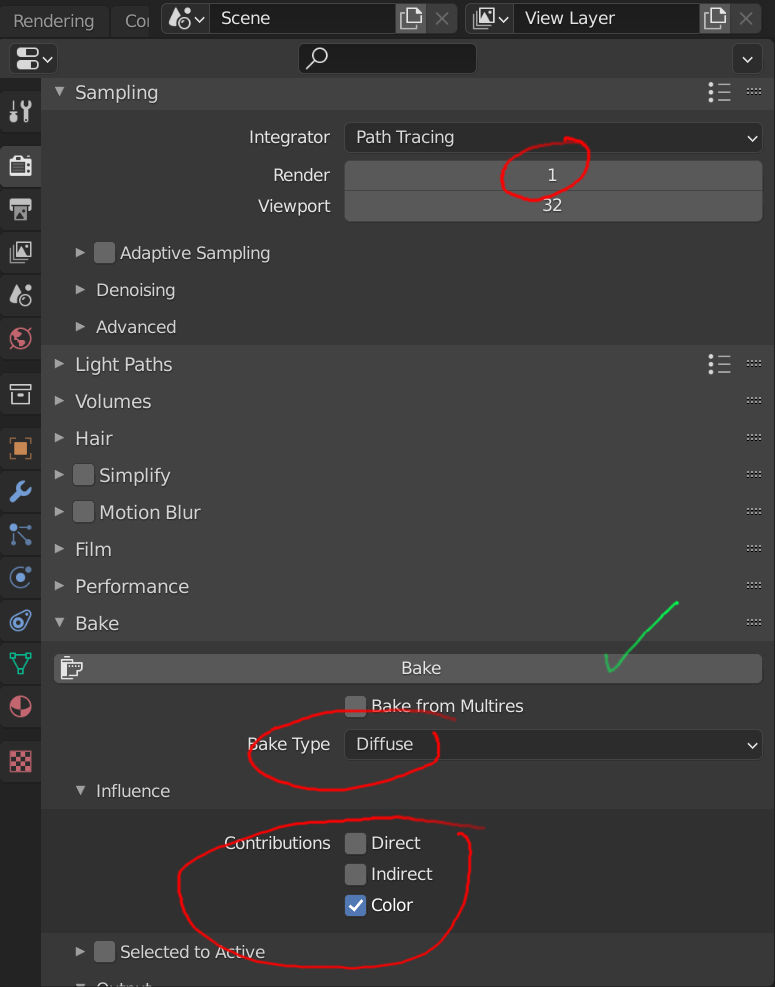
choose your Bake Type and bake.
About Bake Type… Since you’re just re-arranging the textures, not baking any lightning information, you might as well plug them straight into Emission Shader and choose “Emit” Bake Type. This is the easiest method for this sort of bake, I think. No need to worry about glossiness, metalness or any of that.