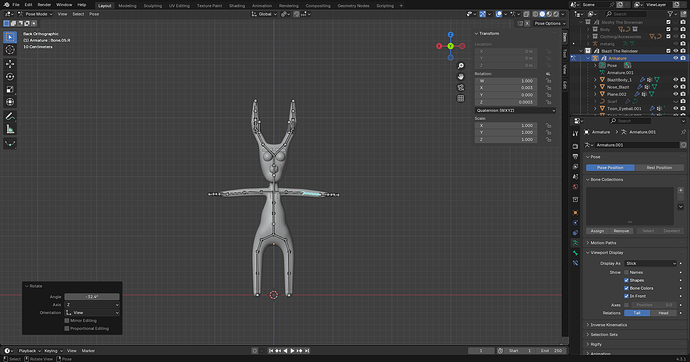
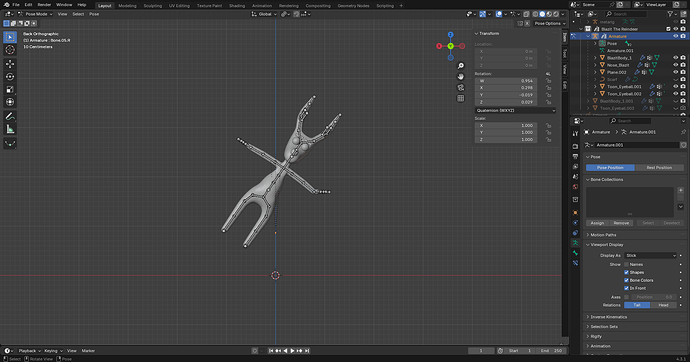
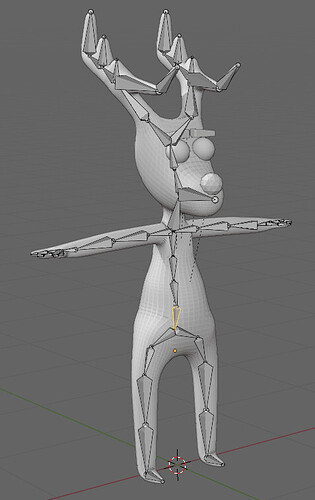
The reindeer skeleton has the bones parented the wrong way round. Normally, you would expect the lower spine bone to be the main parent, and the other bones follow a parent/child structure that matches their place in the skeleton.
As you used the skin modifier to create the skeleton. It probably had one of the arm vertices as the ‘root’ vertex, depending on how you drew it out. You can change which vertex is the root one with the Mark Root button on the Skin modifer.
To fix the generated skeleton, you can use Edit Mode, and reparent the bones one by one. Select a bone, then the one that should be it’s parent. Then press Ctrl-P to set the parent relationship.
You also need to chage the orientation of some of the bones too. You should do that before you change the parenting. Change the Armature display to Octahedral in the Viewport Display section of the Armature properties. Pressing Alt-F will change the directtion that the selected bones are facing. They rotate from the head position (the fat end of the bone). You’ll need to do that for the spine bones, and the ones along the left arm.
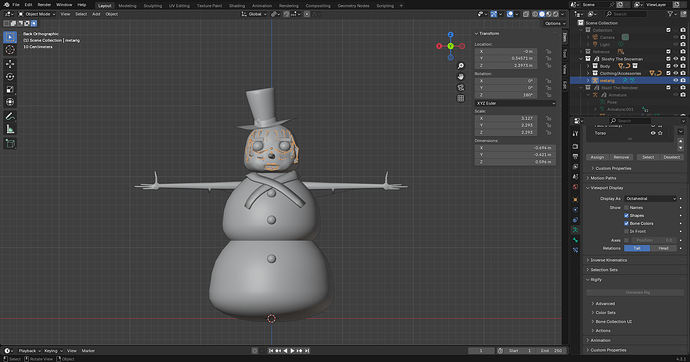
If you used Rigify to set up the snowman’s face, then deleting some of the bones will be what’s preventing you from generating the full rig. The face setup is ‘all or nothing’, and will be looking for all of the bones from the metarig. You can delete the bones for the rest of the body. But you need to keep the face bone, and all the child bones beneath it.
When you move their positions, make sure to keep the head and tails of the bones that meet each other together too. It will expect them to meet up for the rig generation to work.
If you separate them, you can bring them back together by using the 3D Cursor. Select one of the bone’s ends, then press Shift-S, and pick Cursor to Selected. Select the matching end of the other bone, then press Shift-S again, and pick Selection to Cursor. Go through the different ‘joint’ connections, and make sure that they all meet up properly.
When you do want to move a joint, you can select the ends of both joined bones by shift-dragging over the joint circles. That selects both of them, and they can be moved at the same time without them getting separated.
