Hey everyone, have been only been learning Blender for about a month (alongside MakeHuman and Sculptris) and thought it would be nice to have somewhere to post my progress where I can get feedback as I still fully grasp these things. My intentions are to eventually use Blender to create digital maquettes and settings for 2D and still art projects I have in the makes. In the end I’d like to build the characters, props, wardrobe and setting, but Blender’s considerable learning curve will keep me very busy for a long time.
At the moment I’m focusing largely on fine tuning my character techniques to have a little fun while I still master modeling, sculpting, texturing, etc.
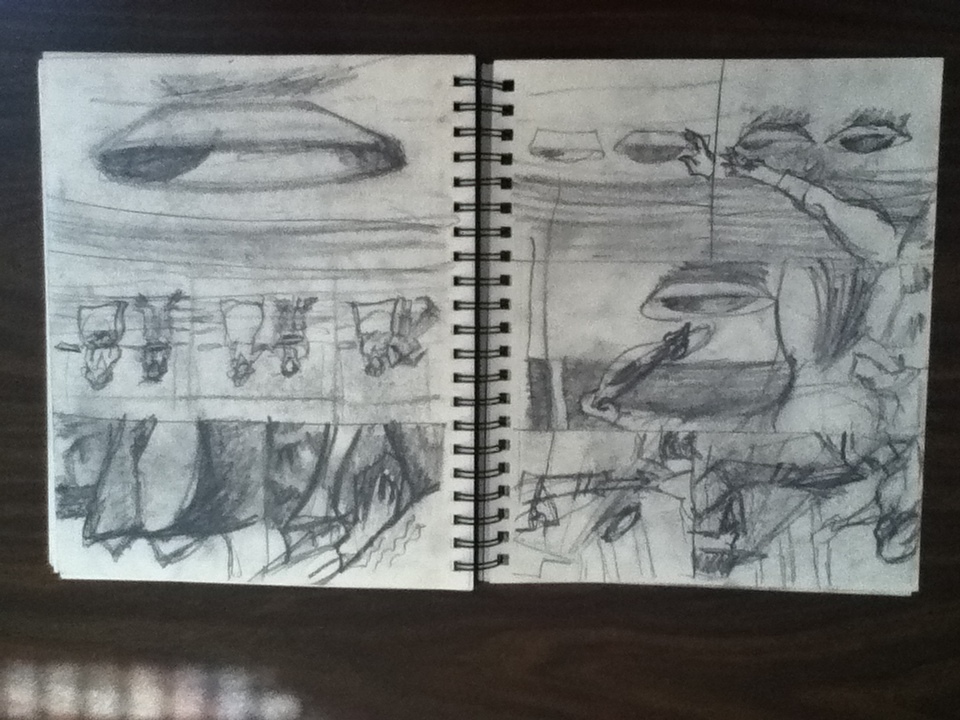
Please keep in mind that these are all WIPs, and even then only in the loosest of terms. This will literally be a sketchbook, nothing too promising or hurried.
For the time being, I’m starting and tinkering with the following MakeHuman .mhx, which has become a catch-all I’ve used to try out techniques on as I learn them:
(When I was still figuring out how to properly set up materials and textures in cycles)
(Got the eyelashes, eyes, and eyebrows working then realized that the teeth weren’t set up with nodes yet. Also, they are too perfect and too white for my purposes, will be changing them eventually)
(Changed iris color, first time editing the textures - I’ve a lot of experience painting digitally painting with Photoshop and was thrilled to finally get to an area that I felt familiar with!)
Starting to paint texture of previous model in Photoshop with custom and found brushes for skin tone, and color palettes I’ve used from previous projects.
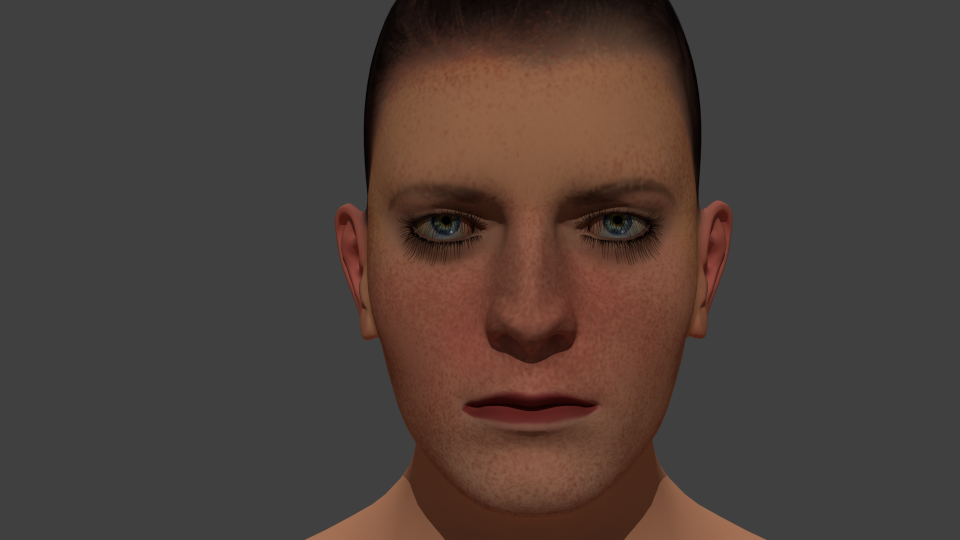
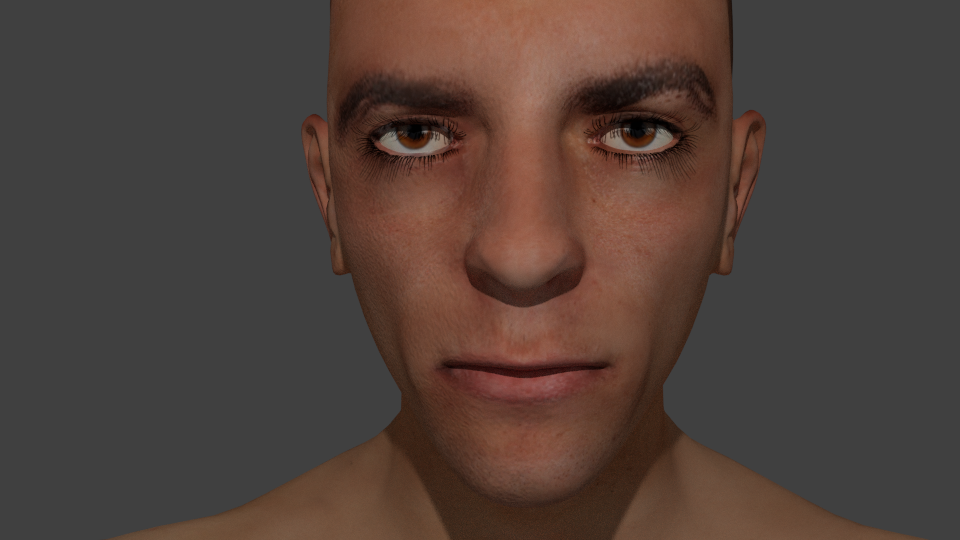
Improved painted texture. Also set up nodes with a diffuse, subsurface scattering and a touch of glossy for a decent result. Modified some hue and saturation where necessary, though largely to just counteract distortion from the shader nodes.
I’m not terribly happy with the whites of the eyes and plan to add a different material. I believe they are currently attached to the same material as the skin itself, which is odd. Definitely plan to change that for a slightly less dull look.
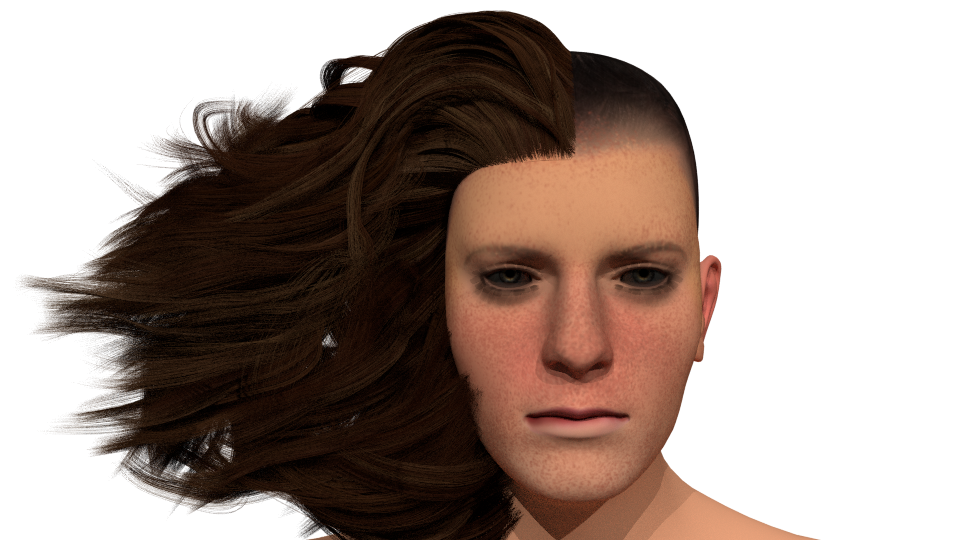
One of my first experiments (quick render, low samples) with hair cycles on the model. As you can see, it took me a few tries to get the hang of setting the hair up properly in nodes.
Some improvement. Managed to figure out how to assign separate vertices for a scalp and how plug in a good texture image for varied hair color. Played around with nodes to add a touch of transparency, gloss and a touch of subsurface scattering but found the render time to be insane. Plan to further segment the scalp in to different areas to apply different lengths and layers to the hair as well as using weight paint to make for a more realistic hairline and to distribute the hair more where it’s visible and less where it’s not.
Am having trouble with the kink settings. I think kicking up the segments will help, but they are still giving me a lot of trouble. Any input on the topic would be nice. Would like to have wavy and curly hair on my models. In particular, tight curly hair would be great. It’s just a matter of tinkering with the settings I think.
Am also curious about combining Blender Cycles hair strands with and/over top polygonal hair shapes for things like buns. I’m hoping to develop digital maquettes that will be fashioned with historically accurate clothing and hairstyles.
I think the best bet would probably be to put the blue curls on two small strips of scalp and set the kink settings to accomodate. Then put the majority of the pink hair on one or two scalp meshes of their own (probably two to accommodate the sever part required), set them as fairy short hair and comb them to a point at the back of the head. It might even be worth splitting the pink hair in to two seperate meshes - one long for the hairline and one shorter for the rest of the scalp.
As for the bun - which should either be a wrapped up braid or just a loose gathering of the hair, I think I’m going to have a try at maybe creating a polygonal hair piece to either match the hair color or to sit under another very thin hair layer? I dunno what the best solution is for this at the moment.
Ha! You’re actually not the first person to look at these and say it looks like a man at first. It’s my fault, really. I used a fairly neutral MakeHuman model originally to try rigging up the textures in Blender cycles (meaning I didn’t take the time to make an in depth or customized model and rather just went with something fairly close) so most of the secondary sex characteristics are missing or ambiguous. Then I just kind of kept it around as my catch all for each new technique I’m learning. I find the generic MH models (the one without gender specific atributes) to be a bit creepy in this way. However, protip: some of the best advice I’ve learned about painting and coloring of the human face came from makeup tutorials (some of which were drag queens!). Ha, ha. It’s funny how the very same face can be completely transformed with a little paint. So, I’m going to take the compliment there! Haha. All good-natured joking aside, thanks for checking things out and the kind words. There’s definitely going to be more tinkering to come.
Had to turn off the skin and eye shaders to cut down on test render time, but managed to figure out how to improve the hair particles a bit. Definitely a step in the right direction I think.
Testing out a technique using texture paint to create bump maps for pores. Very fast, sloppy set up. Just wanted to see if I could pug everything in to cycles correctly. Aside from jpeg density issues with MakeHuman models (which is super easily fixed in the UV Editor mode), I think this seems to be a pretty solid way to capture small details.
Top is map on simple one color texture, the second is combining it with the MakeHuman skin texture, third adds a glossy shader, fourth adds a subsurface scattering shader. All four images made with 100 samples.
Wow, that is looking really nice and, ignoring the eyes, getting really close. That’s not that the default color map from makehuman though, is it? Which version makehuman are you running. Is this cycles?
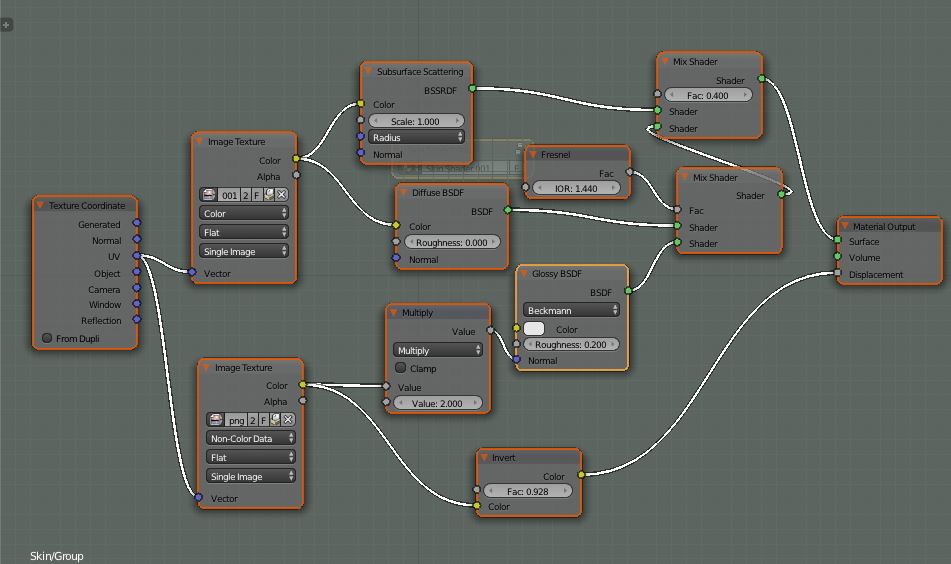
It’s not the main default map for MakeHuman, but one of the ones included in the library for MakeHuman Alpha 7. And yes, this is indeed in cycles. Here’s a a shot of the fairly simple node setup I used for the four test images above. The top Image Texture is the MH texture (skin) and the bottom Image Texture is the Bump Map image I created for the pores and textures:
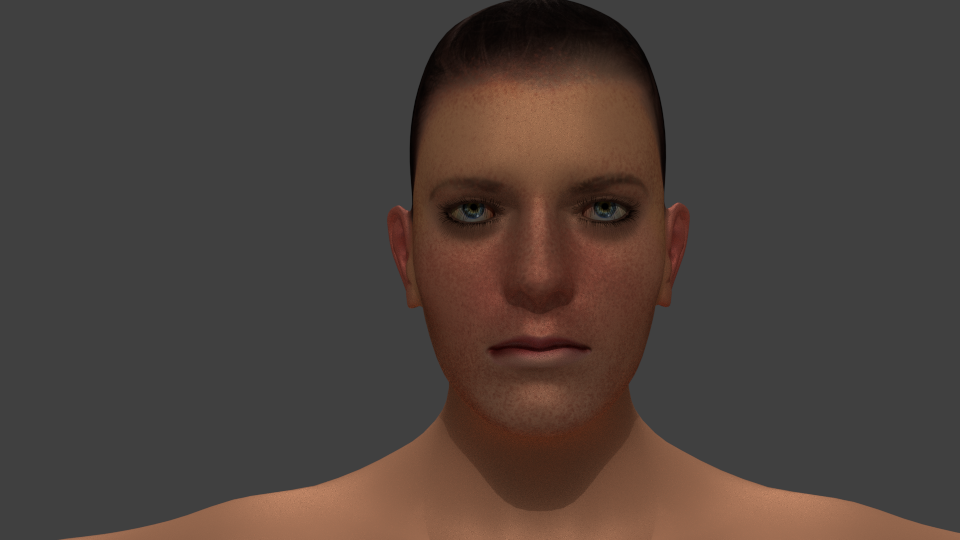
Further improving my skin shader and node setup, and finally put in enough effort to make a legitimate light setup. Getting pretty close to being content enough with it to move on to other things like eye materials and shaders.
Again, top image texture is just the original MH texture and the bottom image texture is a sample grayscale bump map that just puts a little noise texture on right side of the model’s face for comparison. In the future I plan to paint both maps from scratch in Photoshop/Gimp.
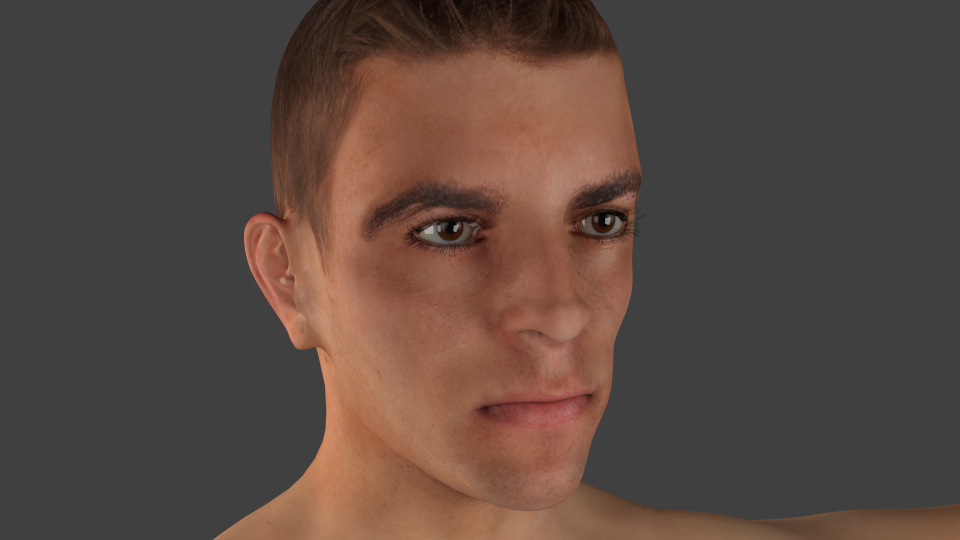
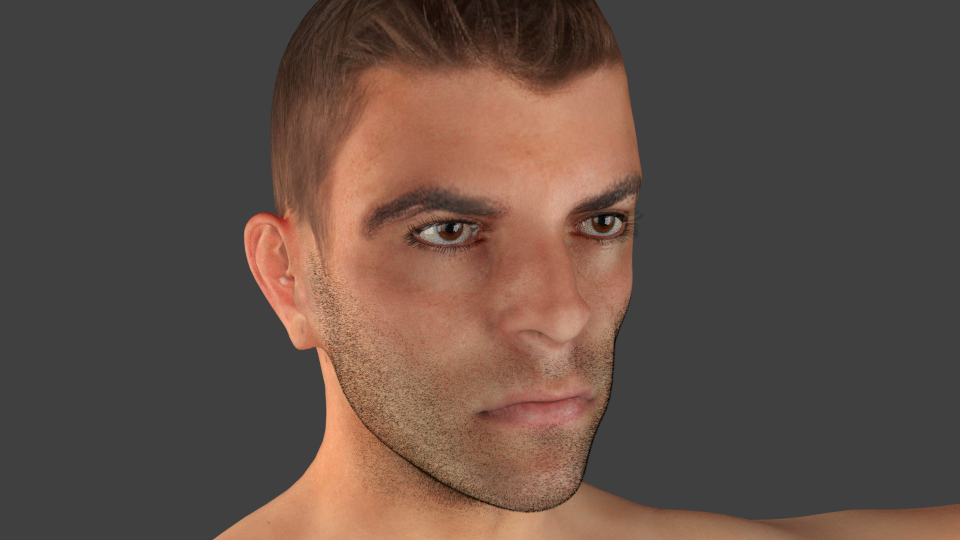
I like the new makehuman color map a lot and played around with the skin shader some. Added some hair and beard and hid the eyes with a pair of ray bans I made a while ago. Here are a couple of tests.
Very nice! I dig all the details - the Raybans are sheer class. Haha. I still have to adjust the sss on my setup - I plan to expand that little section of the node tree quite a lot. I appended one of the Arnold skin shaders and tried to incorporate it in there but found it wasn’t quite right for what I wanted. When I’ve got time to sit down and make a proper sss map which will put more emphasis on the ears and other places, I think mine will look a lot better. Thanks for the heads up on adjusting the scattering to red - didn’t know how to do that and I was looking a bit like dead wax. Also, will hopefully get a decent gloss map as well to really emphasize the lips and T-zone of the face without making the whole thing look unintentionally wet/sweaty.
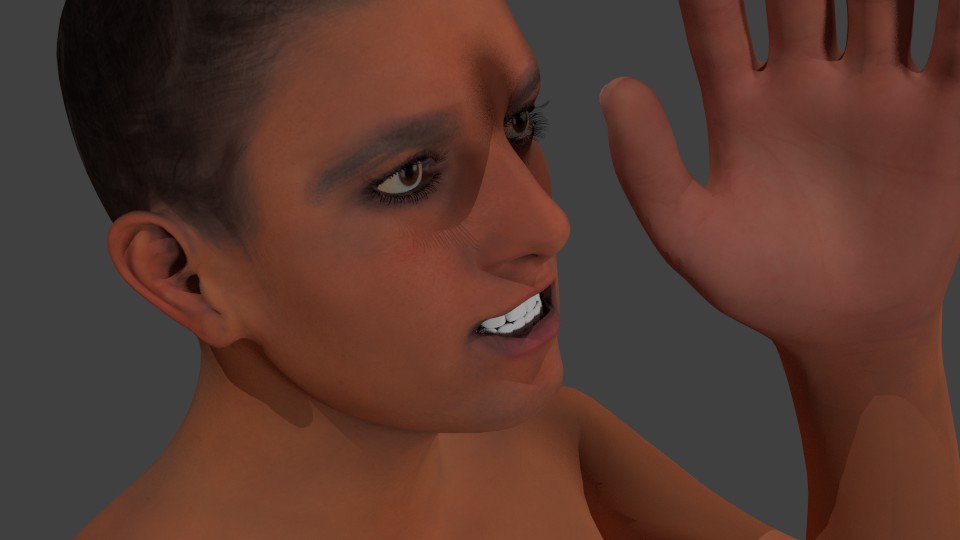
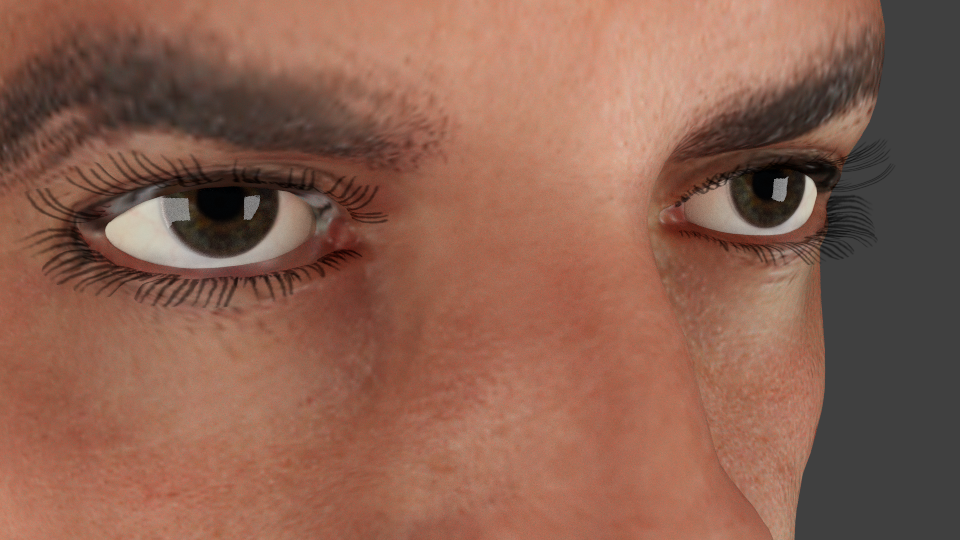
Managed some slight improvement on the eyes - managed to locate the MH lense and set it to glass, which adds a nice effect. Also added some transparency to the eyelashes to make them a little more subtle for a male character. Still have to go into the texture and alpha map to clip them a touch shorter. As always, still needs adjusting, but little steps forwards as always:
Also, I should note that the MH texture is a bit sloppy around the eye slits and require some cleanup. The model’s right eye has some white left on the texture that shows up on the waterline of the eye and there are trace amounts of eyelashes and things that need to be cleaned up as well. Just haven’t gotten around to it just yet. Plan to add a little pink and correct the edges of the eyelids to make it look a bit less troublesome.
Also, forgot to mention I really like the stubble in your example, blenderallday. I’m assuming it’s a particle system? Any specifics?
Big improvement on the eyes. It make a huge difference. Swap out the iris in photoshop though.
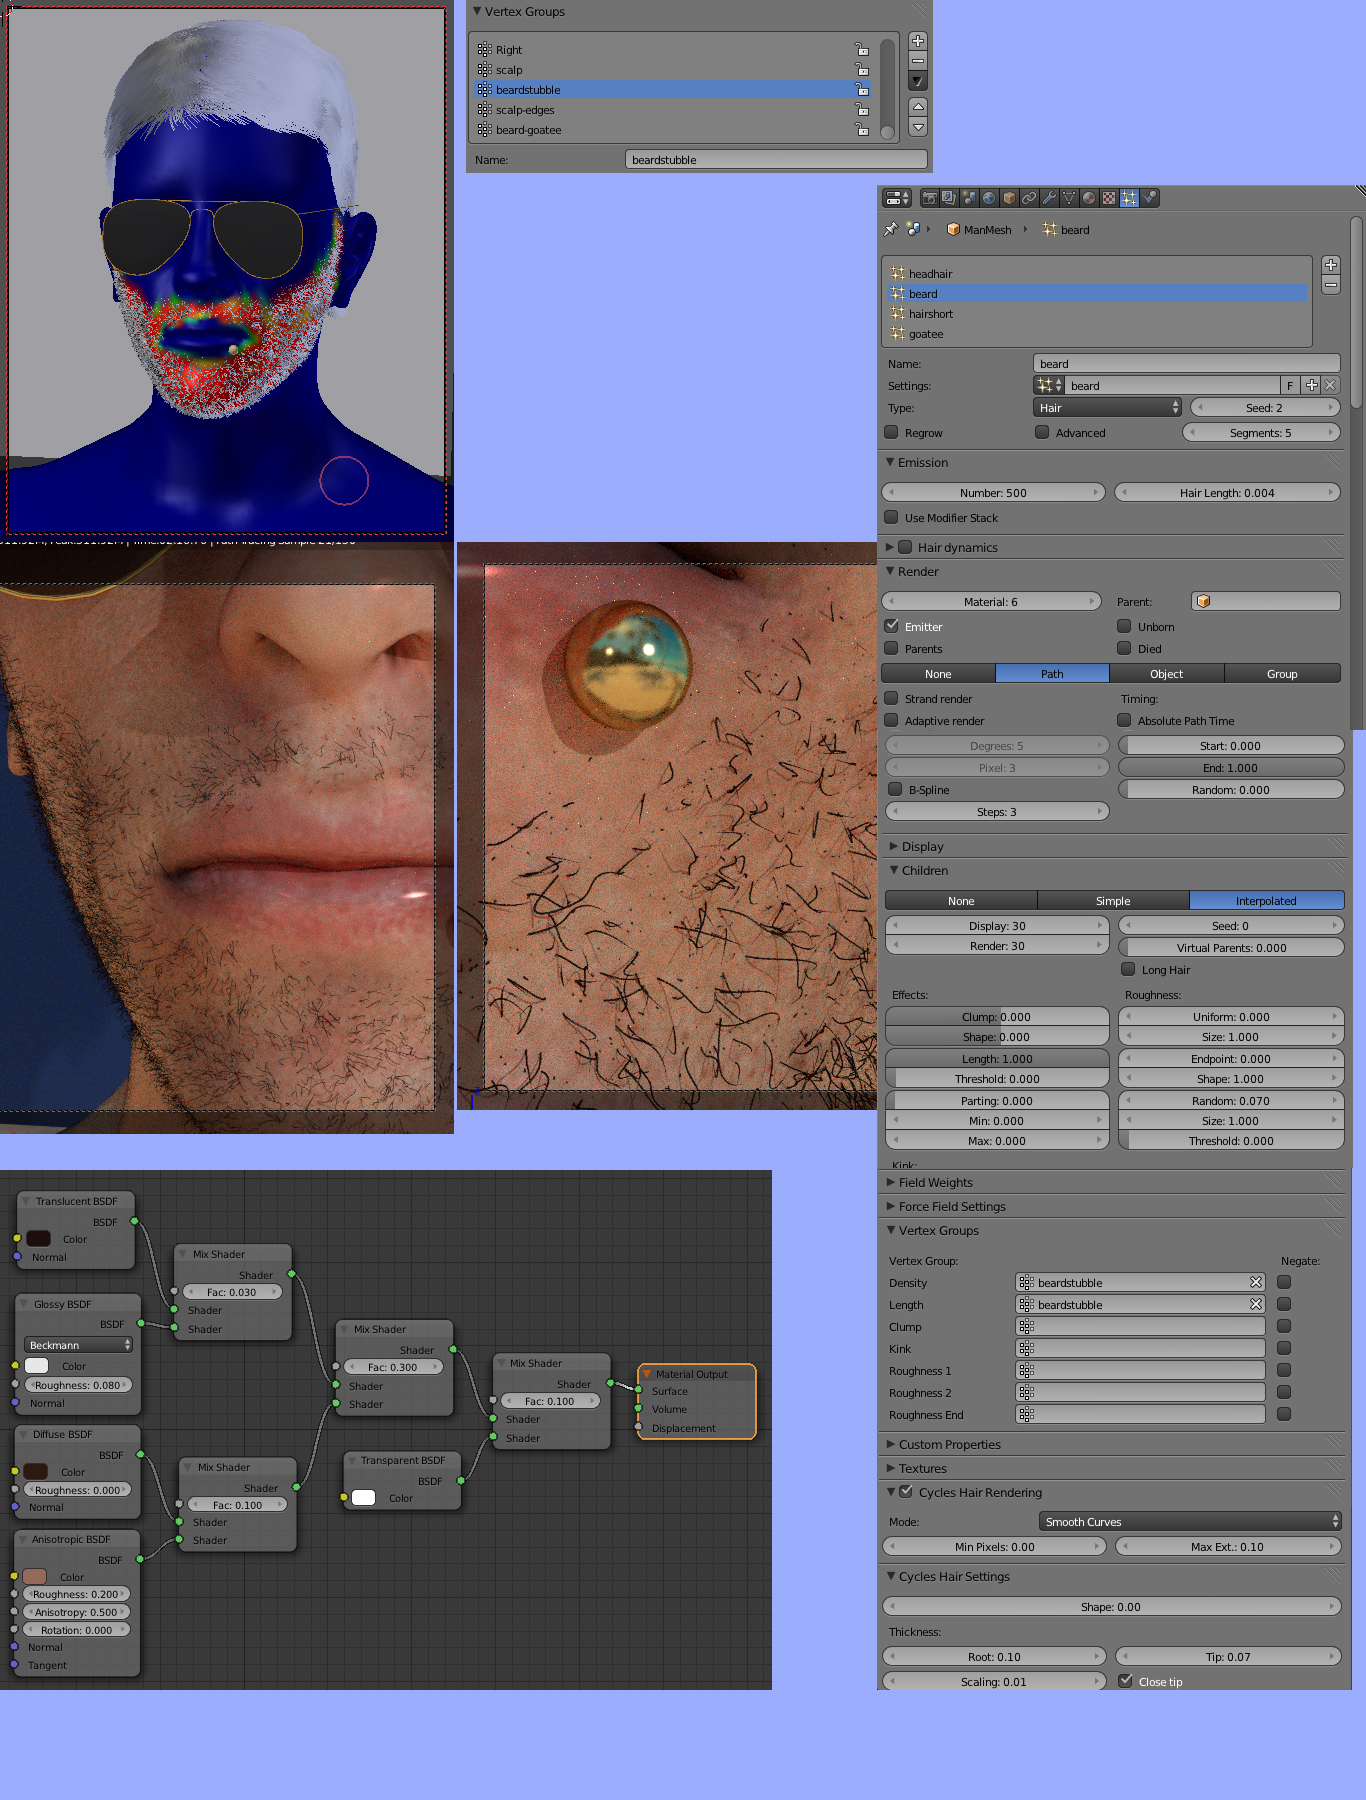
The beard is a five minute job, no combing necessary. You just create a new vertex group in object mode. Switch to weight paint, paint it, add a hair system, using the weight painted vertex group for both the density and length. Here are the settings:
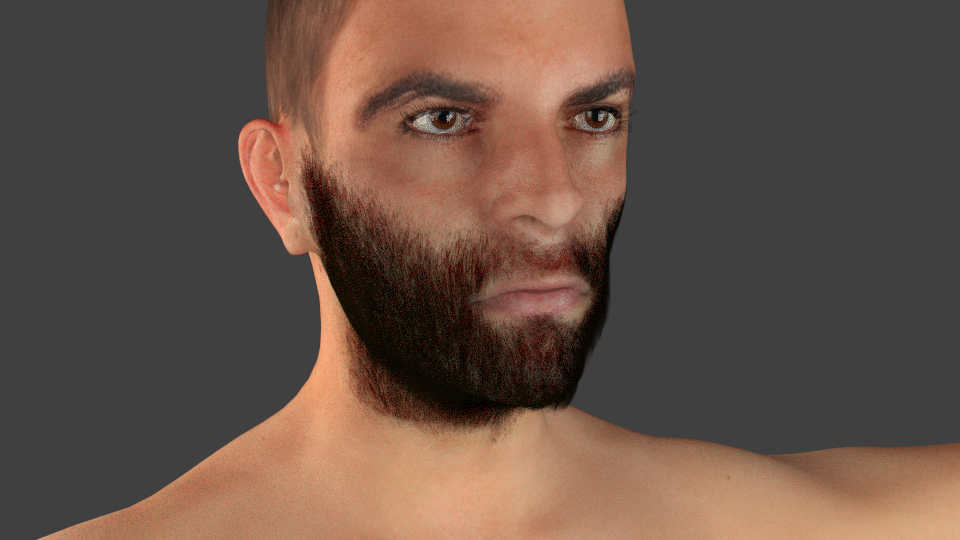
Ah, man. The stubble is brilliant! Totally makes a difference. Also adjusted my skin shader keeping in mind what you had to say about Fresnel and SSS. Seemed to definitely improve the look:
And, of course, since I already had it set up I couldn’t help but add some length. Low sample image because it was just a quick test, but definitely gives the right impression:
Sweet. Hair (and emmision) systems can be a lot of fun and a great way to add realism. For final touches, consider adding a very fine, very short and very translucent/transparent coat of peach fuzz hairs. It’s almost subliminal but can help.
As for this guy, I would add real hair next, then eyebrows, then a gloss map/mask , then an SSS mask, then…
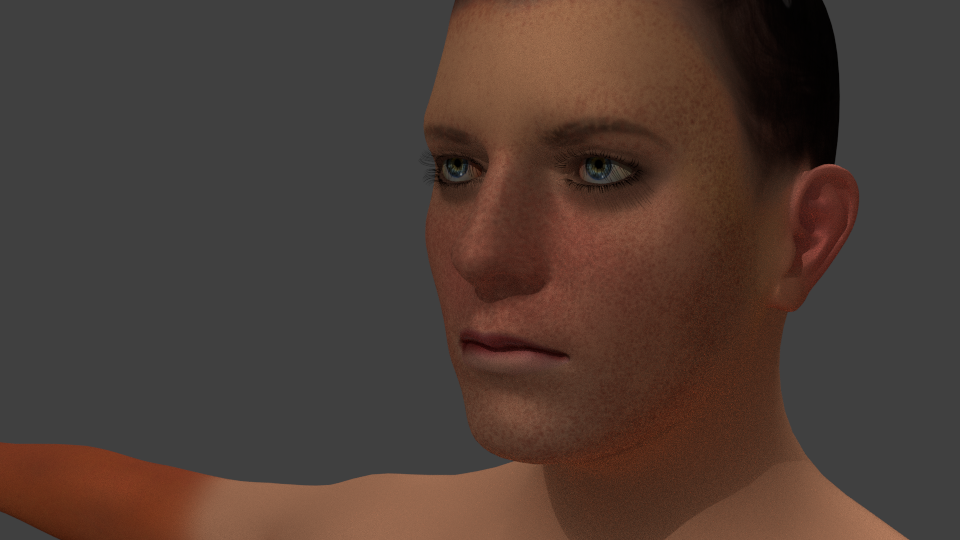
Changed out the iris for something that was a bit more naturally colored and rid of a highlight. Still working out what to do with the extra lenses over the eyes. Setting them to glass shaders and mixing them makes for a nice effect I like. Still figuring out if I should keep the entire lens or just the part where a cornea would be.