I really hate adding Hook modifiers and dozens of hooks to fix the tiny places a mesh will peek through, when multiple meshes are on the same Armature. “Shrink Wrap” is just not a fix either.
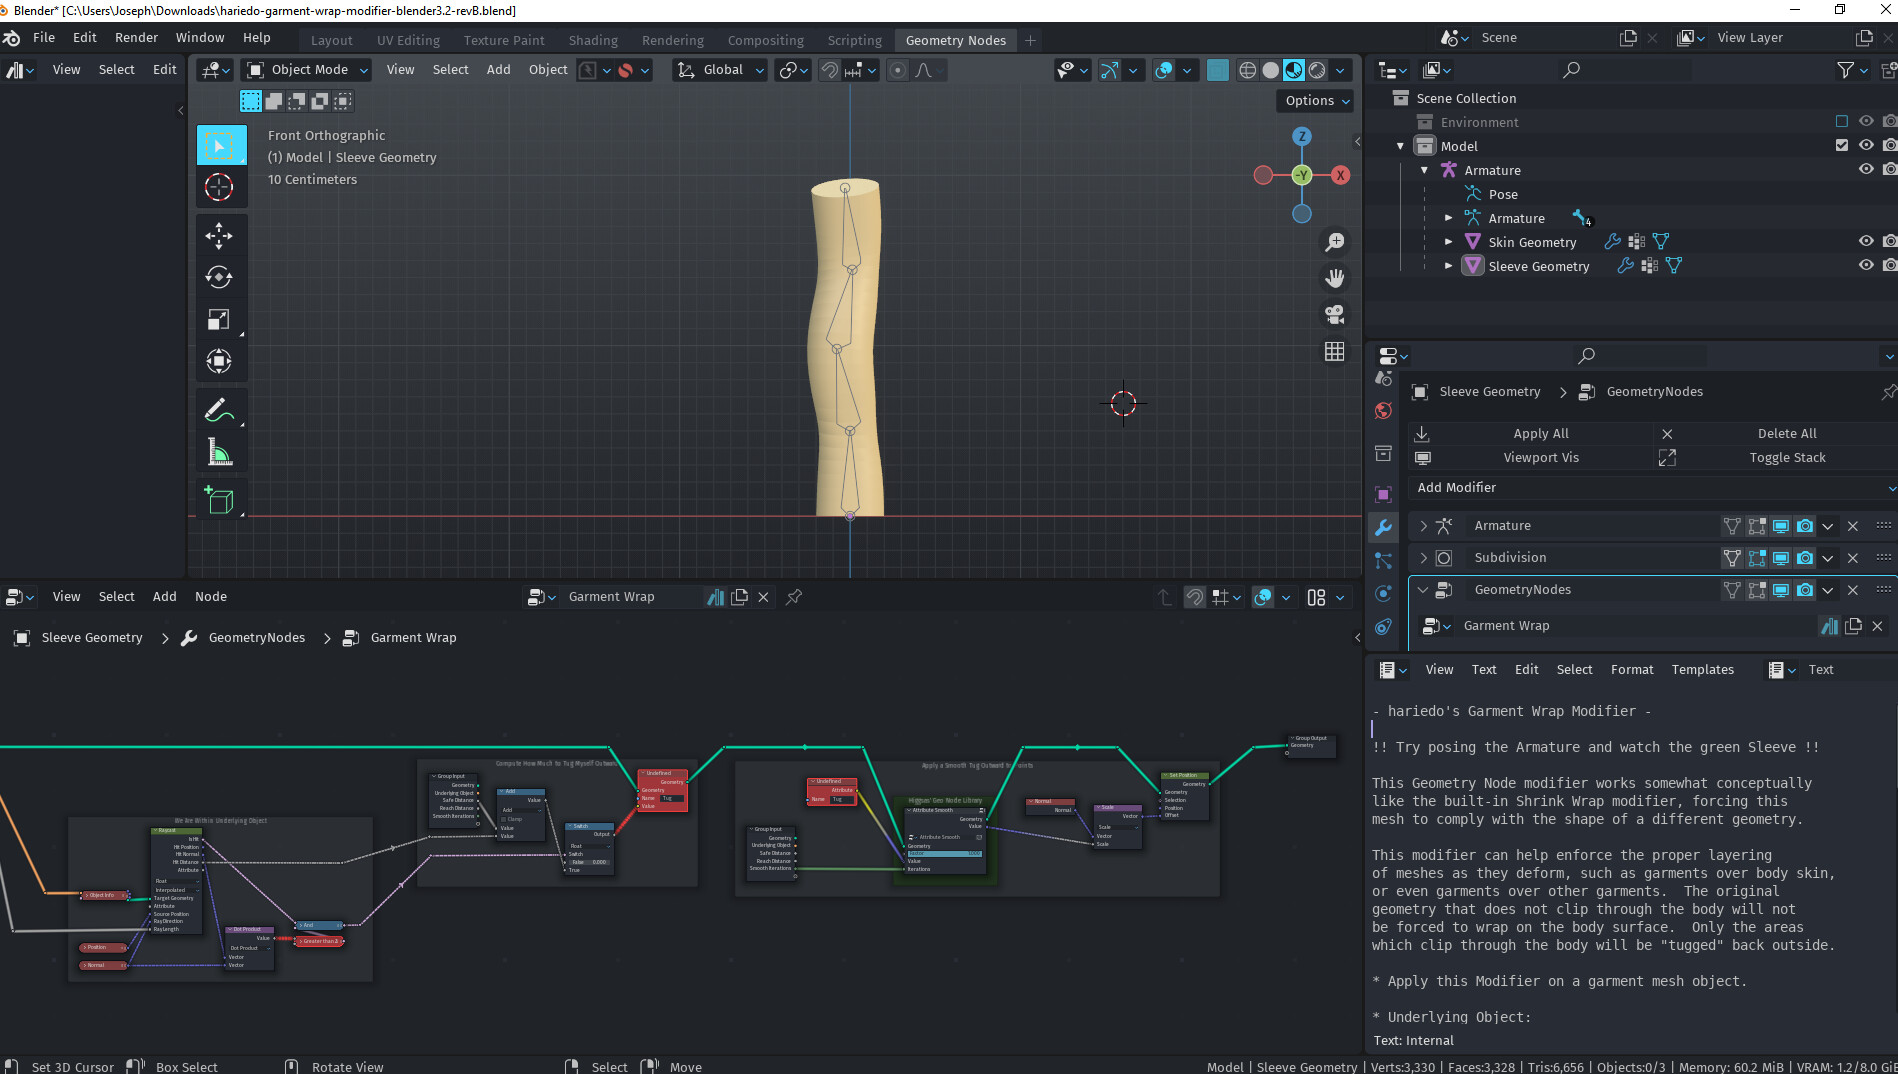
So I set up this Geometry Node solution in Blender 3.2 to automagically enforce rules like this SHIRT must remain above the SKIN and also above this SKIRT. Only the areas that clip through are modified, and you define how much a garment should ride above the underlying mesh, if any clipping is detected.
I would love some feedback from more real-world rigged characters, if you give it a try. It’s free, for now at least.
This is my first post on ba.org so let me know if this resource post is not appropriate.
Welcome to BA!
This is an incredible idea, and sorely needed! I’m downloading this right now, this could potentially save me hundreds of hours of work. Thanks for making this!
I heard someone else had a similar experience, but I am not sure what’s causing it. I’ve tested with 3.2.1 and 3.2.2 in multiple blend files. I see three red nodes on your screenshot not letting data get through.
What version of Blender did you make this in?
EDIT: Ohhh ok it works in 3.3alpha, but not in anything lower. That’s good to know
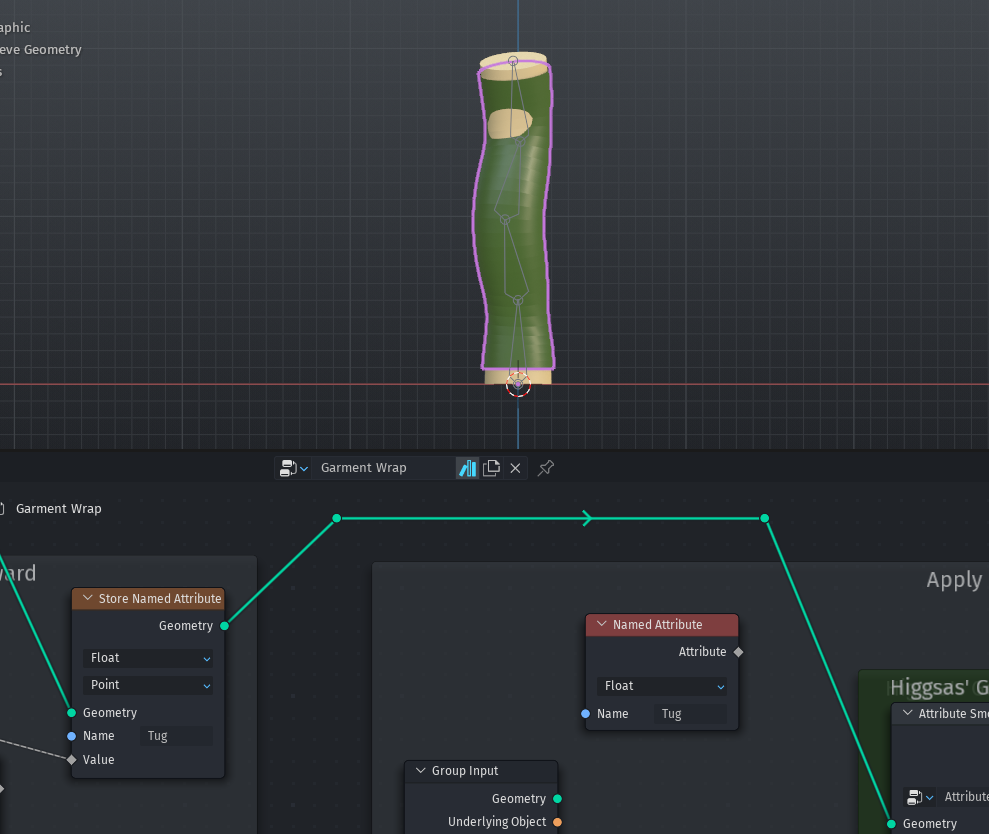
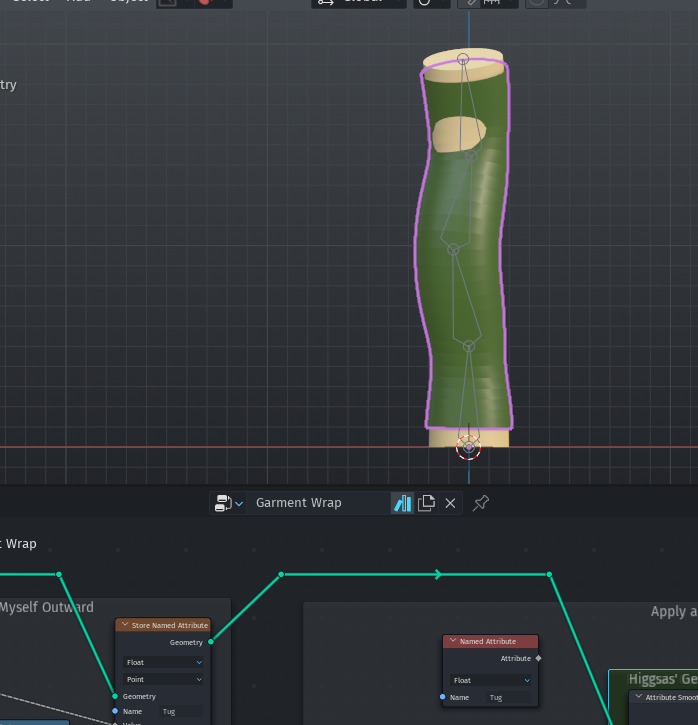
It works 90% better than nothing, looks like there’s some kinks to iron out still:
The Named Attribute isn’t connected to anything… but, there’s a chance that opening this in the wrong Blender version broke something. I’m going to try again with a fresh download
Yes, for your example above, there are limits, but you can boost the “Safe Distance” a little bit to help with that sharper deformation. If you know you’re not going to bend an elbow back too far, you can also feel more free with Reach.
Give it a shot in 3.1.2. I am not sure it works as I skipped from 3.0 to 3.2 and there are so many changes in GN it’s hard to try every version. If your machine is struggling in the viewport or Eevee already, adding more GNs to your work might be inadvisable. I do hear 3.3 will have some big improvements for Eevee speed in some areas.
Thanks to some valuable feedback here and by use on more real world characters, I have continued to update the Garment Wrap modifier. Still looking for more feedback, though!
Now on Rev E, I have incorporated the use of a user-selectable Vector Group to control any folded over garment elements specially. Weight of 0 behaves as usual, tugging clothing toward its Normal. Weight of 1 behaves in reverse, tugging clothing away from its Normal, which is useful for any folded over areas like the backside of straps or hems or collars which face the body. Weight of 0.5 acts like a pin, tugged in neither direction, which is useful if you intentionally anchor your final edges inside the body.
Could this sort of concept be used to have one body mesh fit to another.
Was thinking it could maybe use the weight paint from there rigs to help move and align sections of one body mesh to best match the other and then use this wrapping to do the final fit.
The reason for wanting this is if you can get one mesh to match the other you can bake one uv/texture map over to the other mesh. Allowing you to adapt any uv map all to one mesh. Or simply copy a body shape from one mesh over to another.
Manualy fitting and sculpting one body mesh to fit another is really time consuming so wondered if some blender magic could help automate this. Even if it needed abit of manual sculpting after it would get the bulk of the work done