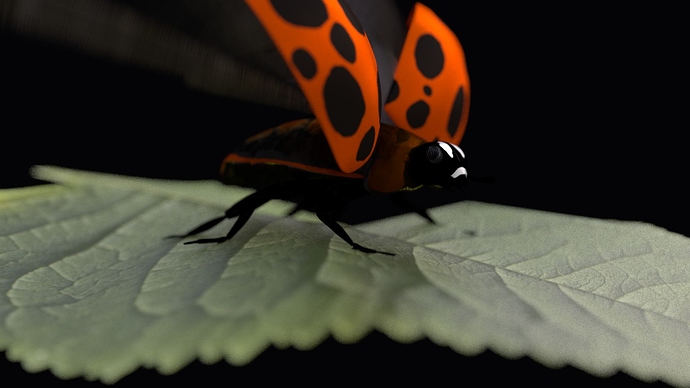
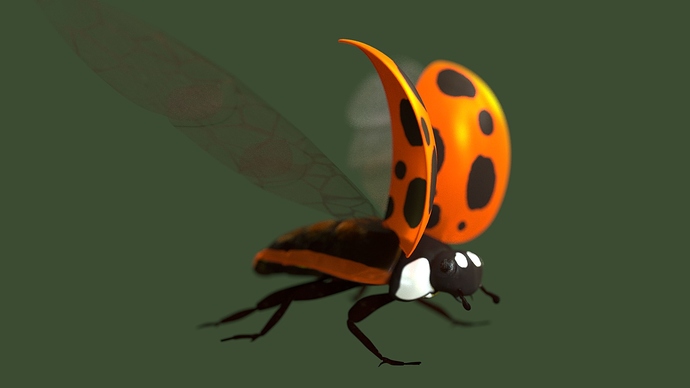
Here’s a model I’m working on for fun. My intention is a quick animation of the ladybug walking on the leaf and then flying off. Most of the work to do is in the rigging/animation though I’d still tweak the body materials a bit if good crits are made.
Just by coincidence I was watching this video today:
My 5 year old had been told by a schoolmate that ladybirds (we call them ladybirds in the UK  ) didn’t have legs or wings - so we decided to check. Anyway that video is a good reference if you haven’t seen it.
Your modelling of the bug and leaf looks good. Legs are very good. Some crits: The leaf needs to be more green - with some SSS or translucency. The wing covers need to be much more glossy with a low roughness. I think you need SSS for the body too. Your (blurred) wings look very good - nice and big (surprisingly big aren’t they). Look at the angle that the wing covers come out at (90 degrees around Z axis to how you have it) - they allow the wings to move right to the front of the ladybird during flight. Also, your render could do with a non-black background and HDR environment light to really show off the gloss but maybe you have that planned. Is the face supposed to be cartoony? If so excellent, if not then not so good.
Good luck with it.
I think looks very good so far. I agree with swmo that the material for the wing covers could be a bit more glossy, and also after a quick search on Google, I think the polka dots on the wing covers could be more uniformly sized. SSS and/or translucency would also improve it, like swmo mentioned.
Thanks for the feedback. That is a great reference video. The “face” was supposed to be eye spots but it does look silly without proper lighting. I think I’ll remove the “smile”. I’ll have to mess around with SSS shading. I haven’t done it before. This shot includes some sss but I just threw it in there without knowing what I was doing… The wings are not really meant to be seen since they’ll be blurred out in animation.
Looking loads better, nice one! Are the yellow highlights on the wing covers from the environment? Just checking that you have white as the colour in the gloss shader - because you shouldn’t put a colour in there except for some metals.
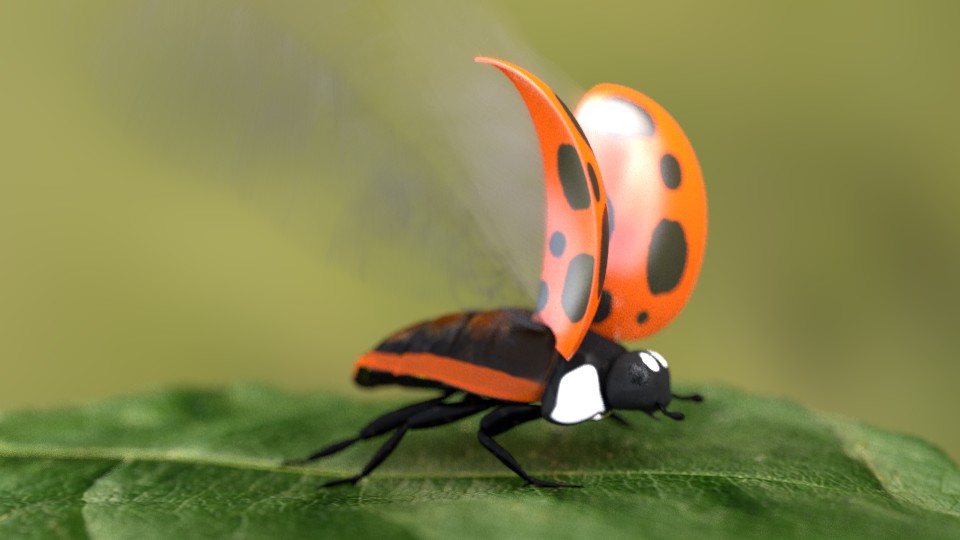
Good catch on the glossy color. I had plugged in the diffuse color there by accident. I’m not sure about SSS and animation. It takes a good bit longer when I have it turned on. I may wait till it’s added to GPU rendering before I really look into using it can it be reasonably faked with translucency? I may also consider adding some hair to the legs and head. I just love all things macro. Here’s another update render with the environment showing.
Yay, looking cool now!
Looks good! I’m no expert on macro (or anything really lol), but have you considered using displacement on the leaf? That would up your poly count quite significantly, but couldmight make quite a difference…right now the leaf looks rather flat.
If you do try this, note that the shadows on the leaf texture don’t seem to quite correlate with the actual lighting. That would mean that the displacement map would need quite a bit of hand painting to get it to make sense - a precursor to this could be manually toning down the higlights/shadows in the diffuse texture itself. Maybe worth a shot?
Swmo, your texturing is far better than mine - any thoughts on the leaf?
Hah, I don’t know about that! Actually - I think the above is okay, it looks like it already has a normal map?
You could certainly try a displacement map, but I have not got it to look nice - I think because I’ve not created 32-bit displacement maps, just used normal images. For something like this I usually just subdivide it and quickly sculpt on the biggest details (eg, the main folds in the leave) - combined with a normal map generated from the image this can really help.
I’d also add a specular map in this situation, so that some areas are more glossy than others. This is easy because you can just use a greyscale version of the leaf texture (with increased contrast) - because the darker areas (creases) are less glossy.
You’ve got a strong DOF, but the other thing you could add for a macro shot is a lens distortion node in the compositor.
Looking forward to seeing the animation now 
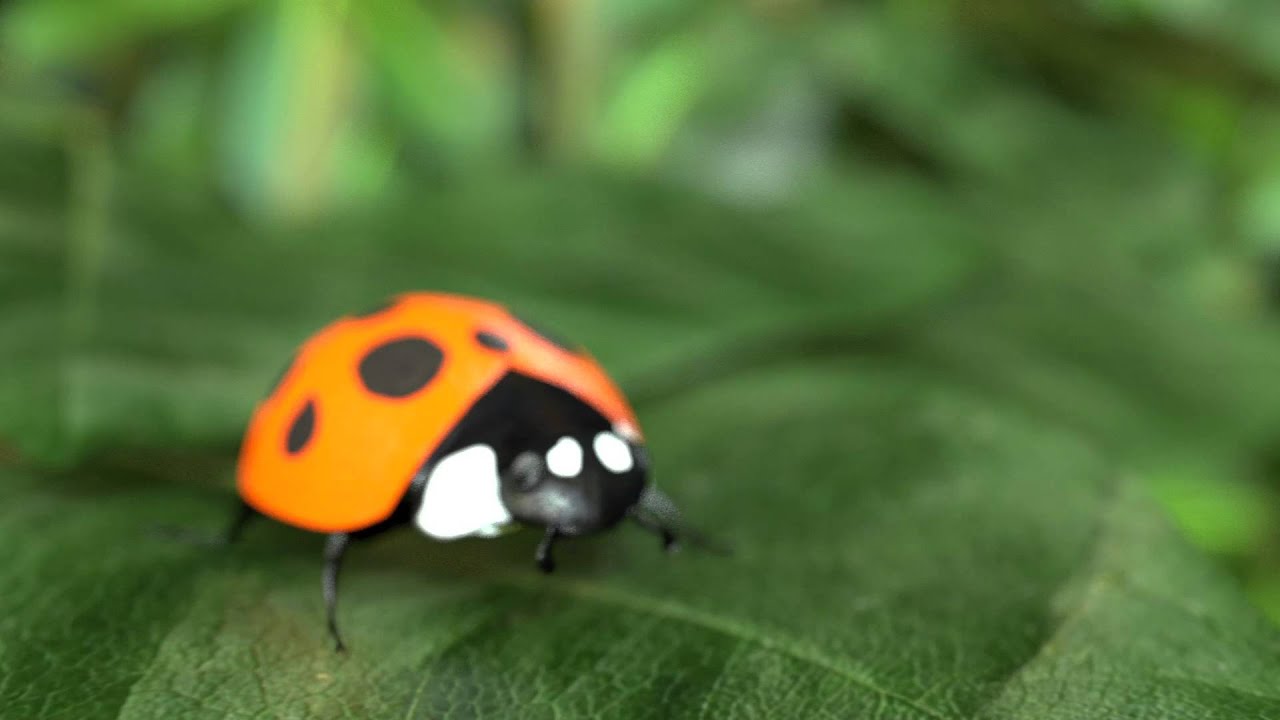
Here’s the quick video. I am running out of steam for this particular work in progress. I’d appreciate any quick tips for making the camera work look more natural. I was going for that “ooh I just got you in focus then you flew away” thing. I know the model and animation isn’t that realistic but it’s passable. Any camera trick tips would be appreciated though since I’m not used to animating the camera as a character.
Looking really cool! Animation on the take off is really believable.
The most “CG” part to me is the face. Look at this reference: http://i.telegraph.co.uk/multimedia/archive/02103/Harlequin-ladybird_2103541b.jpg I think it could be improved with much more glossy and also a “noise” or “dirt” bump map. That’s the only thing that stands out to me - I like the defocusing and general setup.
And - you are using a HDR environment texture to light it right? The reflection on the wings looks like it’s just one big light quite close to the ladybug.
Thanks swmo, I really appreciate all your feedback. I think my next projects need to start out with more and better reference photos/videos. My wings are built and unfold all wrong as I learned from your first reference video. The unfolding is so cool in the the real thing. They un-twist 180 as they come out. It’s not 100% there but I’m ready to be done with this one.
On the lighting, I was using an HDRI but it was in an open field so the top 180 degree view was all sky which gives the spotlight appearance on the shell. I switched to a more canopied image.


