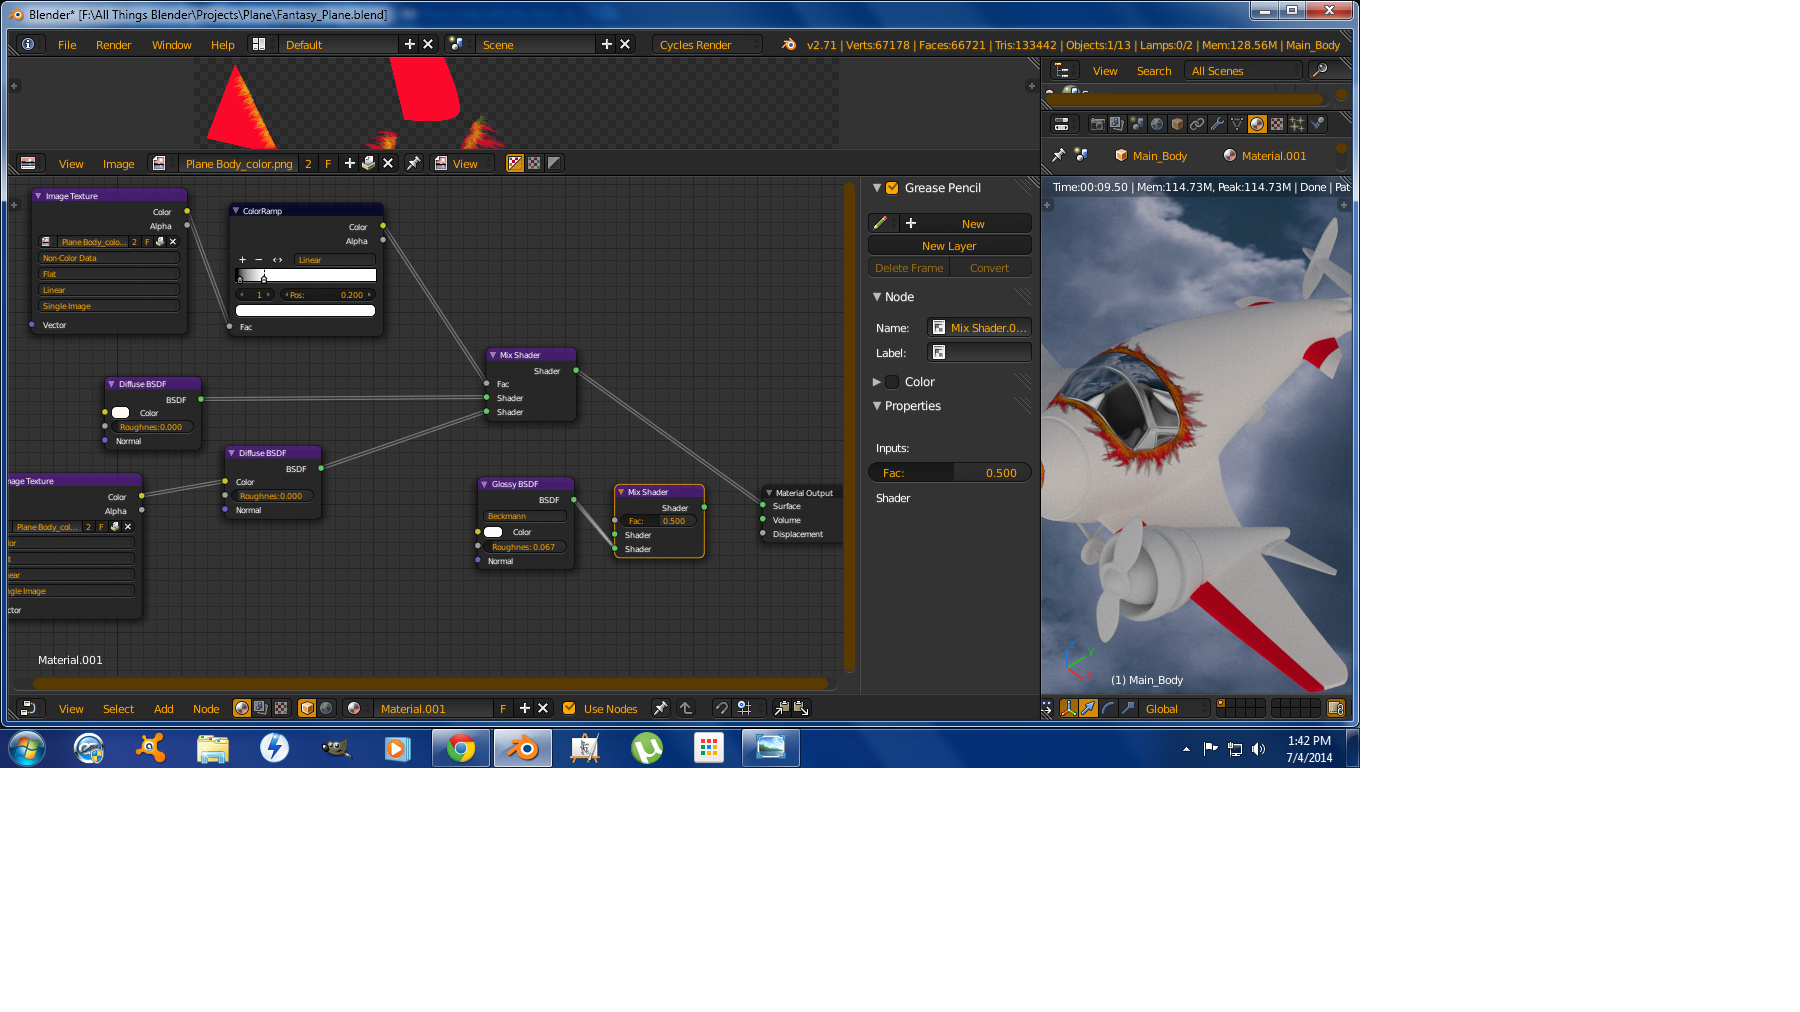
OK material masters. Im using cycles 2.71. I have made a UV map of my plane body, went to GIMP and painted some spots a nice red and some flame effects. I brought it into Blender as a .PNG named Plane Body_color, u can see it in the screenshot. OK, I made a simple material with white diffuse and some gloss, then used a mix shader to bring in the red. My problem is my diffuse went gray and my red is not red! You can see the result in the screenshot. Can someone PLEASE help so my white stays white and the red from my color map stays red!


You’re mixing 50% of your texture with 50% white material = grey with pale red markings

Try mixing the colours before mixing shaders. Supplying your blend file and textures would help other users give specific solution
How do I supply the .blend file?..
Before saving your blend file ensure you pack your texture in your file from the File / External Data menu
Then upload your blend file to http://www.pasteall.org/blend/ and reply back with the download link
OK, so i tried to use the color map as a mask using white and red as the diffuse colors and was able to get the red i wanted, but lost the colors of the flames, so that wont work. I also tried to mix the colors with a color mix and then mixed that with a gloss and still couldnt get the red and white with the flames i wanted. I tried all the blend modes…any help is appreciated.

ok, sending the .blend file
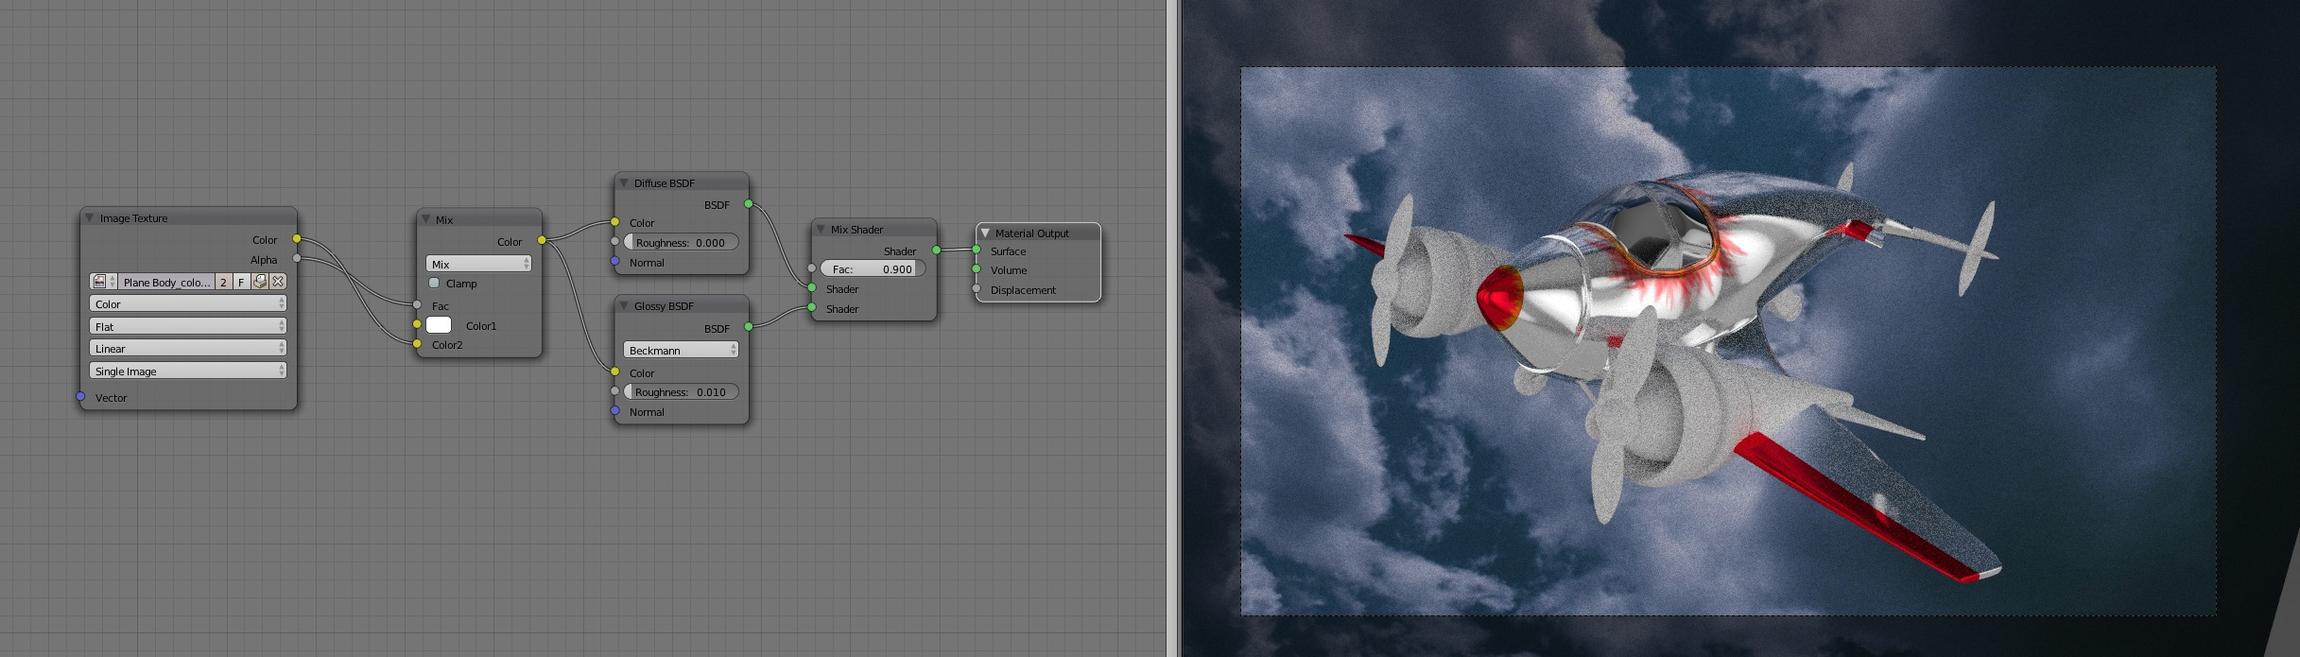
Heres a shot of the red Im looking for, but when i mix with the glossy, i lose it…and u can see I lose my yellow and orange flames also… : (

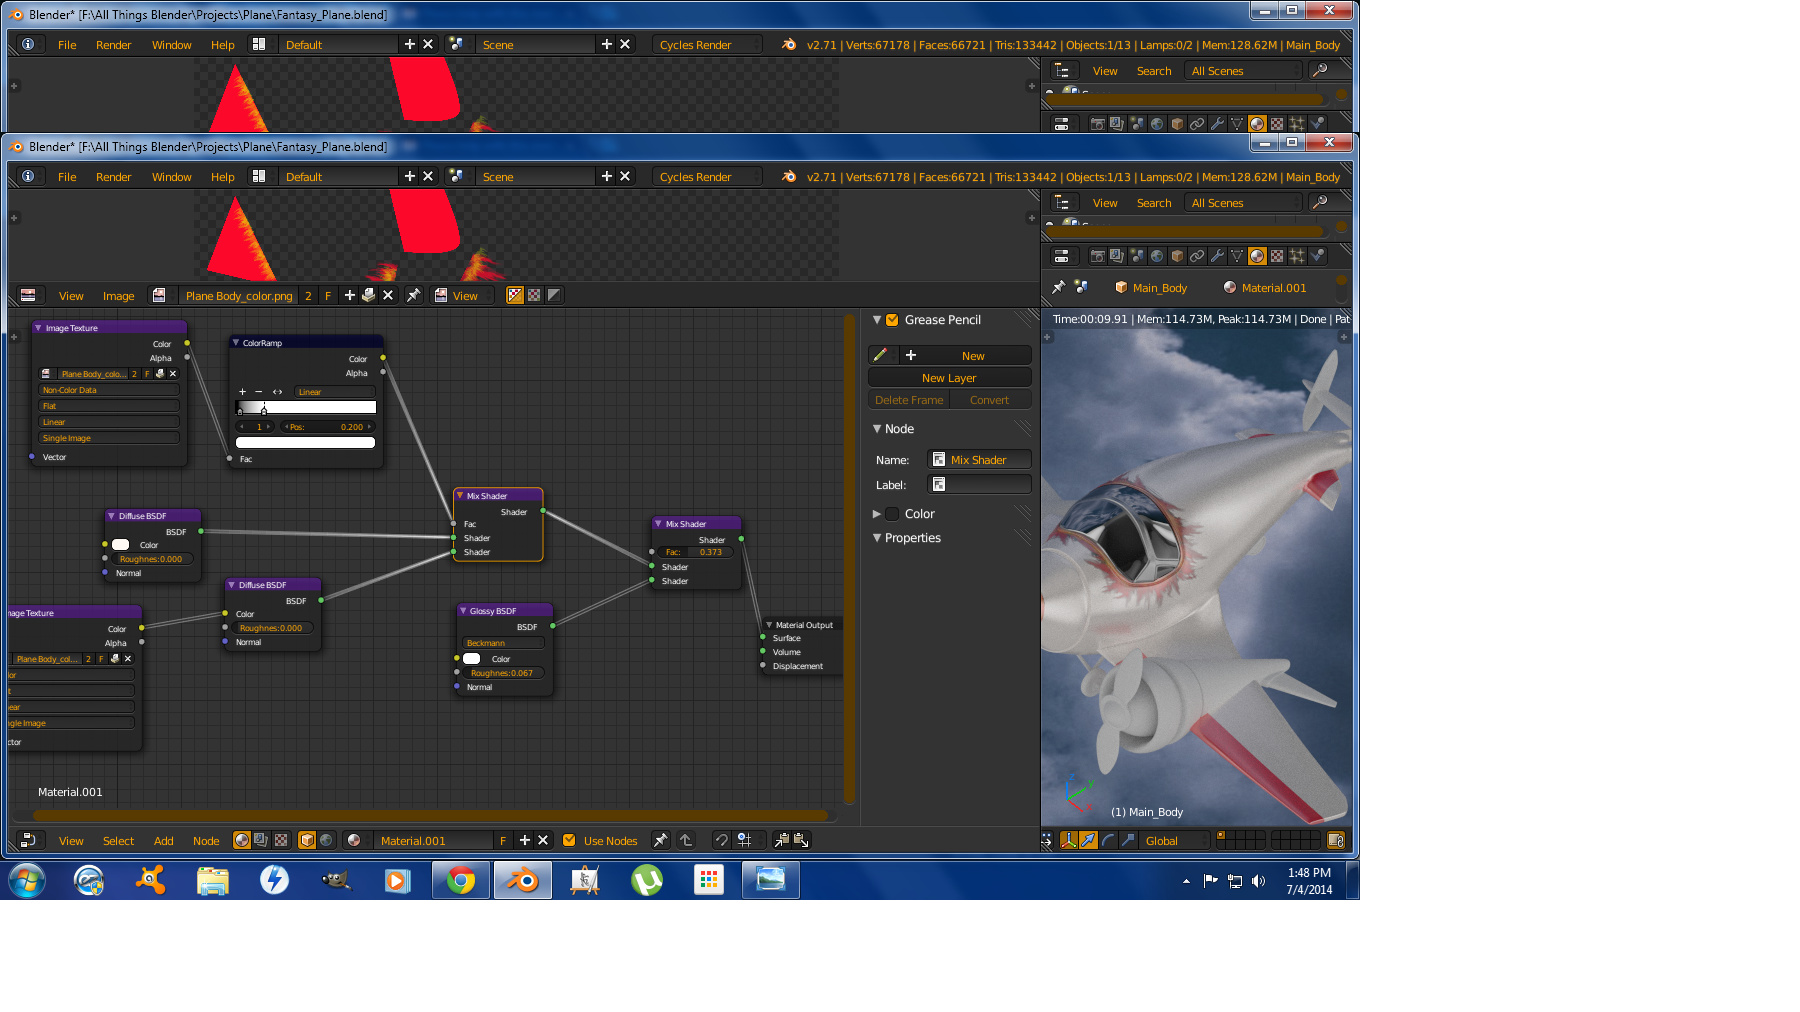
YAY!!! I gottit…by using the color map in the bottom diffuse, and the same map in black and white as the mask, i gottit!.. Now my problem is when i mix in the gloss, it takes away from the color of the flames!..pulling my hair out! This screenshot shows how i got the color to work.
And this one shows what happens when I mix in the gloss…
And this is where Im stuck…I use the color map as a mask for the gloss and diffuse mix, and get the perfect result. EXCEPT I cant turn down the gloss!..Is there a node I can add to act as a controller for the gloss? I can only affect the roughness!

Heres the new link to current .blend
http://www.pasteall.org/blend/30205
This is a spin off of an earlier post, as I have about got it solved. My final question being how can I control the gloss in this node set-up?
Im using the color map to show Blender where I want the gloss, the shiny part of the plane. But have no way to turn it down!
Heres the .blend file.
http://www.pasteall.org/blend/30205
No need for a new thread for the same subject - Threads merged
O OK, cool…
So I think I lost a reply…lol…So what if I plug in the alpha from the image to the mix shader to make only the gloss affect the plane not the paint…like this…
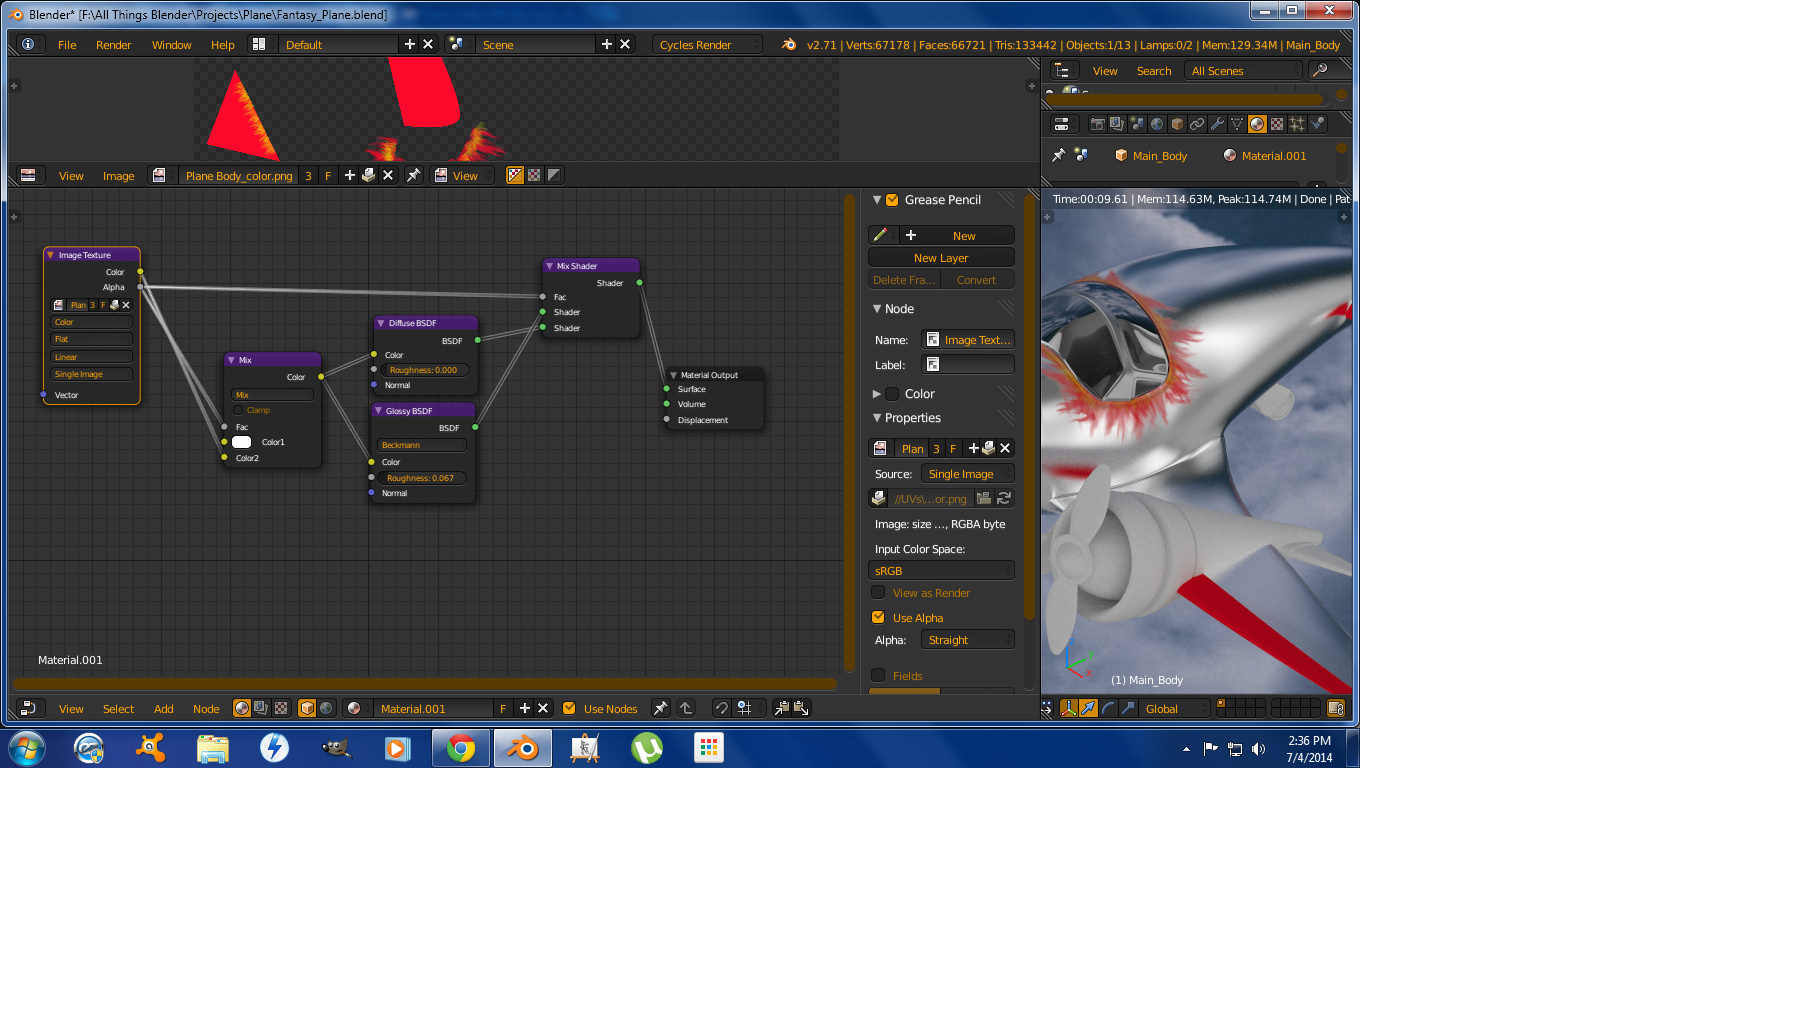
Yes your setup is so much simpler. I only need a way to control the gloss now that I have used that alpha as the factor. Any ideas?
OK, figured it out. I hope this helps some people!..I added another color mix node, set it white, and use it as a slider to control the gloss!..Heres the final set up!..

Im not sure why this trick works, but it does!
Think, you have two materials - paint and metal. These you separate using mix node and appropriate mask.
Paint is done on image, it needs only glossy component; the rest is not painted on image and turns black - you need to create it using RGB and Diffuse node. Again, this material needs Glossy component.
Now, just to figure how to use mask - alpha from image to mix all together on plane. Done.
http://www.pasteall.org/blend/30207
Thats a pretty nice set-up, and does indeed achieve a very nice result! How did you add the shine slider in group input? And Im not familar with the layer weight node. What does that do? Thanks for the great reply!
Hit Tab while group node is selected and you’ll be able to see internals. Tab or Shift-Tab again to get out of it. Connect something is as simple as dropping noodle on a free input or output dot.
Layer weight node simulates reflection behavior at glancing angles. See here http://en.wikipedia.org/wiki/Angle_of_incidence#Grazing_angle and this http://en.wikipedia.org/wiki/Specular_reflection. In general it adds more live in material.
Very cool, very helpful. I will be using this nice lil node. So this node should be used as factor when mixing gloss and diffuse? All the time with metal? And I noticed when using it as factor, you have no way to adjust the amount of gloss, only roughness. Thankyou for your help guys!..much appreciated.