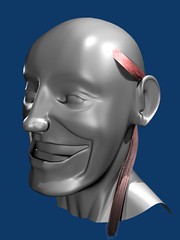
I’ve spent much of this morning trying to learn to comb a head.
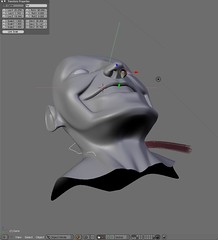
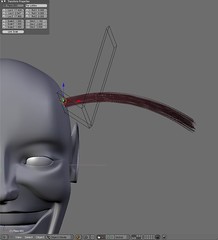
I first used retopo to add a plane onto the head and then added a static particle system to it. The result was exactly what I wanted, its only that…
…the curve guide passes right through the head to the opposite side of the neck and as soon as I add another curve guide it interferes with the first and messes everything up.
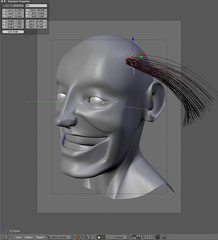
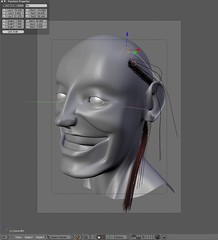
Playing around with the curve guide min-max distance, I managed to reduce but not eliminate the problem. I’ve tried to use a lattice instead, but can only get it to affect the emitter plane, not the hair.
Any hints, tips, and tricks?
/ Mats
PS. I uploaded some more related images at flickr.
I think curve guides are the only real way to affect particle hair effectively, I could be wrong though.
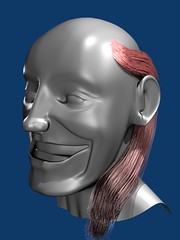
You could try polygon hair, that can be controlled by a lattice. If you create a UV map for the polygon hair you can use a separate blend file to create particle hair to fit the UV map.
Then animate the particle hair to create an animated texture. Go back to the polygon hair and pose as needed, the animated UV map can provide the high detail associated with particle hair without the difficulties of manipulating particles, and with the considerable added bonus of reducing rendering time.
Of course if you’re only creating a static image this approach would be worthless, as particle hair normally looks much better than poly hair.