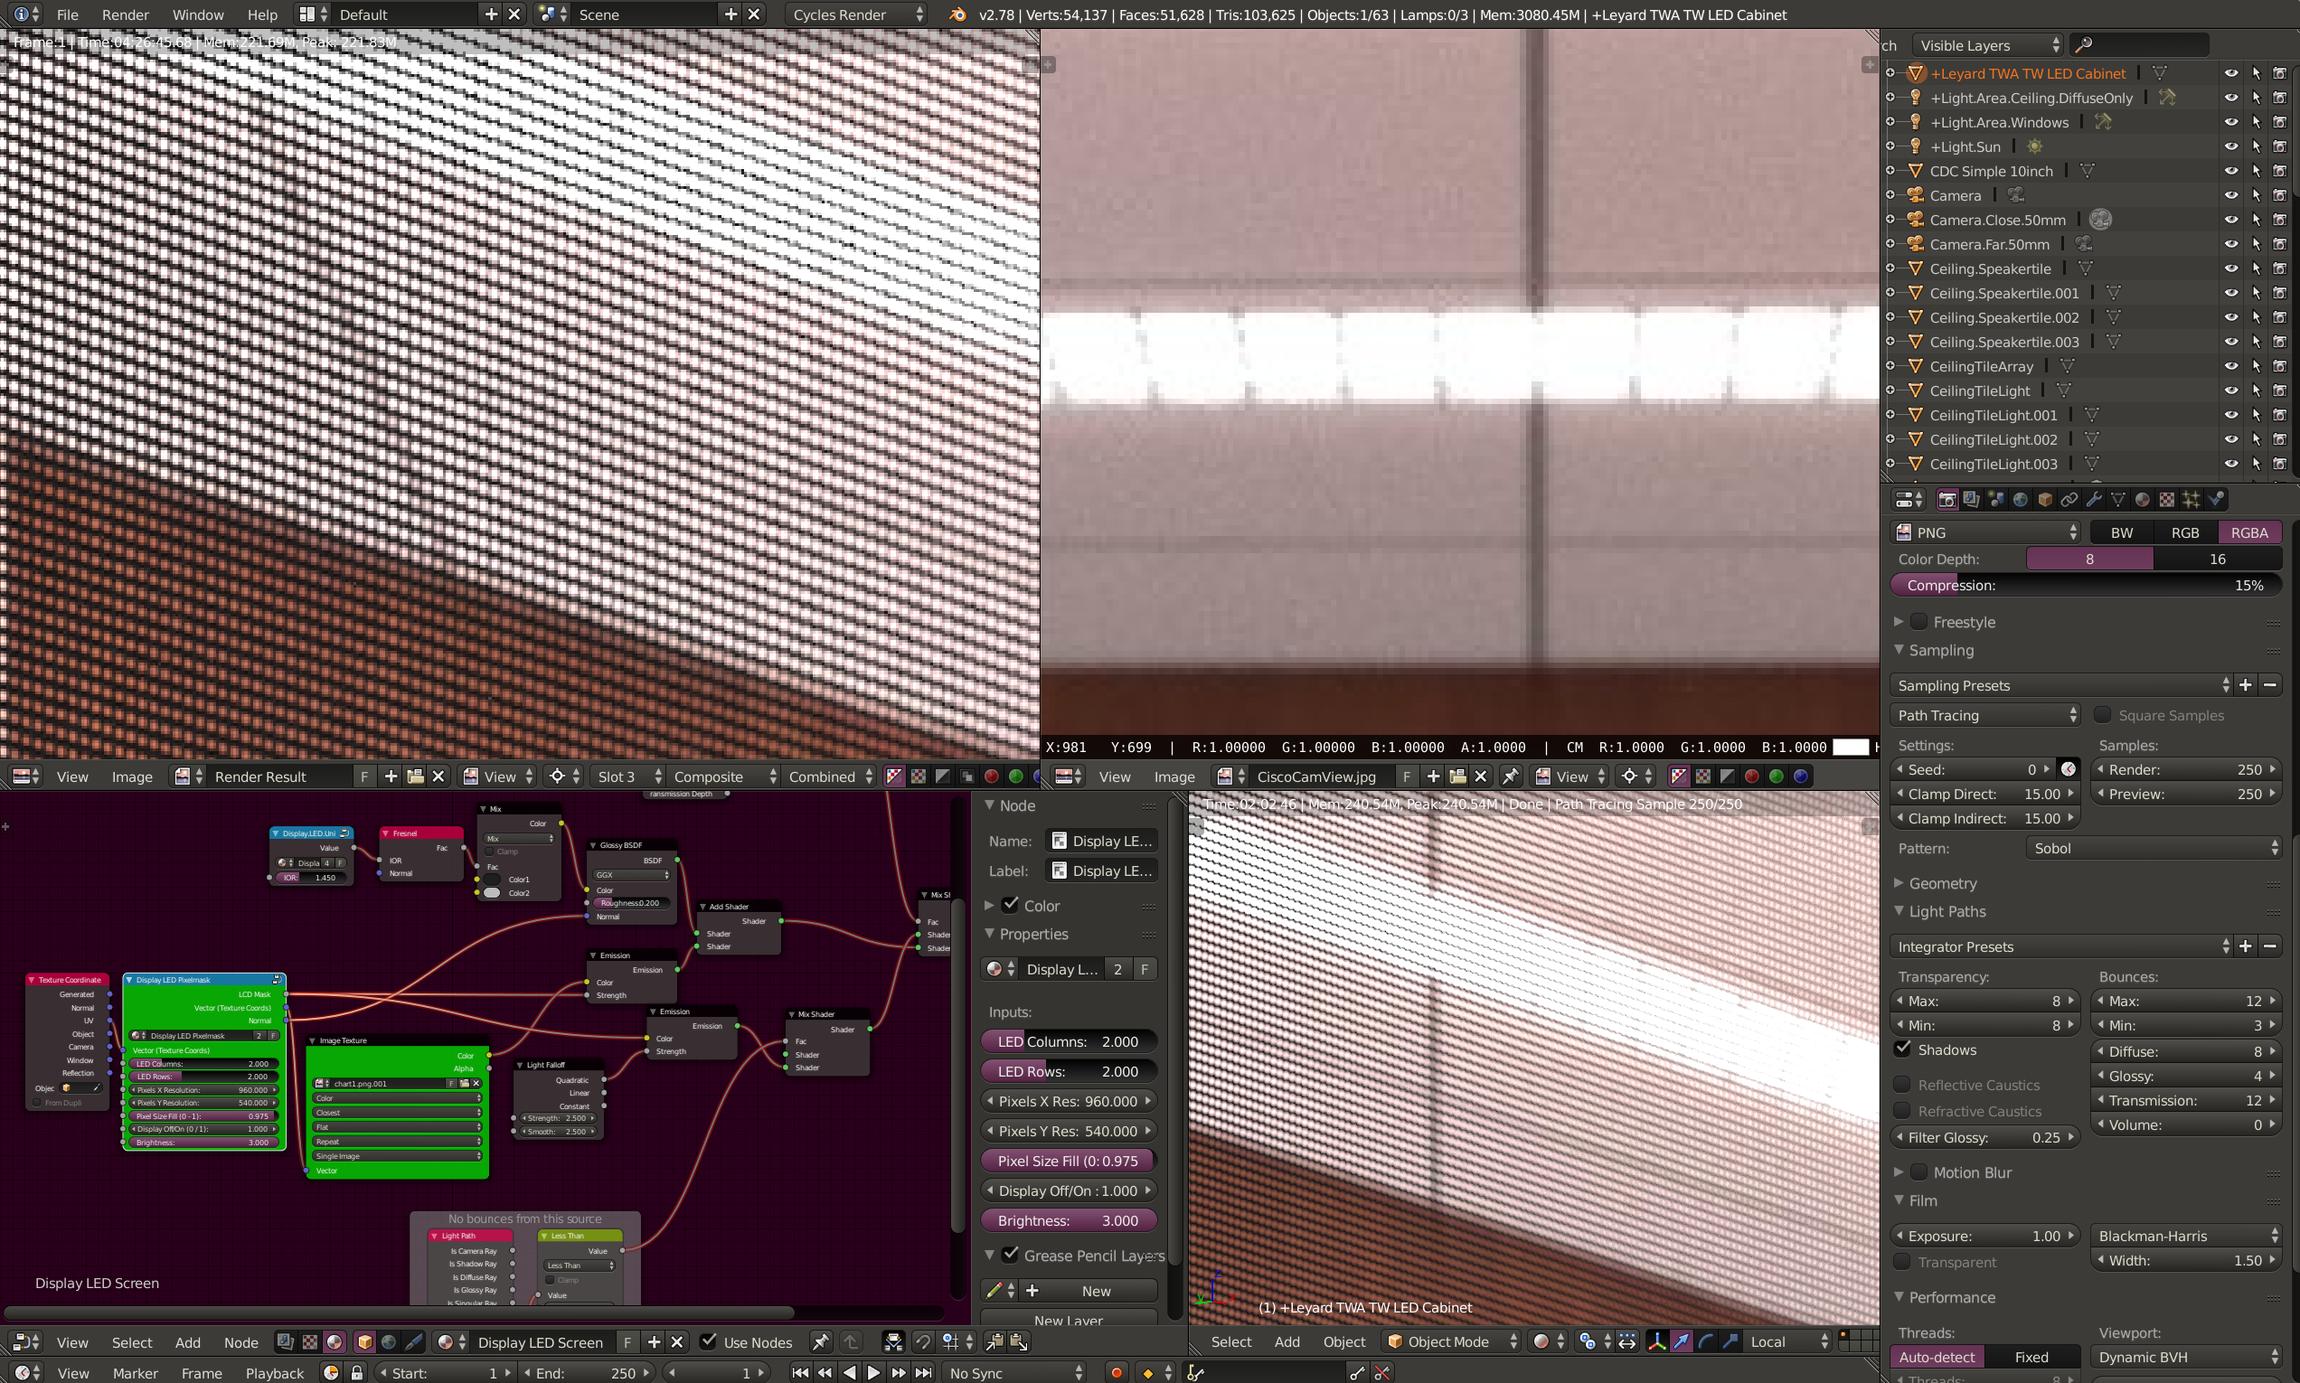
I’m trying to simulate a LED display, and how it would appear to a person sitting close to it, in order to give advice on which pixel pitch would do the job best. I’m doing this by dividing image into pixels and taking away surrounding area showing each pixel as a LED pixel. If not taking away surrounding area (pixel size fill = 1) I can use brightness 1. If taking away surrounding area (pixel size fill = 0.975 in this case) I have to compensate by using brightness > 1 (In this case I’m using 3, which from far away causes the display to have the approx same brightness output).
But I’m doing a upclose shot - and the use of overbright LED pixels (to compensate the mask size) causes the filtering to go havoc. For low light areas in the image shown on the LED display, the mask is perfectly ok. But for white pixels (overbrighted to 3 for the compensation). I tried changing film Blackman-Harris filter width to 1 (default 1.5), but I couldn’t see much difference.
To fight moire I have to render at big resolutions (8k), which forces me to reduce samples to 250, and it still take 4-5 hours for an image.
The dotty mask shows up clearly in the low brightness areas, but in the light fixture (1,1,1 - compensated to 3,3,3) the mask is completely washed away. In another part of the image not shown here, there is a Excel screenshot with white background, causing it to show no mask at all - it’s basically just a white wall.
The LED used here has 1.25mm pixel pitch, if I were to choose 3mm the LED pixels would be similar size but the masking area would be bigger.
So the question is; is there any way I could have overbright LED pixels AND retain the LED masking effect?
Are you accounting for the light distribution of LEDs? LEDs don’t throw light with the same intensity in every direction, which makes them dimmer when viewed from close distance and greater angles (as dued to perspective, most LEDs will project less light in the camera/viewer direction).
No, nothing like that. These are 600nits with 160° viewing angle iirc. I didn’t check when we had some at work, but I suspect that when you increase the angle, you’re also packing in more leds into the same area (4 visible leds at 0°, 9 visible leds at 60°, highly inaccurate but to illustrate the point) keeping the area output (very) approximately constant. So technically I guess the brightness increases with viewing angle in my case since I pack more output per pixel². But the viewing angle isn’t that dramatic in this case (50°, 50mm lens with 2.2m focus distance used here), and I think it could be ignored.
I’m using post glow, but I’m only applying it to the lamps in the room (26 spotlights, 4 double ceiling tile fixtures, but environment light not affected), so that’s not causing any issues either. That closeup view was rendered at 33k (400%) though, not 8k as I stated in OP.
I basically want the image to appear similar to when shot from afar (when mask is disabled to avoid moire hell with 1 brightness), and the mask shouldn’t be blown out due to increased brightness (which is there to compensate for loss of brightness when the mask is activated).
I probably won’t even hand this over due to being destroyed like this (and I’m not expected to), but I would like to be able to argue that Blender could handle these things if (read: when) required in the future.
Could this be a color management issue? To simulate the effect of a camera shooting a similar scene, your camera must also respond to the extreme white values. Perhaps you could add a tonemap node before glow etc?
I’m thinking it’s the overbright taking precedence, similar to getting stepped aliasing. I just don’t know how I could compensate for it. Btw, I’m masking out so I only get glow added to strong light emitters visible to the camera, the LED display is not affected by glow, so I don’t think it could have any effect. The LED shows a texture which has glow embedded in the 8bit texture, there is no glow in the LED render at all. In the Excel snapshot which is mostly a white screen with some graphs on it, the white (when scaled to 3,3,3) causes the LED mask to completely vanish.
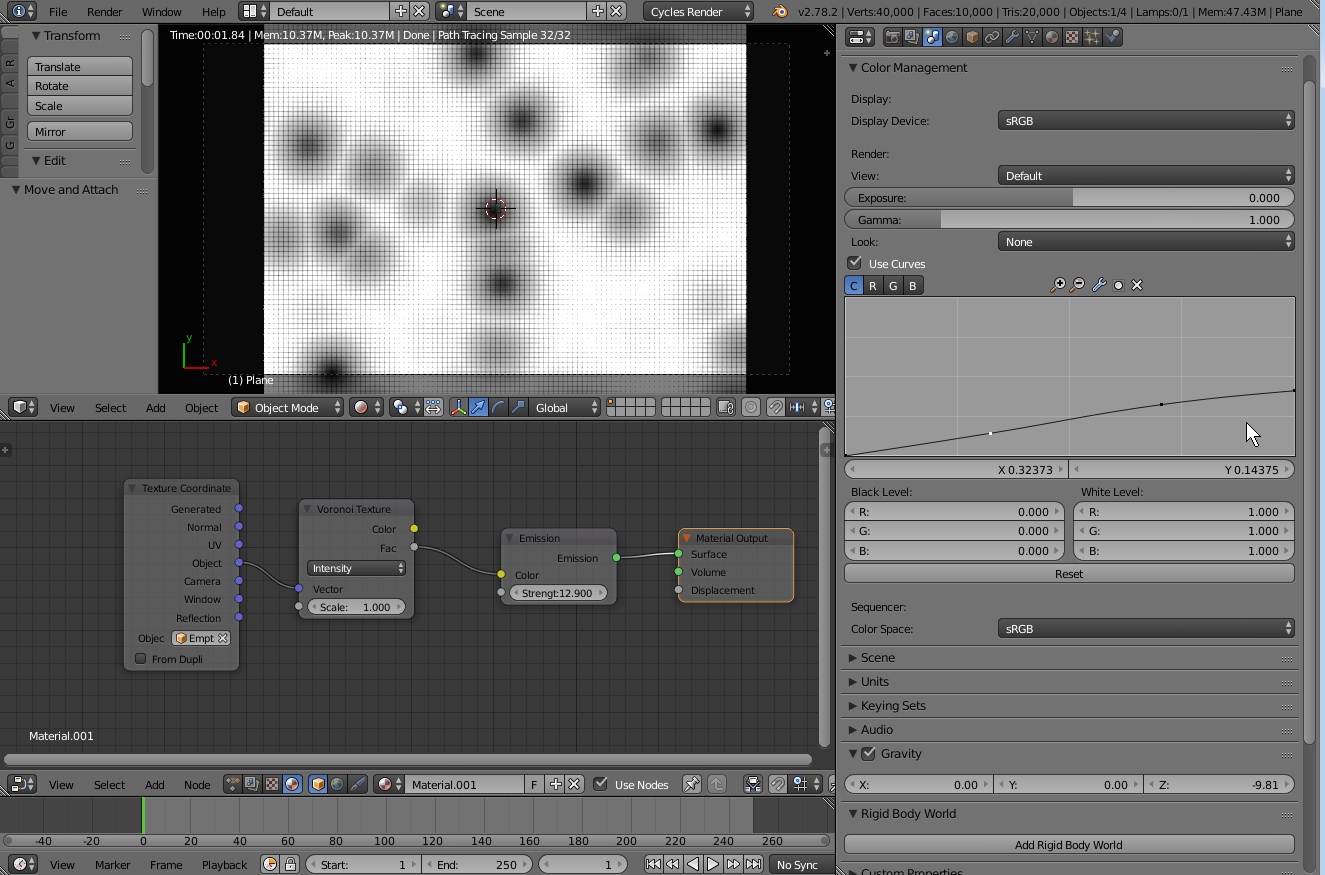
Use the color management in Blender to more correctly expose and manage the over bright values. As your eye will mix bright edges at a distance so will Blender with the correct fall off curve. Have a look at this array of pixels with a texture over it.
Have a play with the .blend file, as the camera moves away the grating is less apparent. And as the emission increases the bleed is more apparent. You can play with exposure just like a camera or human eye, perhaps you can match a real world example? Do some test shots to confirm accuarcy. bleed effect.blend (509 KB)