Lens simulation

Hi!

After getting some hype from this great tutorial https://www.youtube.com/watch?v=jT9LWq279OI and finding out about the new “Ray Portal BDSF” shader I just had to create a lens simulator :smiley:

Coming from a Houdini workflow I decided to simulate the lens virtually in a custom OSL shader, this gives me full control over everything without having to leave my cozy coding environment.

Lenses are implemented from real world lens patents, to implement a new lens I simply enter the lens data from the corresponding lens patent. I need to do a few manual adjustments pr. lens since the aperture position and size, plus the lens cutoff height is not set in the patent.

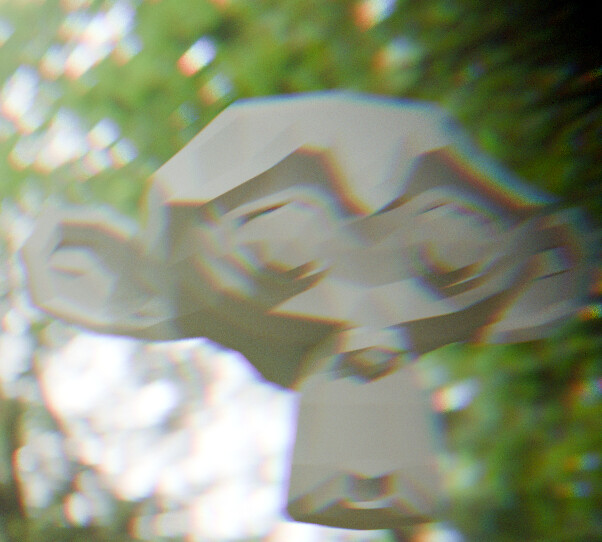
So far I have calculated chromatic aberration in a non realistic way, simply shifting the RBG rays based on a imaginary number I think looks good. A random color is simulated per sample(R, G or B), this introduces more noise in the image since more samples will be required to average the result to white light. Would be cool to simulate the wavelengths in a realistic way, but that is a little bit over my math knowledge at the moment.

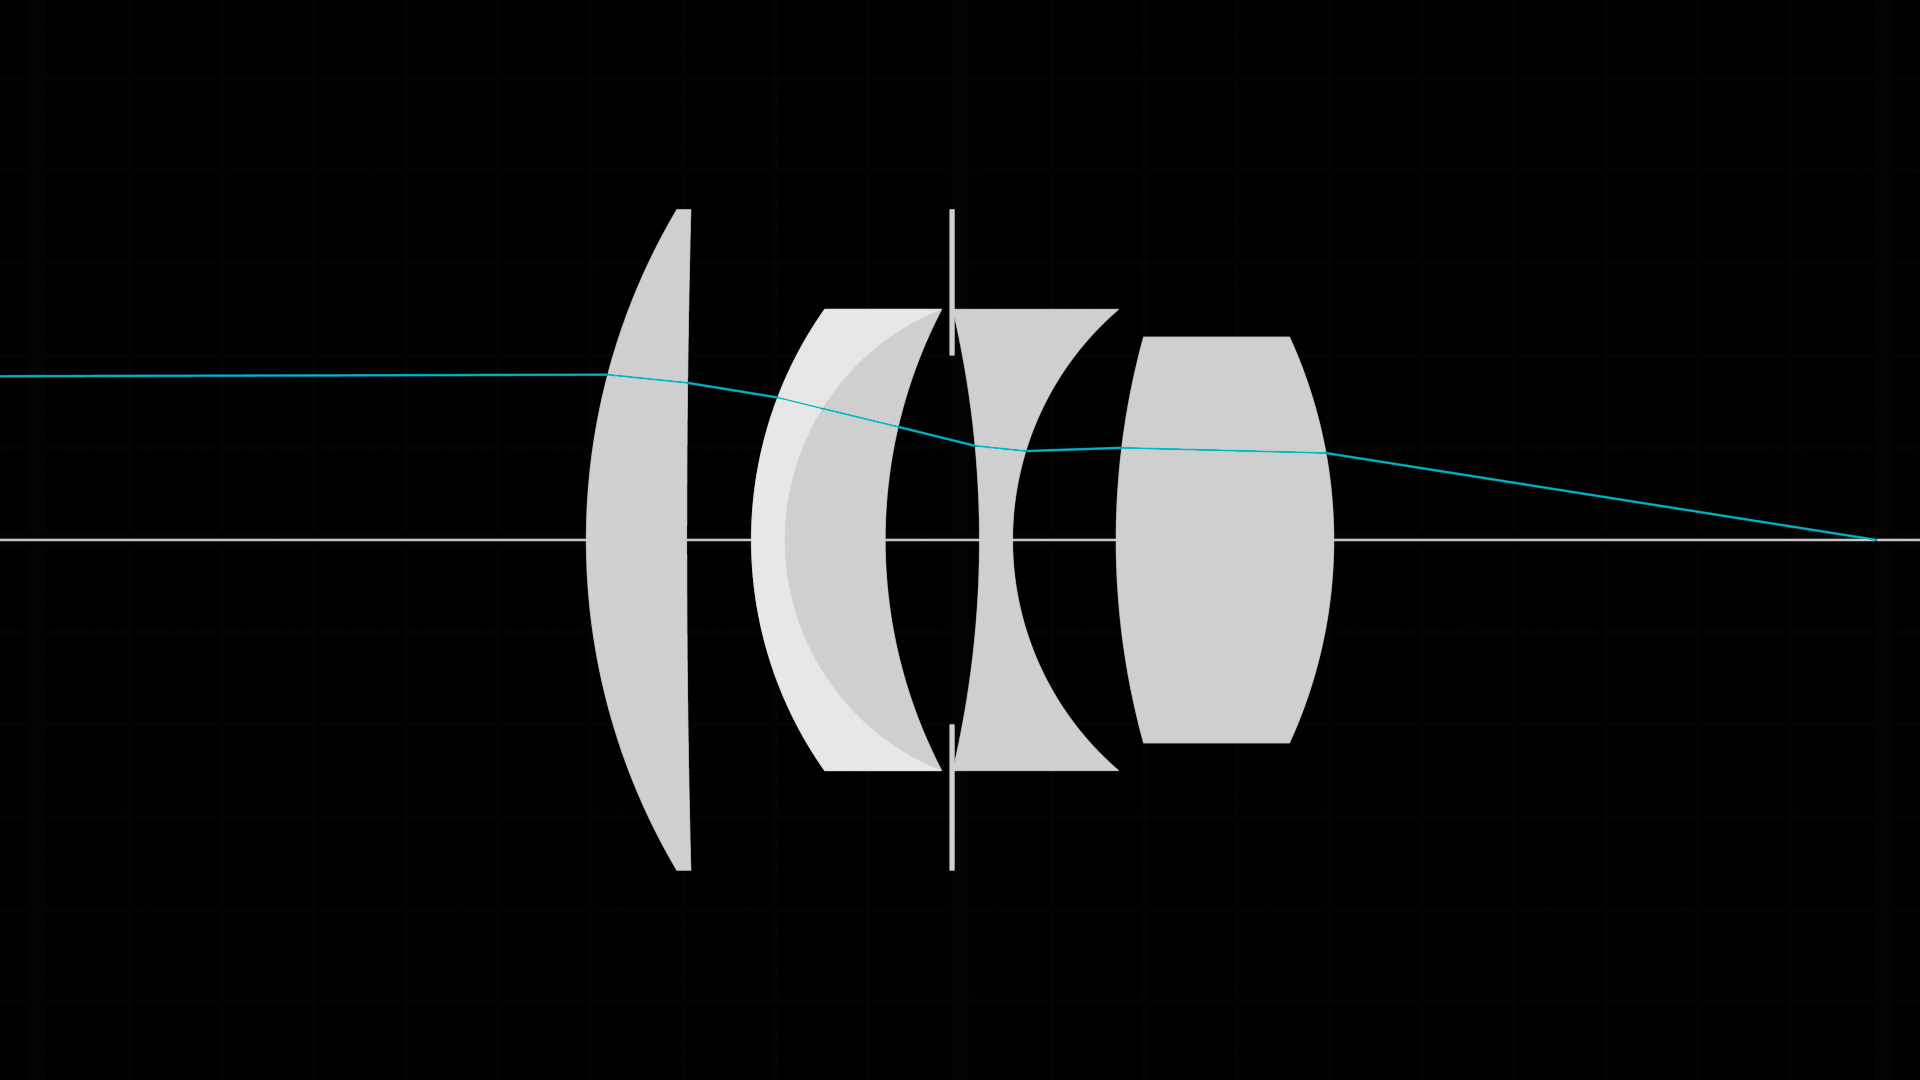
Since the optimal censor position for a given focus distance varies heavily between each lens, focal length and other factors of the lens, I decided to go a more mathematical way about it instead of guessing or building a lookup table. I first ray trace a single ray from from the desired focal distance to the camera, given the ray hit position on the Y axis after tracing through the lens I get the optimal censor position to focus the image on the desired focus distance. I then proceed with the normal lens simulation based on this new censor position. This slows down the render with about 8.59437751004016%, but totally worth it. Manually setting the censor position is also possible.

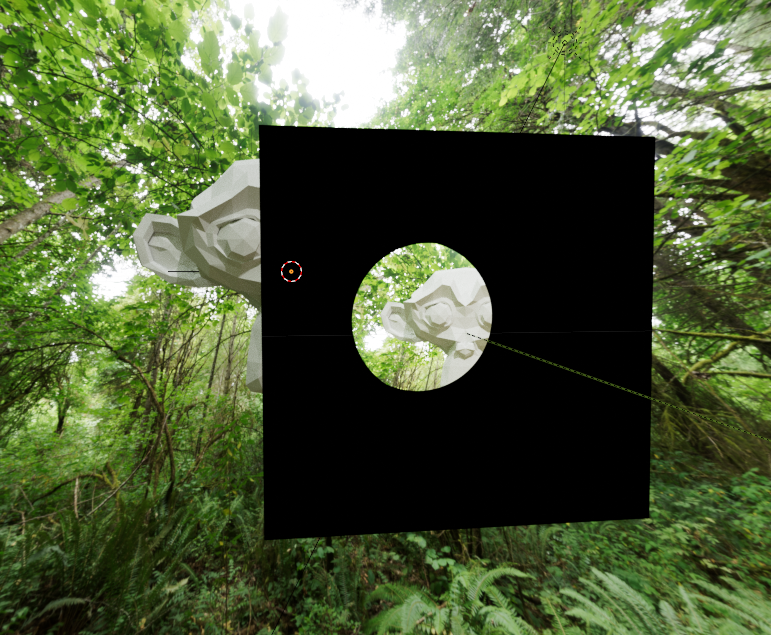
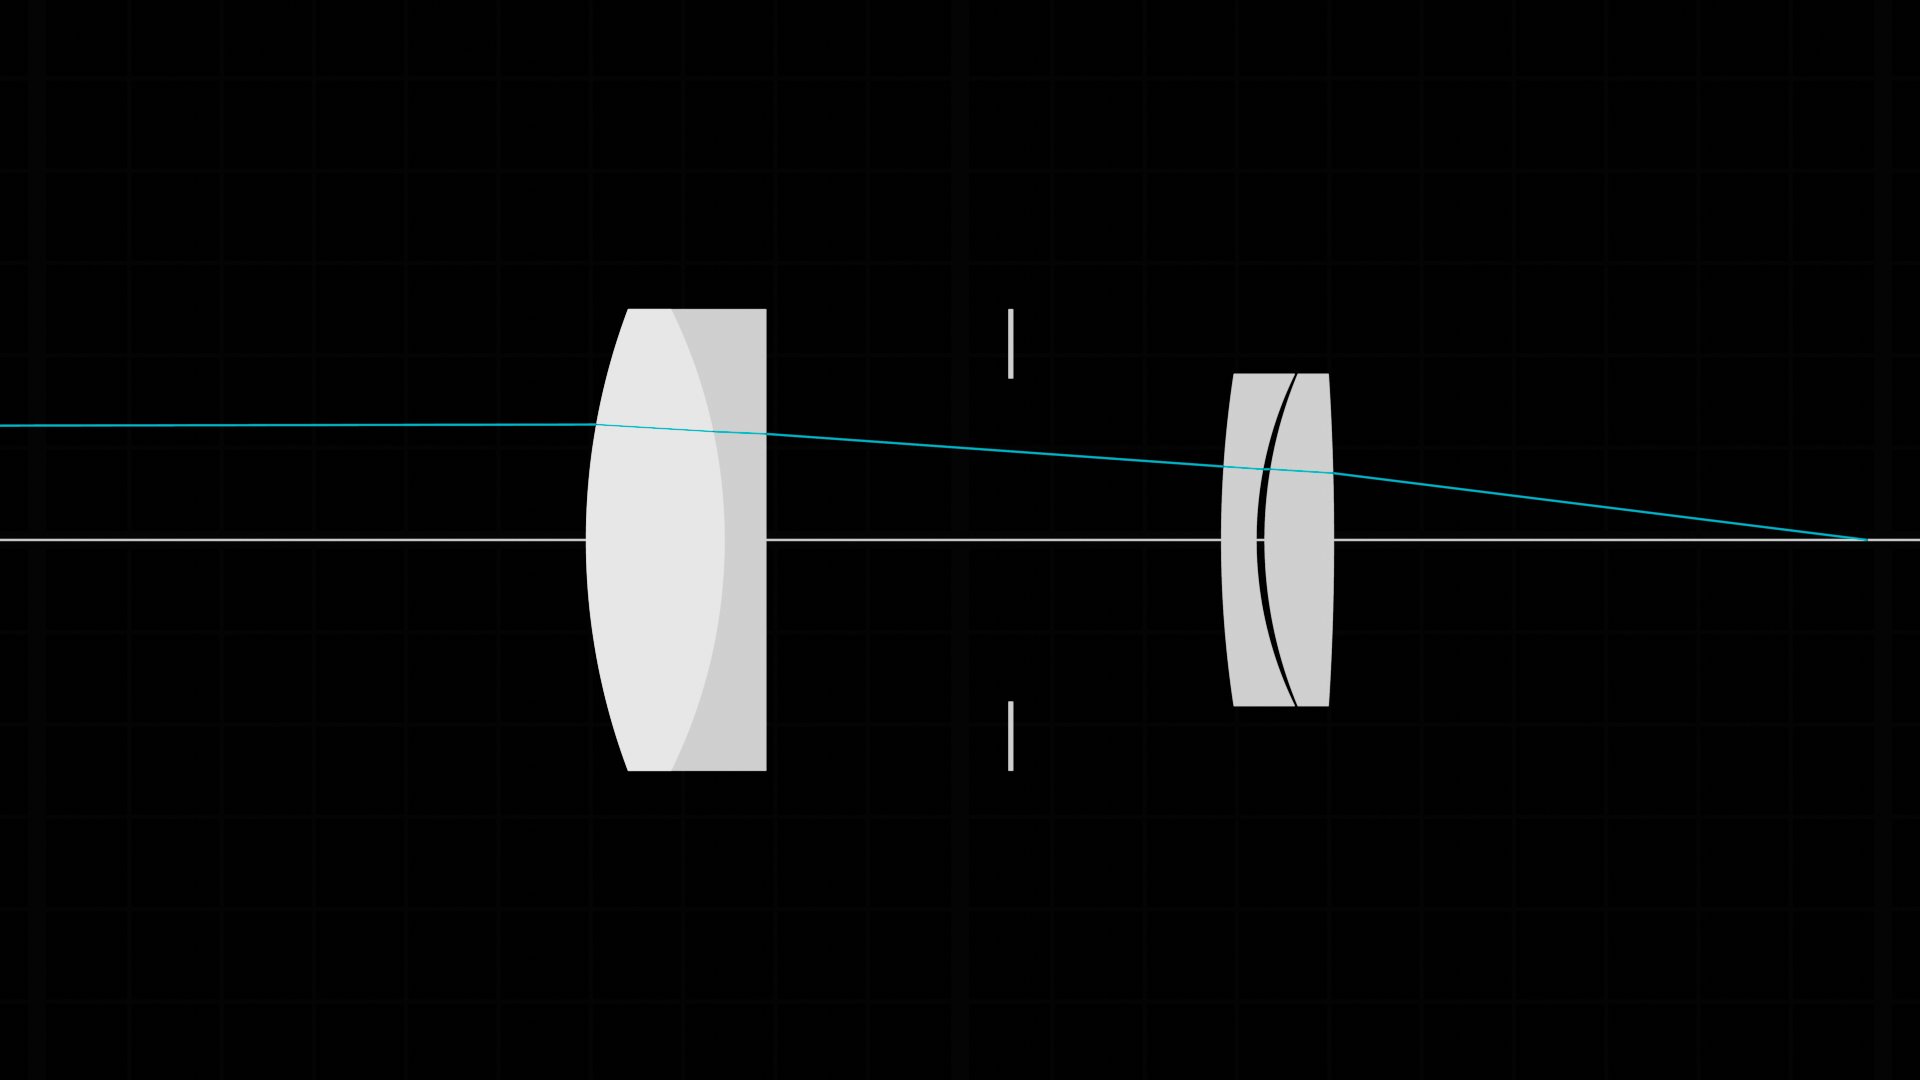
I also added a lens schematic mode where I can debug and view the lens shape, this includes the ray for calculating the optimal censor position.

The rendering performance does not seem to slow down significantly when rendering through the lens, I think the real performance killer is rendering DOF in general, not necessarily the lens it self, need to do some benchmark tests on it. Also, instead of changing the size of the simulated lens aperture we can simply change blenders F-Stop, this will more or less have the same effect but greatly improve the render speed since we’re not trying to sample light through a small hole when we want to reduce the bokeh size.

A great side effect of using the “Ray Portal BDSF” shader is that most of the AOV passes ignores this shader, the light ray is simply just redirected.

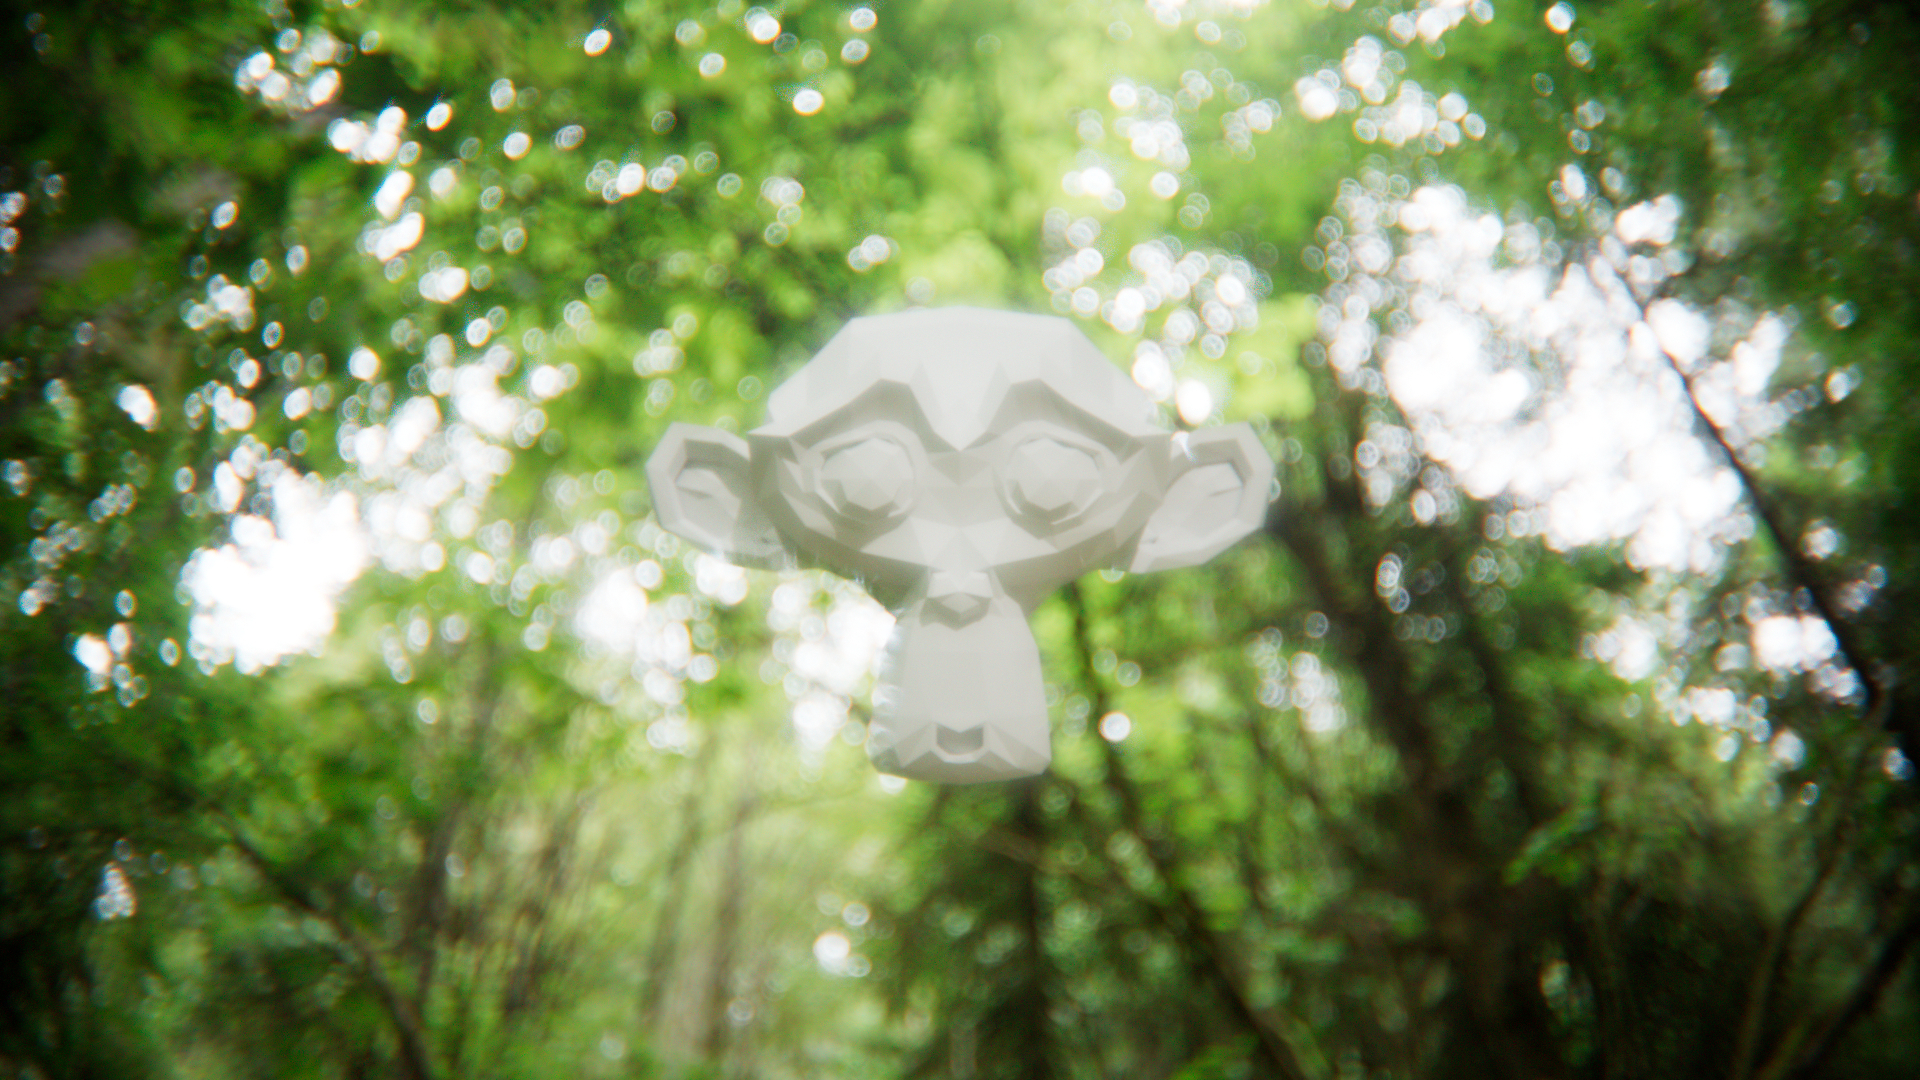
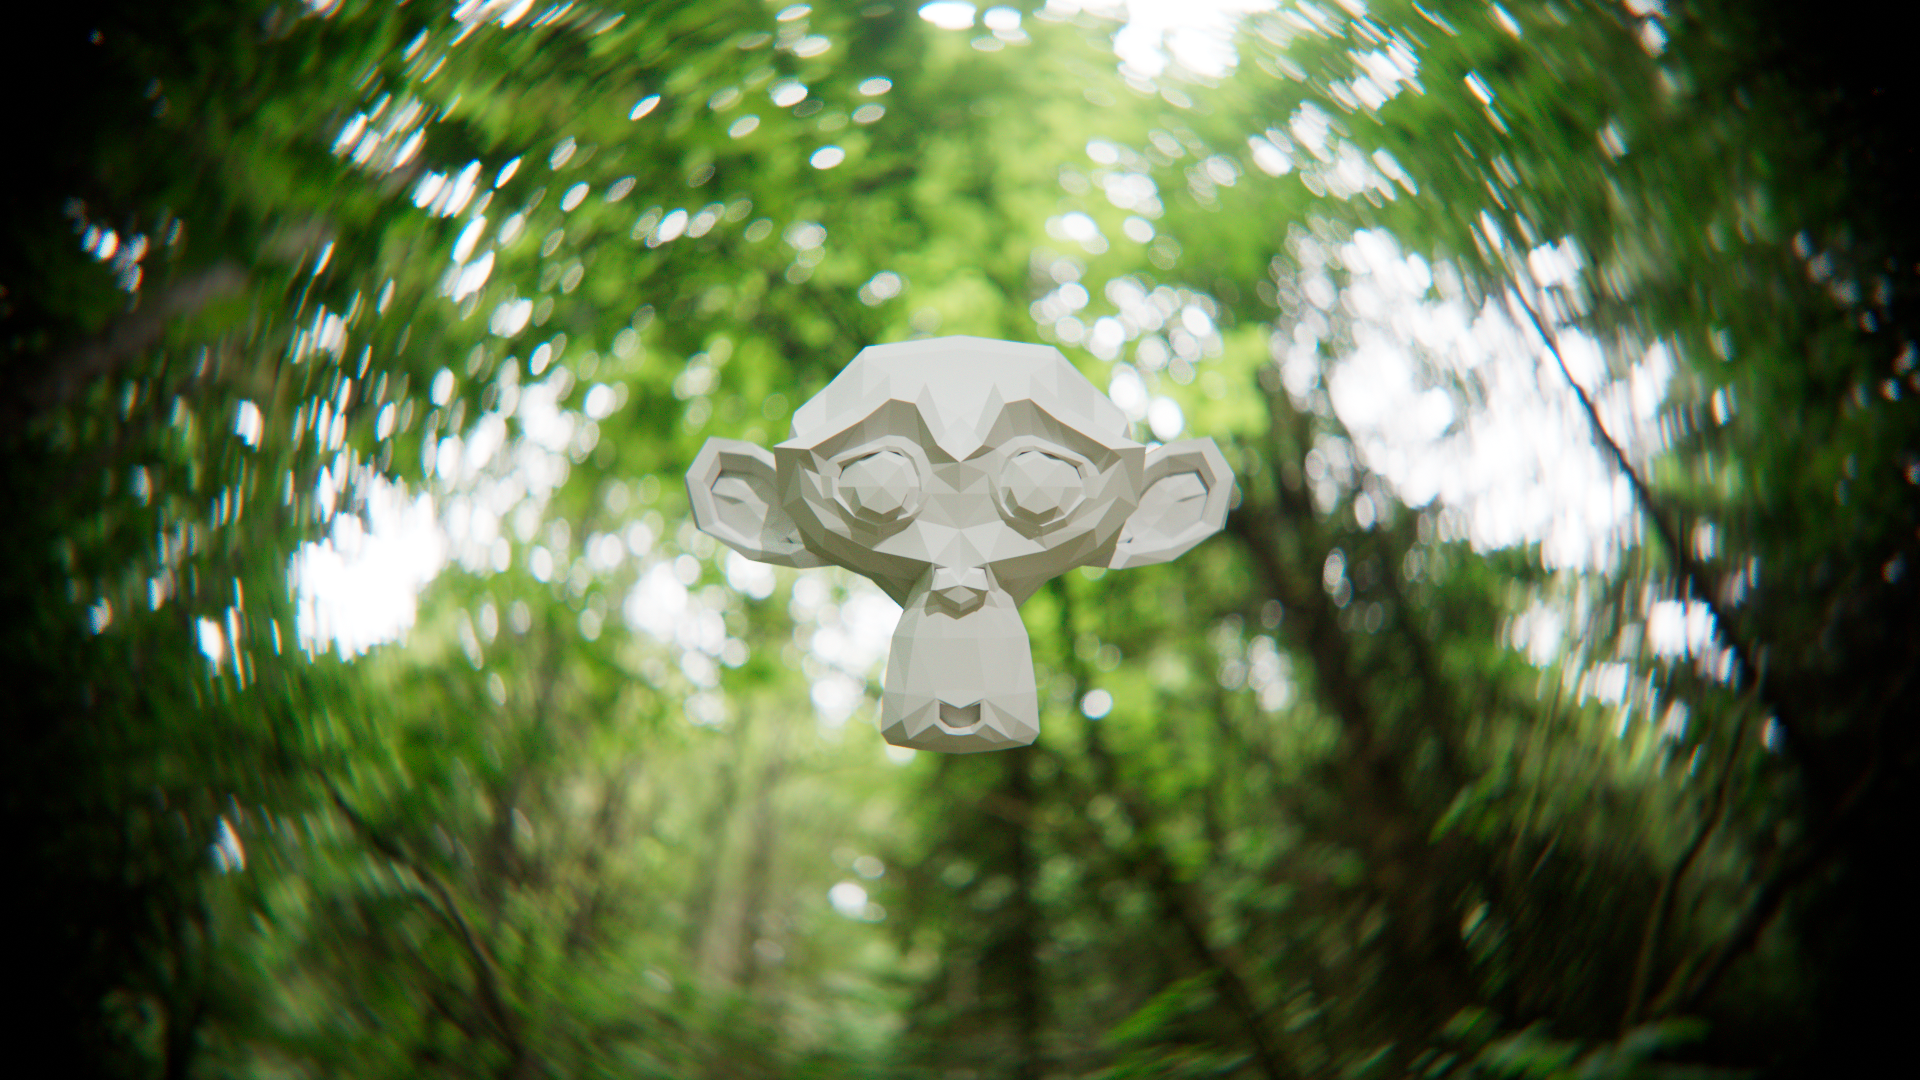
Here are some results:

Early focus test:

Canon 85mm f1.5


patent: DE1387593U (old german lens)


Kodak Petzval 1950


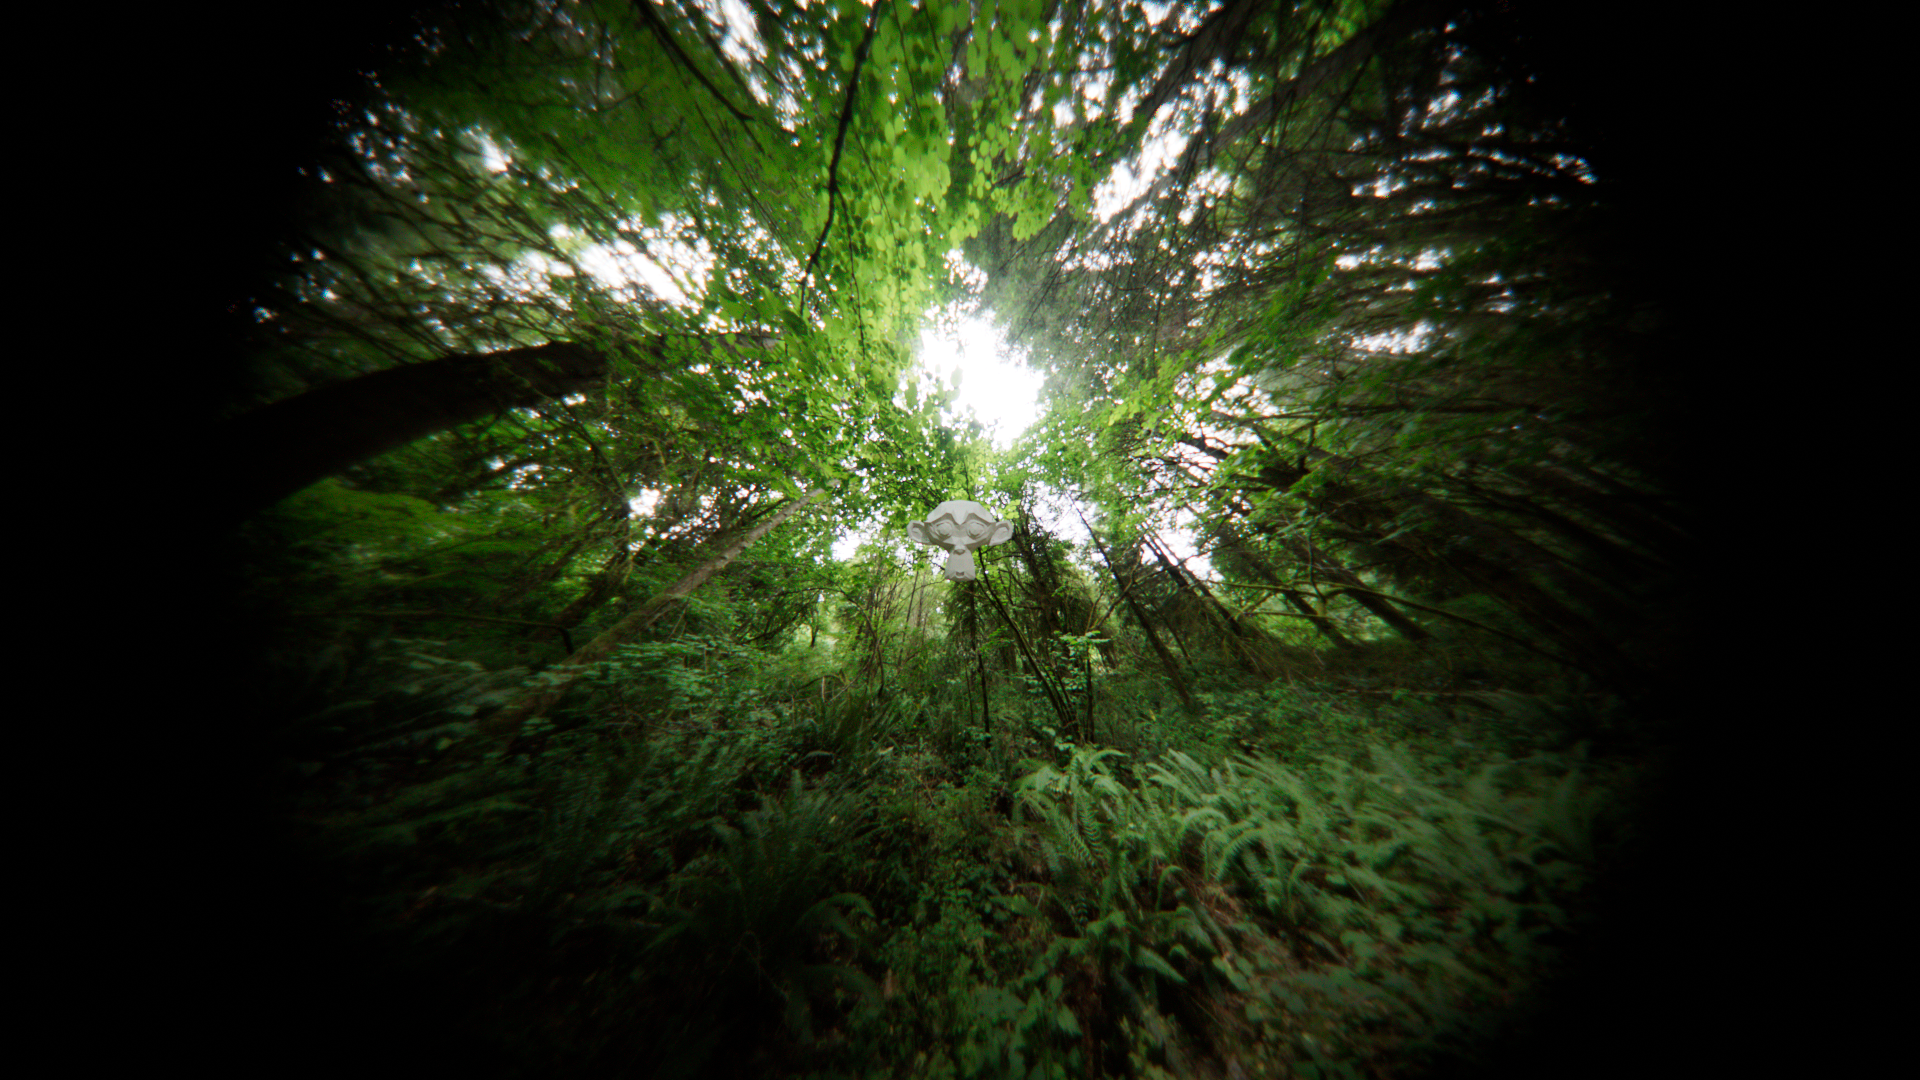
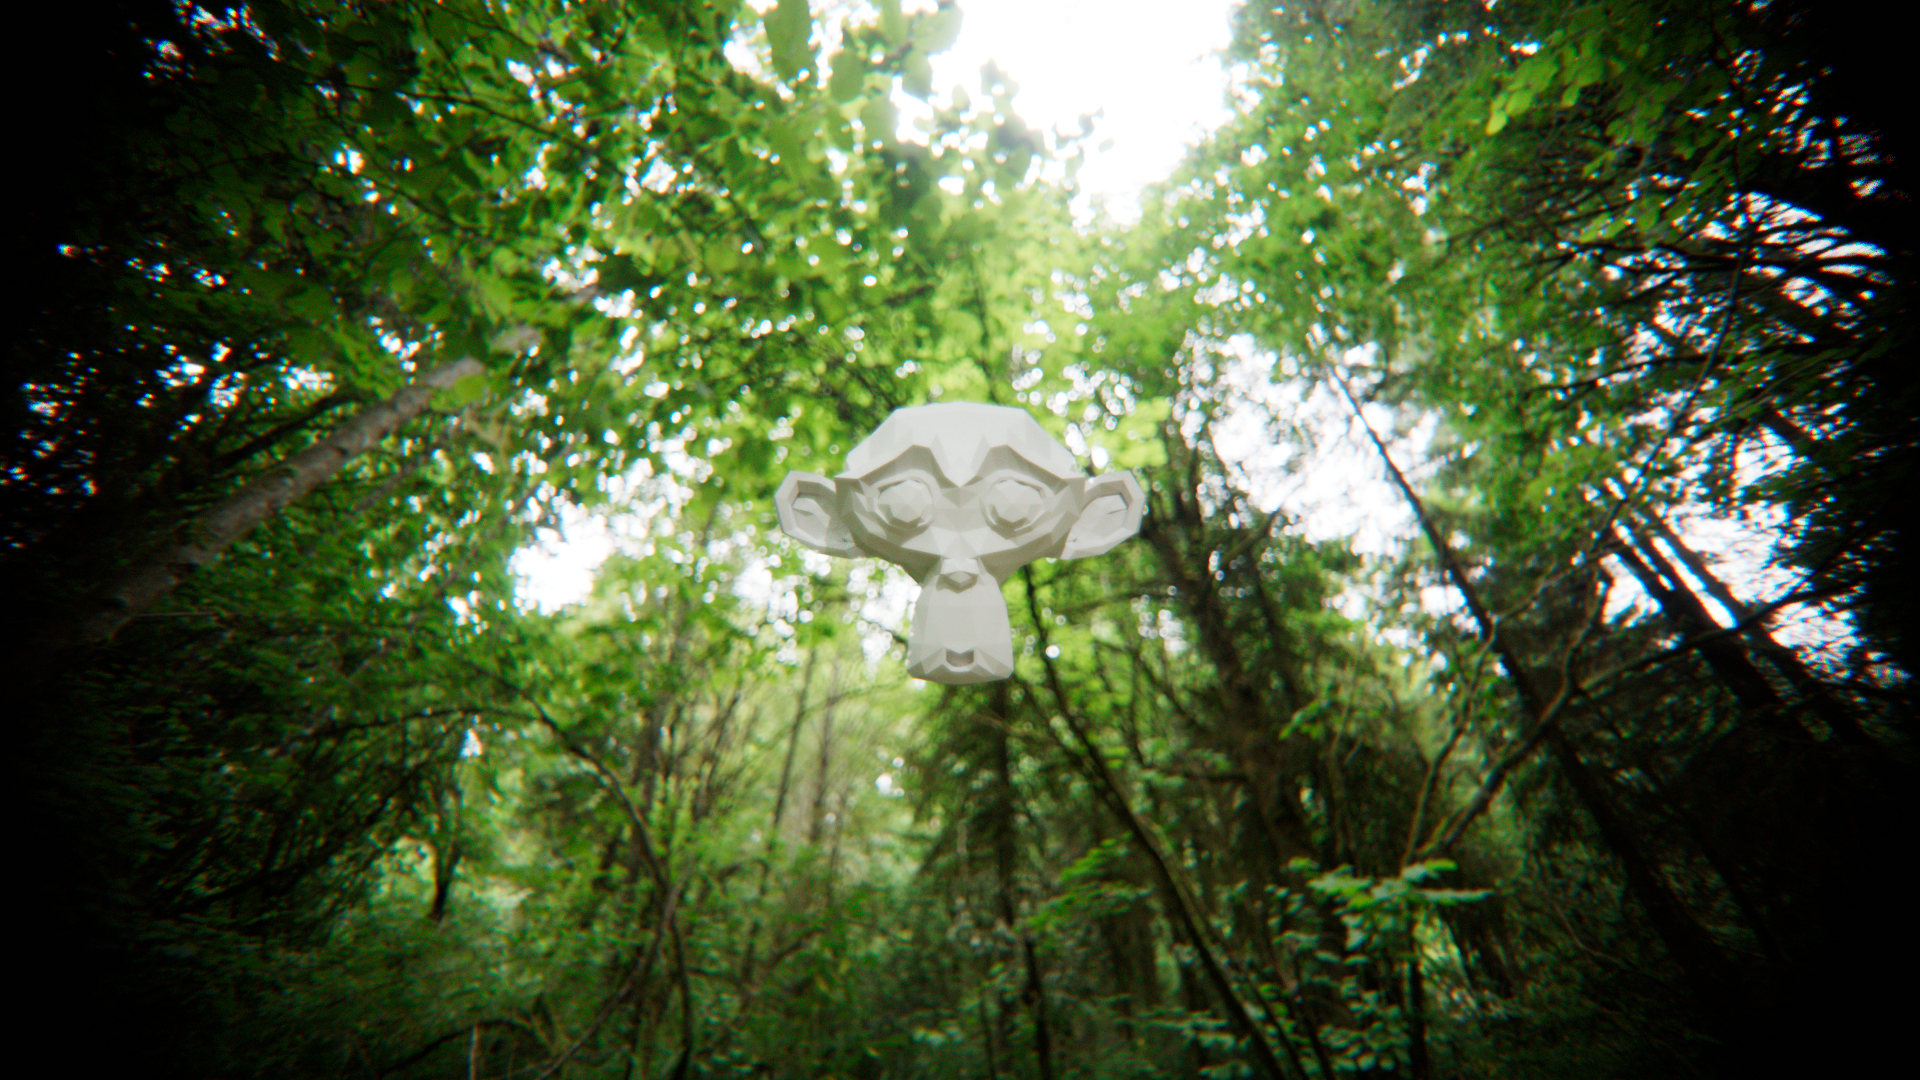
Minolta Fisheye 1978


Cannon 53mm f/1.4

Outside view of the lens, added a toggle to flip the image for convenience, the original lens image is upside down.

19 Likes

Hi! This is very cool! I was hoping someone would do something like this with this shader. I have been experimenting with similiar things for a while. I have a setup that creates the lens as actual geometry from patent info with geometry nodes, but this is quite a bit slower to render than normal DOF: blendswap link

I have also been playing with implementing the whole lens in a single shader on a plane, but in this case I have not used actual patent data, but just tried to recreate typical lens effects with simple artistic controls: blendswap link

You seem to combine both ideas, very nice! I would love to see your setup/code if you are willing to share.

Regarding chromatic aberration: You don’t need to have a hard split between RGB channels, if you take a white noise sample of a virtual wavelength you can use it to adjust IOR at the same time as adjusting the resulting color. I did this in both setups, but in the real geometry lens it is disabled because it is so much slower. Also, if we want to be physically accurate, I don’t know if the Abbe numbers that are usually listed in the patents are enough to get a useful chromatic simulation.

(and just a note: that the AOV passes ignore this shader is not really a side effect, it was very much intentional, basically the whole reason that this shader was written in the first place :slight_smile: )

2 Likes

The results look great!
I could definitely see this as an addon for blender. :wink:

Thanks! Haven’t yet decided what to do with it… :thinking:

Thanks!

I guess rendering the lens as a geometry is always going to be heavy, I wonder if it makes any visual difference.

This is very much a WIP so far, the chromatic aberration I have now is just a quick implementation. I’ll test out your version and check how it performs, my guess is that it’s going to be much slower since it takes longer to converge to white light, maybe only a few hard colors could be enough. Did you use a lookup table for the colors?

The only problem I have with the AOV’s are that for example depth and position seems to be based on the first pixel or something, so if those pixels hits the lens wall they will be black, making those passes useless.

Not sure what I will do with the code, but you can contact me on discord if you want to test it out :slight_smile: heinzelnisse#5900

Implemented lookup table to get a continues lerp of the chromatic aberration, to my surprise it dit dot affect the render time compared to my old method!

It consists of 16 different colours, a random 0.0-1.0 value lerps between them linearly.
image

Chromatic aberration seems to increase the render time by 60% (noise threshold set to 0.01, 4096 samples).

1 Like

I did indeed use a lookup table, there are multiple versions in the file, some images and a color ramp (you probably already saw based on your results). The version that does not really go through all colors but has a mixed/white part in the middle renders even faster, but can obviously never produce the full rainbow effect.

Position and depth should both work, they do in my tests… maybe something to do with OSL? Depth is just calculated as a straight distance from the surface to the camera object though, it does not take the additional distance added by the portal into account.

(And I just sent a request on discord, id same as here)

Cool, I haven’t checked your blend files yet, the mixed white part is a good idea, definitely going to check it out!

As you said on discord I think the main issue with the depth pass is how blenders position/Z-depth samples the values, would be nice if it chose them based on a median value instead of taking the first value it registers (I guess that’s how it works).