I’ve parented spheres to the curves, and they’re going to follow the curve. The material I will be using is Volumatric shader(principled volume). Then, I’ve used a blur node and glare node from compositor.
I know there are some tutorials using beveling curves, using particles, etc.
The problem is, I’ll have to make many light trails, more than 30. Also, I’m not really interested in photorealistic renders. I prefer low-poly styles.
Is there any way I can make blurry, ghosty and motion blur style animation with compositing?
I also use Final Cut Pro, and After Effects, so if there’s nothing I can do with Blender Post-processing, I’ll appreciate any recommendations by other software.
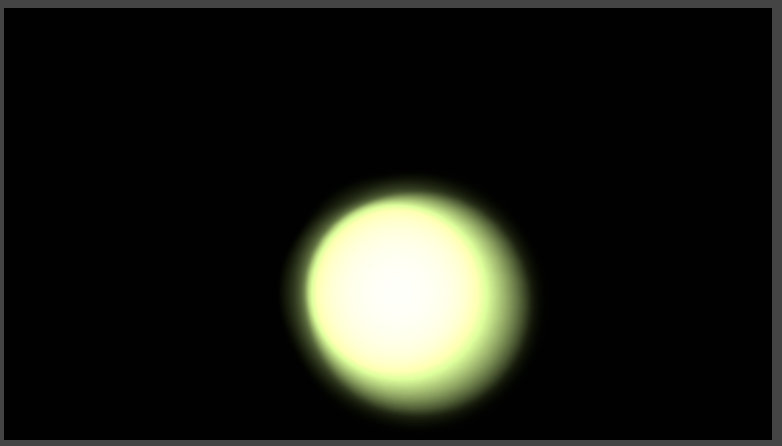
(the last image is the screenshot from the last rendered image.)
As you can see, it seems fine at the first, but since the volumetric shader for this sphere is emitting, it shoots light ray to front.
I’d like to make this light more of swimming ahead, so I should remove this unwanted light.
Would that be possible?
I’m also experimenting with lights trails (motion blur) for mograph effects.
I’m trying to achive similar effects to the light trails seen in the vid below at 0:17
I believe these effects were not done with CG, but instead with photographic techniques and optical printing, but never mind, it should be possible to get something very similar with modern CG techniques.
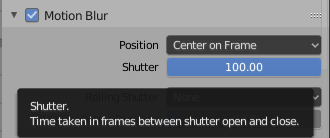
I’ve been playing around with the new Eeevee motion blur in 2.91 alpha and am getting some very promising results. Only there are a couple of problems. Light not only trails from the back of the moving object, but also shoots out in front (i guess that’s just how motion blur works), but for mograph this is not good. Also, the slower the object, the more intense the image. So if the object starts from standstill and ends in standstill, you get hard, bright objects at the start / stop points that ruin the effect. And it doesn’t seem possible to have the motion “extrude” start from nothing, because the MB is always looking ahead, so you’ll always start from an already extruded point.
I’ll post some example later today, meanwhile, i’m curious if anyone has any suggestions in how to achieve the effect in other ways.
To the OP: do you have any examples of what you’ve achieve so far, i’m interested in trying other techniques!? (you google drive links are broken, perhaps you have something on youtube?)
Also below is another experiment i made, but this was done with a semi transparent shader (no trails, motion blur or compositing was used, this was the straight render out of Eevee), and it also seems promising.
Thanks man, that’s a really great effect and trick, gonna use that in the future.
It’s quite different from my example though, i’ll upload an example shortly i made in 2.91a that shows the possibilities but also the problem with motion blur in Eevee.
From years. Also in any software motion blur is a pain when it comes to trails. A hard cost when it’s based on comp previous or next picture. That’s leads me to this artifices. And it’s really manageable.
If you like this kind of tricks, I have a post here where sometimes I share artifices.
OK, so here’s my example. Created in 2.91a using Eevee.
The good is that i really like the effect and general quality of the image.
The (very) bad is numorous: very slow to render because each frame it’s re-examing many frames and interpolating.
You can’t choose the start and end points of the extrude. Well, maybe you can but would be very difficult and require a lot of tweaking. And anyway you can’t choose the exact moment that the back image starts to come forward.
You can’t make the distant letters at the beginning less bright.
To me (but hey, what do i know) it would seem possible to tweak the algorithm to give us a “creative” mode, where the blur never looks forward in time, but only extrudes, lets us choose the length and lets us wind the extrude back or forward, just like you can with a curve bevel.
If anyone knows how i could achieve this effect with shaders, please let me know. I know you can get close-ish, but it just doesn’t have the same sort of retro quality as this MB. But i’m not a shader wizard so perhaps?!
I might be possible to make this work, but it will need something weird, namely the animation of the location of keyframes.
So, what i mean is, let’s imagine for a certain parameter i have a keyframe at frame 2.
After the first frame is rendered (but before the second is rendered), that keyframe will now jump ahead to frame 3. So, just to be clear, i mean the keyframe moves or is animated!
With motion blur as it is now, it will shoot out light into the future, in the direction of where the object is heading.
If you want a very long trail behind your object, you’ll also get a very long trail ahead of it. So we need a way to cut the light emission (or turn off render for that object) one frame ahead of each frame. So as the playhead moves along, the keyframe that cuts the rendering of that object (one frame ahead) also needs to advance by one frame!!
I tried doing it manually (moving the keyframes before rendering each frame) and it works, but there must be a way to hack it so you just hit render and do a whole series of frames.
This would be a really great addition, being able to add motion trails behind objects!