What your eye is seeing is a lack of contrast, a lack of illumination color, and an uninteresting tonal-range. You’d detect the same problems in a photograph, for the same reasons, if you merely set-up the studio lighting to use “two big soft-boxes.”
If I were lighting this scene for a conventional photograph on a set, I would have one very low-power soft-box overhead or to one side in order to illuminate the leaves, and I would probably add a light orange gel to it – or the color that’s opposite orange on the color wheel.
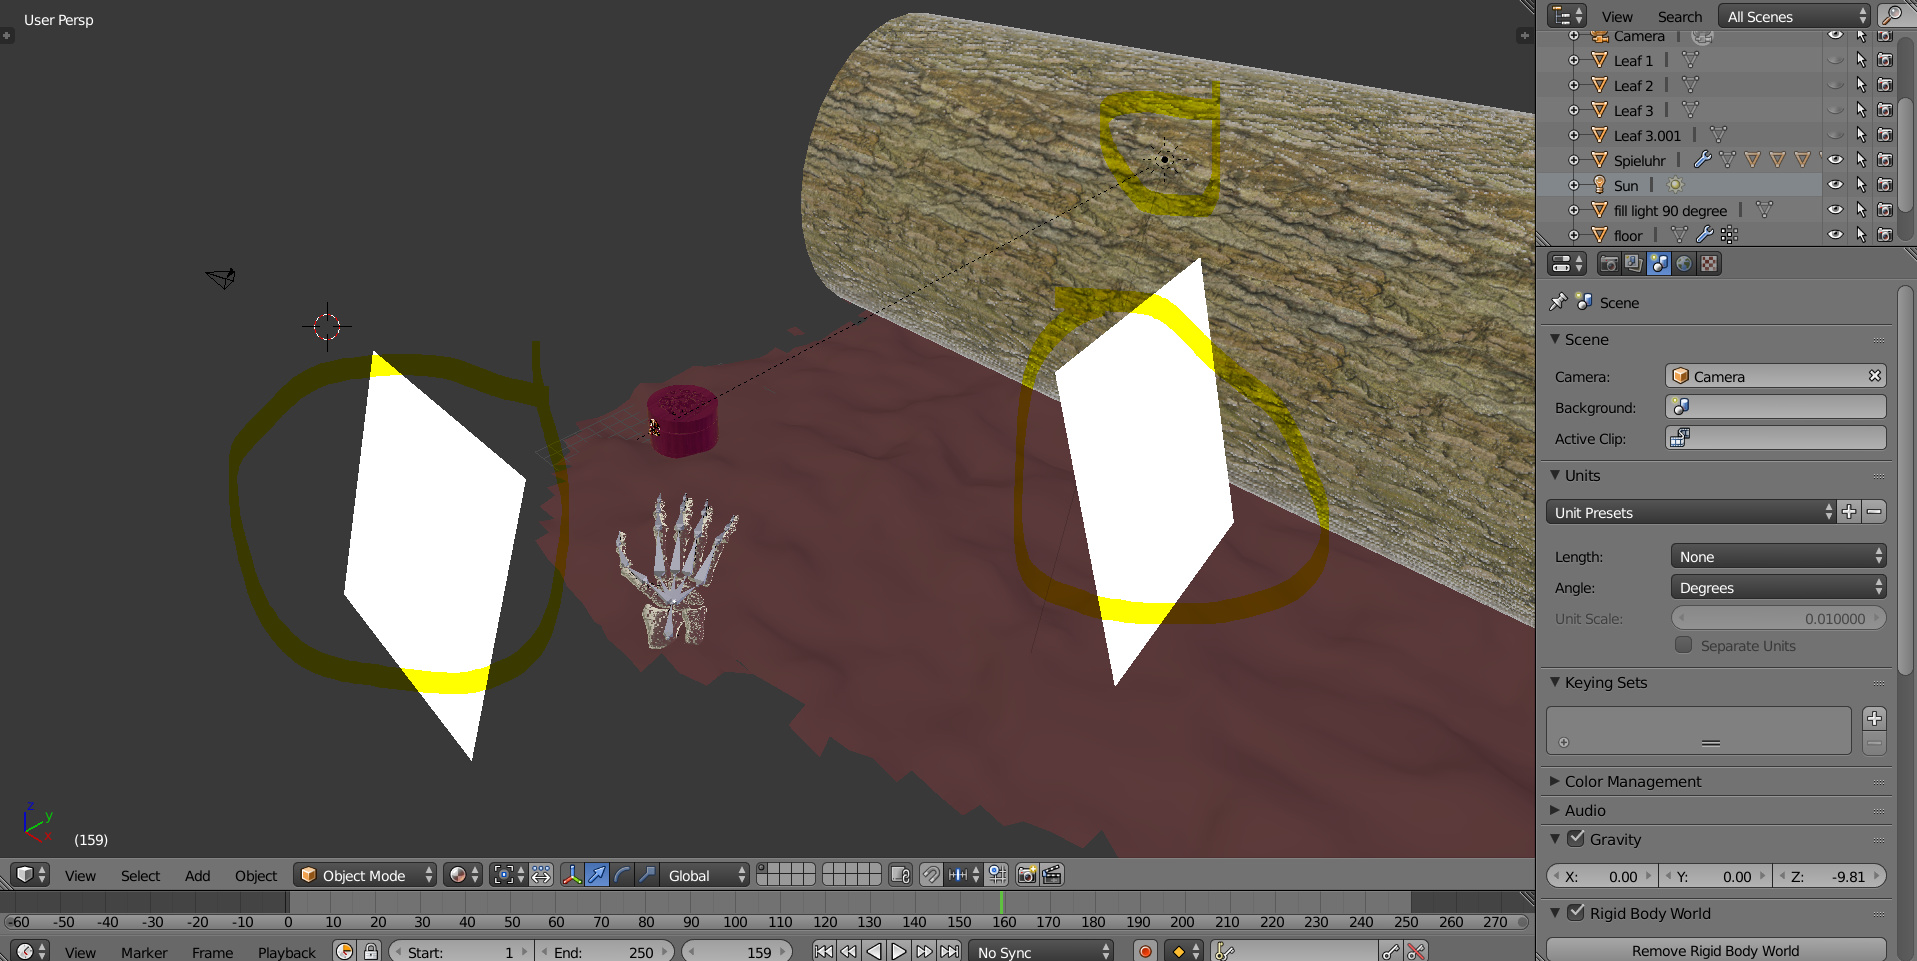
Both of the “objects of interest” would be illuminated by very, very precisely-placed spot lights of a different color.
And I might well employ an old photographer’s trick which is effectively equal to compositing: first, photograph the overall scene, minus the two props, then turn out all lights in the studio except first one spotlight then the other, in order to superimpose three independently-lit exposures onto a single piece of film. A dark-card or gray-card would be carefully positioned under the objects during the second and third exposures to block all light from the leaves or anything else.
A tedious process, but it worked. PhotoShop® makes the modern-day photographer’s job so much easier!
(Trust me: this sort of thing happened all the time. So much for “photo-realistic.”) :yes:
Given the visual complexity of this scene and the importance of directing the user’s attention precisely where we want it to go, I would probably employ compositing here. (1) The clean-plate of leaves and surroundings. (2) The cylinder, on a shadow-catching surface. (3) The skeletal hand, ditto. In the latter two, ignoring any color from the shadow-casting surface and considering only the shadow. I could now, “in post,” finish the image as I liked.
Specifically with regards to the shadow channel, you can use it to do more than just “darken” things. You can also very-slightly tint the shadowed space with a complementary color to the chosen color of your illumination (with very low saturation).
When you do use compositing, you’re able to focus on the exposure of each component of this otherwise-difficult-to-light scene one at a time. And you can see the results in real time. Blender has a very powerful node-based compositor now. Also note that you are now free to use any render-engine(s) to produce the raw materials: BI still has many tricks up its sleeves.
When I use Cycles, I think, “soft box.” When I use BI, I think, “spot light,” and “directional light.” Since both render-engines use exactly the same geometry, I can very-easily use both, and very often do. “MultiLayer OpenEXR” files are your bestest friend. 
You should also use Blender’s evaluation tools such as Histogram throughout the process, in order to quantify what your eyes are seeing. As you continue to stare at the image, your eyes will get tired, but the histogram tool will not.
P.S.: Looking at the scene once again, I think that I would also separate-out the log for special treatment. You can include it in the Cycles “soft-box shot,” or not, but a “soft-box” doesn’t give it the punch that such a richly-textured object deserves. And I think that if I were to light it just right, I could give it a hint of being like a gravestone – subliminal, but sinister. “Comping” gives you the complete flexibility to do that.
Long ago, photographic master Ansel Adams said it best – and it’s still extremely true: