Im having a hard time trying to figure out light mapping. I dont understand the point of it when you still need lights in the seen in order to see the light map texture. say you have a cube and a plane and you have a point light in the middle of a cube to make the cube look like its glowing then you take the plane and bake a full render to it but then when you delet the light you cant see the lightmap anymore.
I dont really have any experience with this, but maybe setting the cube’s material to shadeless will do the trick.
you want to understand why use it or how? beucase lightmaps are used on lots of games, you can create specular maps, AOmaps and lightmaps with this technique, also, lightmaps are used to create realistic radiosity effects.
lightmaps can change drasticly the quality of your scene, you only need to learn how to setup the material, I think that you should learn more about each map type then you will understand better what you could do with them and the graphic quality and performance upgrade that your game will have, a great example of lightmaping is the last of us or mirror s edge, its incredible the graphic quality that you can achieve by using it right.
well i understand how it works just maybe im not settin it up right because i thought the other use for it was to increase the game perfomance meaning once you bake the light map including AO shadow lights and anything else you can delete the lights from the scene but the problem is you still need the lights in order to see the baked textures. unless you do like GRAPHIX said and make the object shadless but that just make the texture really bright.
the thing is, you still need lights, but those lights are not the same as you used to bake the ilumination, so its mutch less heavy.
oh ok i got ya but what about say inderect lighting like i have a cube with a point light to give it a glowing effect then i delete the point light after its baked and just ad a hemi light but then the baked texture becomes washed out.
or is ther another way to do inderect lighting or radiosity?
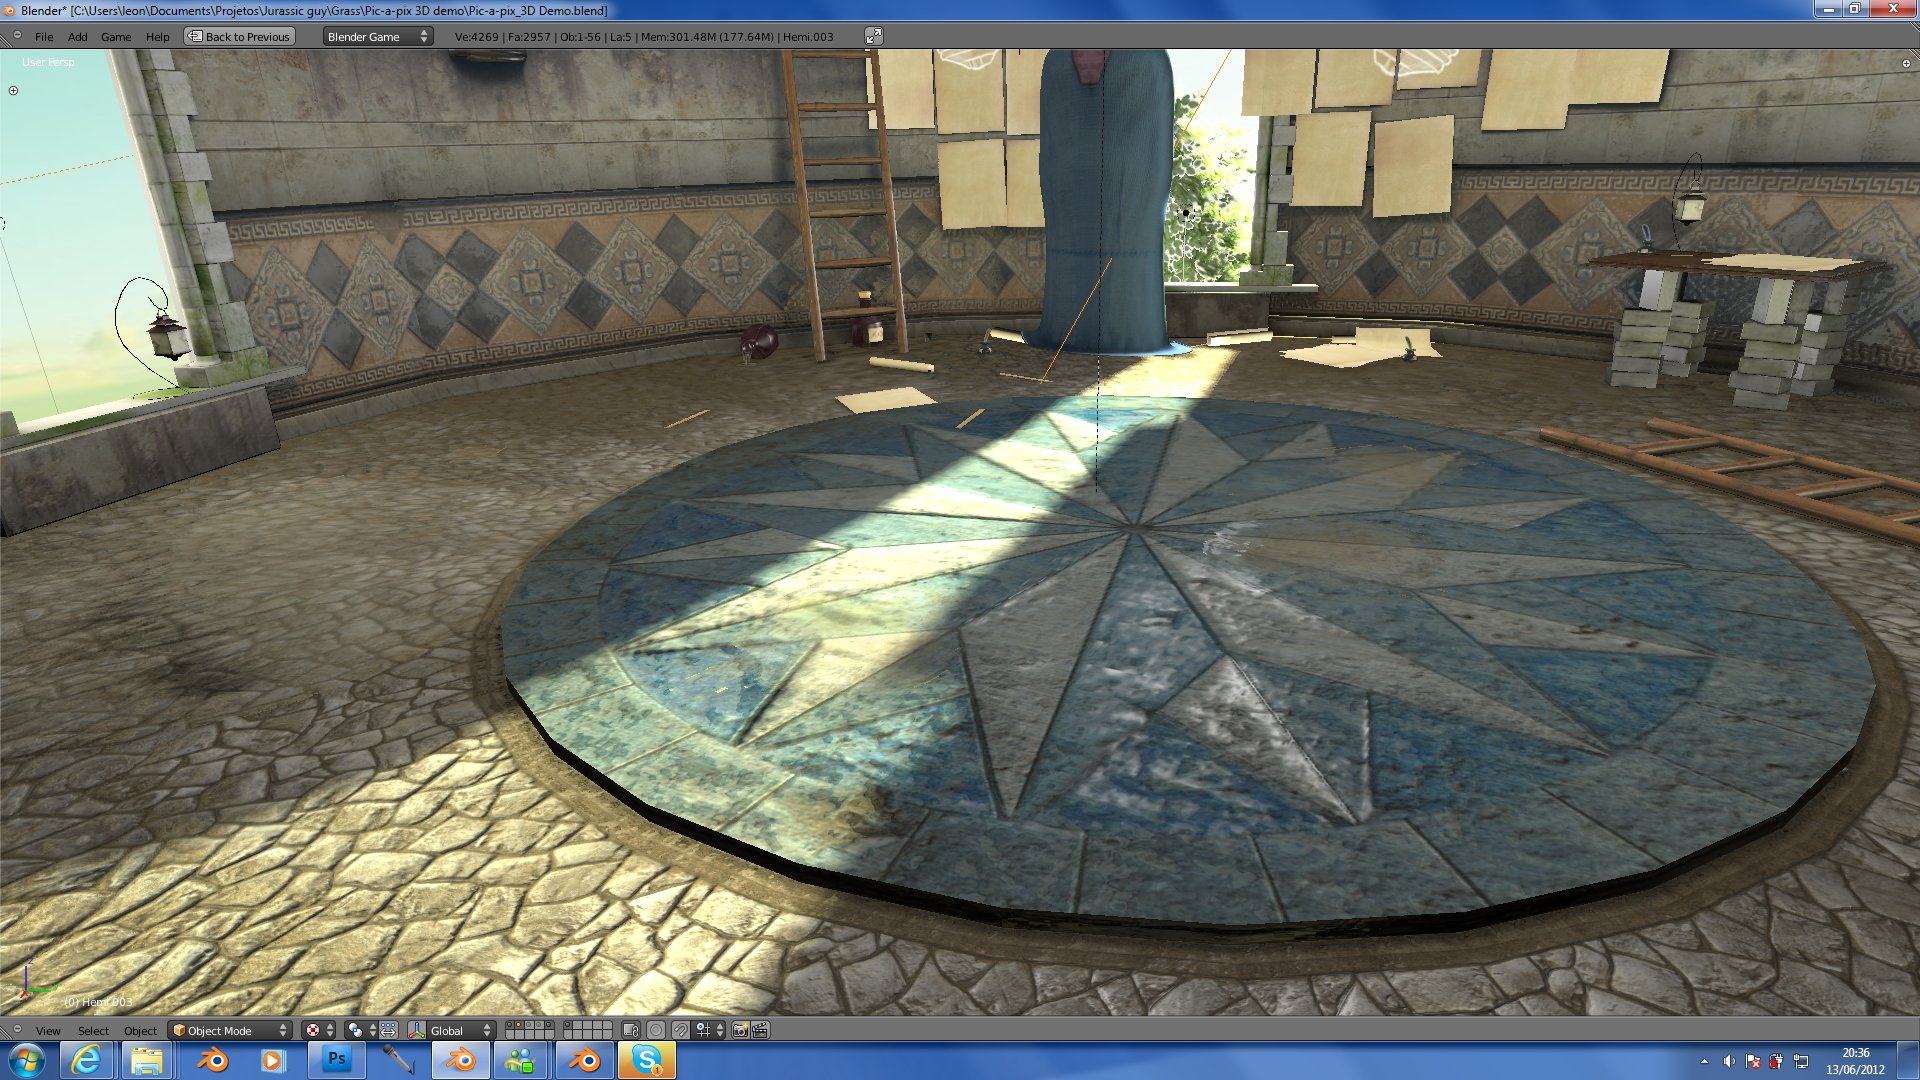
that is the thing, you need to learn about all sorts of texture types, take a look on all of them and you ll understand how to set the texture types so the shading is better, for starters, learn better about the specular map, that one will change a lot the way the lights change your scene, on this scene you can see that there is real time light and baked light, also there is some fake radiosity if you take a closer look.
Attachments
As I understand, just set the lightmap texture layer to add. Although, I agree with leonnn.
so did u bake it using ur light setup then delete thows lights and replaced them with a cheaper hemi light?
GRAPHIX: ok ill try that
Actually, setting the lightmap to add doesn’t give correct results(I told that to GraphiX, my mistake). For grayscale lightmaps, you can set them to influence the material’s emit values(and make sure to check the RGB to intensity box in the texture properties).
For color lightmaps, you would first need to multiply them with the surface’s diffuse color/textures then add that to the final result. That kind of operation requires shader nodes.
well for some reason i cant get it to bake in the lighting like if i have a point light then bake it it doesnt bake in the light from the point light.
Damn’t I think someone needs to just make a video tut.
ok let try to explain better i basically thought that light maps were ment to take all the lighting from your scen everything and bake it as a texture allowing you to get rid of all the lights in your scene so that you game will run faster. I can do AO maps but what was confusing me was why you still needed lights even thow you baked the exact same light as a texture.
Okay, I’ll explain to the best of my knowledge. Light maps don’t store the actual light shining on the object, if you will, but rather the intensity of the light on that surface. These are stored as uv textures for the object. Then, and this is where my knowledge dips, you use this map with add, multiply, overlay, whatever; I don’t know. But regardless, this map is just used as a intensity map for the diffuse.
ooohh ok that makes more sence so basically its not going to store a spot light signing on it just the over all ambient emission from that spot light?
Also for AO maps i use multiply so that might work for the other parts.
Ahh, I figured it out. You set the influence the object’s emit value in the texture properties. Unfortunately, it need to be a grayscale texture, as far as I can tell(I had to check the RGB to intensity button to get it to work). So no colored lighting for us.
Now, if you wanted to get fancy, you could probably implement proper RGB lighting easily with material nodes. Actually, I’m certain you could.
Recently posted by laserblaster, although I didn’t think that emission worked in the ge.
Emit works fine for me in the GE, but I had to check “RGB to intensity” to get it to work. That means it converts the texture to grayscale.
Oooh! It worked!
so you just set the material you want to emit say 1 then once baked u set the rgb to intensity?
Okay back up. now I get everything. First, you set your scene up and everything with all the objects and lights that you want to be baked onto the texture map. Then, you go into edit mode on the object that you want to bake the lightmap for. Press ‘u’ then go down to lightmap unpack. Once you do that, (you can go back to object mode, btw) go to the render settings and go down to where it says bake. Oh, and before I forget, when you are viewing the uv unwrap of the object in edit mode, you’re going to want to make sure to create an image for the lightmap to bake to. No matter, you go to the render settings down to the bake and you select what type of baking you want. If it’s just ao, set it to ao and bake it out. If it’s not, you’re going to want to go into the material settings of said object and turn it up all the way white and turn off specularity. Now go back to the bake options and click bake full render. Once you’ve done this, go into your texture settings and apply this new image as texture. I should also mention that unwrapping it as a lightmap isn’t necissary, but ideal. Assuming you also want a diffuse, you’re going to have to create 2 seperate uv unwraps and assign each texture accordingly, and you can find tutorials on how to do it. Anyway, you can set up all your textures as you would normally, but on the lightmap texture, don’t set the influence on anything but emit, which it should be on 1 (although you can lower it if you find it looks better). Anyway, there’s my mis-shaped tutorial. Hoped it helped. Maybe I’ll make a video once I’m done with school.