You don’t want to scale things to the size of the default cube itself, just know that a Blender Unit is a meter by default, and the cube is two meters (so, a little taller than a person), and use that as your guide for how big your scene should be—so if your scene is a close-up of a muffin, your muffin will probably be only a few hundredths of a unit tall, i.e. a few inches, with your camera and lights packed in tightly in only the central unit or two of your scene, and if your subject is the Empire State Building, you probably want it about 400m tall, so your camera will be much further away and your lights will be much brighter.
I have a model of a human scaled to about 1.8m that I’ll drop into scenes to make sure I’m working at a reasonable scale, but you can also just eyeball it with the knowledge that a unit is a meter.
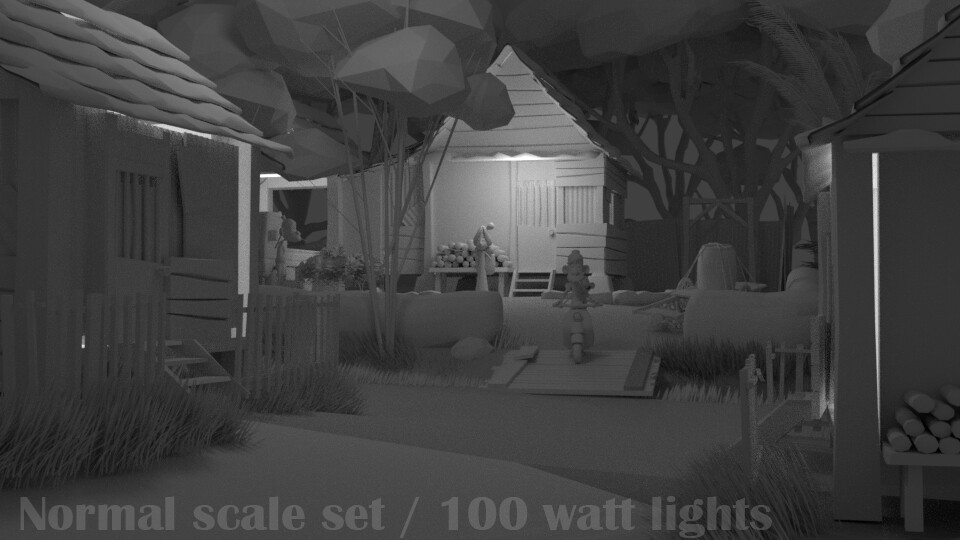
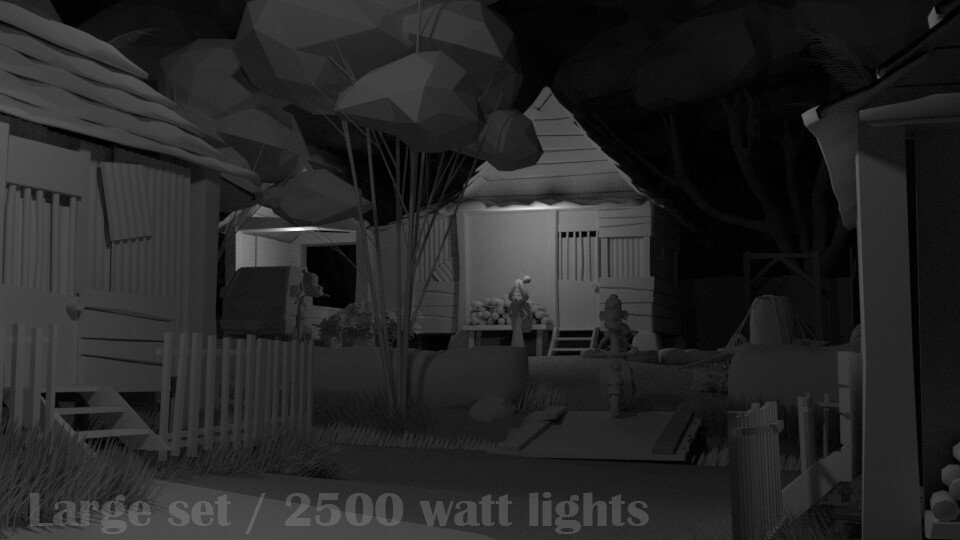
You don’t have to work at scale if you don’t want to, but it does affect a fair number of things, like physics (it takes an object longer to fall 50m than 5m, and if your soccer ball is 25m across, it won’t behave like a soccer ball by default), depth of field (the camera operates like a physical camera, with a sensor size and focal length, and if your scene is huge or tiny, defocus won’t work as you’d expect), and, of course, light falloff, so it’s generally recommended practice, unless doing so would be more trouble than it’s worth—say, if your scene is a molecule, or a solar system.
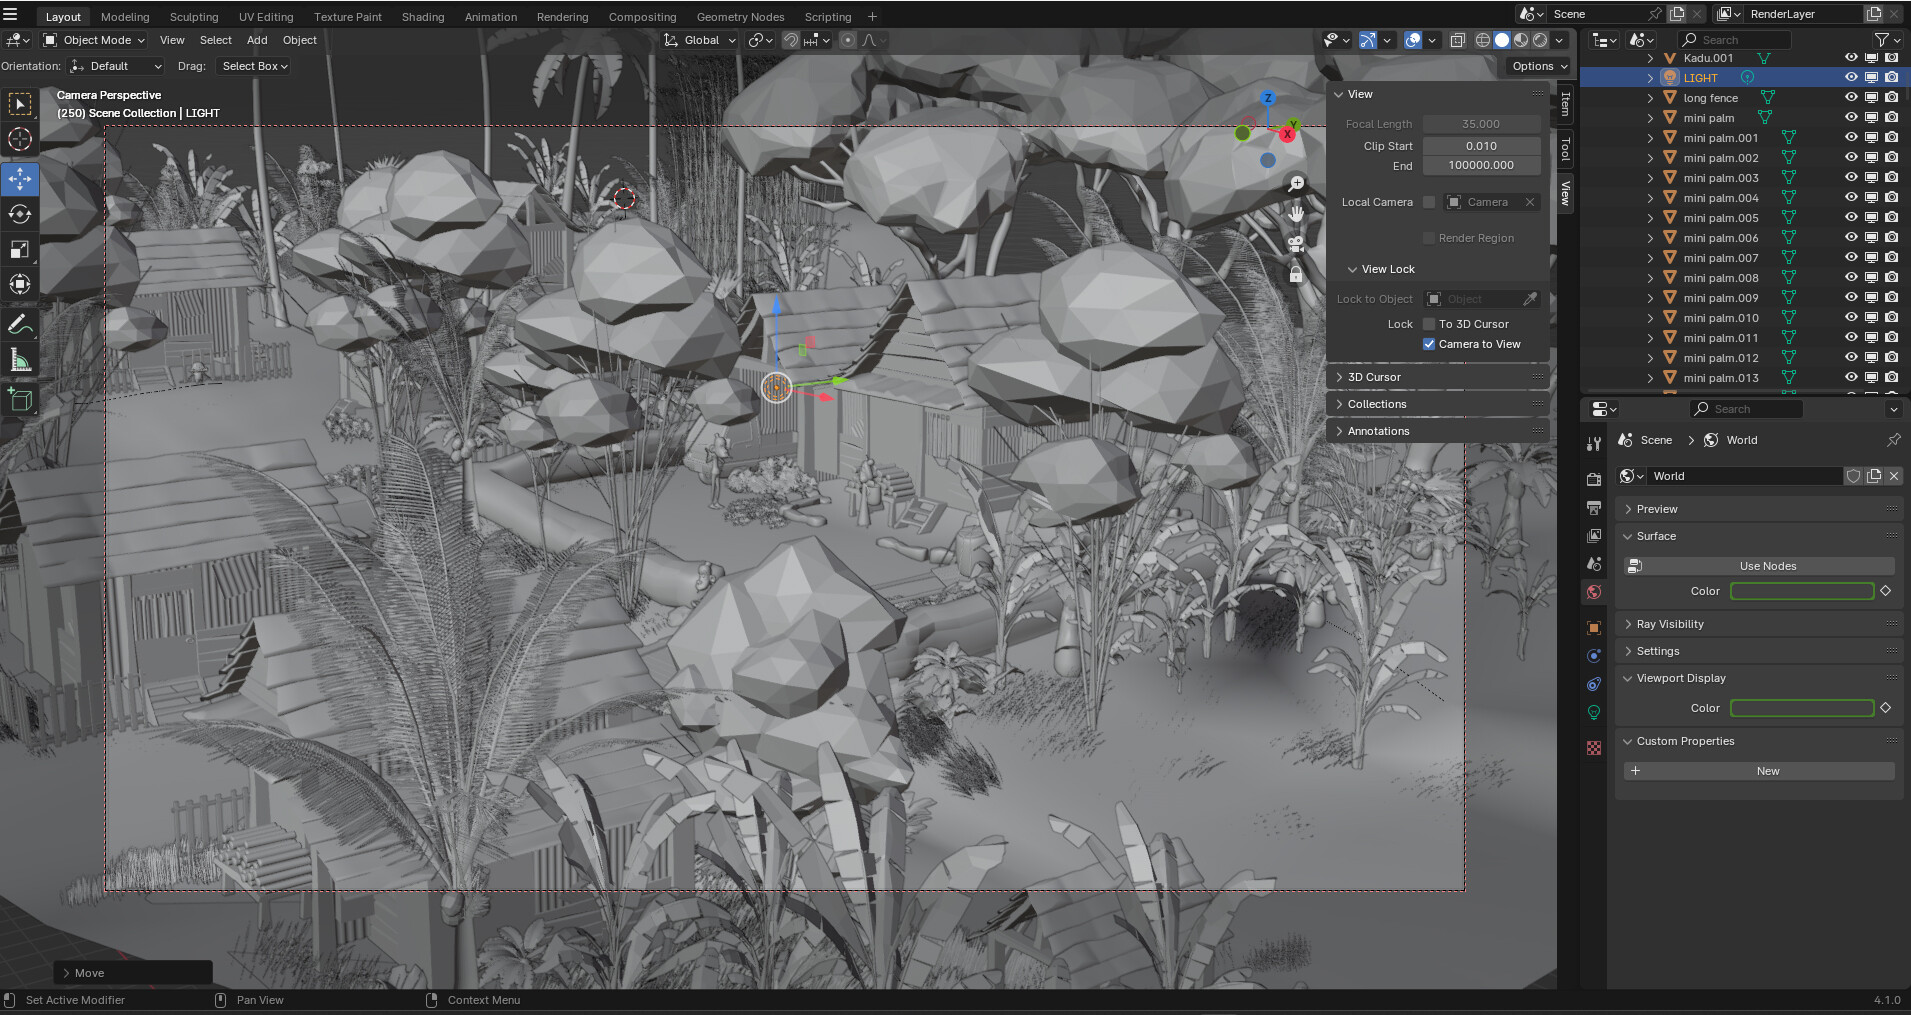
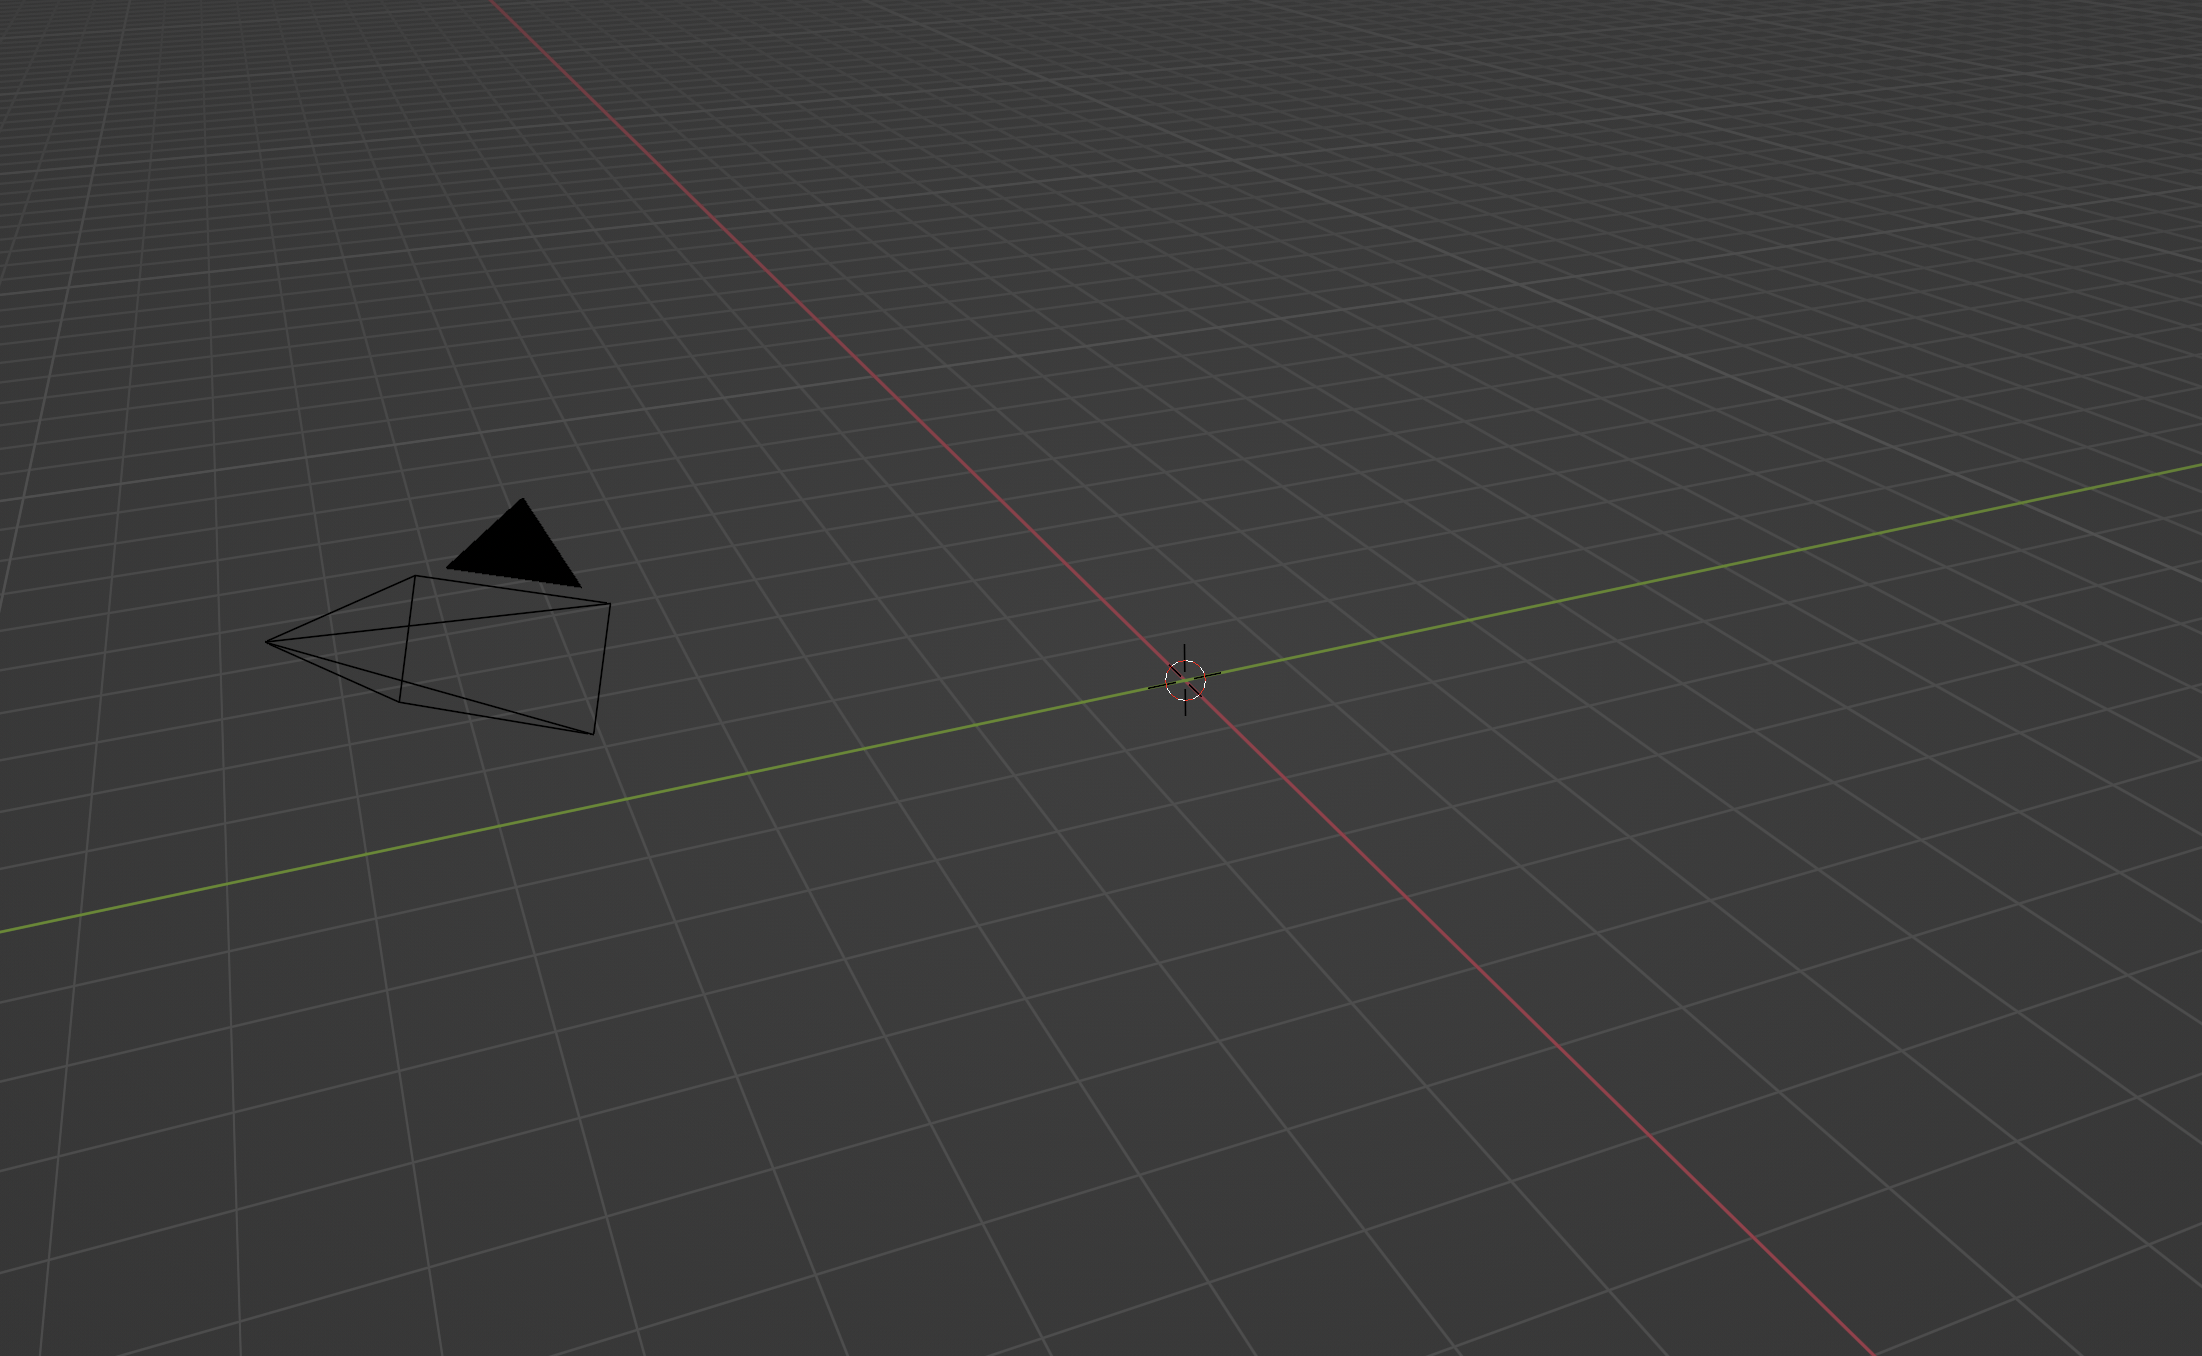
The “spawn point” is the location of the 3D cursor—that little red-and-white striped circle with 4 crosshairs. New objects will be created at that location. In a new file it does start at the world origin (0,0,0), but it’s easy to move it elsewhere without realizing (by Shift-right-clicking), so it may or not be at the world origin, so that cube may or may not have been created at the center of the world. The world center is easy to find by looking for the intersection of the X (red) and Y (green) axes on your 3D grid floor,
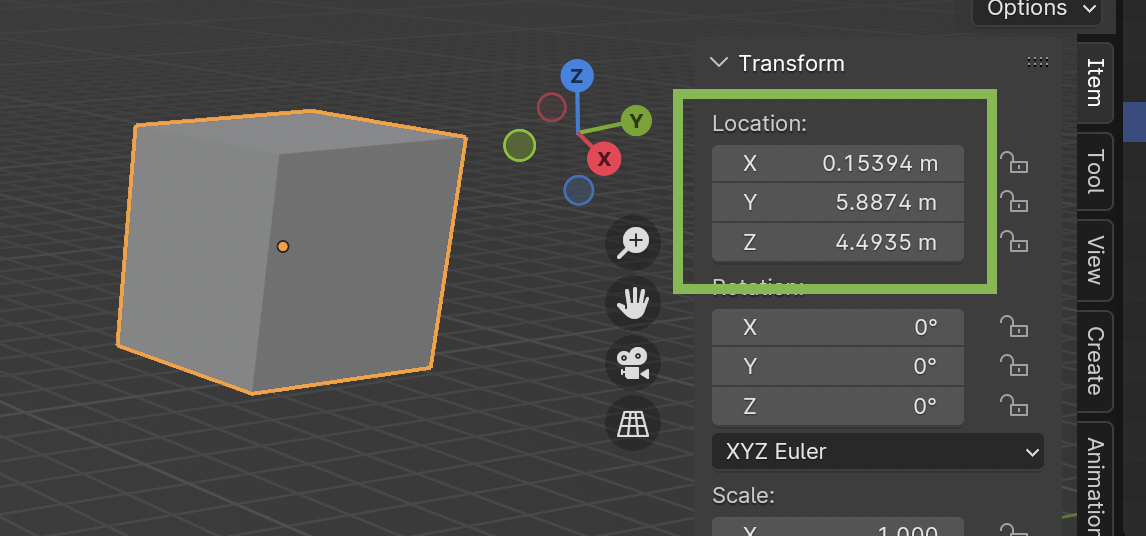
or taking any object (including a created cube) and setting its position to (0,0,0),
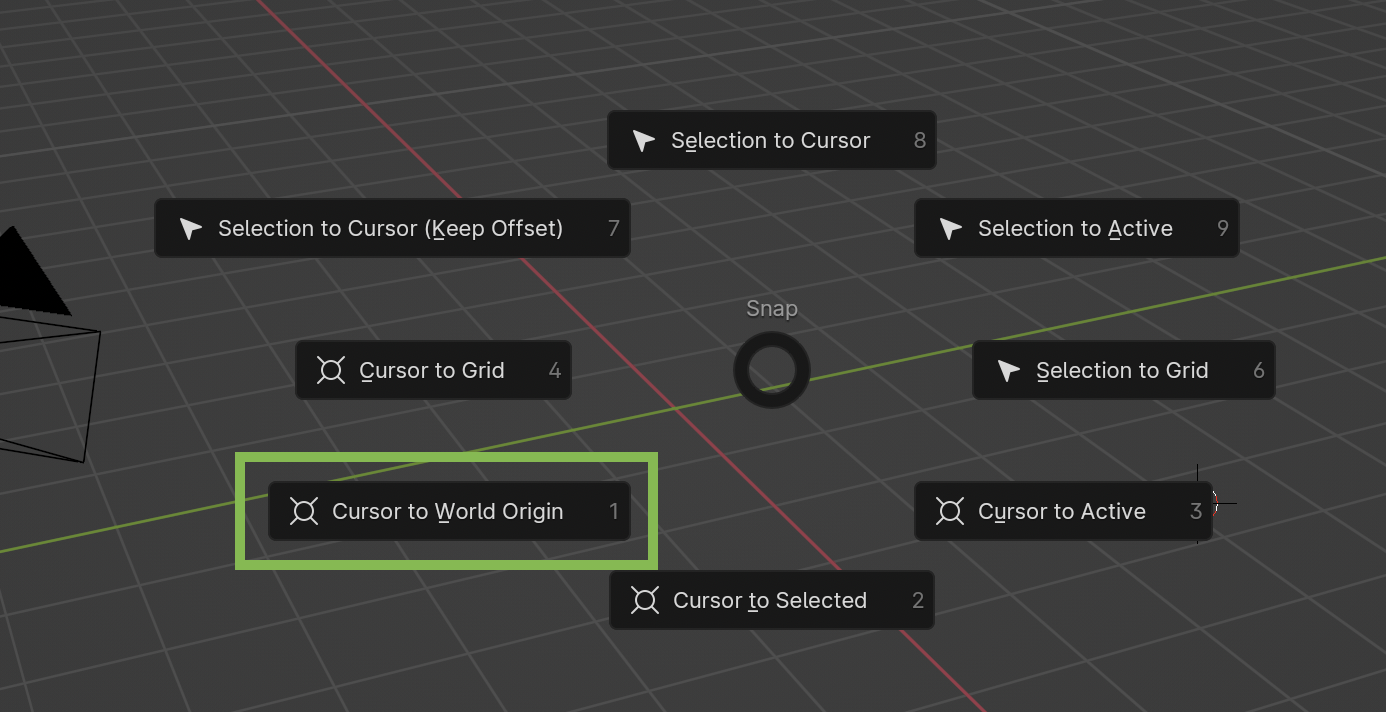
or by hitting Shift-S > Cursor To World Origin, which will reset the 3D Cursor to the world center, showing you where it is in case the grid floor and axes are obscured under a mesh or something.
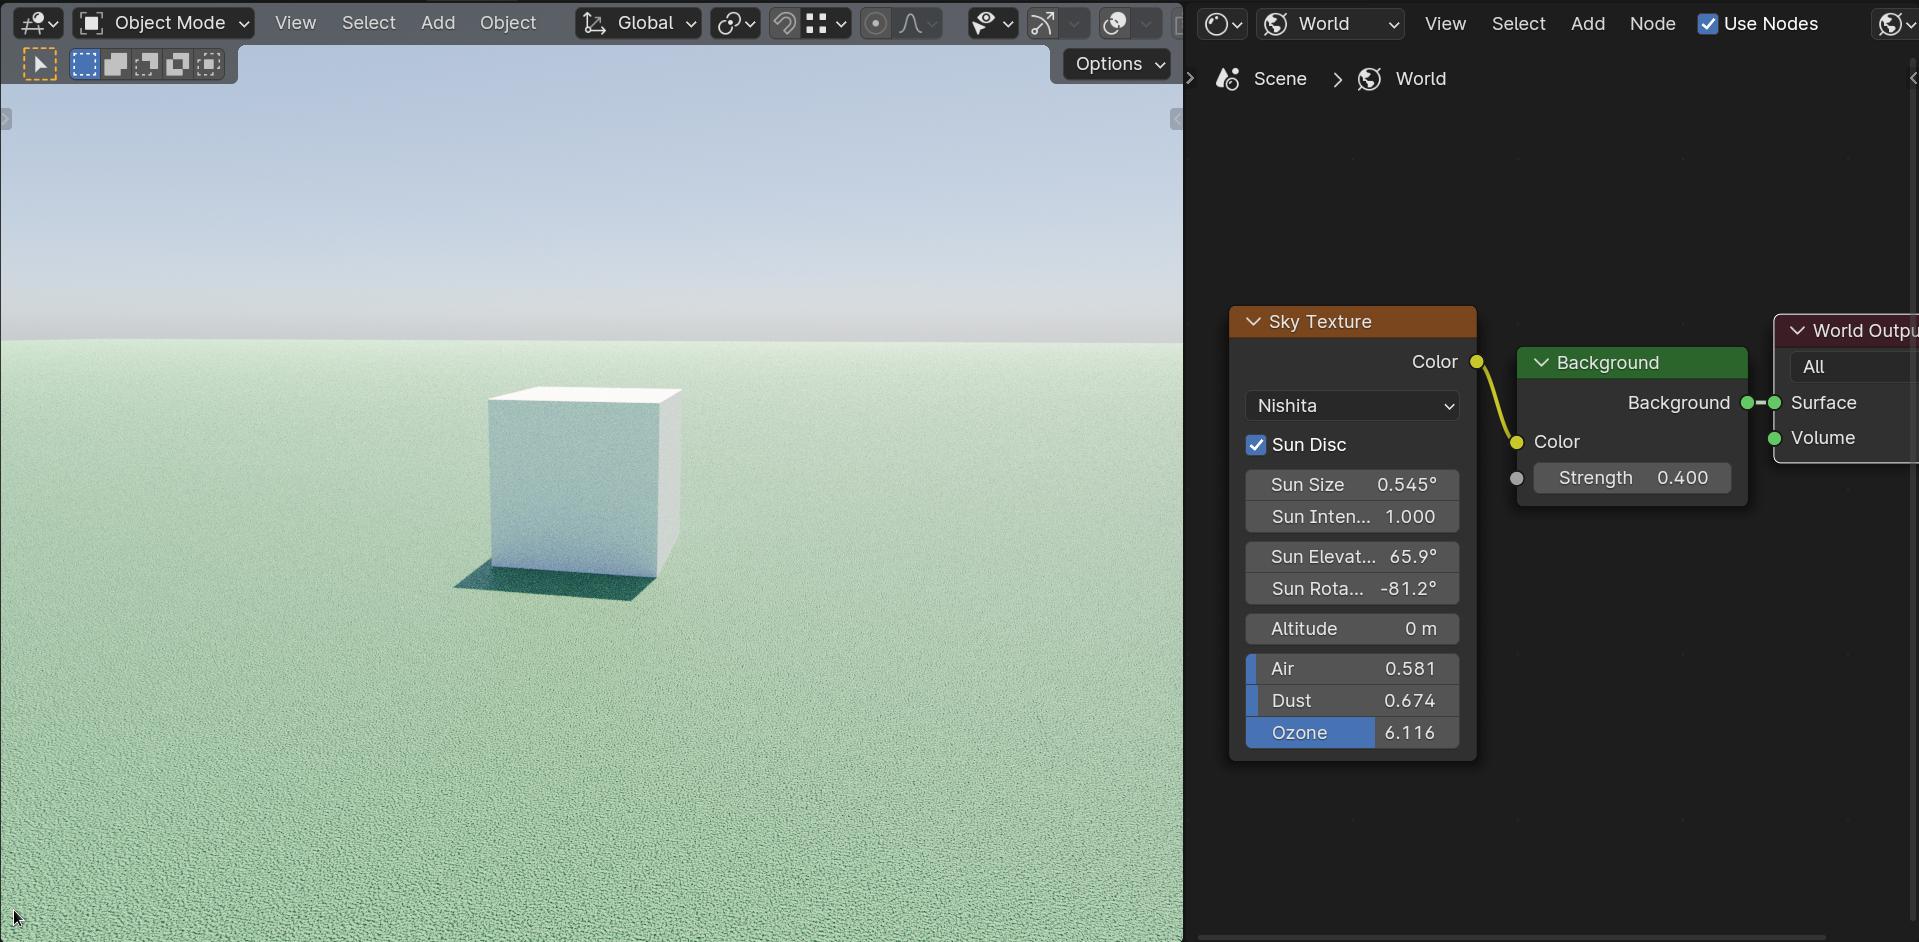
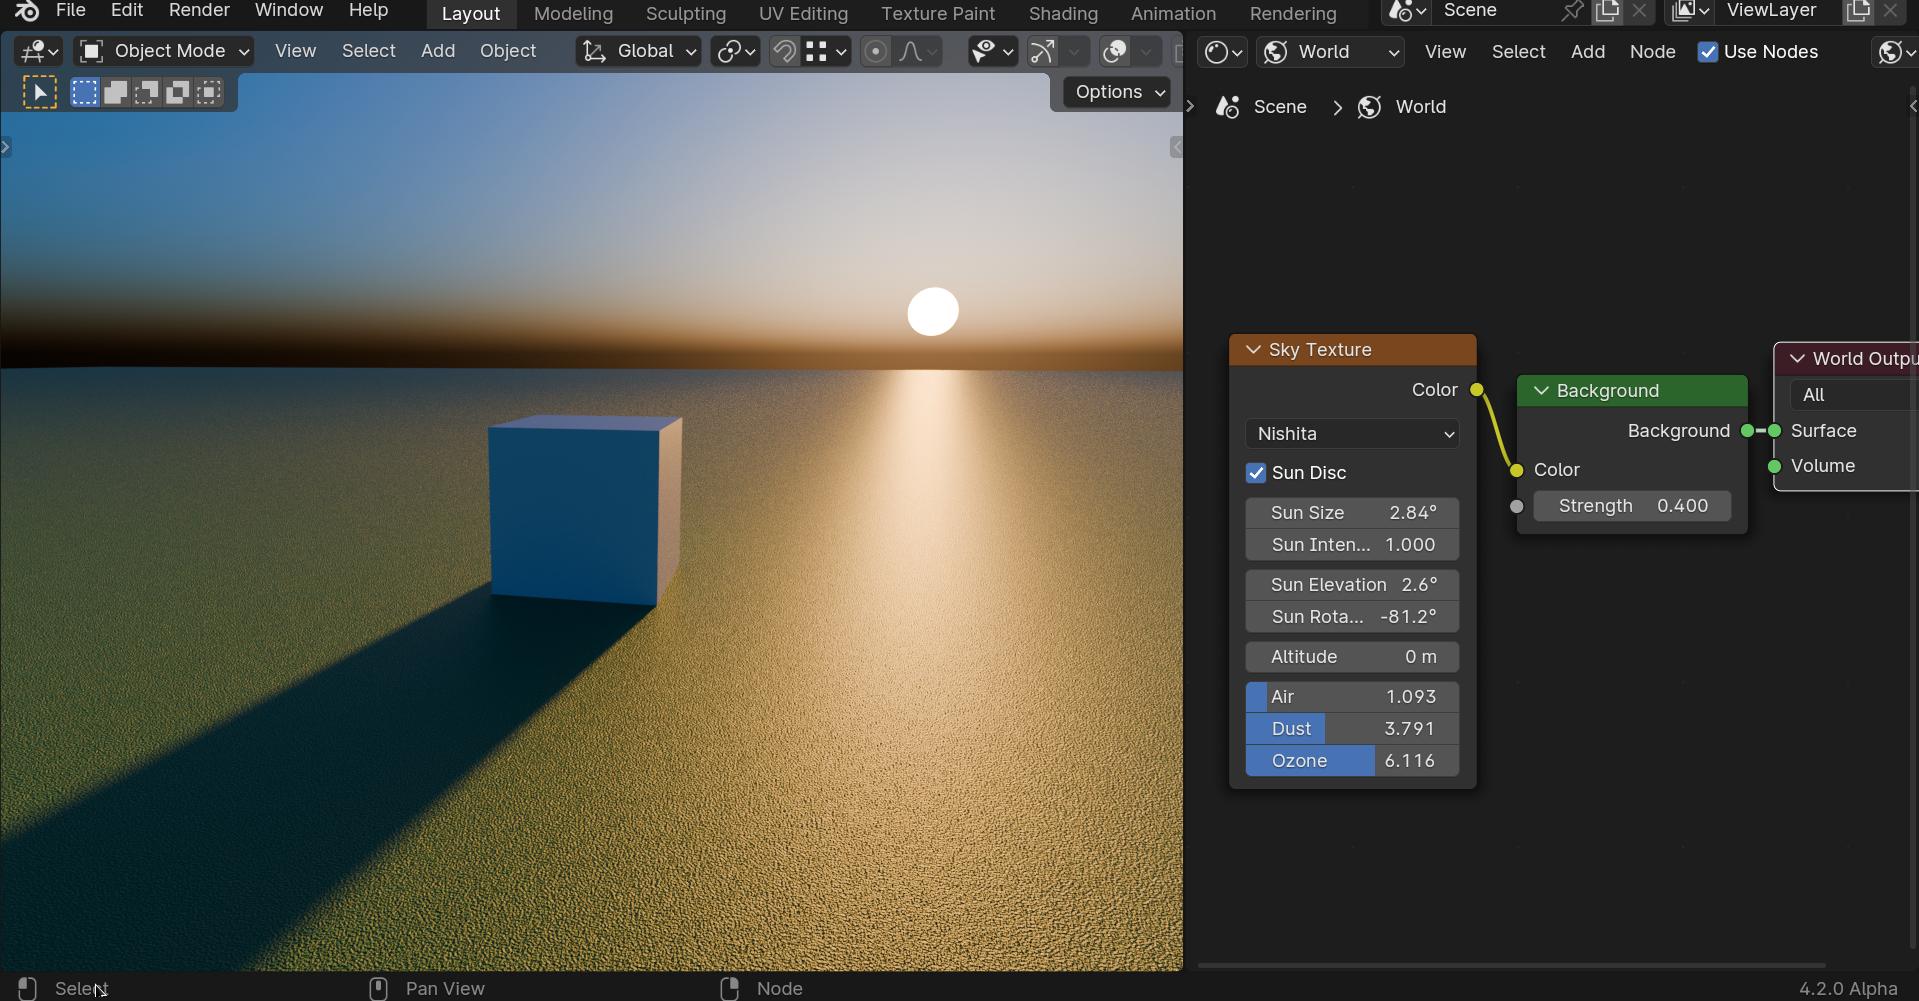
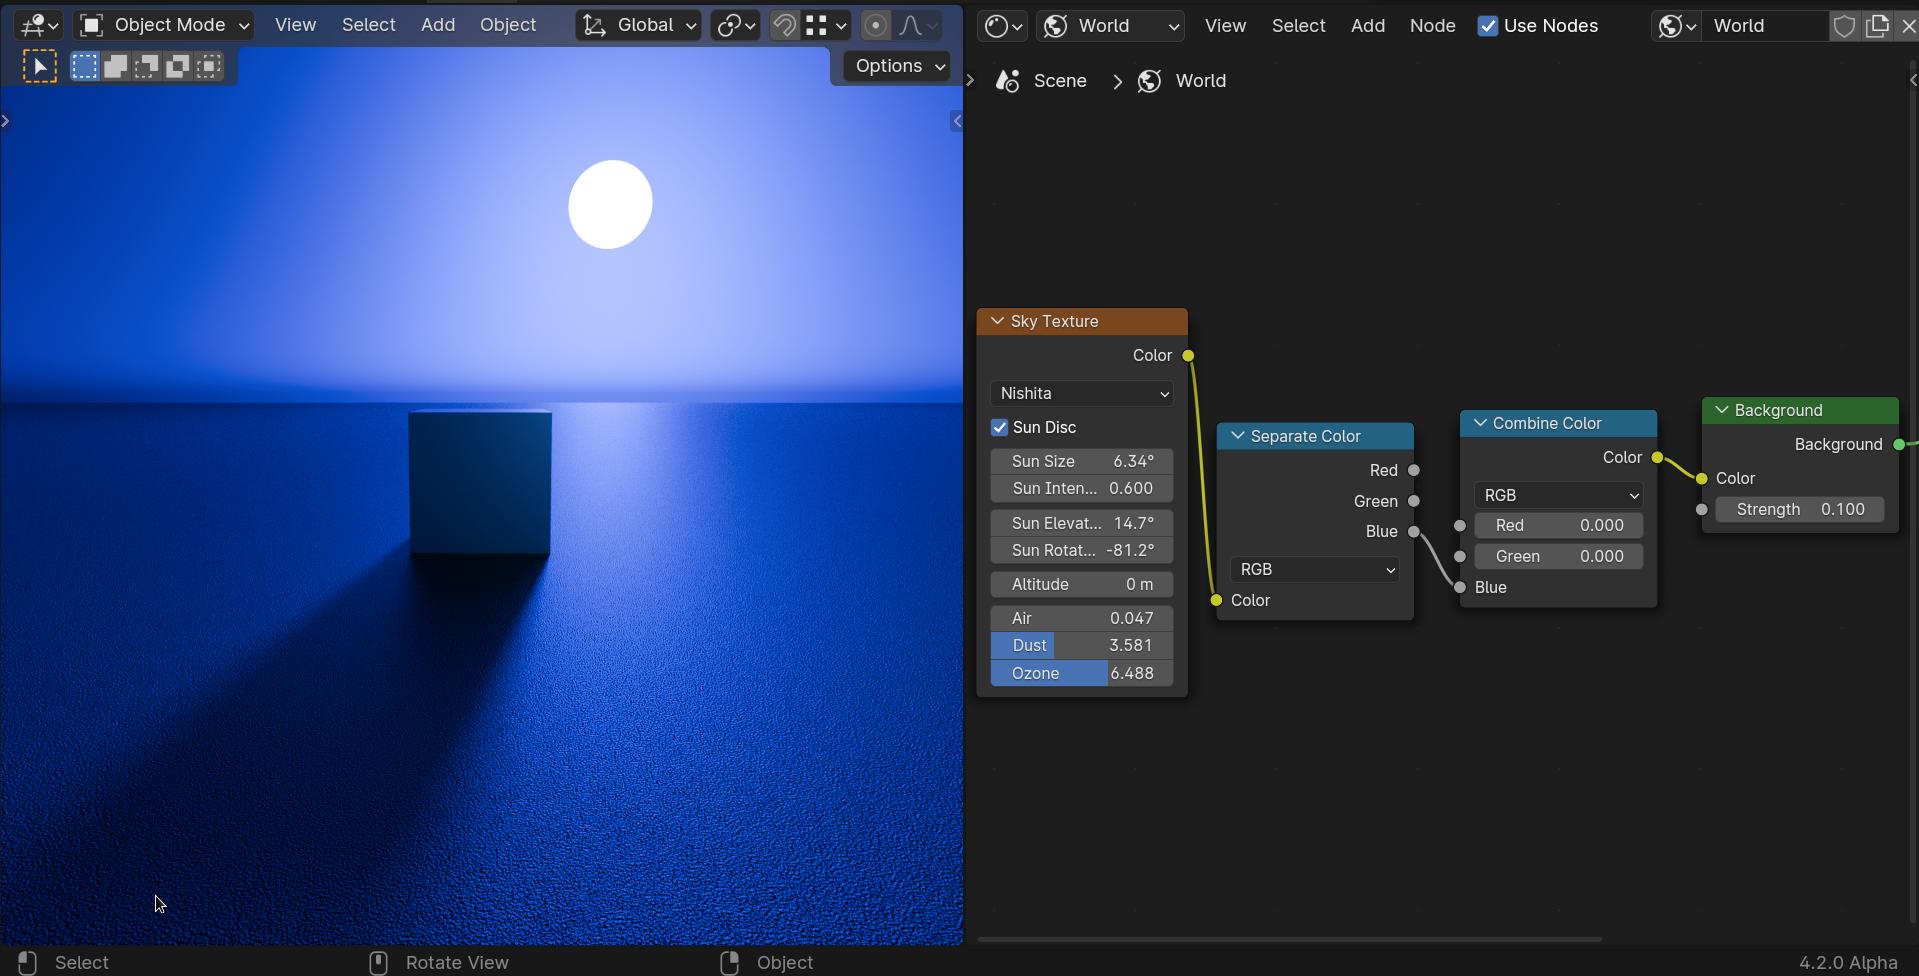
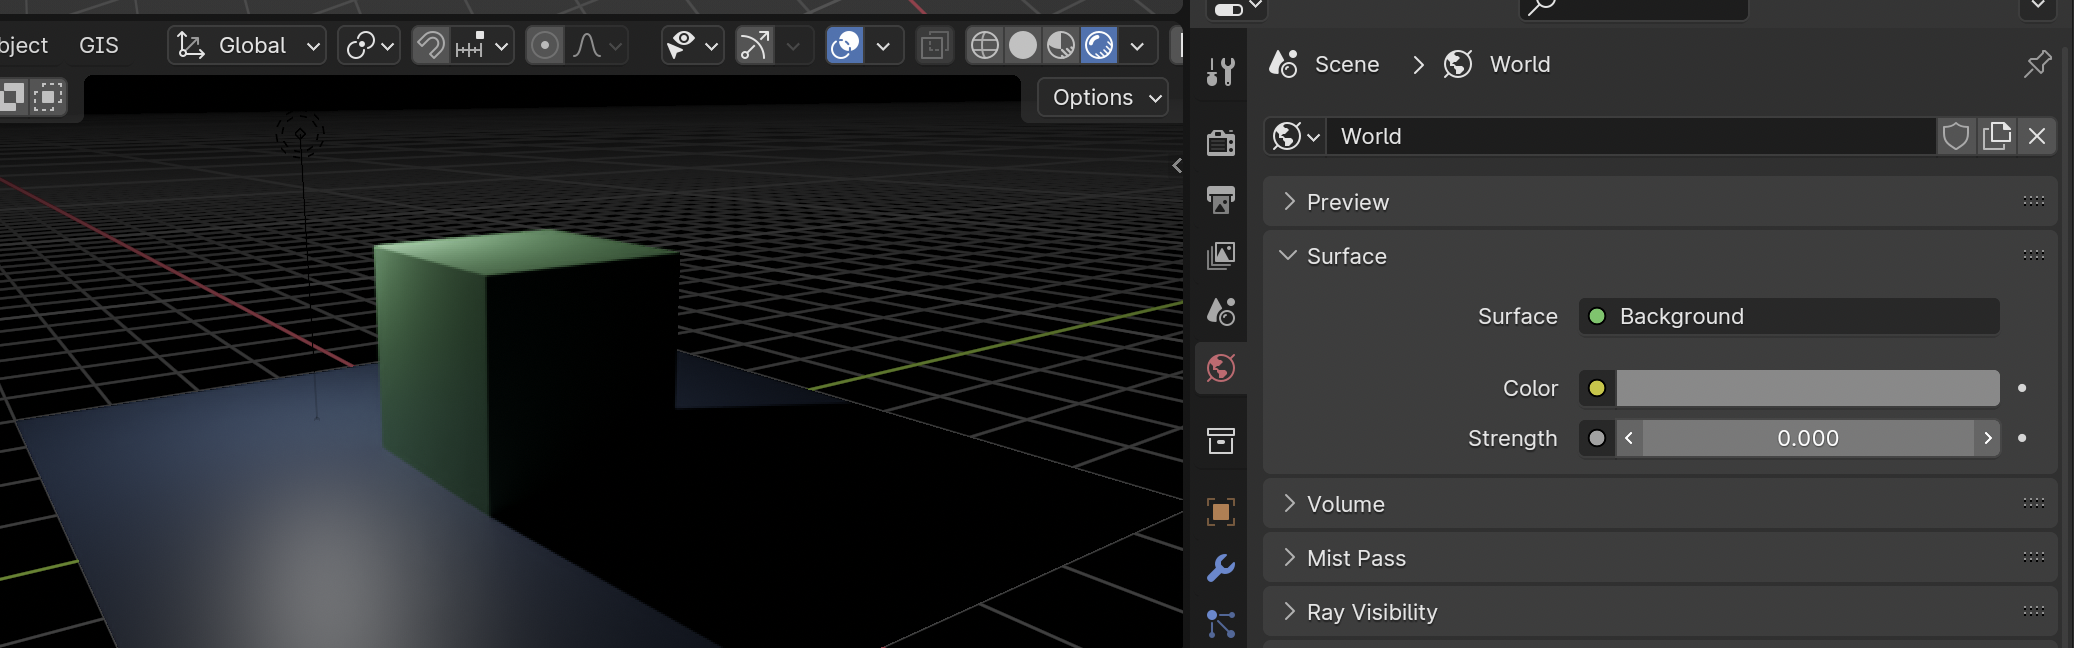
I don’t have the same world menu showing as you do
That’d be because your world setup isn’t using nodes, which suggests your file was maybe originally saved in a much older version of Blender? Pretty sure the basic node setup—one Background node plugged into the output—has been the new-file default for a good long while now, so it’s odd that your file wouldn’t have that. Maybe whoever gave you the file switched it for some reason? if you click that “Use Nodes” button, your world will switch to a nodal setup.
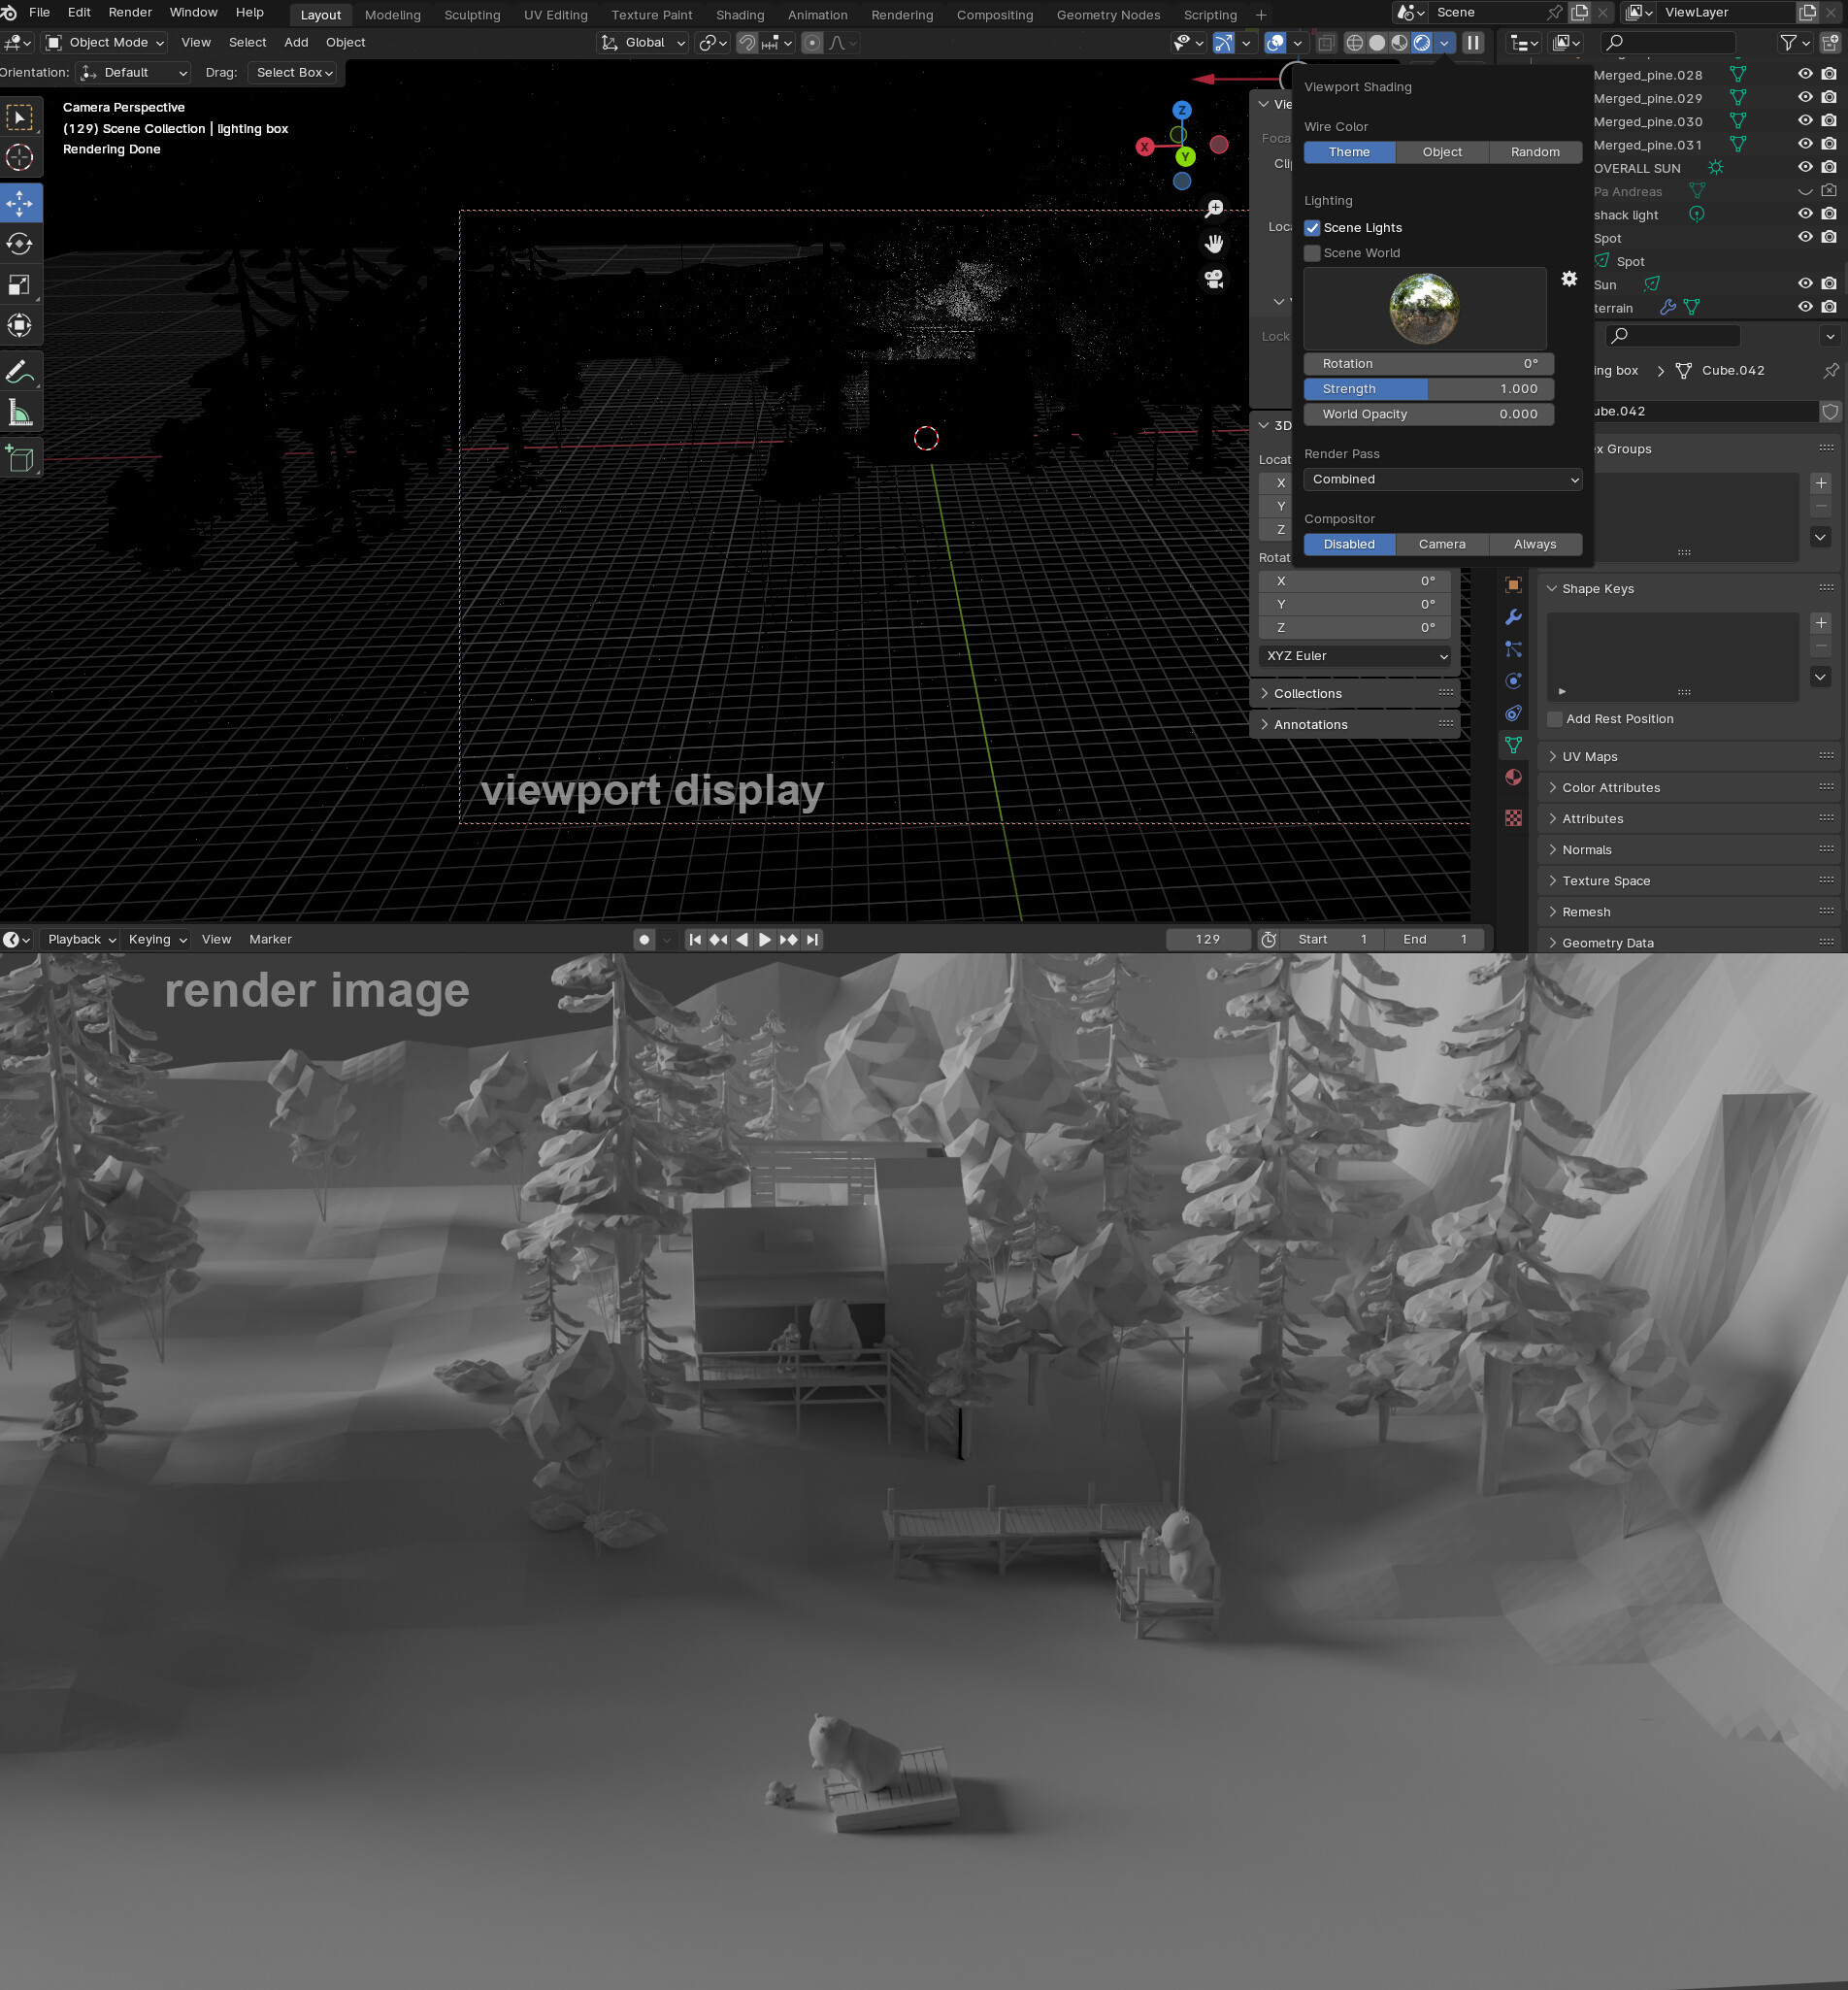
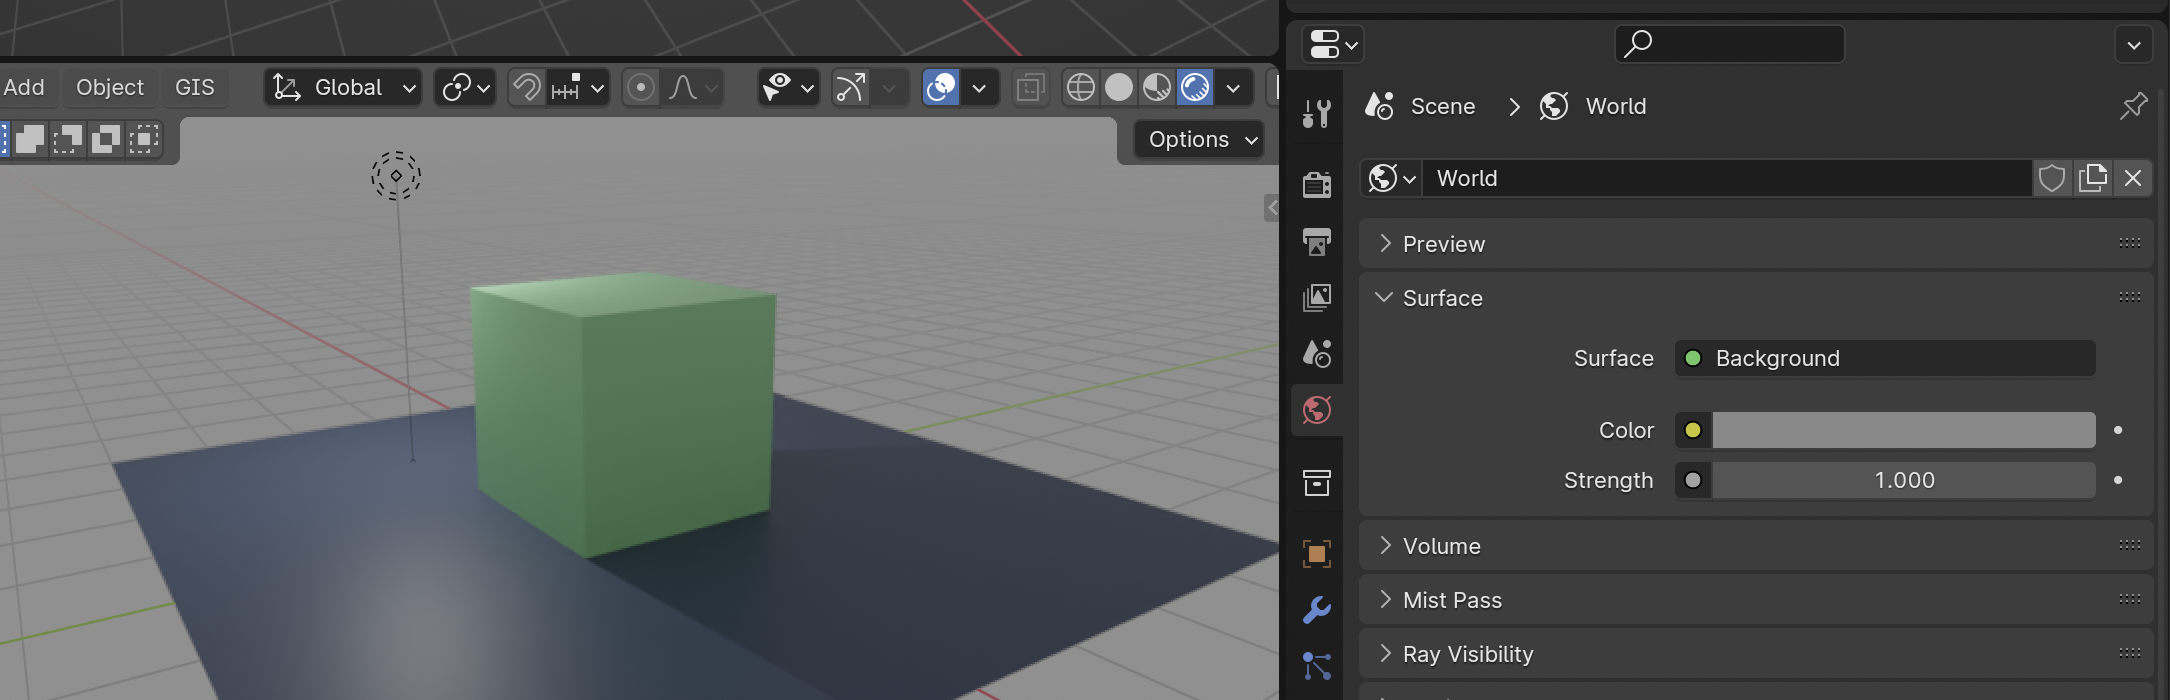
I think I read somewhere that using a large cube outside the set was a quick hack to get good night lighting
It’s just a strange idea—the only thing that cube does is block the environment light, which is the exact same thing as setting the world to black. Not “good night lighting,” just a dark world, which could be a good first step for a night scene, sure, but doesn’t actually give you anything specific lighting-wise.
I haven’t learned what nodes are
You’re definitely going to have to do that, and on the sooner side—nodes are fundamental to a good chunk of the systems in Blender, and will only be part of more and more going forward as more systems get “node-ified”. Nodes are pretty easy, they’re just flow charts. You should really read or watch some introductory tutorials, no need to put yourself through the pain of spending days trying to understand interface basics, those’ll all be covered in any decent introduction to Blender.