Love this, right up my alley. Also excited to learn about the new hair system. Anyway, this little guy looks fantastic, can’t wait to see the update And yay for leaving comfort zone, it feels dangerous but someone once told me its where the magic happens
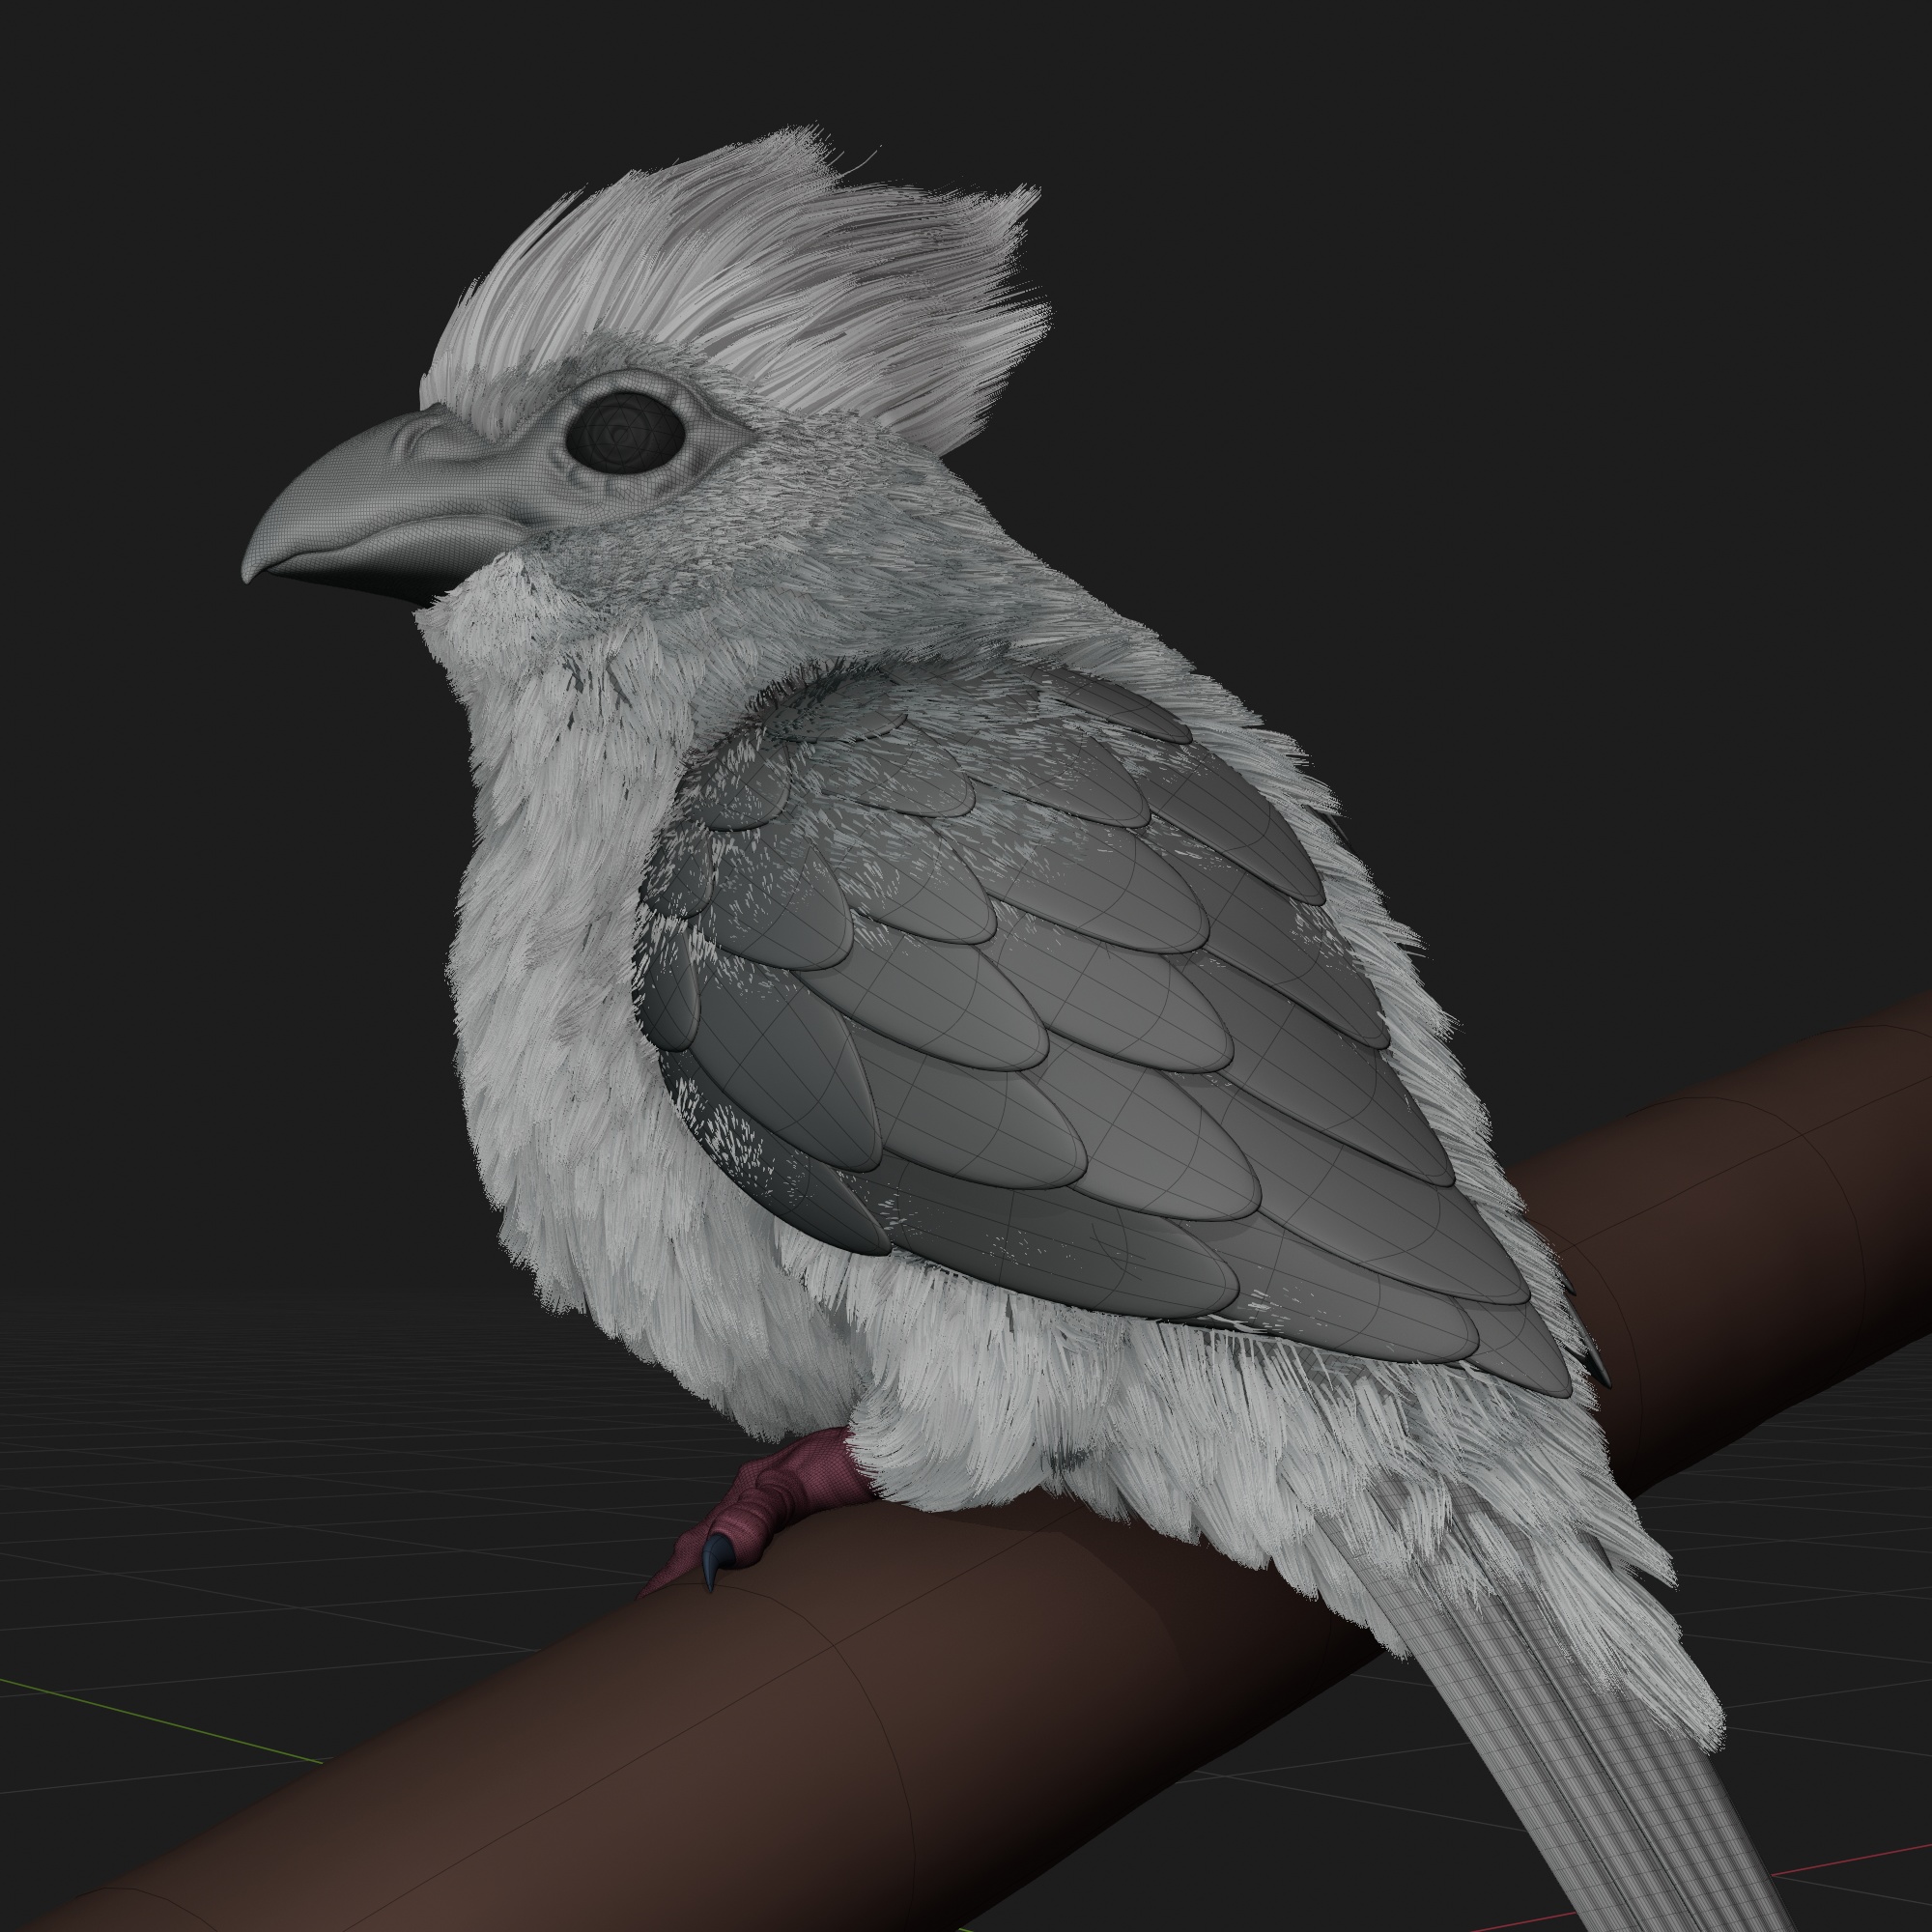
This time I had a lot to learn about hair creation in Blender. My process was to first use the new hair sculpting from 3.3 to add and groom the hair into place, then I convert it to the old particle system to use the children interpolation, any further adjustments to the hair were made in the old particle sculpting.
The reason I didn’t use geo nodes is the lack of hair interpolation. I’m sure it’s possible to do as seem in this awesome thread, but until there is a built in node group for it I’ll probably stick to the old particle system.
The feathers are simple meshes shrink-wrapped into a base wing shape and further tweaked so they stack into each other on a pattern. The feather material is procedurally generated using wave textures.
The hair shader uses sss and alpha hashed transparency. The face and feet were hand painted with vertex colors.
Other than the usual Three-point lighting with the strong rim light, I placed an extra spot light pointed at the bird’s face and used a custom distance to end it just at the head. This gave the face some contrast from the rest of the body.
I also did some post processing in Krita and added gradients to further boost the lighting on the face.
If I were to change anything, it’d probably be to expose that blue nape more, since that’s such a neat feature on this particular bird. But I am drawing a blank on exactly how to do that (I usually have to experiment with posing an object so I can judge it from several angles; that doesn’t work well in my head for some reason).
I agree with you, the most characteristic part of the bird is barely visible. The problem is that I settled on the final pose before making the materials so I didn’t have that in mind, I tried moving the blue spot closer to the side and boosting the color, but it looked too unnatural.
It would also be more visible with a different rim light color, but I really like the light blue shining through the hair to change it.
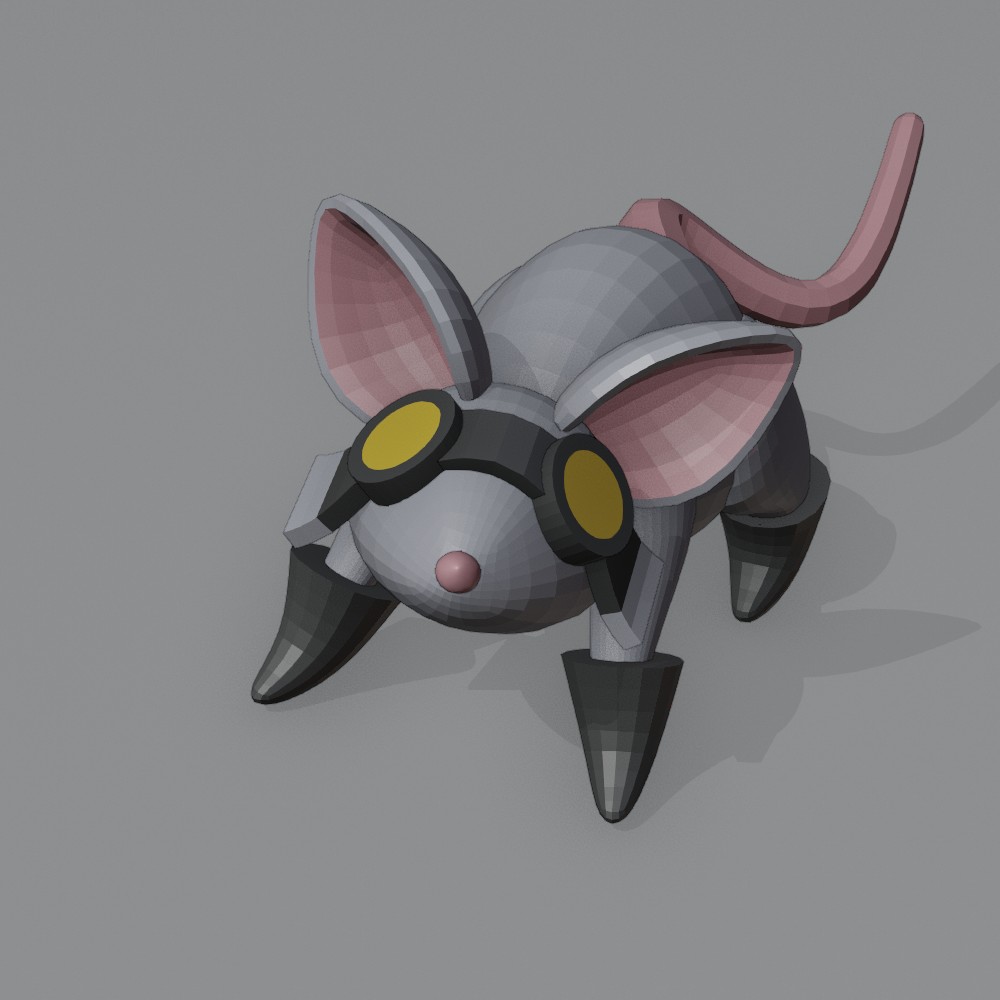
When I’m blocking out the shapes I tend to keep things as simple as possible, all of the objects on the rat are essentially cubes with subdivision modifier stretched and molded into shape. For me this is easier to get the volumes right and make quick changes. Sometimes I use the skin modifier or metaballs to block the shapes, whatever works at the time is good enough.
I don’t always merge things if they are not noticeable in the final render, for example, the head of the bird I made is a separate object from the rest of the body but with the hair on top they blend together. I used to obsess over keeping everything joined together but that can take a lot of extra time.
This one was very fun to make. The reflections on the goggles are painted on. I also made a barrier hidden just behind the rat to block the back light from shining under its legs.
Piranha is smarter than me, I can’t quite figure out exactly how you did the lighting… could I ask you for a viewport render with the lights and barrier?
Here’s the viewport from the back side, the selected objects are the point light and the light barrier. I modeled it from the camera view to make sure it doesn’t appear in the final render. I also put a solidify modifier on it to prevent light leaking (you usually don’t need to do this in Cycles).