Linear Anisotropic Shading?

I’ve been experimenting with the Anisotropic shader ever since it came out, but I still can’t work out how to do linear anisotropic shading.

Radial is easy and looks like this:


It works by default. UV unwrap a plane and you’ll get radial anisotropy.

But linear shading seems almost impossible and looks like this:


(basically like someone sanded a metal plate in one direction).
It’s essential for making brushed metal.

Does anyone know how to do this with the new Anisotropic shader?

I’ve been pulling my hair out over this all day. Any help would be awesome.

Thanks!

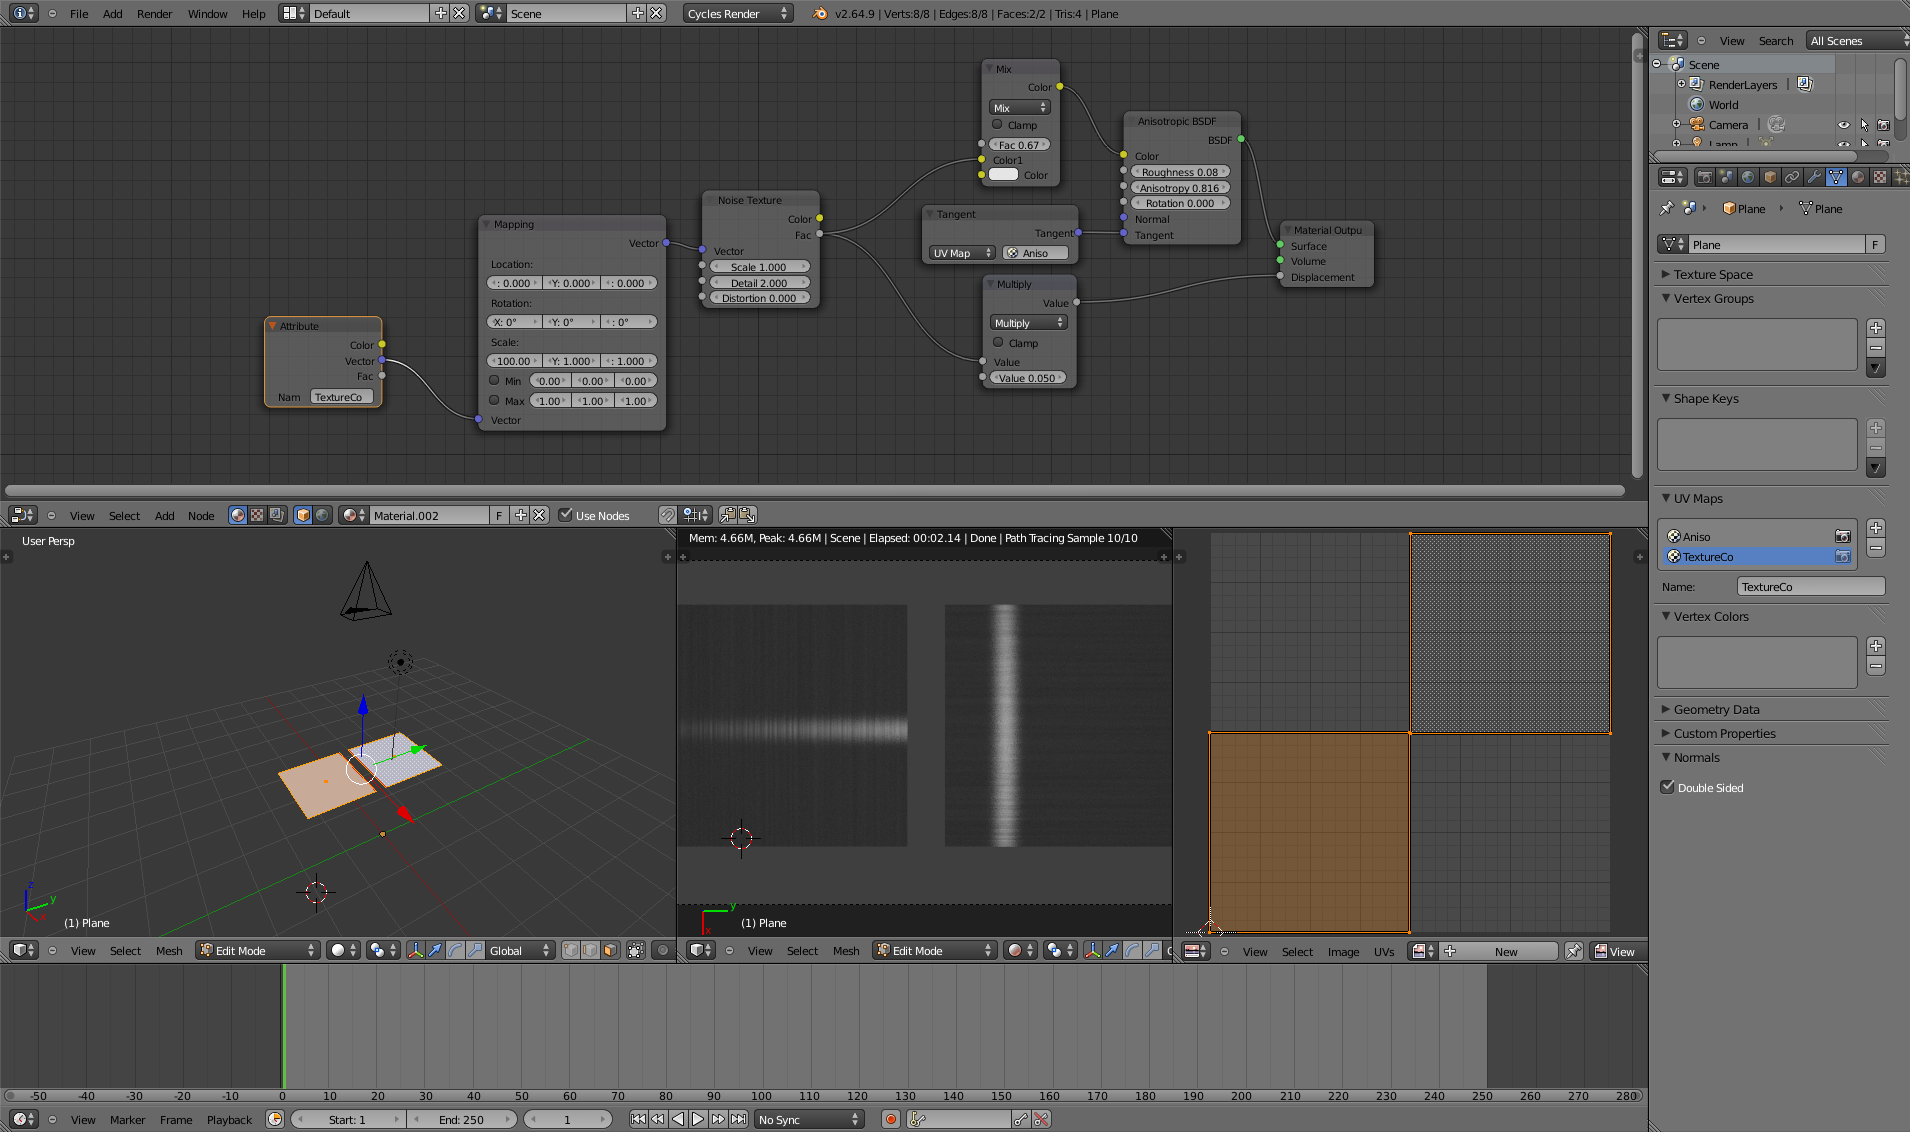
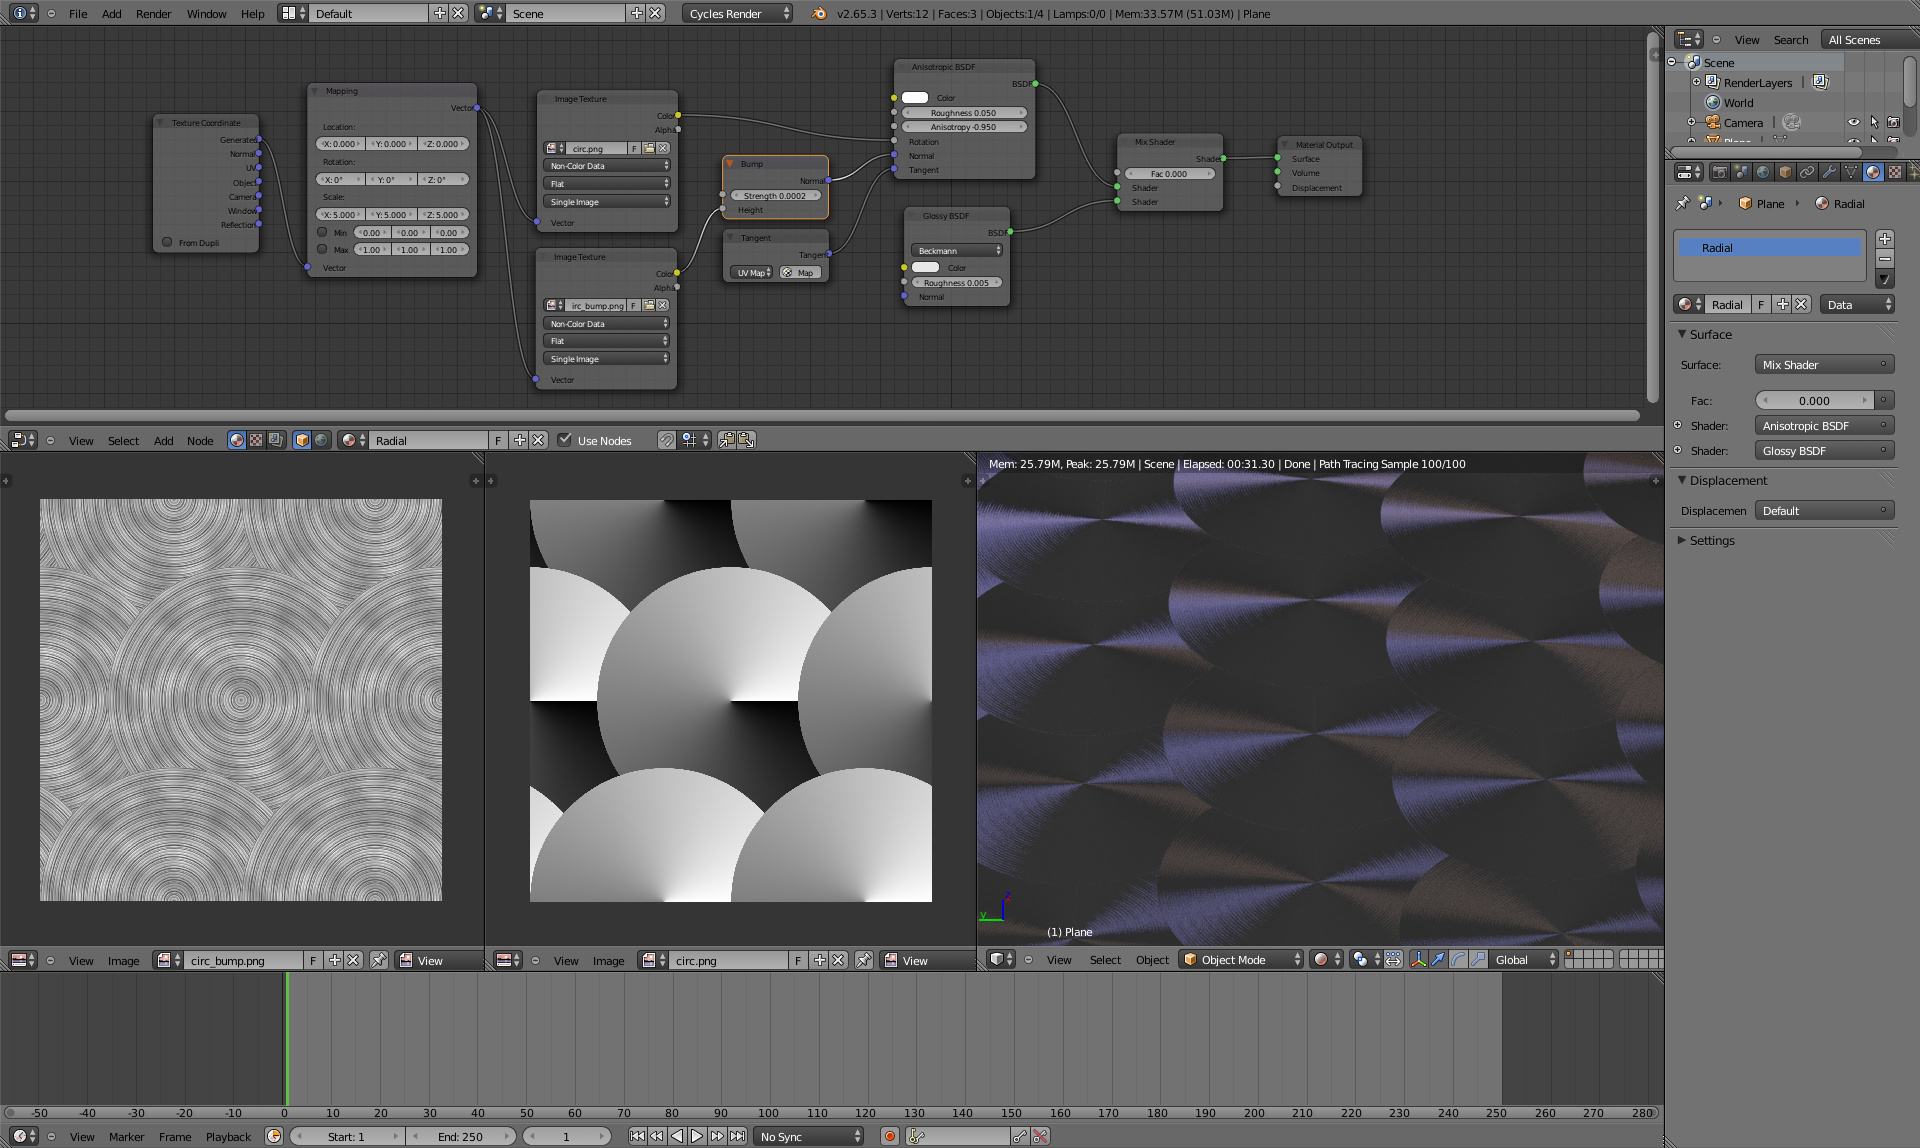
you can do that by using the UV’s as direction for the anisotrophy, i.e. rotate the faces in the uv editor, by using the Tangent node and setting it to “UV Map”. So you probably will have an extra uv map only for the tangent directions besides those for texturing.

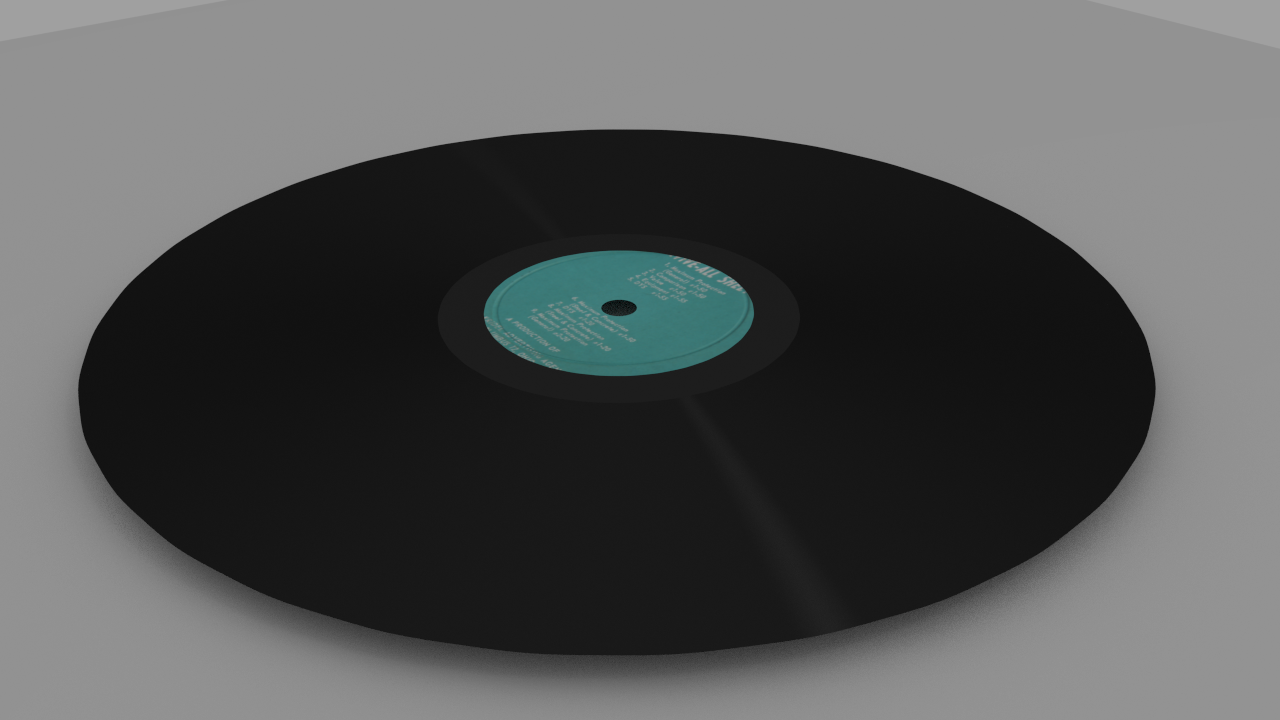
Here’s a little example i could quickly come up with (lots of space for improvement…)


Attachments

lin_aniso.blend (462 KB)

tried it on a UV sphere but not great

is it possible to work on other shapes then a plane ?

thanks

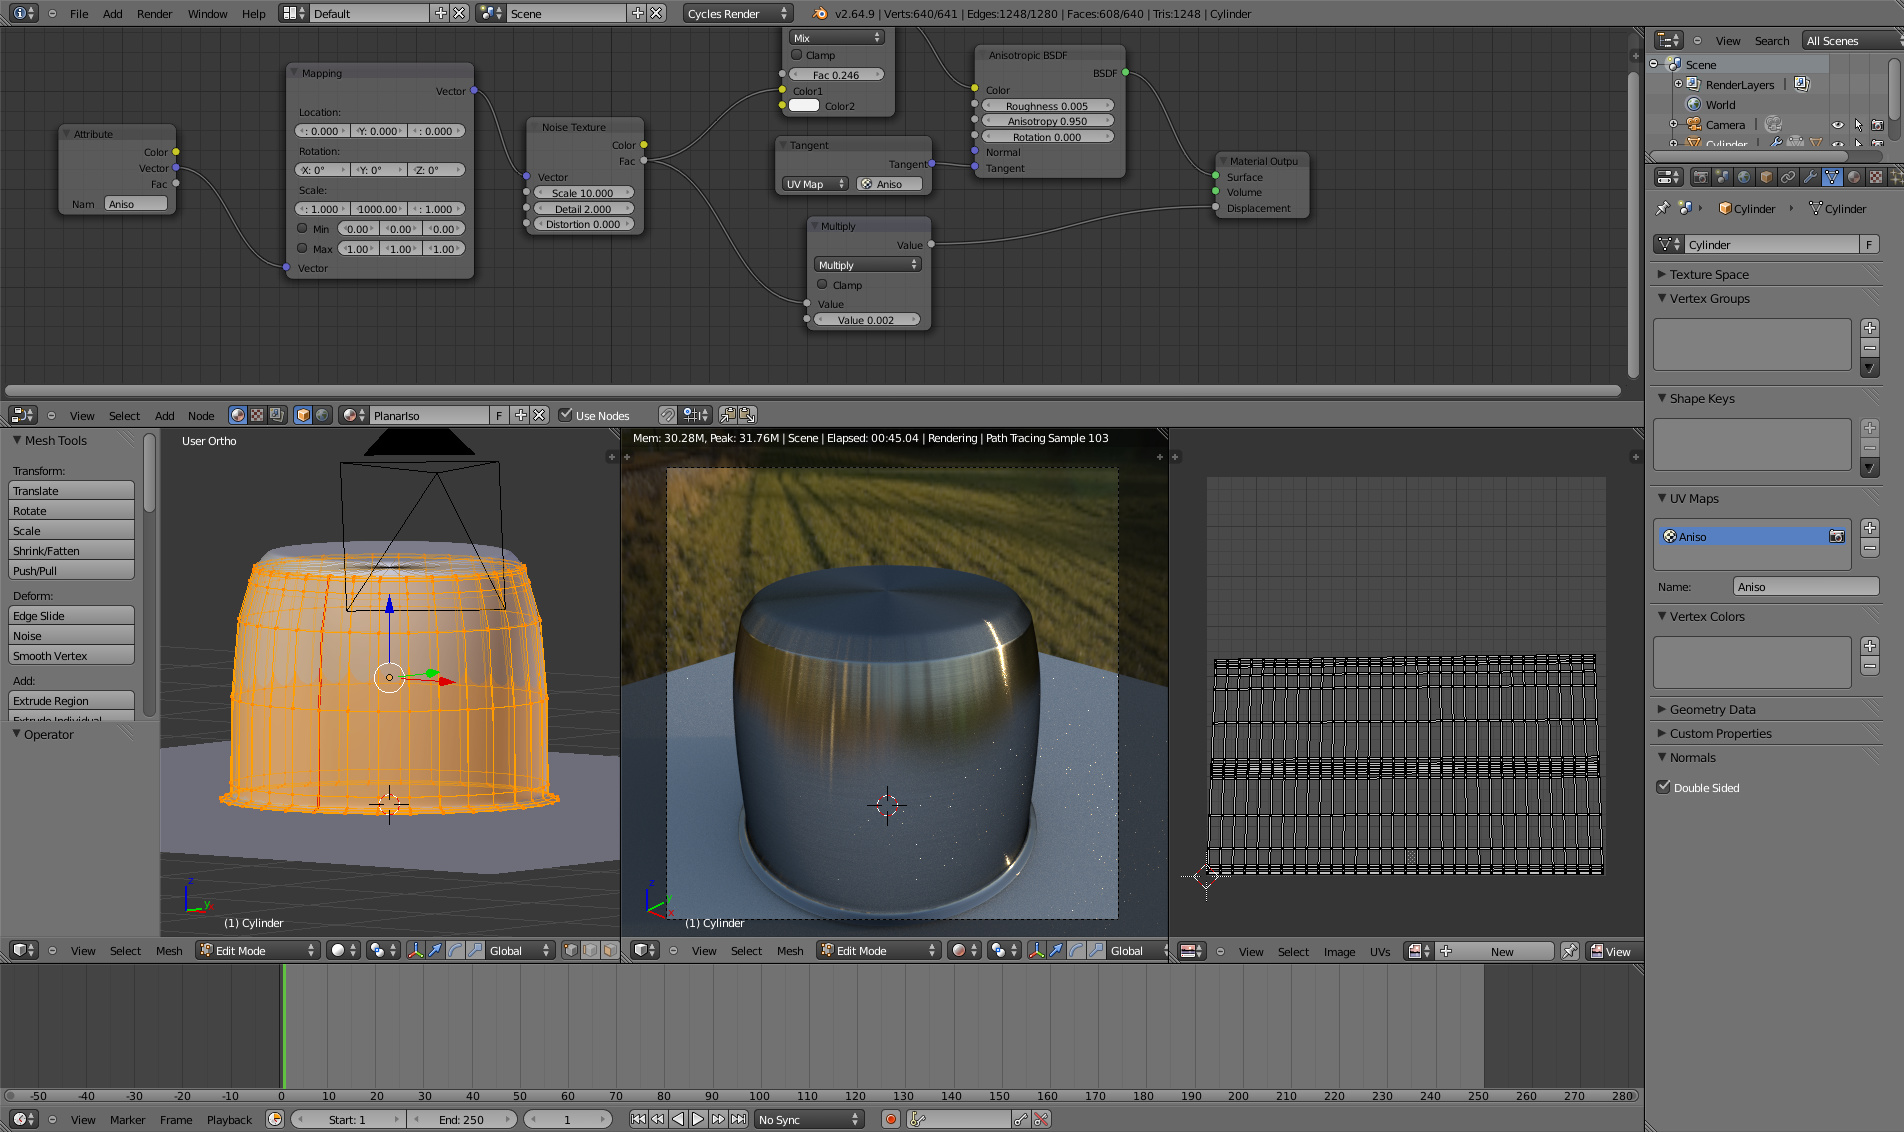
sure, it’s just a little fiddly to layout the uv maps and textures in a way so you can’t see seams, but separating the texturing from the anisotrophy direction uv map makes it a bit easier. Here’s some tests on an actual object:


Attachments

Topf.blend (625 KB)

what else to make it work
i get a mauve render !LOL

looks like it is UV map ok

but here you did split it in 2 parts which like plane and a cylinder!
is it required ?

thanks

i didn’t pack the environment hdri texture into it, that was only to test the reflections, otherwise i would have had to model an entire scene and light it properly to get the effect. you can get those on the net, for example here: http://www.openfootage.net

Usually those Pots have a separate part on the bottom for better heat transfer, that’s why i modeled it in, but you’re right, it’s more difficult to combine the radial and linear parts without seams. In this case you could just use radial-z tangents anyway (change the tangent node in the top part from UV map to radial), because it’s just a deformed cylinder, but for general parts you’d have to lay out the uv’s somehow, not that trivial.

tried with some HDRI i had but forgot to rotate the mug so we can see a strong seam!


thanks

how does the XYZ works for tangent ?

change the displacement a little


salutations

This is the best I can get with a linear Anisotropic map on bottom.

Attachments


1 Like

There’s a Tangent node!? ARGHH! I had no idea!
I could have saved hours of messing around yesterday if only I knew that existed :stuck_out_tongue:

Thanks for your help gexwing, that answers my question perfectly. I’m finally able to continue with my project :wink:

is it possible to make radial disk like old turn table record
but with a glossy black color

thanks

Like this?

Attachments


beginnng to look like it
but is there any radial lines ?
can you uplaod sample file

thanks

I think if you want deeper ridges, you’ll have to add a bump map.
Blend attached.
You’ll have to pilfer your own label jpeg.

Attachments

LPRecord.blend (574 KB)

just saw the new tut on blender i’ll do some more testing

but after doing the pan i still don’t get the anisotropic effect
lines across

not certain if must have an HDRI map of if several emission planes can do the same effect!

how many samples to get nice aniso lines linear or radial?

you also did not include any displacement here !
i’ll add some and see results


don’t see any radial lines here !

thanks

Hi to everyone who survived yesterday :slight_smile:

Is something like this (texture driven tangent direction) now possible in blender: http://wiki.unity3d.com/index.php?title=Anisotropic_Highlight_Shader

Cheers, Patrick

look into
hexagone example osl
http://blenderthings.blogspot.nl/2012/11/a-hexagon-osl-shader.html

looks a lot the same type

salutations

Here’s some experiments i did to achieve an effect like shown in that link:


The bumpmap is quite bad, but couldn’t be bothered to edit it again to make something less repeatable, those kinds of textures are can easily be made in gimp/ps, makind them tilable saves alot of space and makes them reusable for all kinds of projects.

can you show the node set up alone larger
cause we annot readn the values in the low re pic given!

also this effect seems to be function of the light source
like don’t work well with emission plane need lamps instad
can you elaborate on this!

thanks

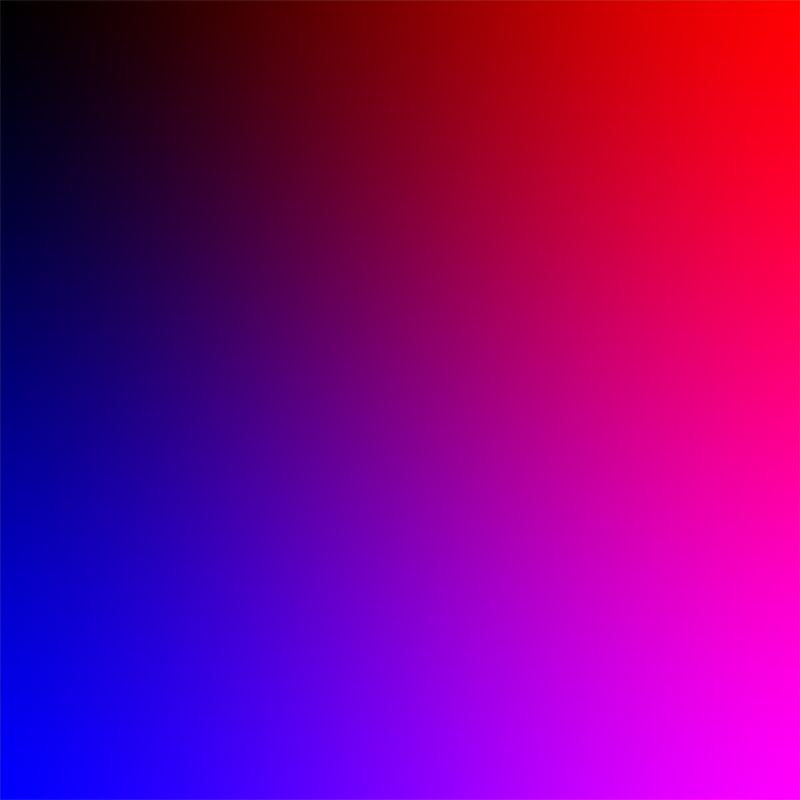
No, this has nothing to do with lights, it’s a simple anisotrophy material, which is unwrapped linearly, then the rotation of the anisotrophy is changed with the b/w image. This does NOT depend on light, like some of the other Materials i’ve seen. it is NOT dependent on generating tangent maps, the only thing that has to match is the image and tangent (from the UV map) direction. This Scene is illuminated by the Background and two Emission Planes by the way.

You can right click the image and open it in a new window/tab, the screenshot was taken fullscreen on a 1920x1200 monitor and I always take care that people can read the nodes. If you realy can’t read it, you can still use ctrl+mousewheel to zoom in further.

EDIT: Here’s a link to the file, images are packed as always. http://www.pasteall.org/blend/18417