Hello,
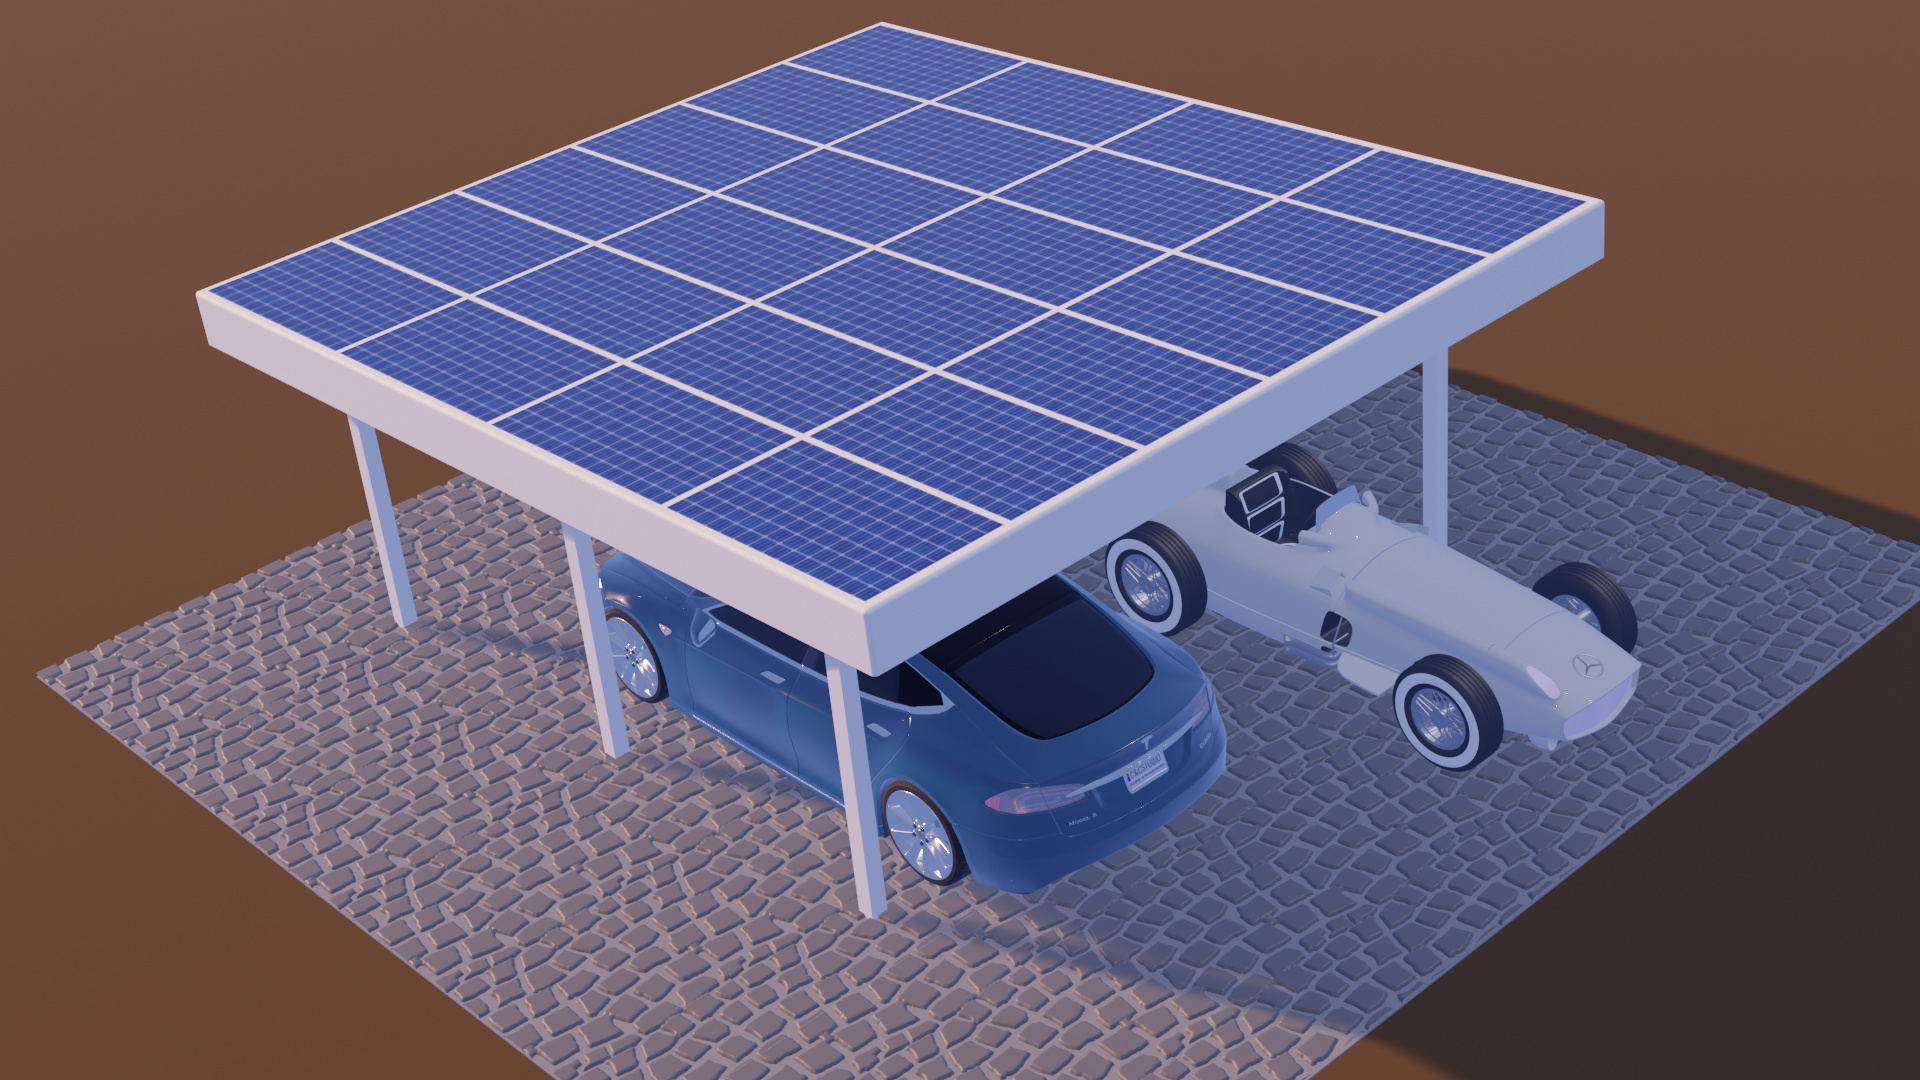
I’m trying to build a carport scene with blender 2.8 and eevee renderer on an ubuntu machine. At the end of the day I find that the “Look dev” looks much better than the “render result” view. Materials look more natural, shines and glasses are more realistic etc. And “look dev” renders much faster (~20x), when I hit the “view → viewpoint render image” button instead of “F12” for regular rendering.
One exeption: There are no shadows in “look dev”.
What am I doing wrong - how can I achieve to get the “look dev” result with shadow and lighting effects?
Thank you for your hint. Using a HDRI file is quite a big deal for me and at the moment a little behind my abilities - and seems to lead my hardware to its limits. I’ll come back to that in a while.
For the moment - isn’t there a simple possibility to sort of copy the environment which creates the “look dev” result to the render result.
Other than HDRIs, i think you should mess around with the render settings, like turning on screen space reflections and ambient occlusion, or anything that improves your render.
also you might want to add a light probe into your scene, that way the render engine can capture light better.
You won’t get the lookdev result with a single knob. But some easy tweaks on the lighting should help a lot. IMHO the sum and world background colors are way too saturated, which is the reason for the heavy tint.
About memory usage, out of curiosity I tested it with Cycles. I get to 5.5 GB without an HDRI and to 6.3 GB with a 4k HDRI. Wonder what your hardware is, when that crashes it.
But I’d say the most of that goes into geometry, and in particular the cobblestone ground (being 1M faces of a total of 1.6M). You might consider baking that into a normal map.
LookDev is just Eevee without using Eevee lighting by default. LookDev by default uses “forest.exr” as environment texture. You can find that “forest.exr” to be used as environment texture from World tab on the path from where you have portable version of Blender: \2.80\datafiles\studiolights\world
If you are not using portable version of Blender, you should look for it in installation folder
First of all - thank you very much for this awesome support. You guys are great!
@ yafu:
Looks as if you wrote the thing I was looking for. I found the forest.exr on my machine (locate did…). But now - where do I import it? - Sorry for this stupid beginnerish question - but during the last half hour I could not find out… ):
@ omgold
You seem to overestimate my abilities as well…, (; Could you threw some more keywords about “balking cobblestones into a map” ? - Tks!
What I mean is replacing it by a plane with a normal map on it. The normal map you can create from the current detailed version, with Bake Selected to Active. Here is a good tutorial on the technique:
If you want you copy “forest.exr” file to your project folder. Then you from the World tab in Properties editor on the right you choose Environment Texture in this way:
I apologize for my poor basic knowledge…
@ yafu
Yes, it works alike. But now, I have the image in the background. What can I do not to have the “forest” image visible - and probabely rendering?
@ omgold
Thank you. Your explamation was simple enough, even for me…
Thank you very much to everybody. I could solve all the problems, in the end reducing the “world -> strength” setting did a lot to make the images not look so washed out as they were before.