Thank you for your answer.
I am going to try what you suggest.
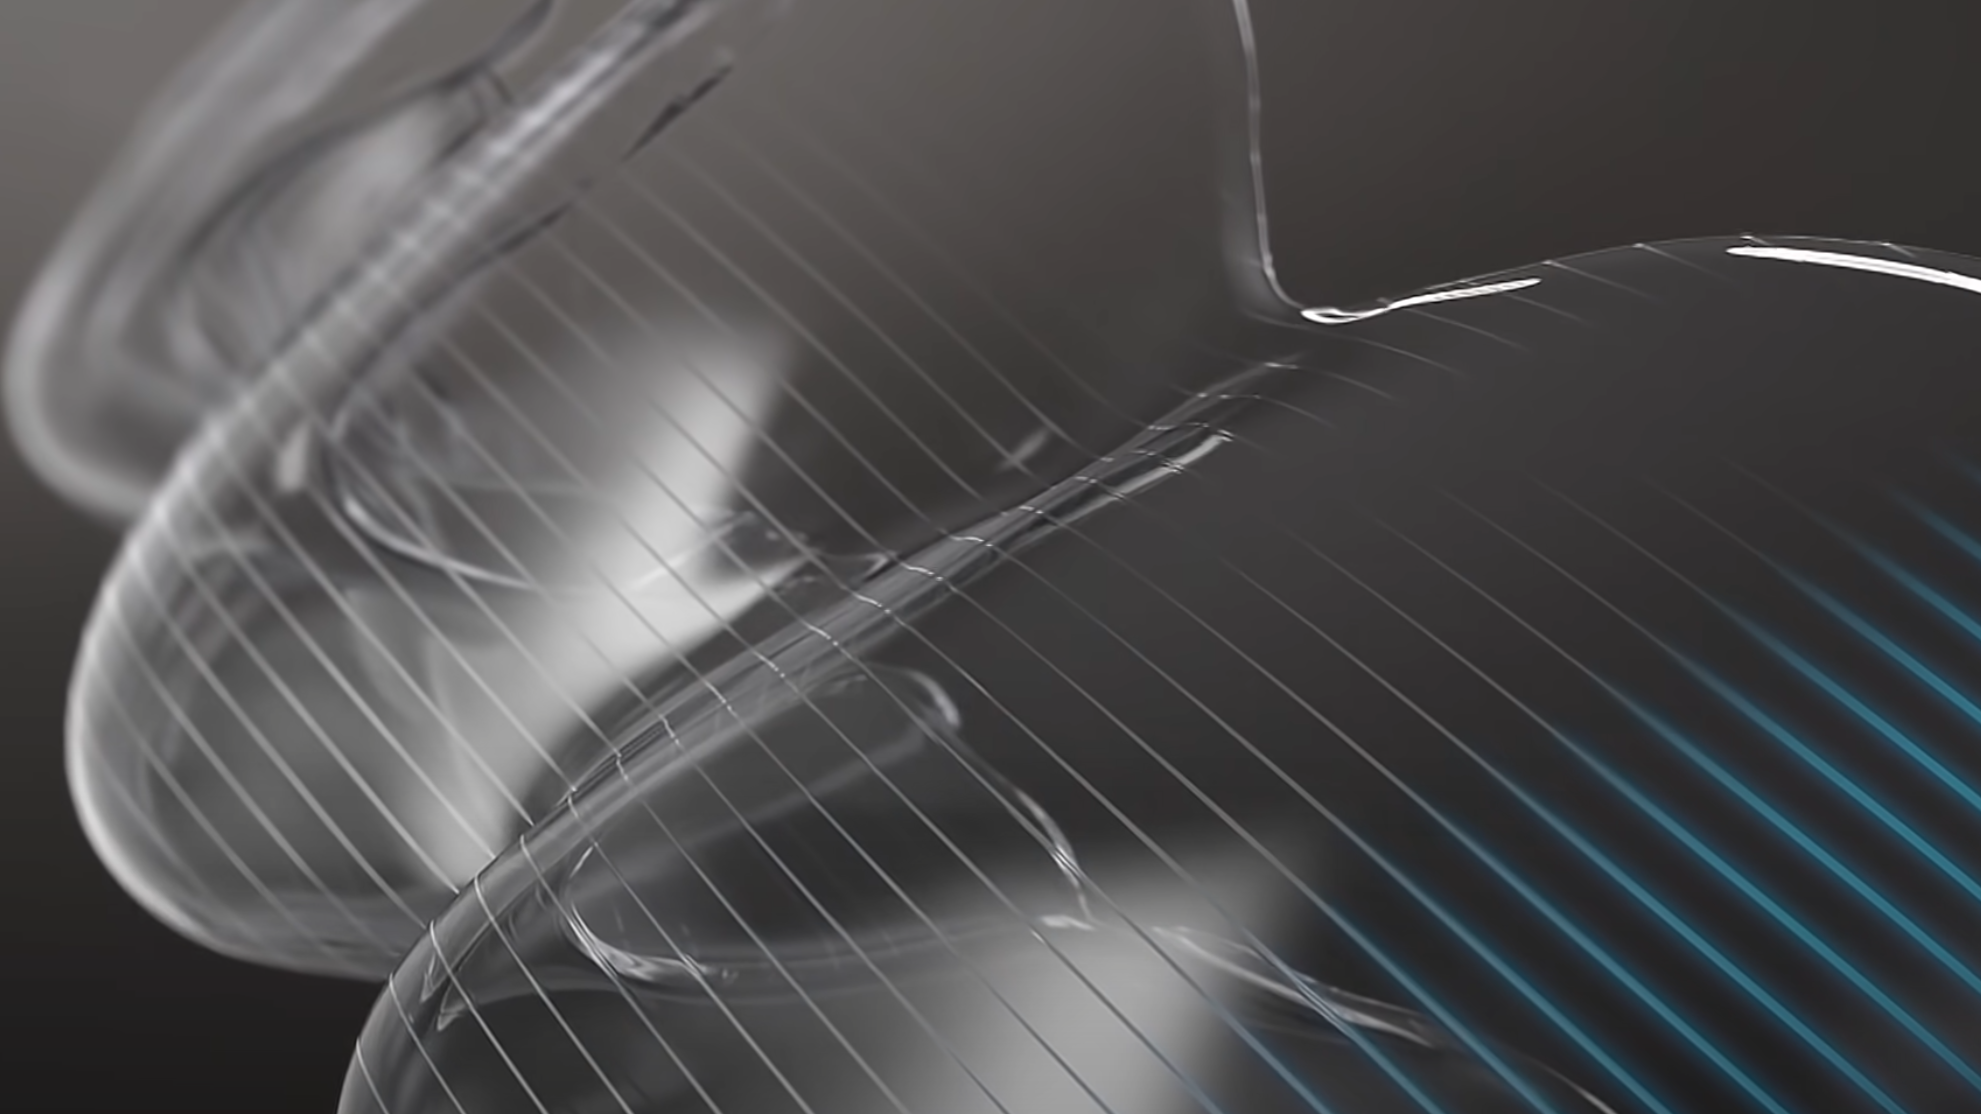
Is it also possible to make the white part in your example transparent just like in the picture I provided.
Because what I am looking for it is the same effect that is shown in my picture.
How you create the lines will depend on your object and its associated coordinates : UVs, position attribute… if you’re looking for maximum sharpness I advise making them procedurally, since it’s really simple. Here is an example where I used the lines to modify glossy roughness and refraction roughness to get something vaguely similar to the picture you provided
Thank you very much for helping, I tried yours out and I do think I will find a use case for it. It is very informative. What Hadriscus has posted is a little more closer to what I am currently looking for. But still thank you for the good effort!
You have to think of a mask as numbers : 0 for black, 1 for white. Click the other material output node I left in the material to inspect what the values are. If you plug the mask as-is, the lines will be 1 and the areas in-between the lines will be 0. That’s why I used a map range node to remap these values to a range that makes sense for the material, in this case roughness. To invert the effect, invert the values