Looking for tips on realistic spaceship renders

If you open the “light” tab (visible in your image), you will get all those other passes, which you can check so they get saved. Instead of being output to different files, the EXR multilayer will allow them to all be in the same file, which Blender’s compositor can read (it’s quite heavy if you save them all though).

There is a way to fully reassemble all the passes into the original render, but it’s a bit tedious and, in my opinion, of questionnable use for an artist working alone, as you know your own vision and can adjust the materials easily before render.

Here is the guide for combining all the passes, taken from Blender’s documentation.

render_layers_passes_combine

You can right click on the number to get the keyframe option, or use the shortcut “i”.

1 Like

Thanks so much for all the info, especially the keyframing for motion blur. I assumed that if a property didn’t have the keyframe icon to its right, it wasn’t keyframeable.

I think you’re right in that maybe the multiple passes is not a good idea in my case. It overcomplicates things without much advantage.

One thing I’m having trouble with, going back to the Nurbs curve is that even though I set both preview and render to the maximum of 64, and on the viewport I can see it totally curved, when I rendered that segment with motion blur set to 10, I still don’t see it as a curved trail, but a segmented one:

Screenshot 2024-03-05 at 21.20.55

Hopefully you can tell that there are straight segments there as opposed to a smooth curve.

Any ideas why the render is not seeing that setting?

1 Like

Have you used both the curve settings and the motion blur settings we discussed earlier? Even if your curve is now smooth, the motion blur steps are still going to be needed: you have motion blur that spans multiple frames, so it needs to sample the location of the object in multiple spots to get the trajectory correct.

1 Like

Yes, if you’re talking about the motion blur in the Object tab, the one you had mentioned yesterday I think, I actually thought of that after I posted my last message, and set it to the maximum of 7. But I keep rendering the same frame, which is one of the frames I posted above, and I keep seeing the same straight segments.

Just so I’m clear on this, you’re talking about the motion blur in the nurbs path, correct? Because when I select the camera, at least in the Object tab doesn’t have a motion blur setting like the path.

1 Like

I’m talking about the motion steps on the ship, not the curve.

1 Like

So, the ship is under a parent, but if we’re talking about meshes, they are under 2 or 3 levels:

As far as I can tell, the only way to get that motion blur setting is to select at least one of the levels that has the triangle icon (still not sure what that is), under which you can see the mesh. Only then that MB setting becomes available.

So do you think I should go through the whole thing and set all the meshes to MB 7?

1 Like

Ok, I just tested it and you need to setup the steps on the mesh even if it’s parented to something. The number of steps doesn’t seem to affect performance much, so you could set it to 7 without issue.

Also, if you have multiple objects, there is a way to do them at once. You select them all, set the steps to 7 on one of them, then right-click on the value and choose copy to selected.

1 Like

Oh man, I was coming to tell you that I did exactly what you told me here. I filtered by meshes, selected all of them, changed the MB to 7, copy to selected (which I learned a few days ago and it’s a kick ass feature BTW), did a render of that frame and it looks gorgeous!! Thank you sir!!

2 Likes

Can any of you gentlemen think of what could be causing this fantastic work of fart? Especially since it happened with a render automation I left rendering before leaving earlier today and it’s the same project that had rendered many more frames without issue, but this batch got a little carried away with the motion blur and some crazy shakiness out of nowhere. That was for 19 frames until it crashed.

And when I came back I rendered one of the frames that is all messed up from the exact same project and it rendered fine.

This is the messed up one:

And this is the one I rendered when I got back:

Is this just a random glitch or can you guys find a reasonable explanation?

1 Like

Motion blur sometimes glitches for me in Cycles, it’s a bit unstable
I usually just re-render the bad frames

Thanks for your input. You’re right, when I kept rendering the same frames I didn’t see the same clusterf**k from yesterday. And at least it rendered like 200 or so frames before it crashed this time. It looks like something in this project is not sitting well with Blender.

1 Like

(Note because this thread is too long, so for context, this is about keyframing motion blur in the Render tab)

Can it be possible that when you set any keyframing in the render tab, even if most of the timeline remains at the default 0.5 setting, that it has to read a few frames around the one that is rendering before starting the actual render?

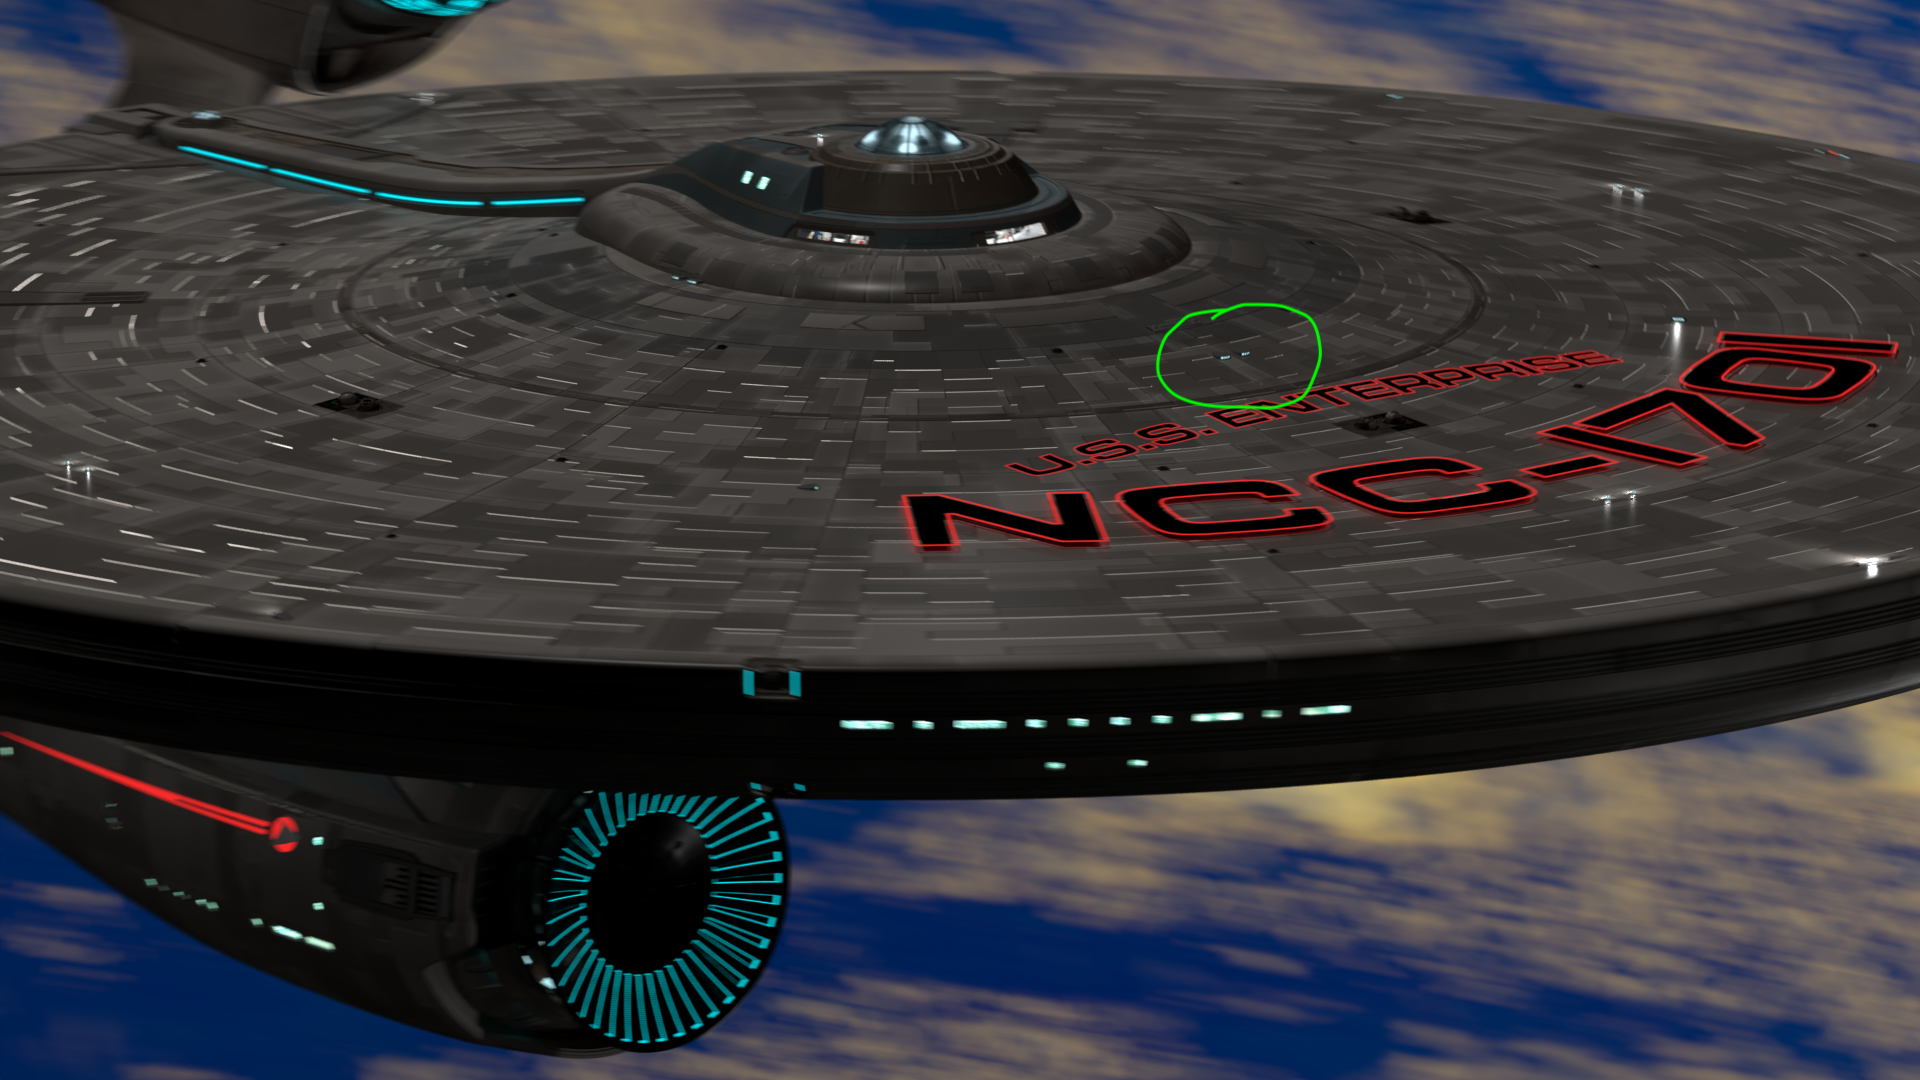
Here’s why I’m asking: since I started this project about three weeks ago, each frame would take about a minute to render at 2048 samples, and maybe a minute and a half at 4196 samples.

Now it’s taking about two to three minutes per frame, but the rendering time is about a minute and a half; what changed is that I can see that before each frame starts rendering, the viewport, which is set to the camera view, shows a few frames of the animation, I’m not sure if the frames before up to the one that’s going to be rendered, or the ones after, or a few before and a few after. But that obviously adds time to each rendered frame.

So that 's why I wonder if keyframing motion blur in the render tab forces it to do this pre-animation of about 20 frames, or if maybe it’s caused by some other parameter that I changed recently, like the other motion blur at 7 steps, or the Resolution Preview U and Render U for the nurbs curve.

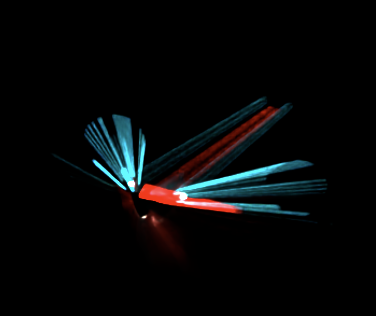
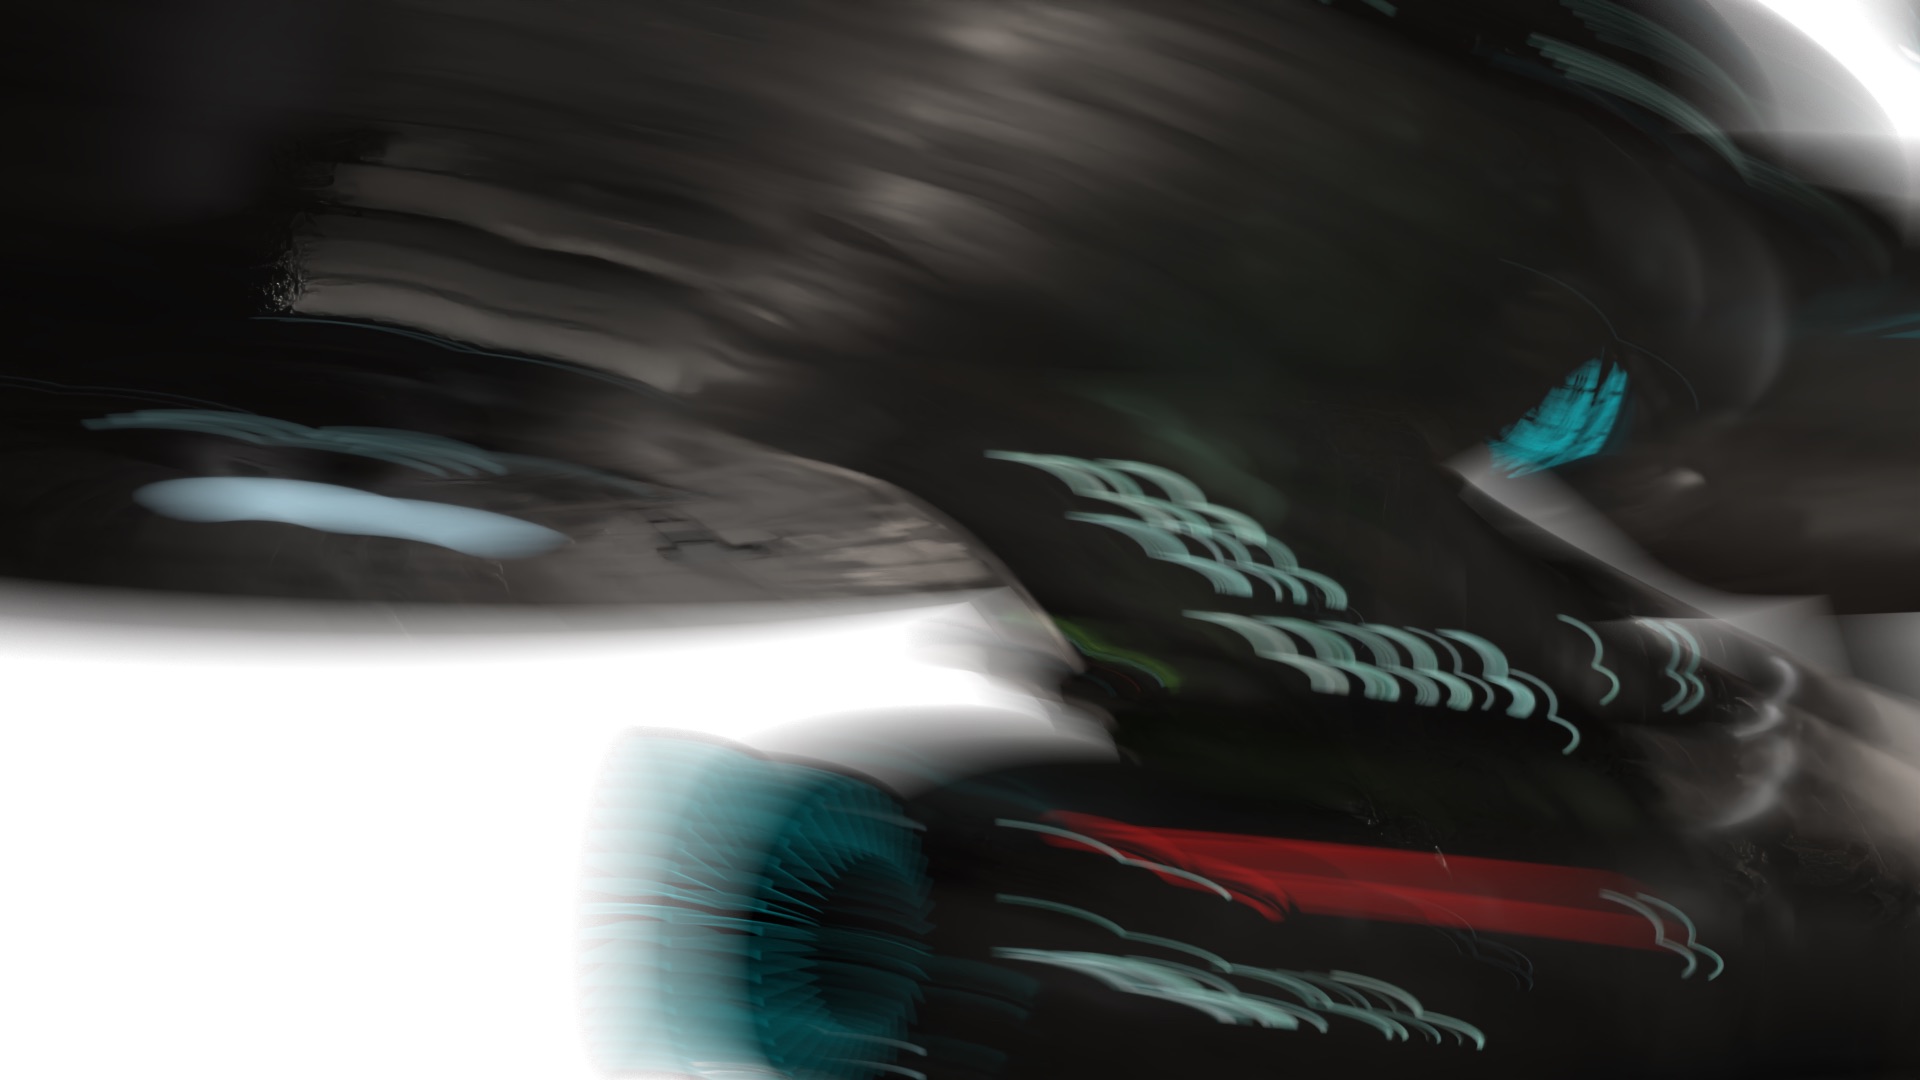
Right now, the only keyframing for the render tab motion blur is one keyframe at frame 750 at 0.5, so everything before it is that value, and then another at frame 800 at value 10 I think. Both have bezier curves in the graph.

And if there’s nothing that can be done, so be it, but it would be great if I can get the render times back to 1 minute or so. And stop Blender from crashing, but I already cleaned this project as much as I could, I can’t see what else I can do.

Yes, motion blur does load the timeline before and after the frame you are on. The motion blur’s number is actually a duration in frames, so the default of 0.5 means the motion blur covers a duration of half a frame. There is also a “position” setting, which allows you to choose if that duration is centered on the current frame, starting or ending on it.

If you set the motion blur to 20, Blender will have to go 10 frames back and 10 frames forward and store the models positions at both of those points. The motion blur steps stores the models at extra positions in between the 2 extremes, so curved trajectories can be taken into account.

If your scene allows it, you could try reducing the motion blur steps, to see if you can get away with it. Maybe also see if you have something that makes it slow to scroll through the timeline? If you have a modifier or simulation that makes it really slow to change between frames in the viewport, the same slowness will affect the motion blur’s time interval too.

1 Like

Yes, I can definitely see that now. I was playing around with different motion blur numbers and saw that the higher the number, the more frames it has to review.

You mean as steps to prevent it from crashing or just for the motion blur extra rendering time? I’m done rendering for now, so it’s fine. In the end I set the MB to go from 0.5 to 30 with a cubic interpolation, and it took about 2-3 minutes per frame.

As for the crashes, I did everything I could find online as troubleshooting steps, and at one point thought I had fixed it (Blender crashing a bit too much on my Mac - #2 by 3Dimensional) but eventually it kept crashing, although not as bad.

1 Like

I was thinking maybe reducing the steps would make the render faster, because there would be fewer positions to go through. I am not sure if it works that way though, I have never needed to use multi-step motion blur.

Usually, I would use “command line rendering” for extra stability, but there doesn’t seem to be an equivalent on Mac. If you have access to a Windows computer, that is something you could try. It allows a render to happen in the background without Blender actually being open and it’s a lot less likely to crash.

1 Like

One thing to keep in mind is that the maximum realistic motion blur is 1.0, more than that is not achievable by real cameras, so use with caution

1 Like

Are you sure about that? I haven’t used my DSLR in ages, but I remember being able to setup the shutter speed to something so slow that it would be open for several seconds before taking the picture, and I used that for creative stuff like walking around with a flashlight and drawing things in the air.

There’s an excellent low budget horror movie on Netflix called “I Am the Pretty Thing That Lives in the House”, which uses that effect very well at the beginning of the movie. Unfortunately it’s hard to fully appreciate it thanks to Netflix trademark low quality for small budget films (I don’t mean the cameras they used, but rather how Netflix compresses the stream to something absurd like 1 MBps).

1 Like

Yes, but photography is different from video, in photography you can open the shutter as long as you like, but in video you have to close the shutter before the next frame, so you’re limited in shutter speed to your frame rate. Hence, a Motion Blur setting of 1.0 in blender means the shutter is open 1/24 of a second (one frame, assuming you’'re using 24 fps), and a motion blur parameter of 0.5, which is the default and recommended setting (with motion blur enabled) means an exposure time of 1/48 of a second, or half of a frame. A motion blur number of, say, 10 would have an exposure time of 10/24 seconds, or 10 frames, which is sort of impossible irl without doing tricks with the video in post

That being said, I do use higher than 1.0 motion blur sometimes for npr renders :wink:

1 Like

Gotcha, so Blender fakes the motion blur when it exceeds 1 second.

Another problem I’m having now is this:

As you can see, there are light reflections that are going in a different direction than what they should. I mean, if they reflect in any way, it should be straight towards the camera, but obviously that’s not the case.

The first thing you may ask is if those lights are spotlights pointing in the wrong direction, but I checked and some of them are even point lights, which obviously don’t have a specific direction.

Even weirder, at least some of them seem to keep pointing in the same direction as the camera travels:

Then we also have weird behavior with some spotlights. In the next frame, look inside the green circle and you will see two lights that look blueish, but that’s just the color of the glass. In the scene, there are two spotlights that are sitting above those two lights, pointing straight ahead. You should be able to see the triangular light beam from this POV, but there’s nothing:

And yet, as the camera keeps going around the ship, just a few frames later, we see the light beams:

And in this case, the light beams do reflect correctly somewhat, at least the long reflection is straight towards the camera:

So I’m a bit puzzled by all of this. There seems to be two problems here:

  1. some parameter in the reflection is not set correctly, but I tried different things while reading the manual and I can’t get it right. And because of that, the light beams cause reflections in the very different path than they should be

  2. Something in the surface is not set correctly, so the beams of the spotlights are not seen. If you look carefully, in the last frame we see the reflections of the spotlights, but not the beams from them. It’s just the reflections reflected on the surface of the saucer. Does that make sense?

1 Like