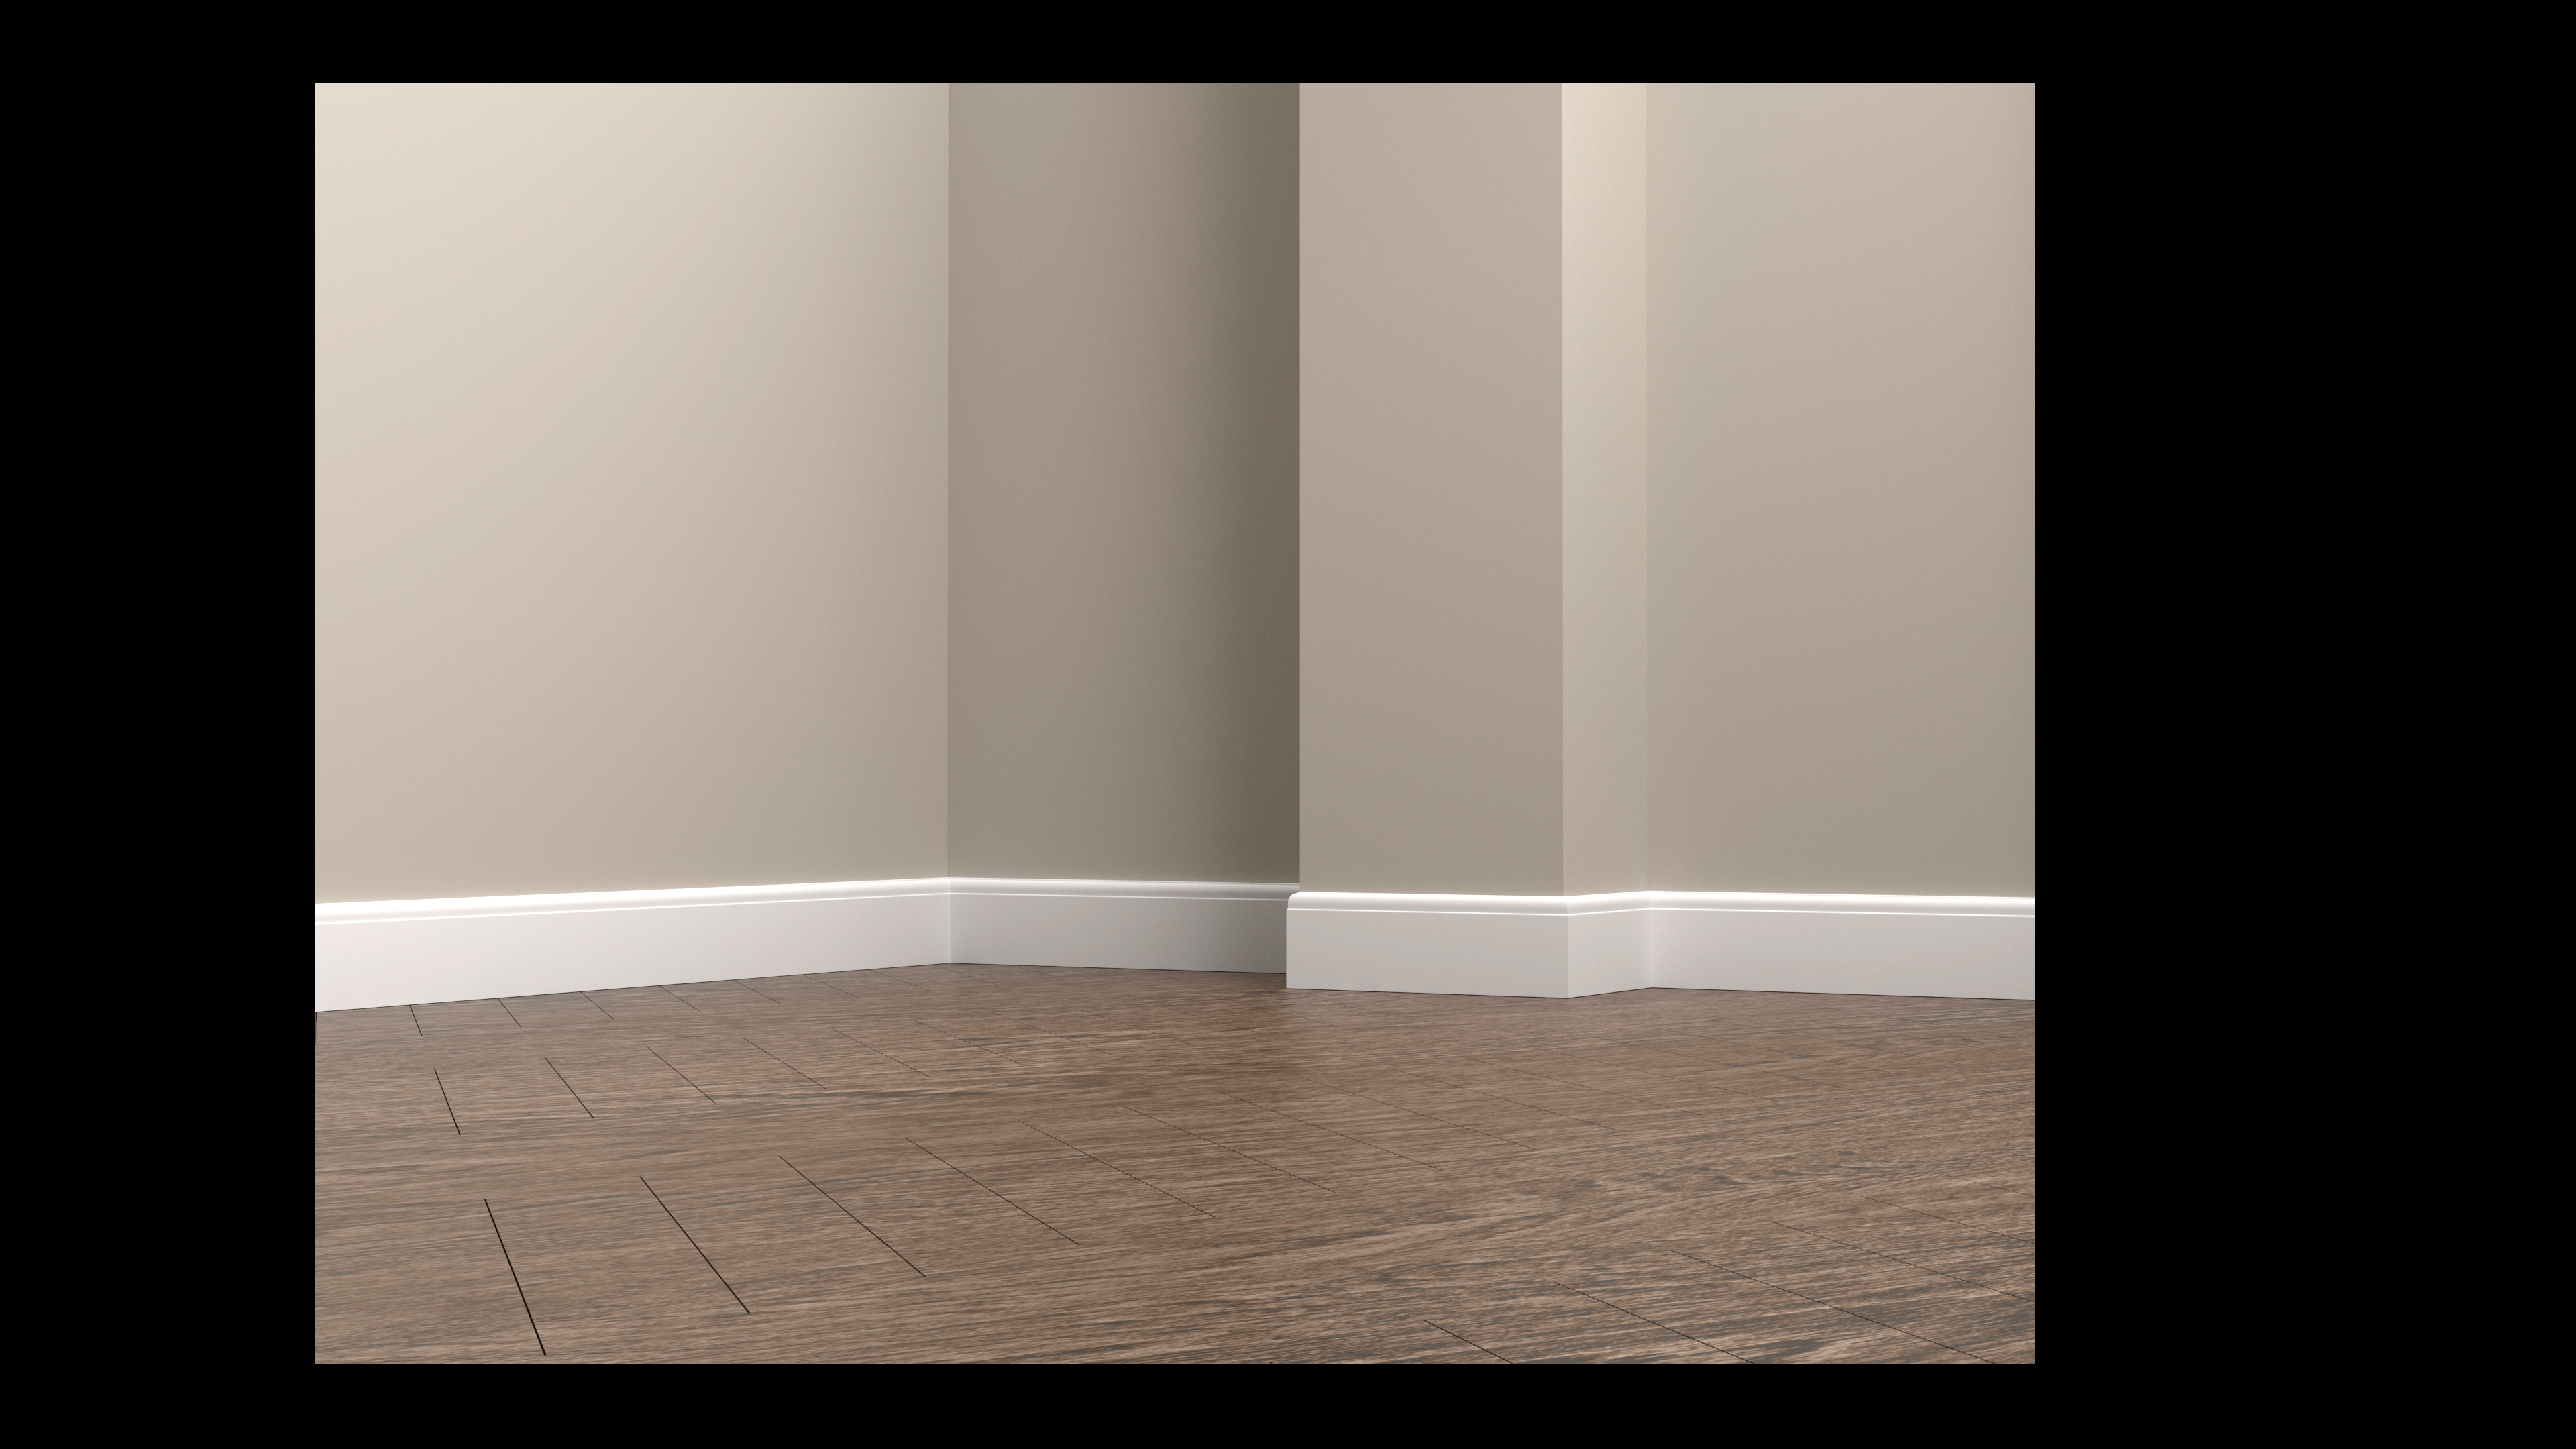
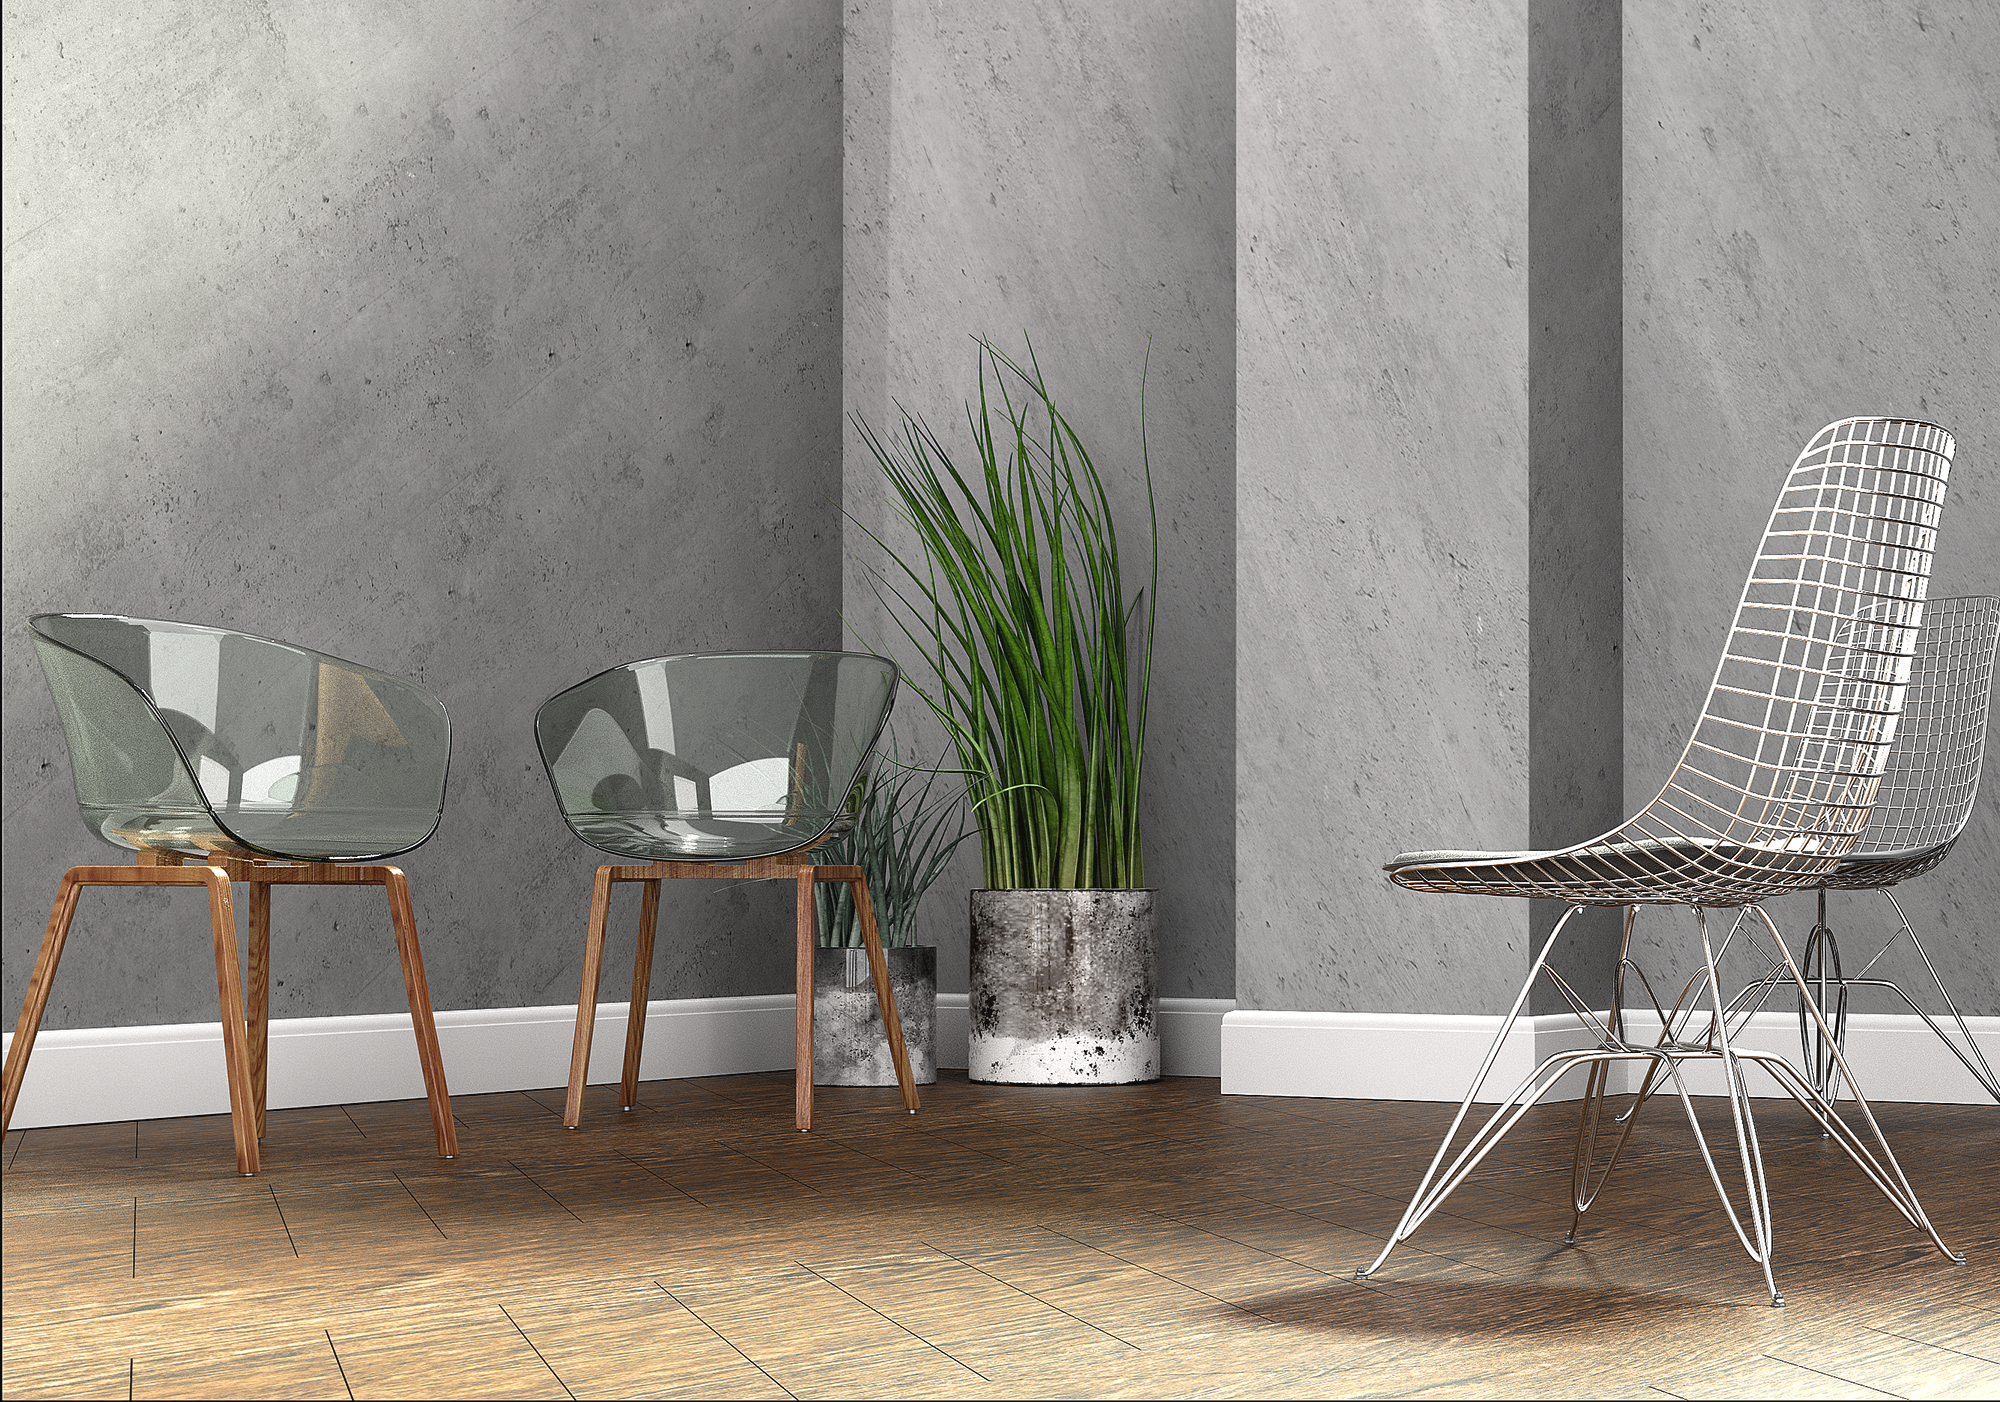
It’s my first little visualisation render ever . My main goal was to model an empty room space that consist of a wall, skirting board and wood floor, add some light and play with a settings to get a desired render. To achieve this goal I had to learn about nodes, a bit about light and some hard surface modelling. That is quiet an achievement for me given a just a couple of months ago I could hardly model anything.
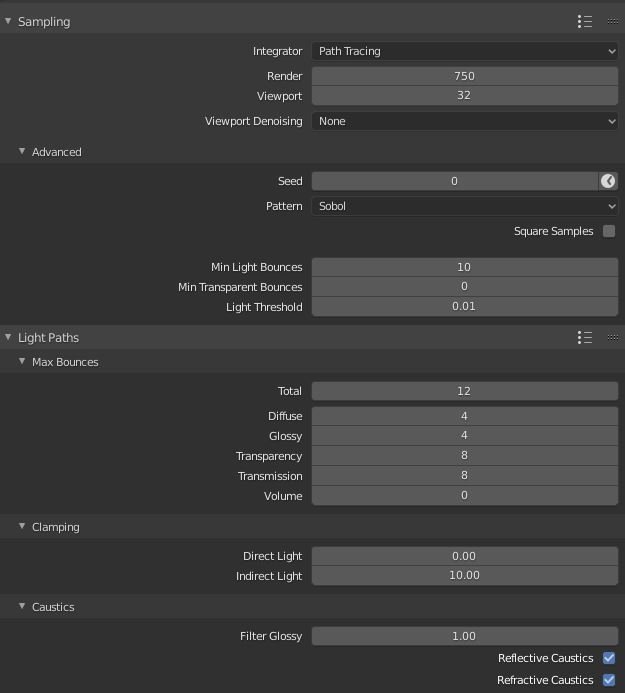
In regards to light I tried to introduce portal light however room lack contrast and I had to move portal light/area light up. The I have another massive area above it and a sun at minimal value right above the scene. I am aware that once I will model my room entirely ceiling will block all of the lights and I have to work withing confined space. But at the moment I had to do it the way I could and was able to achieve what I wanted. Initially I had trouble to get rid of the nasty noise. Increasing samples to 750 and min light bounce to 10 almost eliminated it. I would gladly hear some tips on how to push envelope even further here.
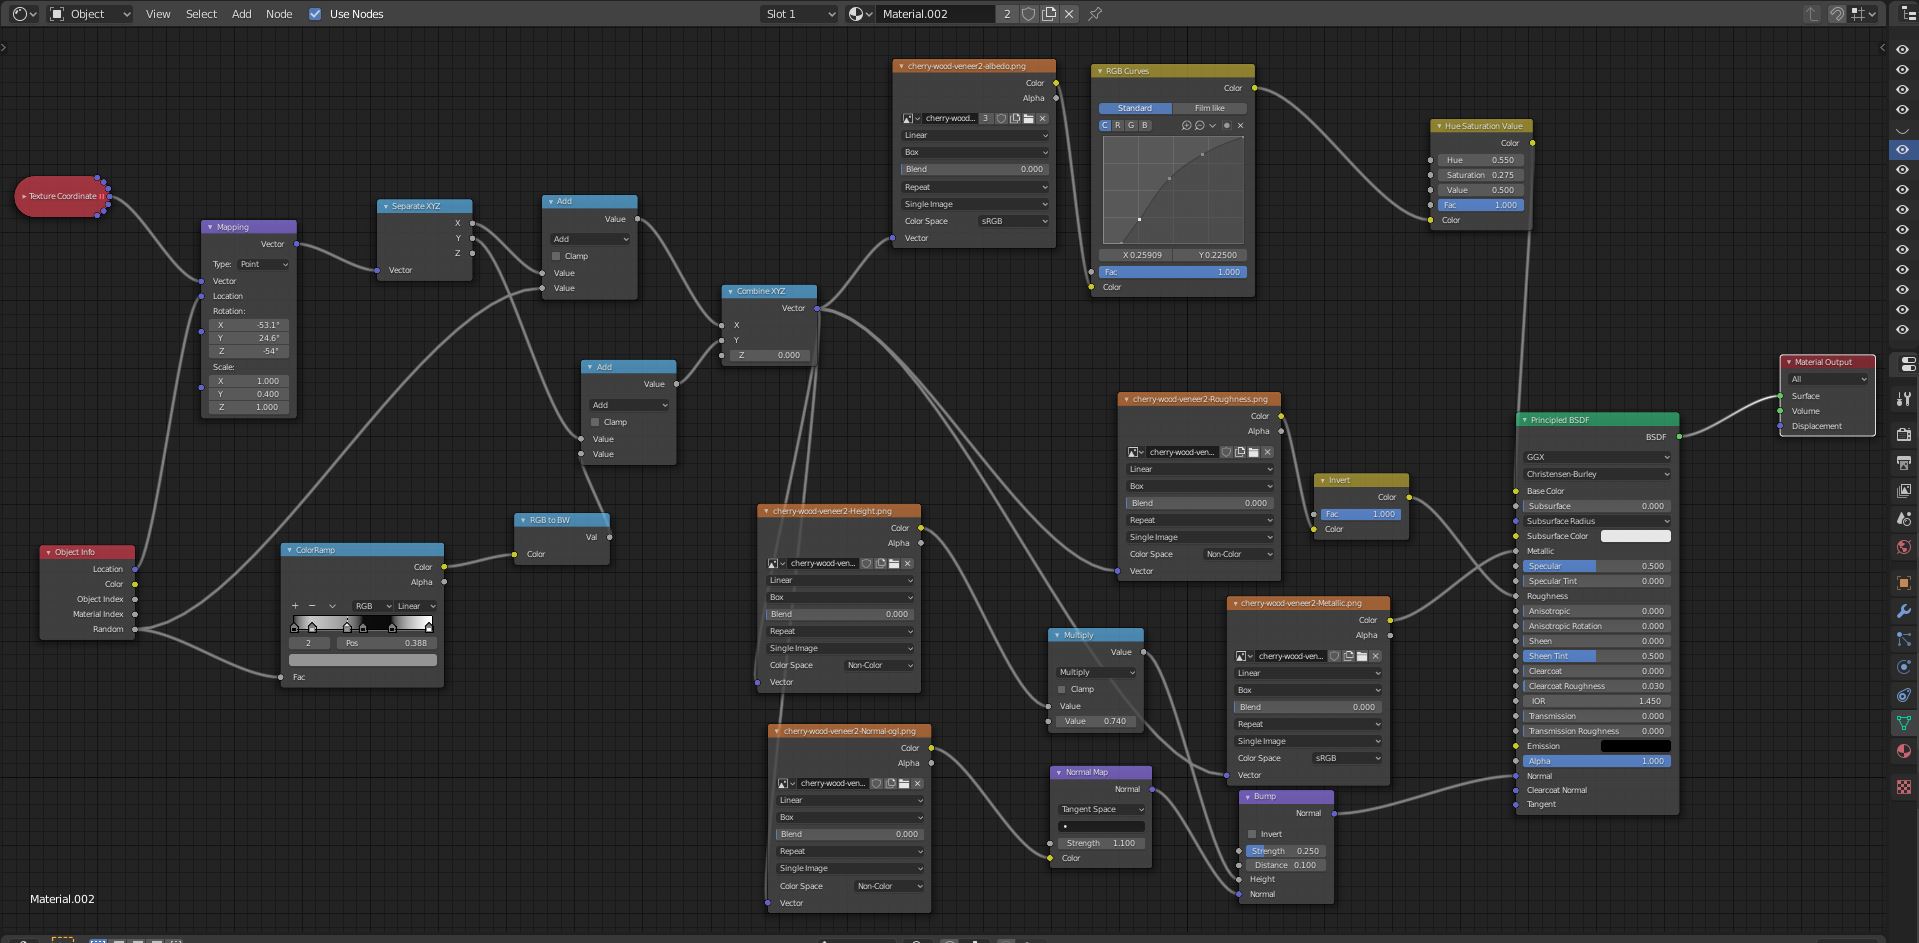
In regards to floor I used PBR wood texture with some extra node help.
I also have to mention that I should have did some bevelling since edges are too sharp. Wood node screenshot attached.
Skirting boards. My biggest problem was how to mitre outside corner of skirting boards. I was ideally looking for some rotation tool add-on that I could rotate selected verteces at 45 degree angle. But add-on I found would not install on my 2.83 Blender. So eventually CTRL + R did a job but at the same time it messed a width of the skirting board so I had to scale it back. I know it’s not ideal but I had no choice. Is there an add on that would do the job?( usable)
Eventually I want to model a single room fully furnished and accessories. I thin it’s refereed to what archvis do.
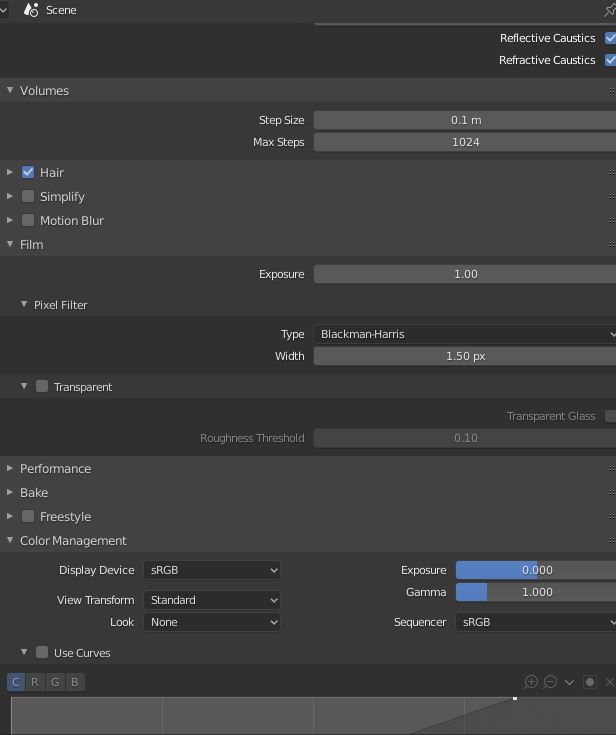
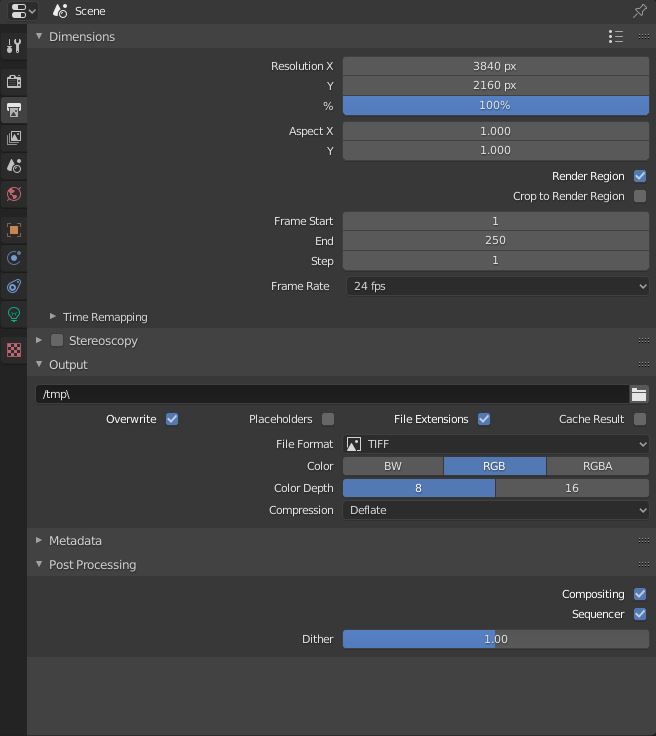
I would be happy to hear some constructive critique and advice from you. There are some screenshots attached that illustrates some settings I applied therefor.
So far I think your scene is at a great starting point, and hope to see it grow/progress! In regards to the baseboards, and getting a good 45 degree angle on them, I always use the shortcut “Shift+Ctrl+Alt+S” which is also known as the “sheer” tool!
In order to use it all you have to do is go into edit mode, select the verts that you want at a 45 angle, press Shift+Ctrl+Alt+S, then type “1”. Make sure you do this while looking at the top of the baseboard otherwise you may get unwanted results!
As far as your lighting goes, I don’t have many tips to give other than playing with your clamping values and possibly trying the awesome D-Noise add on made by Remington Graphics.
I look forward to seeing more updates if you keep pursuing it!
Thanks. I took me maybe 10 minutes to find out I have to add axis before hitting number. Worked like a charm. Exactly what I need.
I have installed Remington Graphics then ran 4 different test. Two of them were Blender with and without Optix denosier. The later was the best so far out of all 3 attempts. I looked also looked on the Remington Graphics sample before and after on their website . Seems to me R G denoising is too aggressive, even getting rid of finer details in image. On mu render RM didn’t do much of denoising but who knows I run Blender 2.83 version.
To be honest I am curious to see where I am going to end up. It is big learning process for me a I want to model most of the furniture and and scene my self while constantly playing with ideas in my mind. Thanks Wade !
I have noticed too that the AI denoiser can be a bit aggressive at times as well with finer details. Especially with things like metal/wood grain (in my day to day work), though I haven’t really messed with much of the settings to really fine tune it either.
However, I am glad that the sheer tool is what you were looking for! Modeling a full room, populated with various props can be a daunting/lengthy process for sure, but as you do it, you’ll also be building a library of your own to use for other interior renderings! I wish you luck, let me know if there is possibly anything else you may need help with!
Thanks. Not sure what GPU you use but RTX cards with enabled Optix Denoising is fast and good. If not I am sure you are careful how sparely to apply it.
I know, indeed, it’s daunting and sometimes exhausting. The further I progress with my room the more I have to learn. Currently, I want to learn about light and how to apply it and compliment environment with different light set ups. Is there anything you could advice, tip me with some tricks?
Last couple of days I played with concrete wall idea in the room, light and few assets. Finally when I introduced sun light I believe my scene came to live. Next for me will be sofa modelling, then wall mounted cupboards/shelves in the middle between two columns and rug.
My biggest trick on lighting (that works best for me), is to create the room like it would be in real life. So if this room should have a roof, 4 walls, with 1 to 2 windows in it, I would create that and put area lights in the windows as area lights (not portals (portals for me are harder to work with and is harder to have artistic control over)). And then any light props like lamps, sconces, fire place, ceiling lights, etc… you have in your scene will help (but can hurt your render if it looks like it shouldn’t belong in the scene).
From there it’s just about tweaking your brightness level and color of the lights. In personal taste, I prefer lighting with medium-dark soft shadows where the only light comes from the window(s). But everyone has their own taste on what looks the best! Using a blackbody node plugged into your area light is great for creating different time settings and/or light colors. Use a blackbody chart to help with this like this one:
one thing that can be important in architecture, is to always place the camera in a realistic location. You very rarely see architectural photos taken half a meter from the ground, try putting it between hip and chest height.
I will keep that in mind. I have also to look into portal which I thought I was doing right but all I was doing is placing area light in the window ( which you do).
I do prefer softer light too with gently diffused shadows. I think I saw some people very successfully mix both techniques soft wide spread light that gives desired soft shadow with some sun rays penetrating room too.
By the way is this how area light source is made with Blackbody node? I simply took cube and made flat square panel ?
That is how you use it! I would suggest using actual lights with the blackbody node plugged into it however as they can be sometimes better at producing light, and have less artifacts. Also, since you’re doing Aarchviz and you typical will model to scale, 2.8 now uses Watts as the light power. So this can greatly help bring realism to your scene, such as if you know the light bulbs are 75w, 120w, etc… you can now type that into the light settings and it’ll closely reflect that! Just keep in mind your scene has to be to scale, otherwise you could have like a 5000w light in blender to get it bright enough which in real life is crazy amount of wattage for a lightbulb haha.
Thanks. I will make some note in regards of it. One thing somewhat bothers me lately is the blackbody node sample I posted. Soon after I forgot how to make it glow. I need to make light bulb inside of the lamp shade that glows and I think it would work out. Any idea how I could achieve it ?