Hi there.
I was wondering if anyone can help me here. I’m not entirely sure if what I’m trying to do isn’t possible or my setting up is wrong.
So. I’m rigging a character that has a cloth, pretty much like a skirt. I already have the character fully skinned and rigged. Now, as I am using bones for the cloth, I was thinking maybe I could create a low poly version of that said cloth, using a vertex where every bone is positioned. Then use that low poly mesh with cloth physics where my bones would be targeting those vertices to replicate the cloth simulation with the actual rig. But ignoring the rigging side of all this, I am struggling to figure out how to set up the actual cloth simulation. I keep getting it to shrink and expand slightly as I start the timeline and I can’t manage to get better results. I tried adding more subdivisions in case that was the problem for simulating better, but I get similar problems just with less performance. So I’m kind of stuck now.
If anyone could point me out some ideas or anything, I would appreciate it. Thanks!
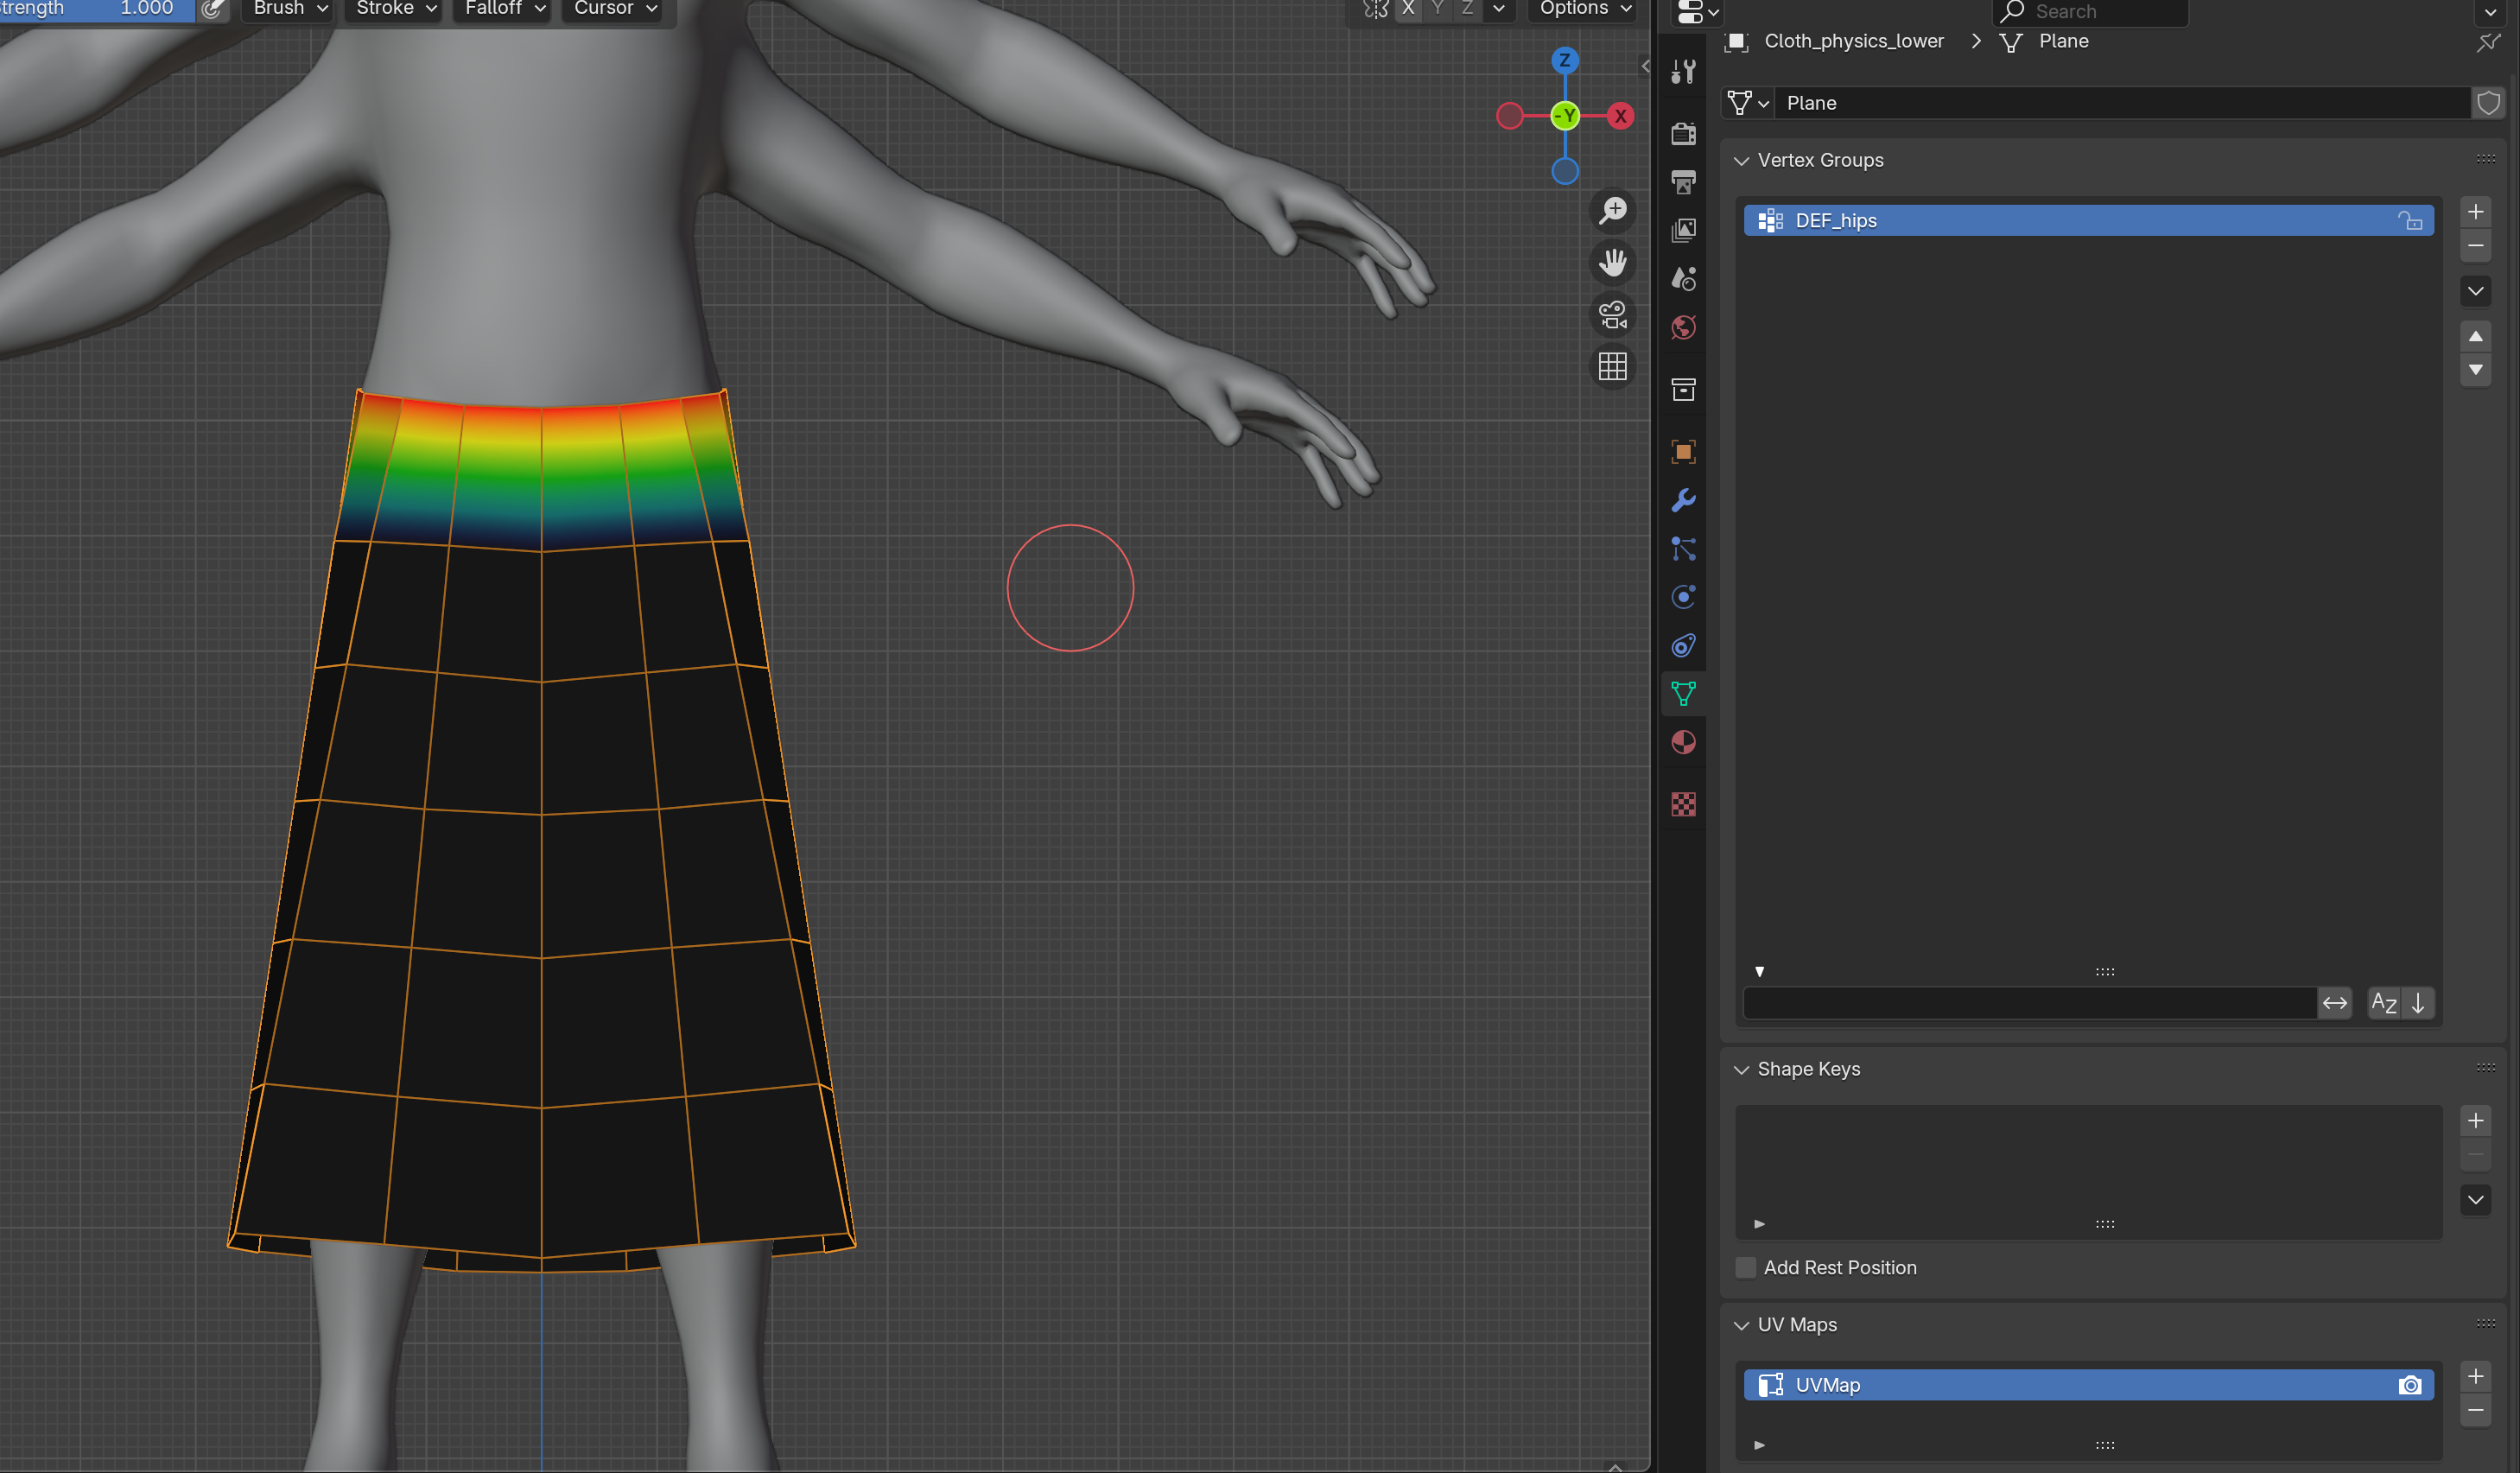
You need to show us the Bone Influence, ie: The weight paint… looking at your screenshot I would say that the Skirt needs to be painted from top to bottom using the bones.
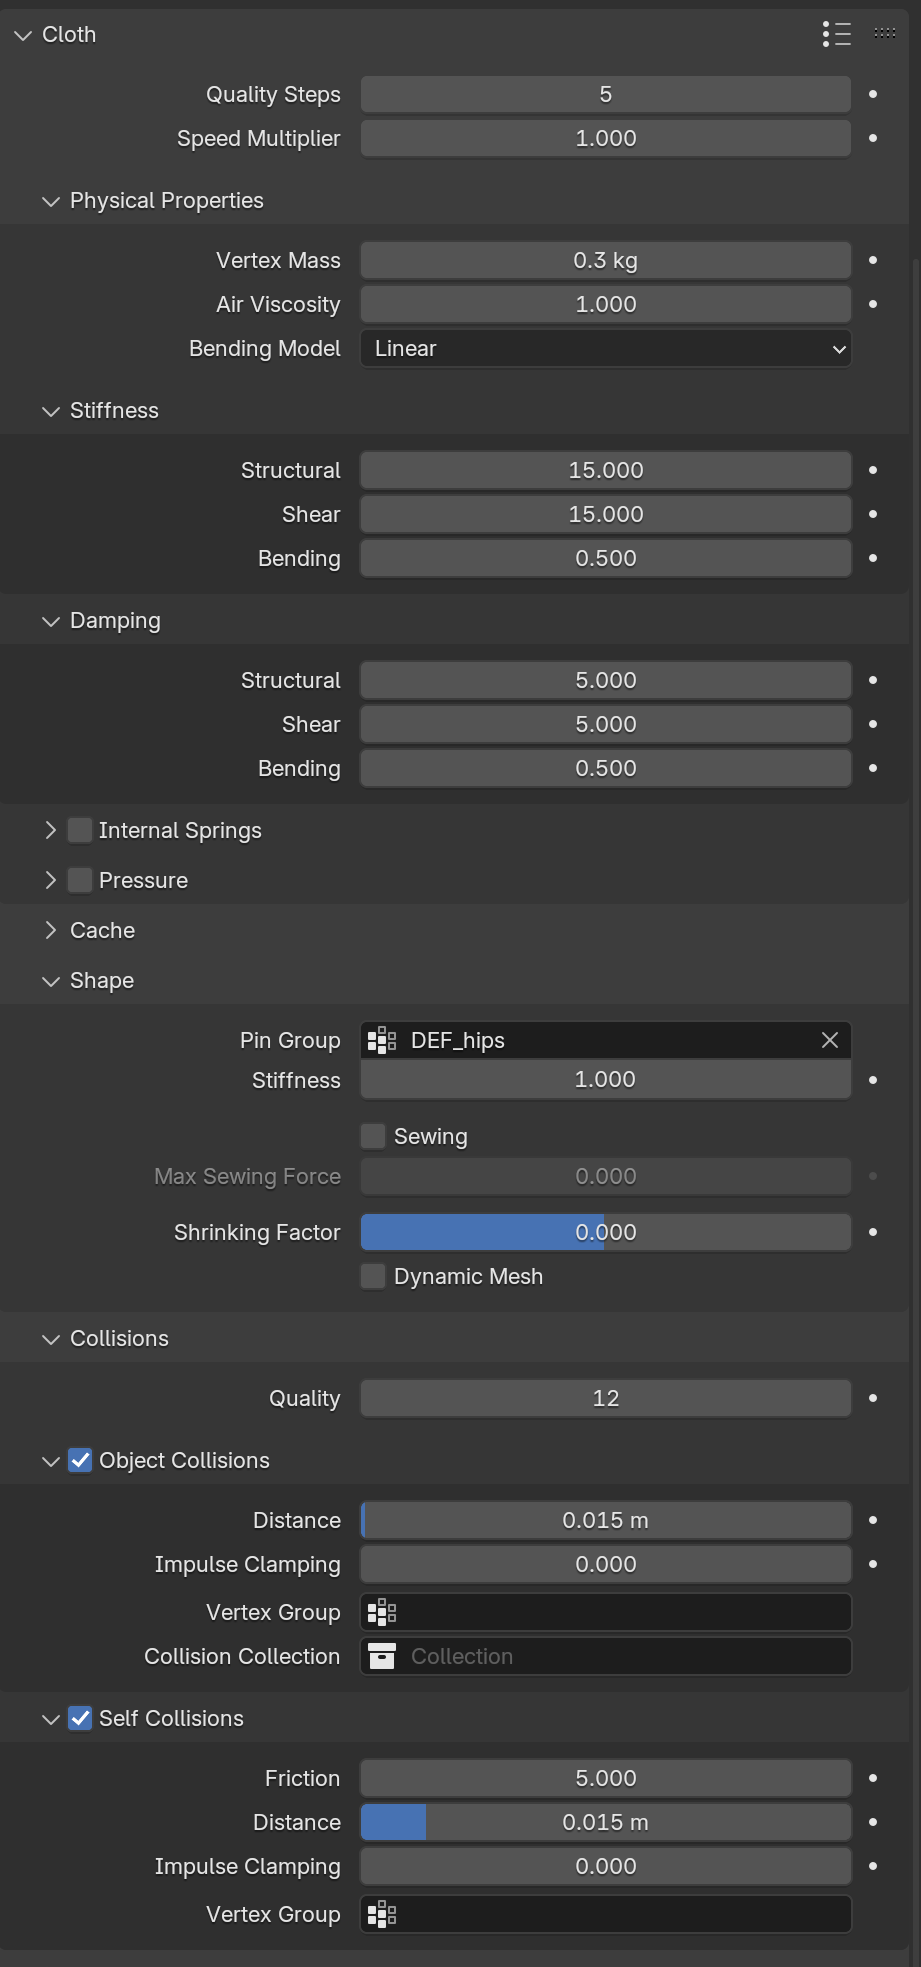
This is with the Pin Group is selected and its influence…
That would just skin the mesh to the skeleton cloth bones again. That mesh I showed is not the the one skinned to the armature. It’s a lower poly mesh where the amount of vertices are same as the amount of bones the original cloth mesh has. The idea was to use this low poly mesh with a cloth simulation to drive the higher poly one with bones.
What seems to make it work better is scaling up the model like about 10 times and then it looks like it collisions better. But at real life size, even changing the collision distance values; I get that weird shrinking and inflation behaviour. So I’m not sure what other values to manipulate or if there is an issue with Blender calculating distance collisions at normal sizes.
Ok, I’ve not found any information to what ideal cloth simulation parameters to tamper, but I’ve found a semi workaround.
It turns out that cloth simulations in blender works best at bigger scales (bigger than real world size), so scaling up about 10 times looks enough in what I could experience. However I strongly recommend finishing your whole shot first, then parenting EVERYTHING to one empty, and finally doing the scale. This should preserve any additional collision objects you may use.
Once this is done, the cloth simulation can be applied and you shouldn’t get that inflation behaviour I was getting in my video example. And you can always tamper a little the collision distance, they seem to behave better at this bigger scale.
From there applying that simulation to the bones is another process that probably should be a full tutorial, but there are plenty of similar approaches you can find out there. Basically you need to use an empty for every bone involved in your skinned cloth mesh, and parent that empty to 1 or 3 vertices of your sourcing simulation (3 vertices will give you better results, so try selecting the closes 3 to your empty). And best if place your empties to have the same orientation as your bones. Then use a copy transform for your bones to target this newly created empties. Now your skinned cloth should follow whatever your low poly cloth simulation does. Same principle can be applied for rigid bodies, etc.
As mentioned, there are plenty of tutorials out there following this method using empties. But for my purpose here, the scaling factor was what gave me the best result with no buggy behaviour in my cloth simulation.