good stuff definetly usefull! ![]() can these then be baked as one texture ?
can these then be baked as one texture ?
1 Like
You could, if you want ![]()
yes I want that is the whole point here!!! ![]()
I found the solution and after alot of twidling around I will use 4K texture since it’s almost like the original and 2K is just too blurry.
Now here’s what I did:
I Make a copy of the tunnel for game from which I removed all unneccessary faces that I will hide with ground and other foliage. This way I got more space for the faces that will show thus more resolution per pixel or how you say it. I then made new UV map for this new Game ready tunnel and in that new UV map re arranged the faces so they wiill take the whole map. This I think how it is done properly anyways, but I forgot that I had faces that I will hide so thus couldn’t use the full potential of the map until removing them.
PICTURE OF NEW UV MAP:

This is the base on to which I will then add the decals graffits and other stupid writings what people do on tunnels. I would like to also add that the base is done with 2 textures. I first used the seamless concrete with poor lines on it and to that I painted other concrete texture here and there to give the walls randomnes / wear and tear look ![]()
Here’s few photos of the final Game ready tunnel with normal map and roughness map in use as well with the diffuse map ![]()


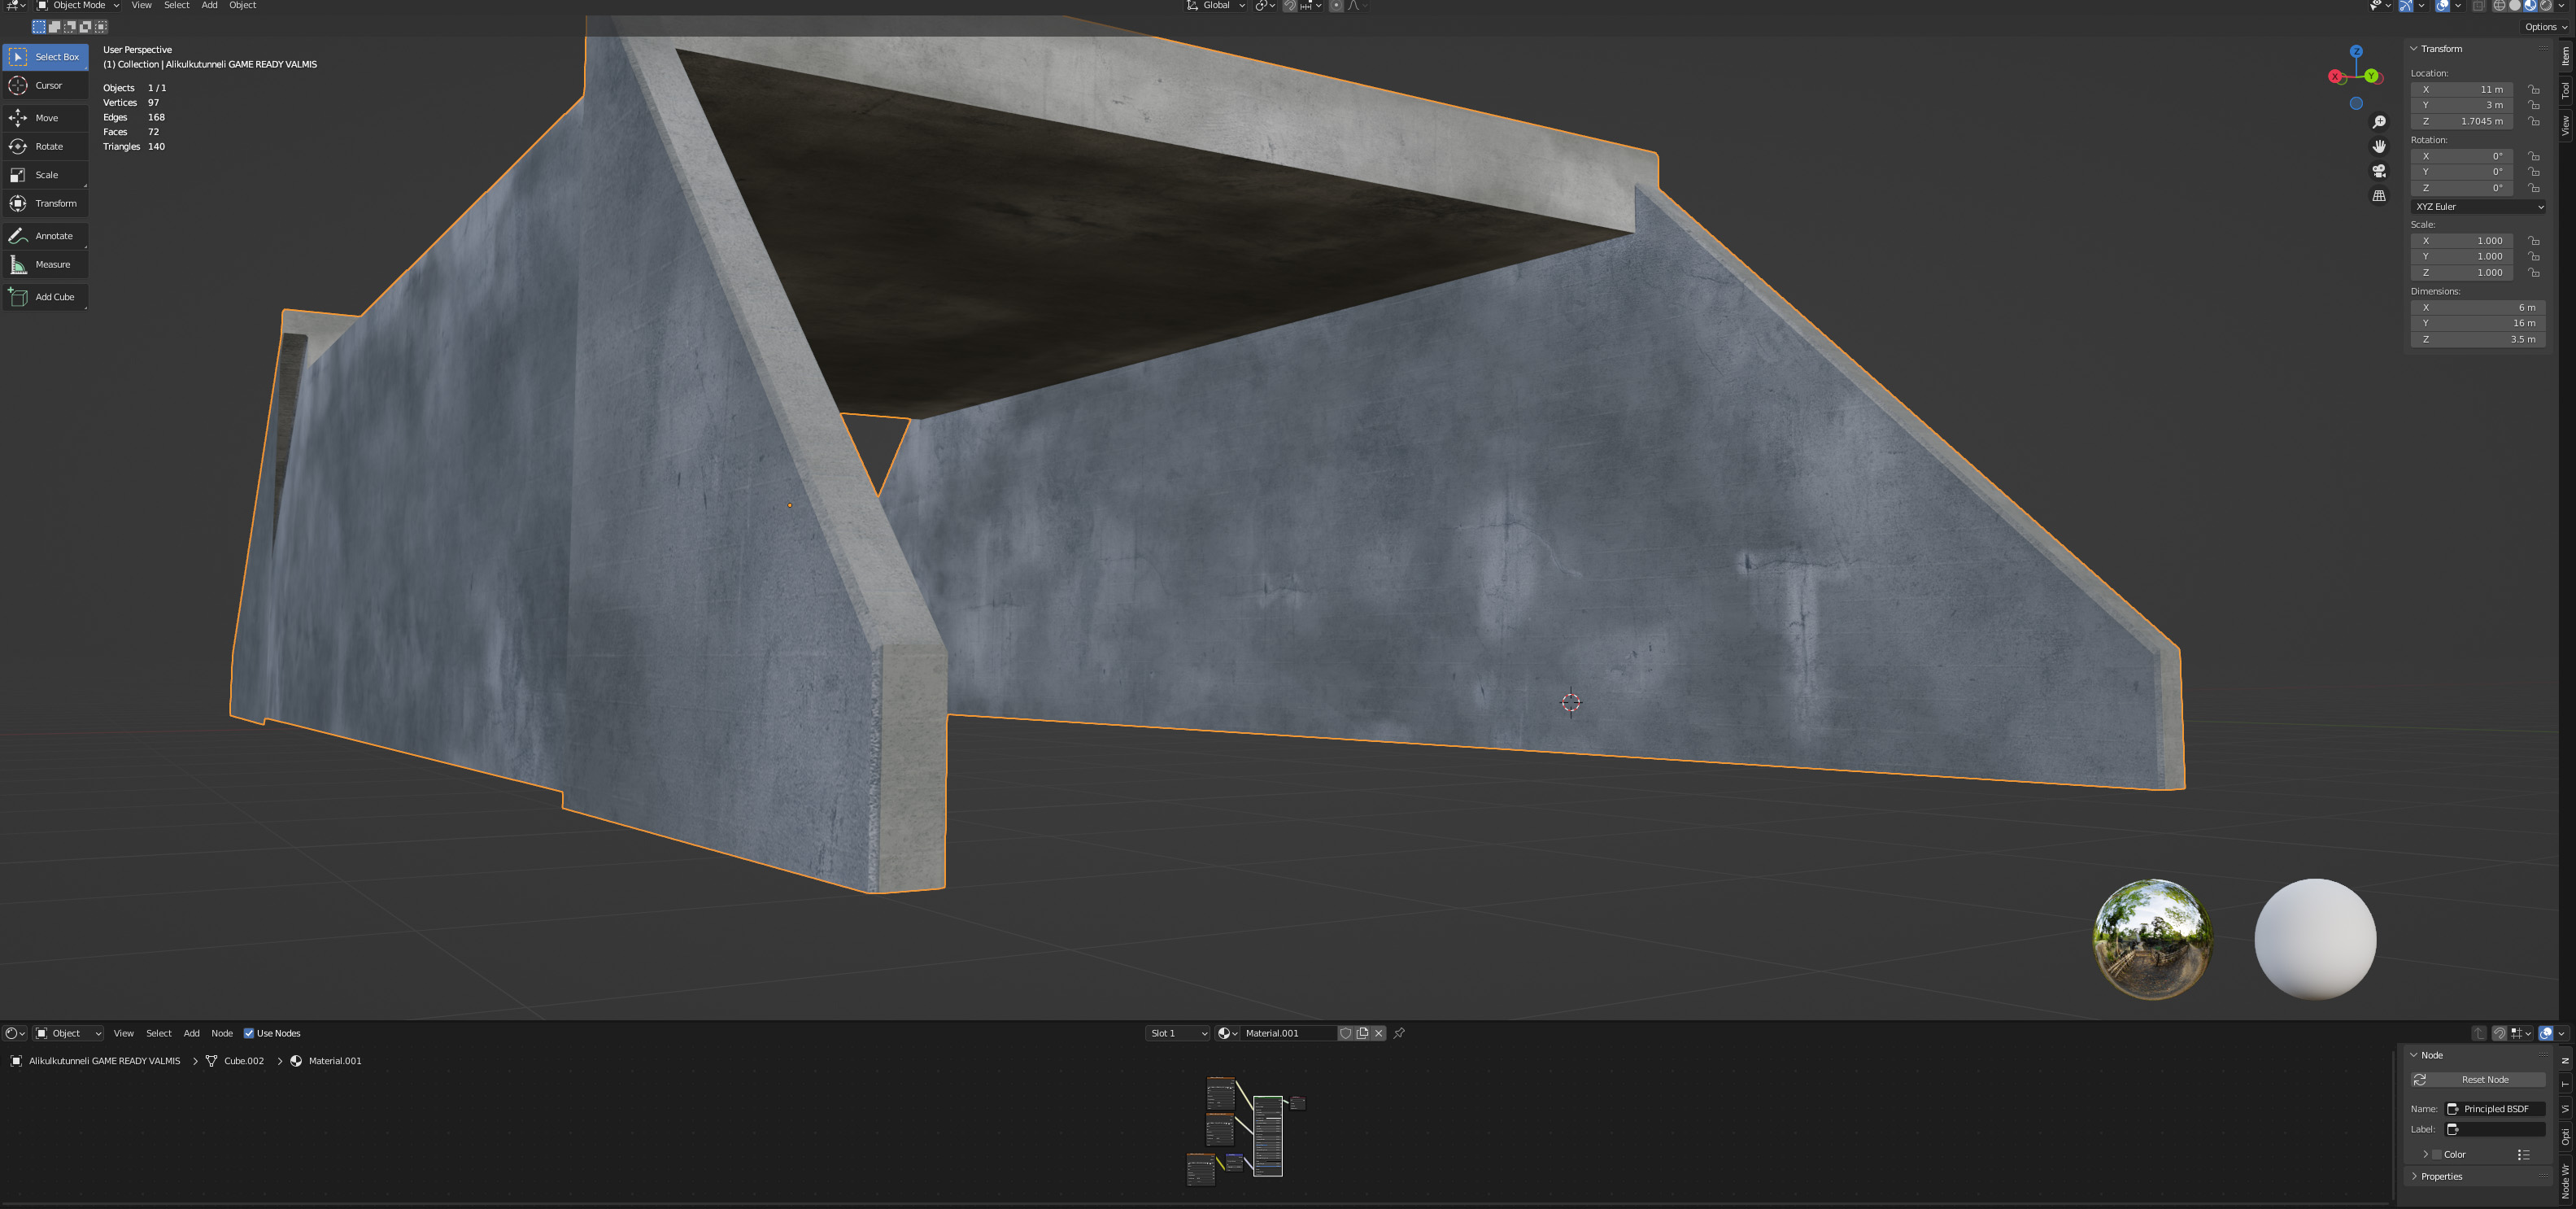
I’m pretty pleased to the results now ![]()
2 Likes
watched all decal tutorials, but I don’t know how to bake them into the concrete wall texture ???
My origianl idea was to add decals aka graffitis and other trash text to the wall with photoshop since it’s so easy to layer there, but if it can be done with blender please advise. Also I would like the wall to be shown under the black and other colored graffitis how I do that ? I like the concrete seams to be shown to make the graffitis look abit more realistic ![]()
If you used decals that are made with separate objects, you would have to do a bake between separate objects (doable, but more complicated). In your case, you are probably better doing them in photoshop like you planned, it will be easier.
The more realistic way to do it would be to have a bump/normal map for the concrete, then add the graffiti only in the color texture of the tunnel, but leave the bump untouched.
Something else you could do is to erase some parts of the graffiti a little using textured brushes or maybe play with blending modes, make some of the concrete’s grainy aspect and cracks poke through the paint a little in places.
1 Like
Just a suggestion and I don’t know if this option is available in your game engine, but here it recommends Cubic interpolation for bump maps.
https://docs.blender.org/manual/en/latest/render/shader_nodes/textures/image.html#properties