Yes, another Lux test from me. I have been doing some experimenting with the distributed path rendering settings and I think I have found the parameters that really affect the realism for a final render.
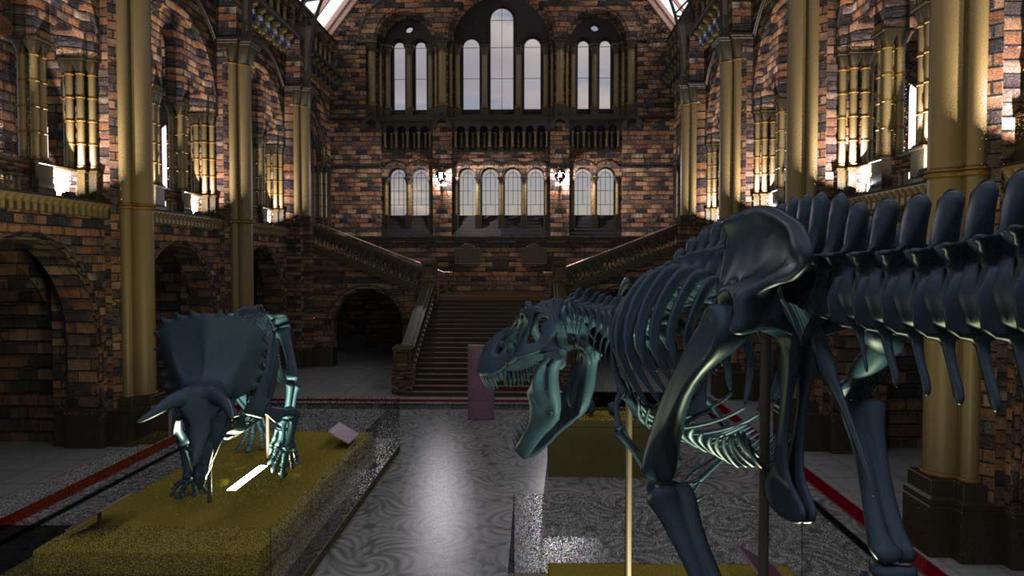
I am posting my render settings and the British Natural History Museum scene that I have been working with. The only thing I am not too happy with in this image is the glass. I tried to “cheat” the sampler and gave it only 2 bounces. I m running the test again with more bounces to see if that clears it up.
This image took 10.5 hours to render with a 532% light efficiency @84.52 samples.
The biggest gripe I have in this is the materials, some things seem too shiny/glossy; and trying to figure out what time of day it is. Also, I’ve never even noticed a distributed path option in Lux. Do you have a quick explanation of it?
this scene looks odd to me, I think you have some work to do with the texture and lighting, though the modeling is nice.
oh and I never got the deal with external render software I’ve seen some awesome stuff with blenders render so why should a person use this or any other over blender…?
@tatsuyame: Yeah, textures take more time to work out because renders take longer. I am not using a sky lamp so I am kind of faking the lighting. I have different light groups at different windows all with different gains. I see what you mean, however, not enough directional shadow.
@AdobeMan: I think the oddness is the misbalance of the brick scaling in my walls. They all are using the same image map, but I kind of eyeballed in the scale. I will probably have to revisit UV mapping with a better strategy in mind.
I felt the same way about external renders until I tried Lux. And what it offers is a realistic camera with lenses, there is an archtectural viewpont camera as well. Another great feature is the ability to turn a mesh into a light. While the Blender Internal Renderer can fake the camera stuff, it does not support turning a mesh into a light. And not only is it a light. but you can apply a photometric diagram to the light that matches a manufacturers existing product specification. So you can truly model a real light. On top of that you have light groups themselves. While a Blender node system can be created to alter the color of pixels after the render, during the compositing phase (hmm…this could be considered a secondary render) it can not actually change the light intensity that generated that pixel to begin with. Lux light groups do just that. They allow you to change the affect a light has on producing a pixel rather than simple altering the existing pixel. This means you can still mix your lights even after the render is done.
Apart from the rather strange texturing, it looks nice but I wouldn’t go that far and call it “realistic” - the materials are not well suited to demonstrate that, if you ask me. Another thing: I don’t know why you’d have to use the distributed path method for this. Why not Bidir (I’d not suggest path here, it would be way too slow)? Did you make some comparisons between different settings and methods? I’d be interested to check them out as well. Actually all of the methods should converge to a similar result so why bother, if it isn’t significantly faster (maybe it is? - only 84 samples after 10 hours doesn’t seem very impressive, is the image resolution that large?). On a side note, I think it’s way too blurry , but maybe you wanted to create that effect (I usually use the Mitchell filter with a setting of 0.5 - 0.6).
So maybe you have some more information on this, would be cool since I like Lux a lot, too
Actually all of the methods should converge to a similar result so why bother
This is certainly not true. Direct lighting looks way different than Metropolis and now I am seeing that low discrepency has it’s look as well. Even after hours of convergence.
I have just begun comparing the various integrators and samplers (mix and matching). Typically I just use Metropolis, but I saw a post on the Lux forum about the distributed path integrator and I thought I’d give it a try. One of the nice things about the DP integrator is that You can control the bounces and samples for the various material types and properties.
For me, it was a realism break through in the way the lighting is being rendered that BiDirectional was not achieving, not necessarily texturing. I don’t actually see the blurriness you mention (perhaps the forum has squashed my image with jpeg compression), but maybe I have been working on it too long to see my own mistakes. Using the DP integrator and low discrepency sampler, I can get a “clearer” picture then using Metropolis and BiDirectional.
Mainly I am offering up a road map to success for new Lux users. I have spent hours trying out various settings only to get lack luster results and images that are of no use as “finals”. By starting off with the settings I have posted, you are pretty much gauranteed to get an image of acceptable final quality (setting aside my noobish texturing abilities).
10 hours doesn’t seem very impressive
Ten hours was simply when I stopped the render. I had let it run overnight. I ran it again and it converged in only 5 hours also, I have already cut the 5 hours down to around 3.5 hours (on a dual core) for acceptable similar results by changing a few of the posted settings. For me, it is not so much about the time spent for the image, it is about the quality of the light which the Blender internal render can not achieve.
I don’t foresee using Lux for animation, except maybe in direct lighting mode, but that is more experimenting of course:o
Thank you for the info, I guess I need to check it out myself and see what the distributed path integrator can do.
Now I need to clarify some other things myself
True, my statement about convergence does not hold the way I formulated it. I rather meant the following:
Using the same sampling method (which is crucial for the look of the image, as you noticed - the noise you see depends on the sampler you use and the noise is actually caused by the variance in the stochastic simulation - which method of simulating the integral you use is set by the Integrator input - of the rendering equation), the methods path and bidir should converge towards the same result. That’s what real light simulation is about, after all…others, however, don’t (like direct lighting, which is no GI method).
It’d be interesting to see some more images using these settings. All the different sampling and integrating methods have their particular strenghts and weaknesses, unbiased rendering truly isn’t that easy, once you really want to master it…hopefully it really does help new lux users and they can provide some feedback
And the blurriness I speak of is only a matter of personal taste, I guess. It’s not a problem with the rendering settings, but just a matter of different AA filters…
Keep on experimenting!