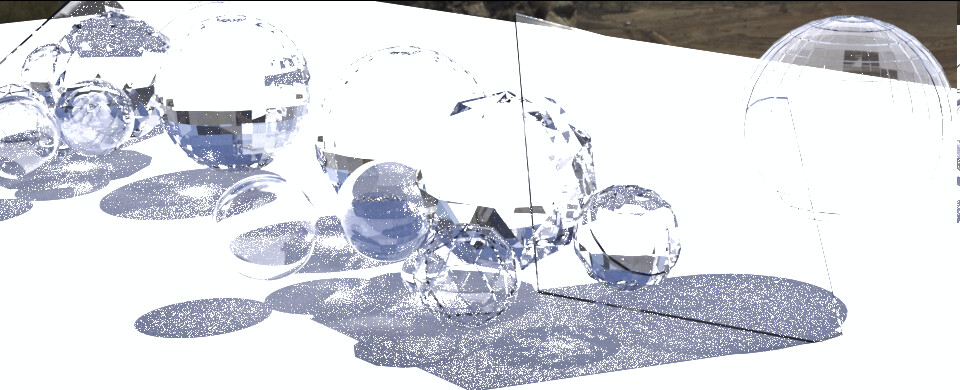
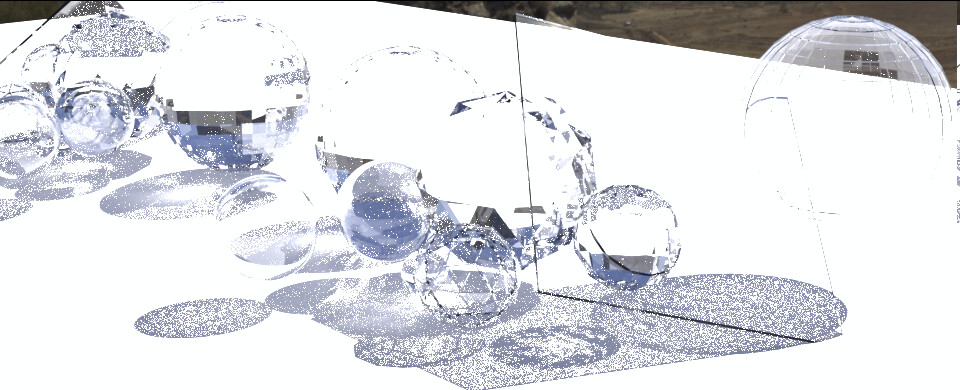
LuxCore Caustics - testing [in progress]

All renders are stopped with the LuxCore Halt Conditions set to samples: 100.

Scene: https://www83.zippyshare.com/v/bs6HCrS3/file.html

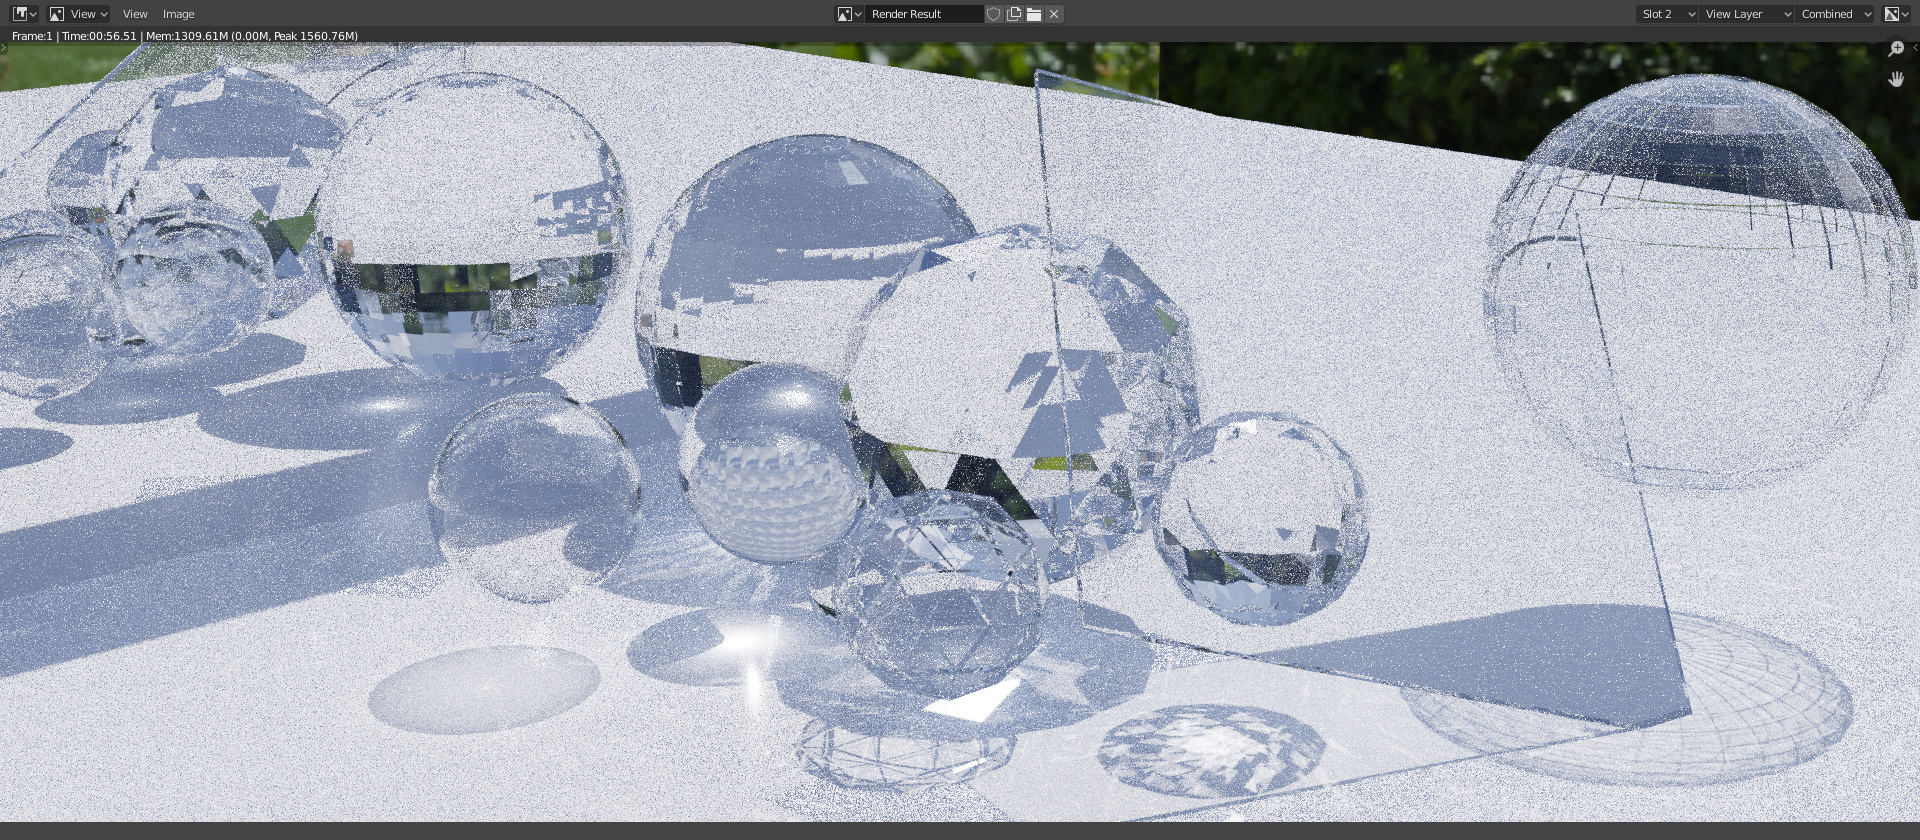
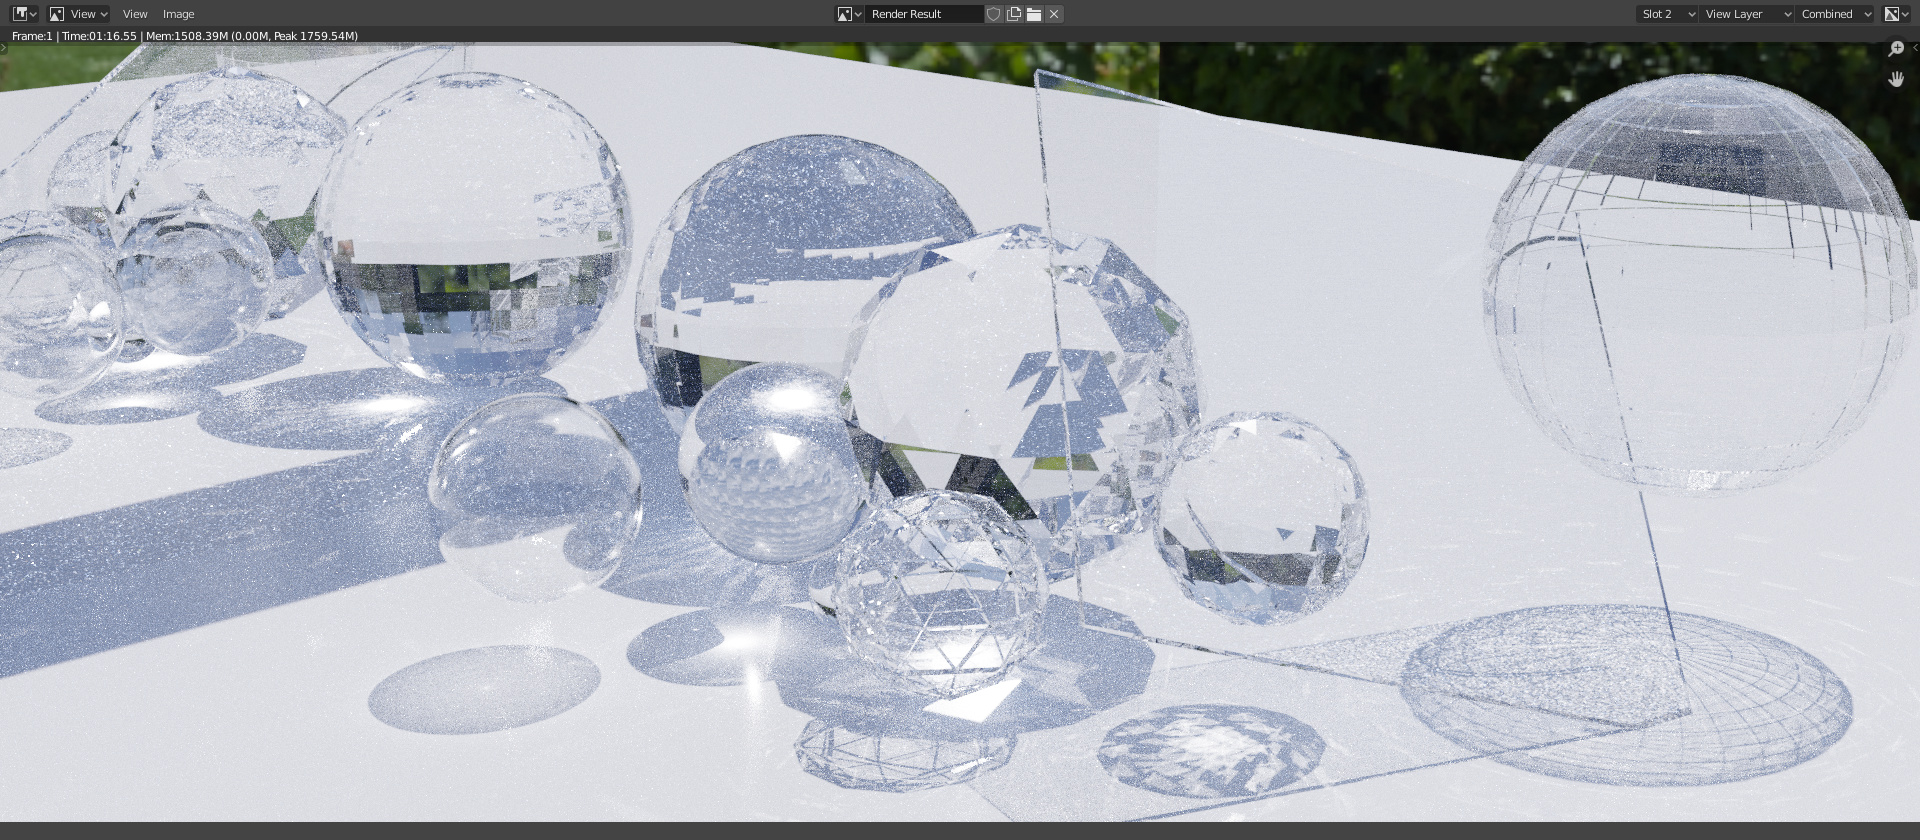
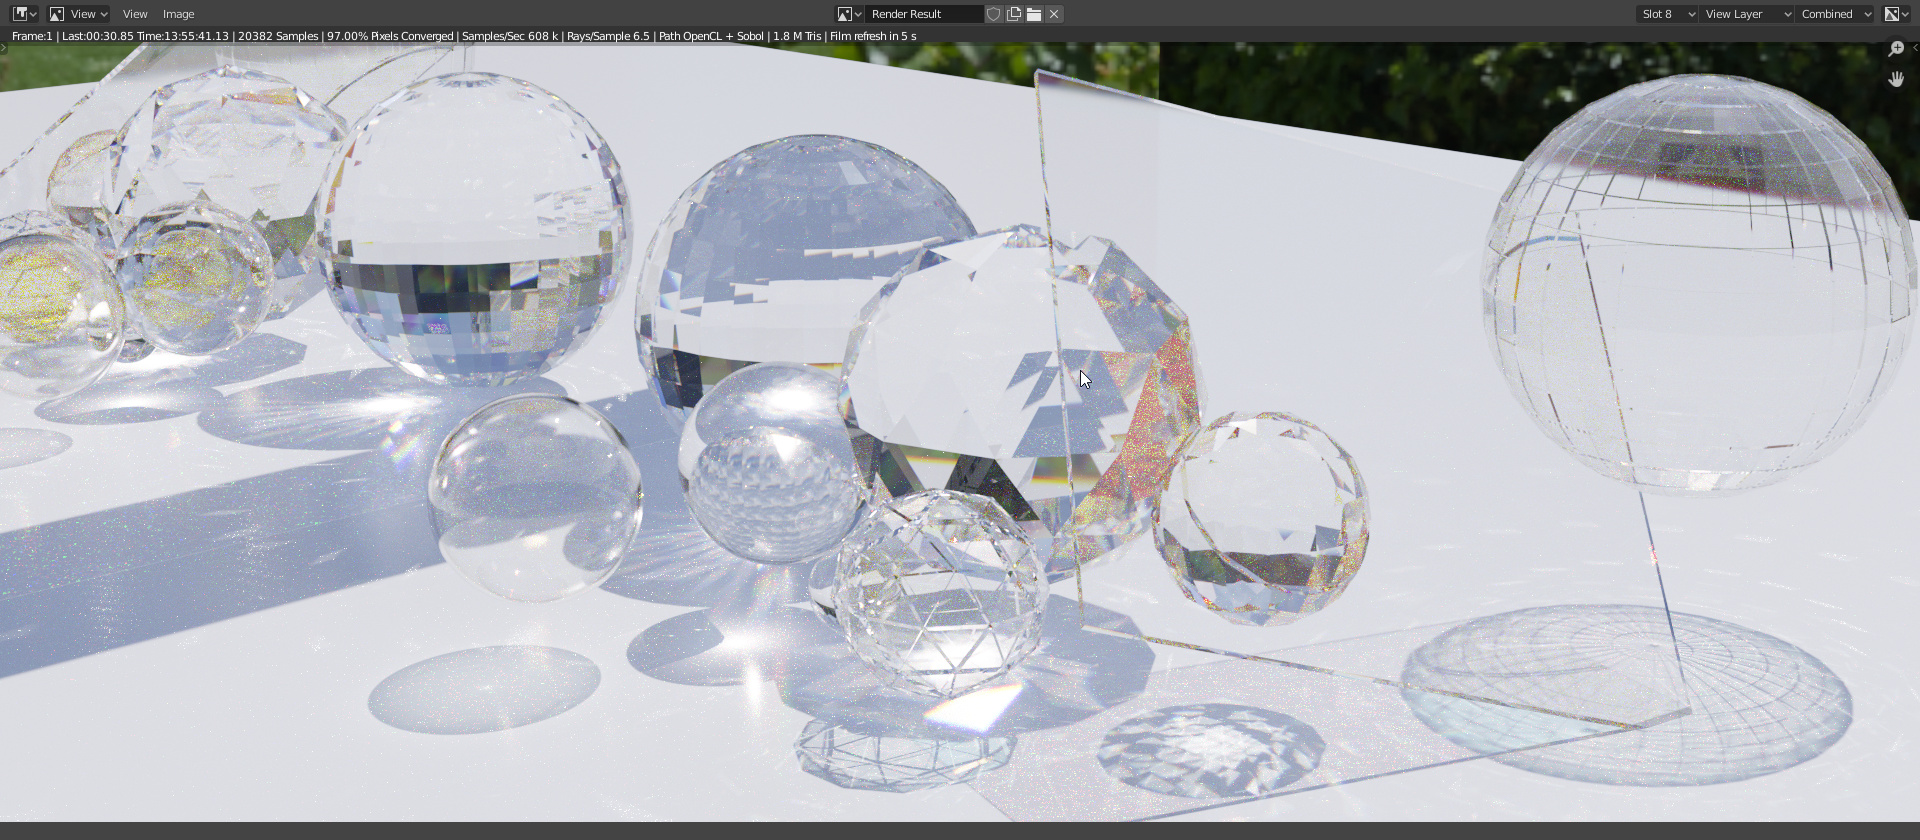
  1. No caches at all, OpenCL path tracing with light tracing (sobol):

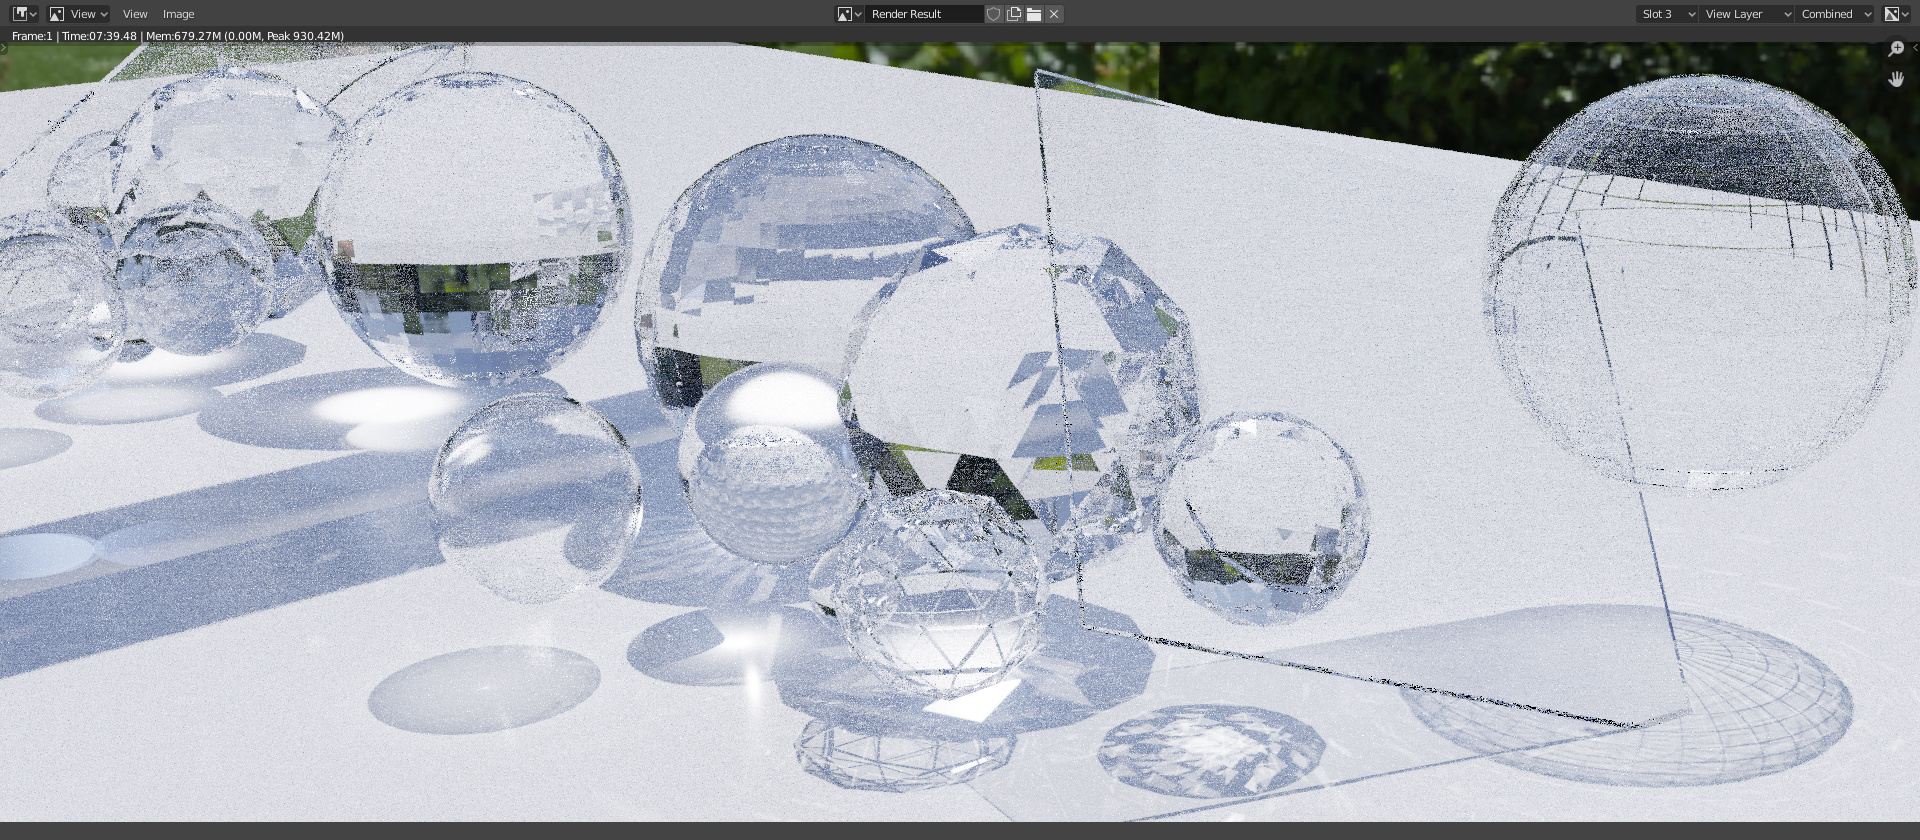
  2. No caches at all, OpenCL / light tracking (metropolis)


    [failed to build], metropolis can’t handle this scene with 128 path depth, therefore I’ll skip all other tests with metropolis on this scene for GPU

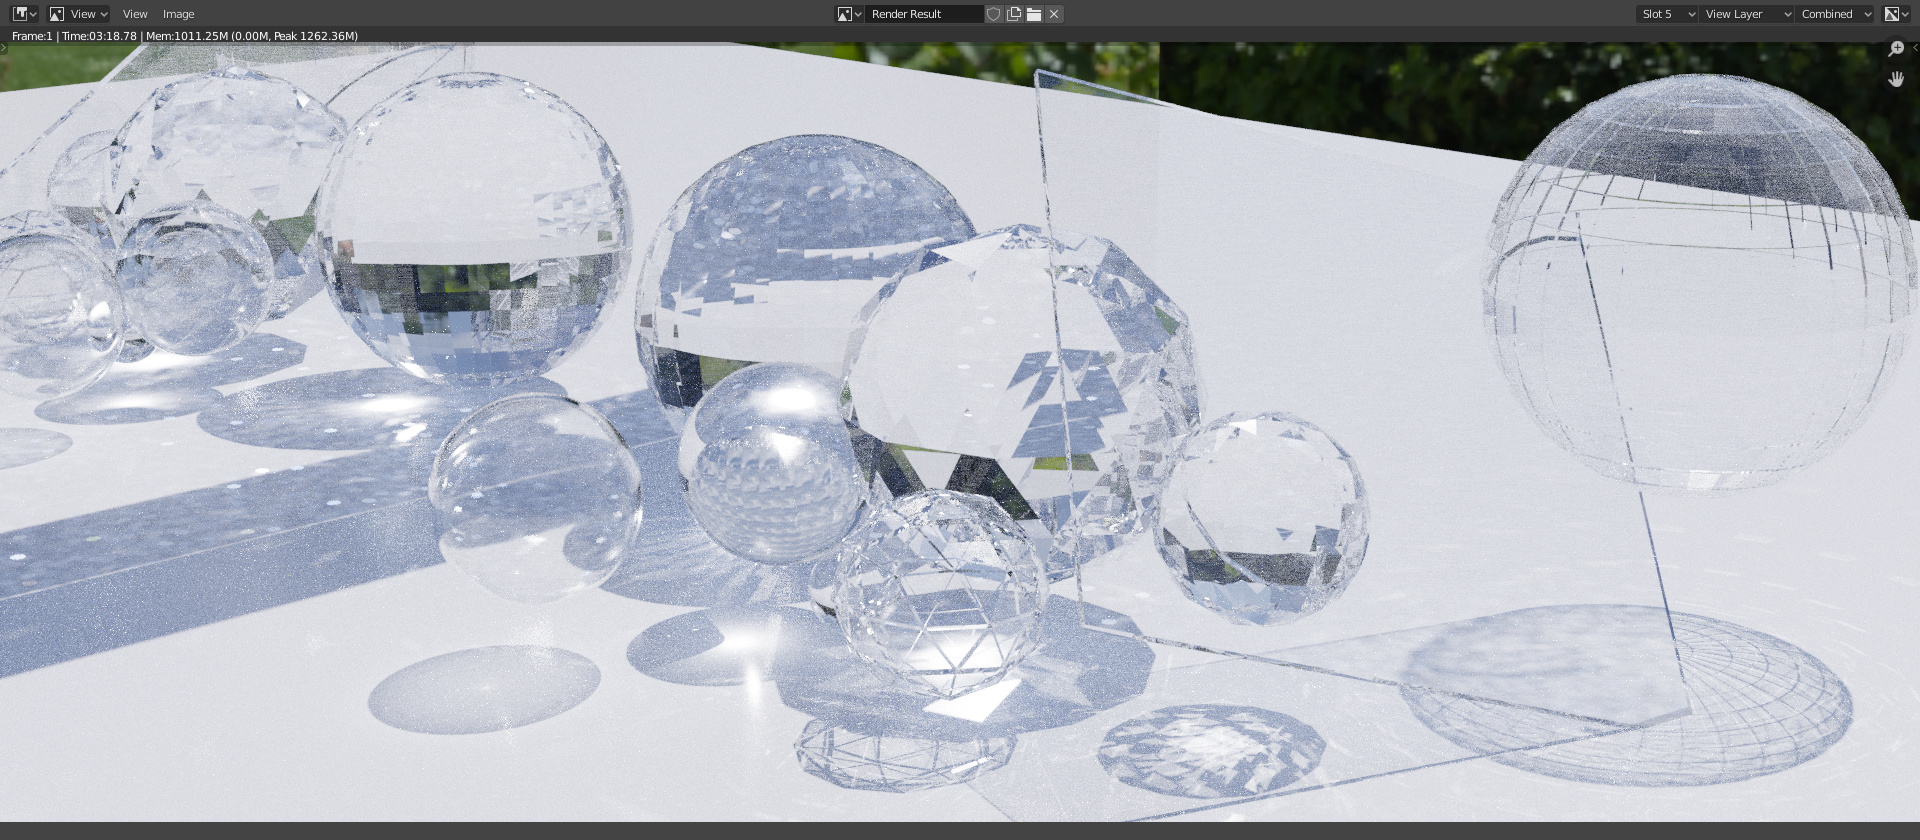
  3. openCL / light tracking + envi light cache:

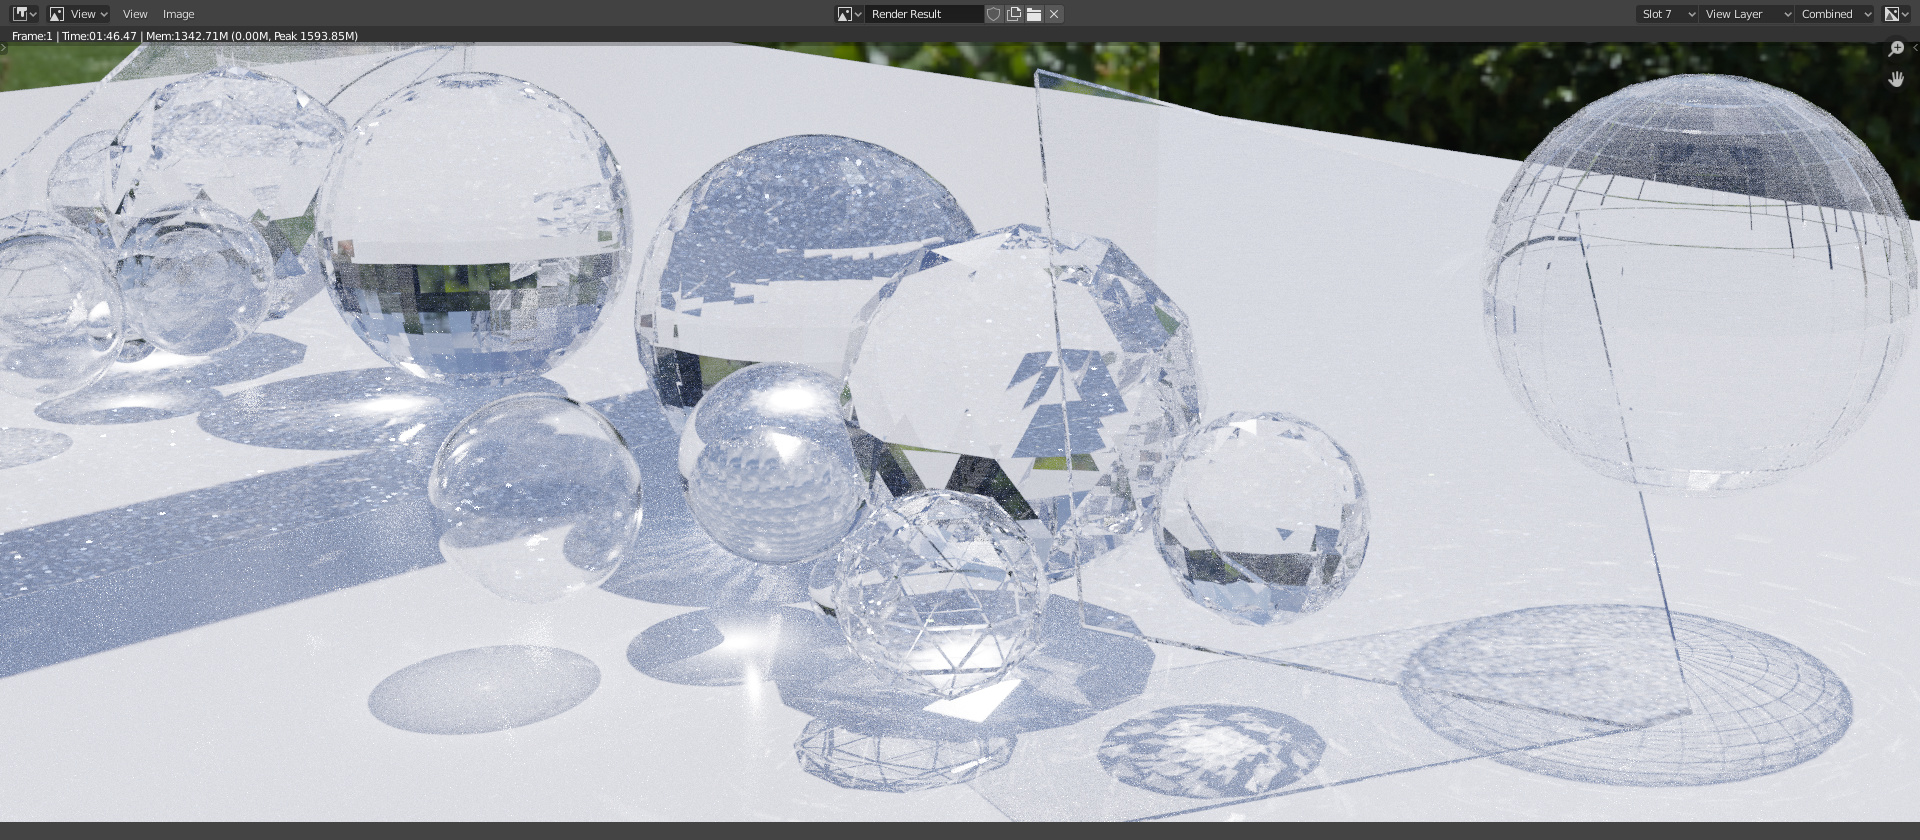
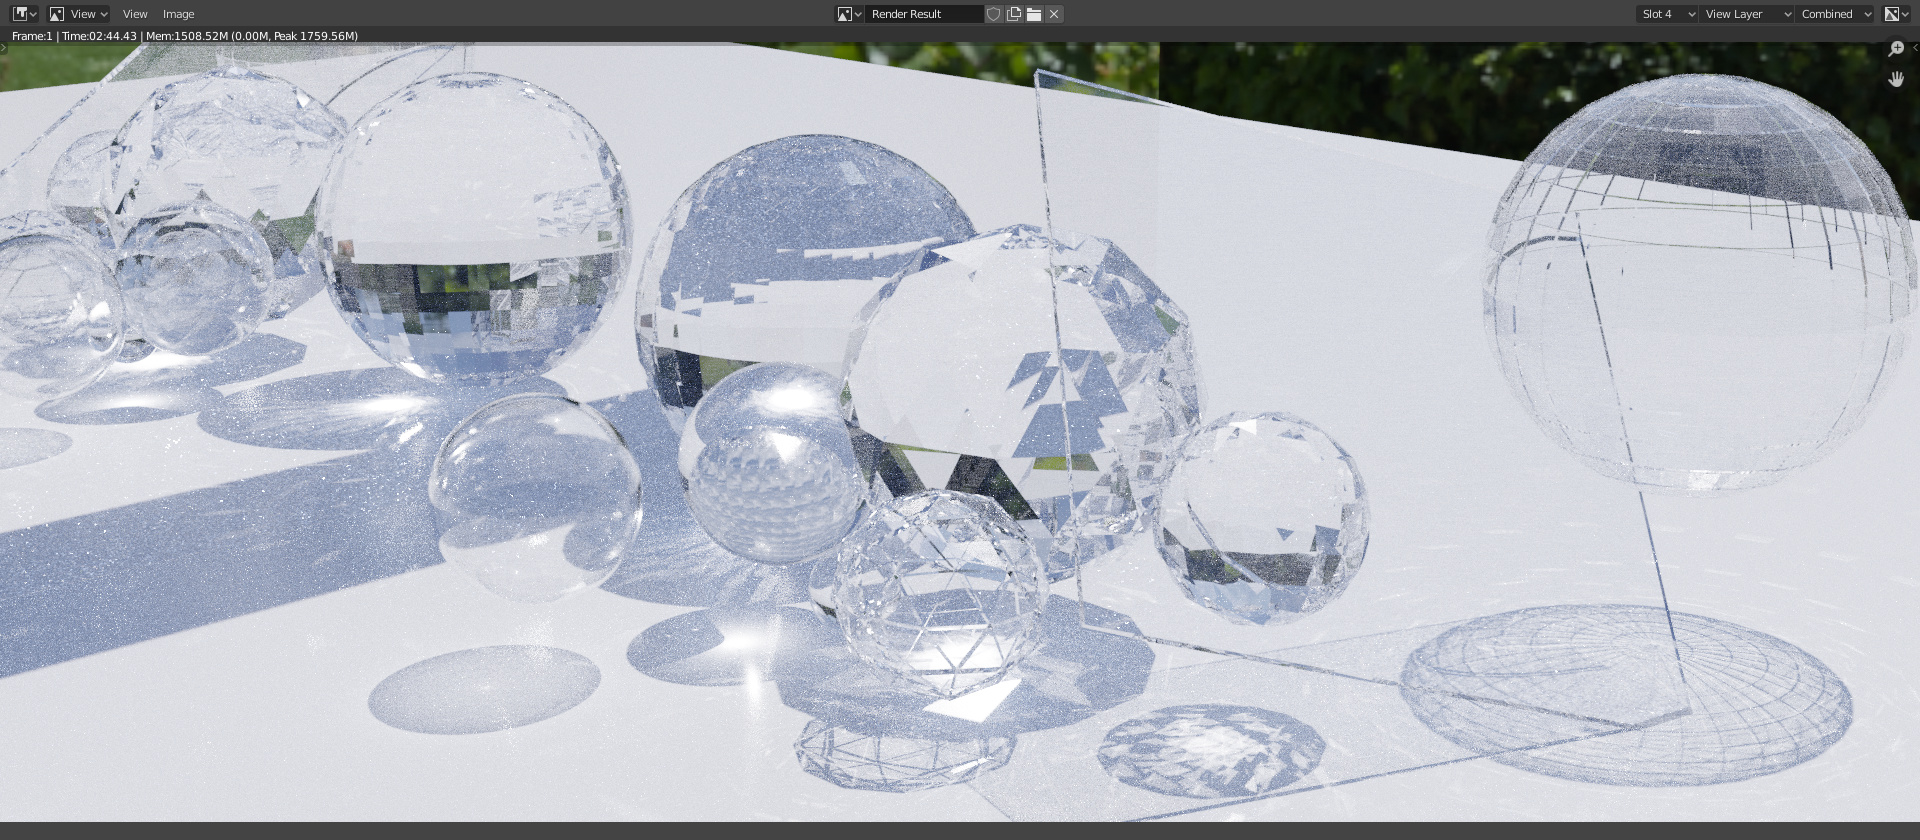
  4. openCL / LT + direct light cache:

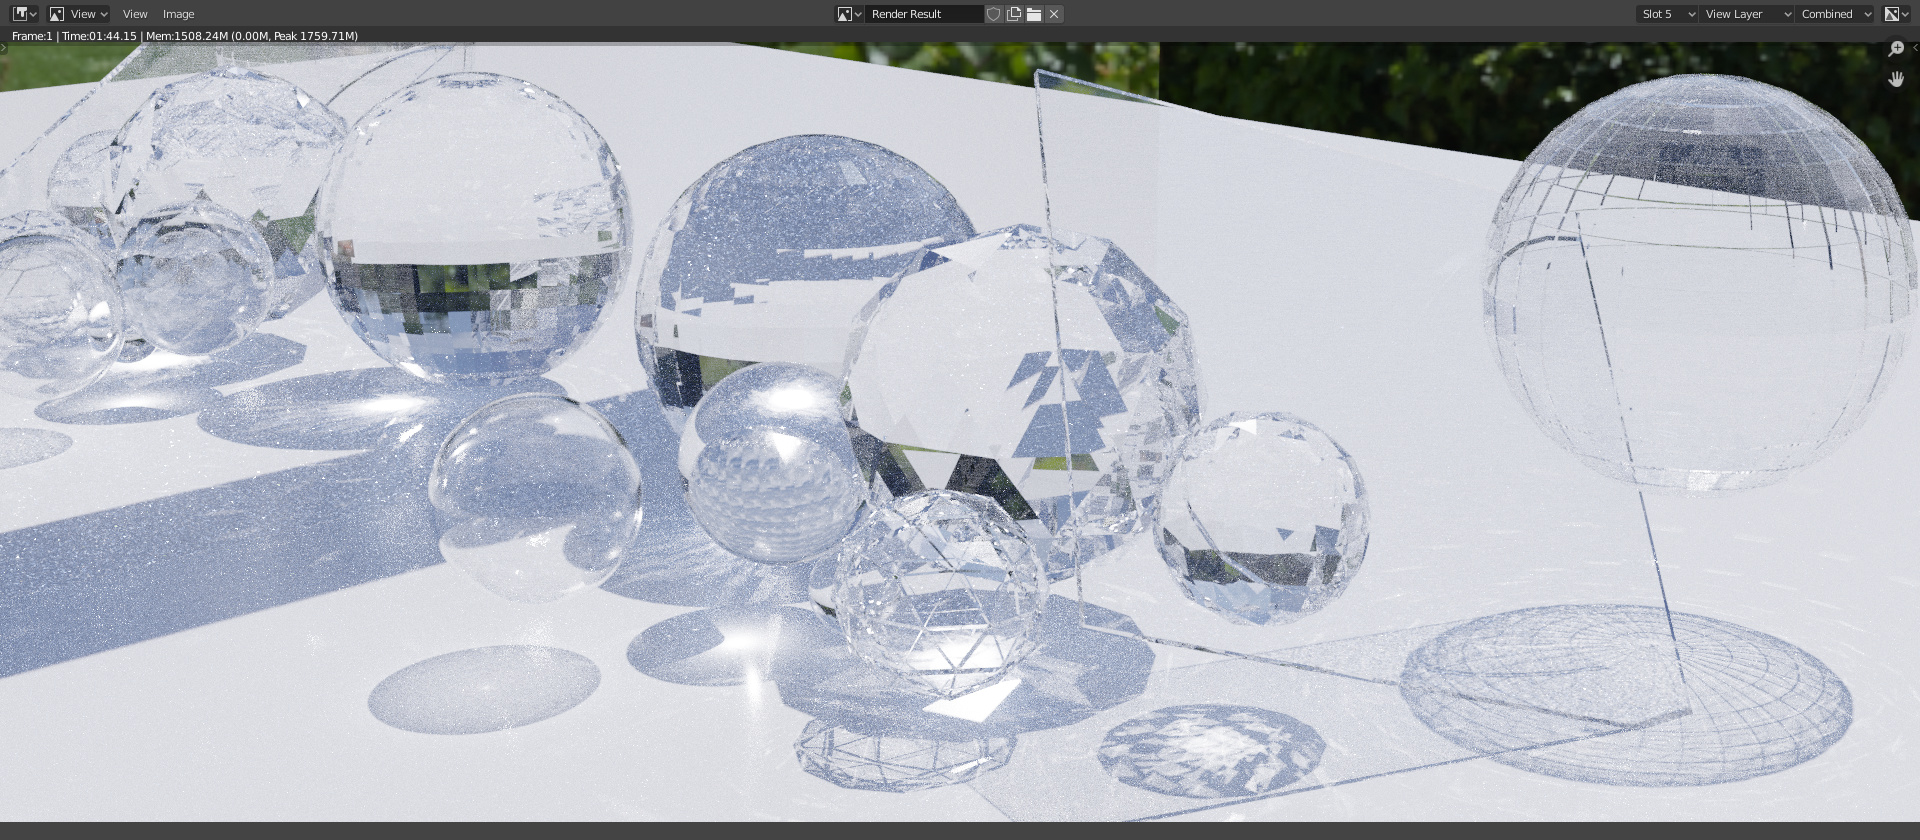
  5. OpenCL / LT + direct and envi cache:

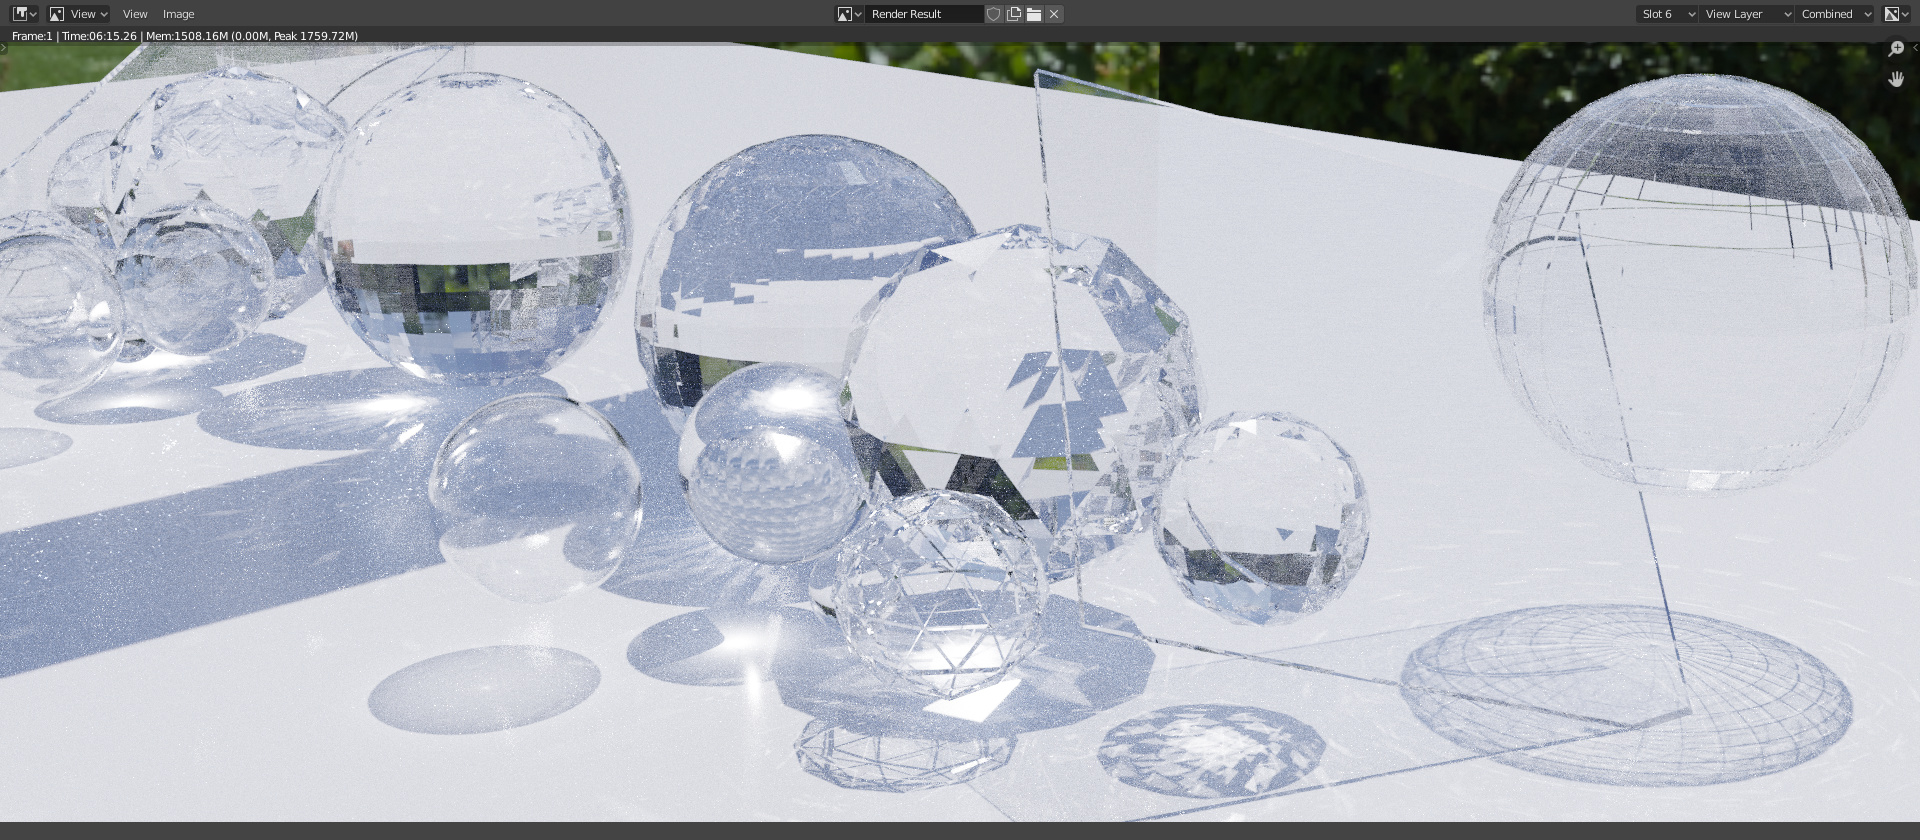
  6. OpenCL / LT + PhontonGI indirect: (1 million, 8 depth)

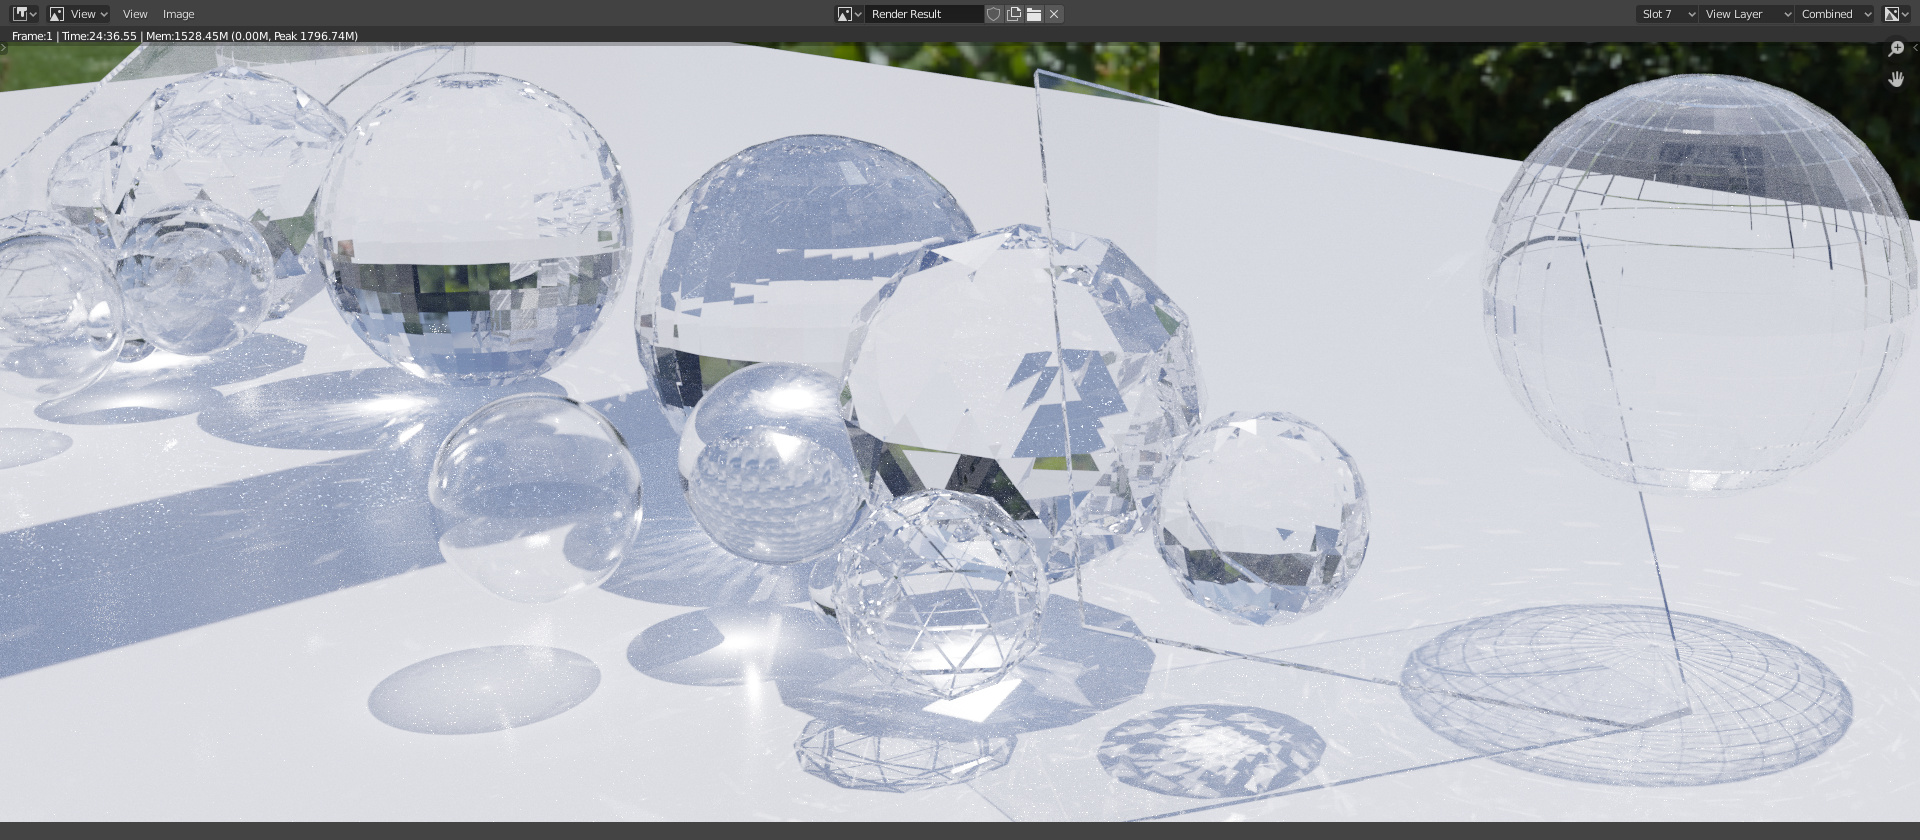
  7. OpenCL / LT + PhotonGI caustic: (1 million, 8 depth, 0.1 max million caustic photons (default 1 → CTD)


    Much more light, much more noise. Reflection of spheres in the mirror on left shows caustics that are not visible on the ‘real’ side.

  8. OpenCL/LT + PhotonGI indirect and caustic


    Same as above, but the reflection caustic artifact is shifted down.

  9. CPU only in bidirect sampler, 128 depth for both, metropolis sampler (to focus on caustics)


    This image explains the strange caustics on PhotonGI. Those circles appear in spots where small but intensive caustics appeared.
    That’s the first image where correct shadow has been cast by the right sphere through the glass panel.

  10. Same as 8, but reduced caustic Lookup Radius from 0.075 to 0.0075 and angle from 10 to 1.


    Looks that it’s facing the proper direction this time. To my surprise, even though I’ve achieved more caustics (a bit fake ones), there is less noise than with the big ones, and render time was much smaller.

  11. Same as 10, but with even smaller Lookup Radius - 0.0075.
    obraz


    The result is surpsisingly good. Even the shadow cast by sphere on right is correct.
    Render time dropped to the value of cache-less openCL renders that didn’t provide caustics for reflections and refracted refractions.

  12. Same as 10, but with reduced Minimum Radius to 1mm, and Lookup Radius to 3mm.


    It seems that having Radius reduction disabled (setting minimum higher than lookup radius) is the key for proper caustic rendering.

  13. Now, attempt with Lookup Radius set to 0.1 milimeter and minimal radius to 1mm.


    More noise. Minimal radius makes the caustics more blurry, therefore less problematic - less fireflies.

  14. Lookup radius = minimal = 1 mm.

  15. Increased max size count to 0.5m


    Noise has been reduced, details of right sphere shadow through plane is clearer.

  16. Max size = 5m, photon count = 5m. This time it didn’t crash - seems that big lookup ratius was causing crashes.


    Rendering time doubled, much finer details on caustics.

  17. Max size =10m, photon count = 2m.


    I find the previous effect better. Let’s pump photon count much higher and leave max size to 10m.

  18. Photon count = 20m, max size = 10m.


    Noise levels of the reflected side are now at similar levels (if not the same) as the ‘real’ side. However, render times are pumped much higher.

  19. For the 19th render I’m reducing photon count to 10m. Denoiser on, 661 samples:


    Noise on reflected site is visible and fireflies occured.

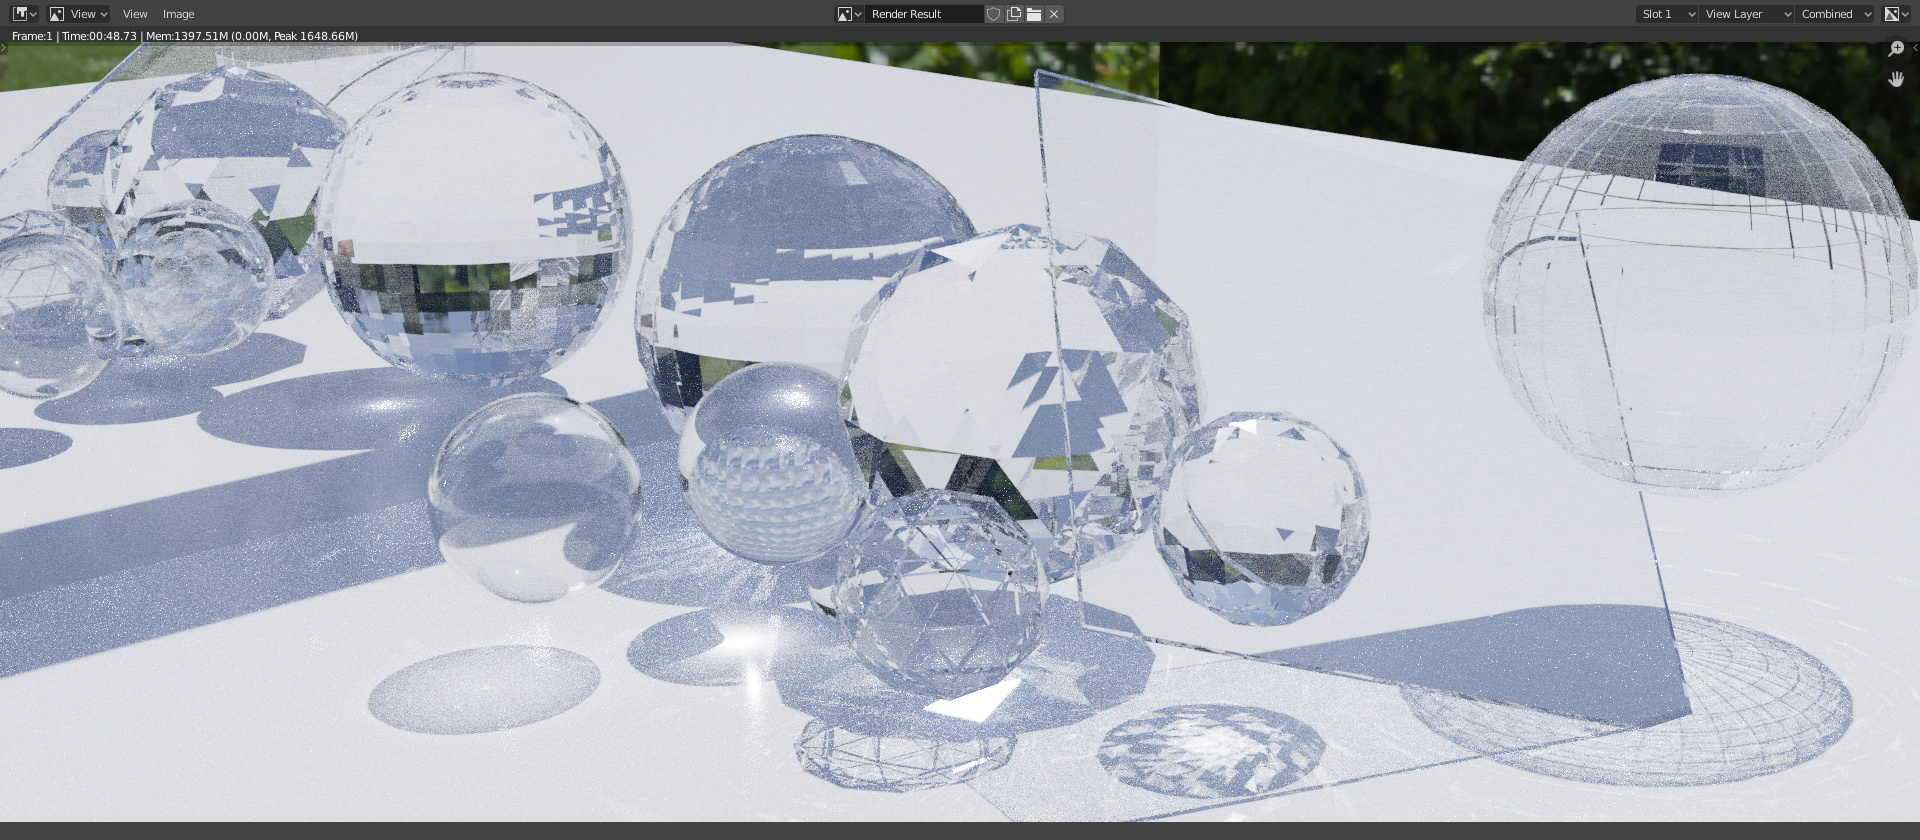
  20. Setting it overnight. I’ve turned on dispersion, increased max size to 30m and step samples to 10. Also set indirect cache angle to 1d to match caustics one, and Brute Force Radius Scale to 5.
    Judging by samples per second the normal bidir would do as fast as this with not faked caustics. xP
    see ya tomorrow!
3 Likes

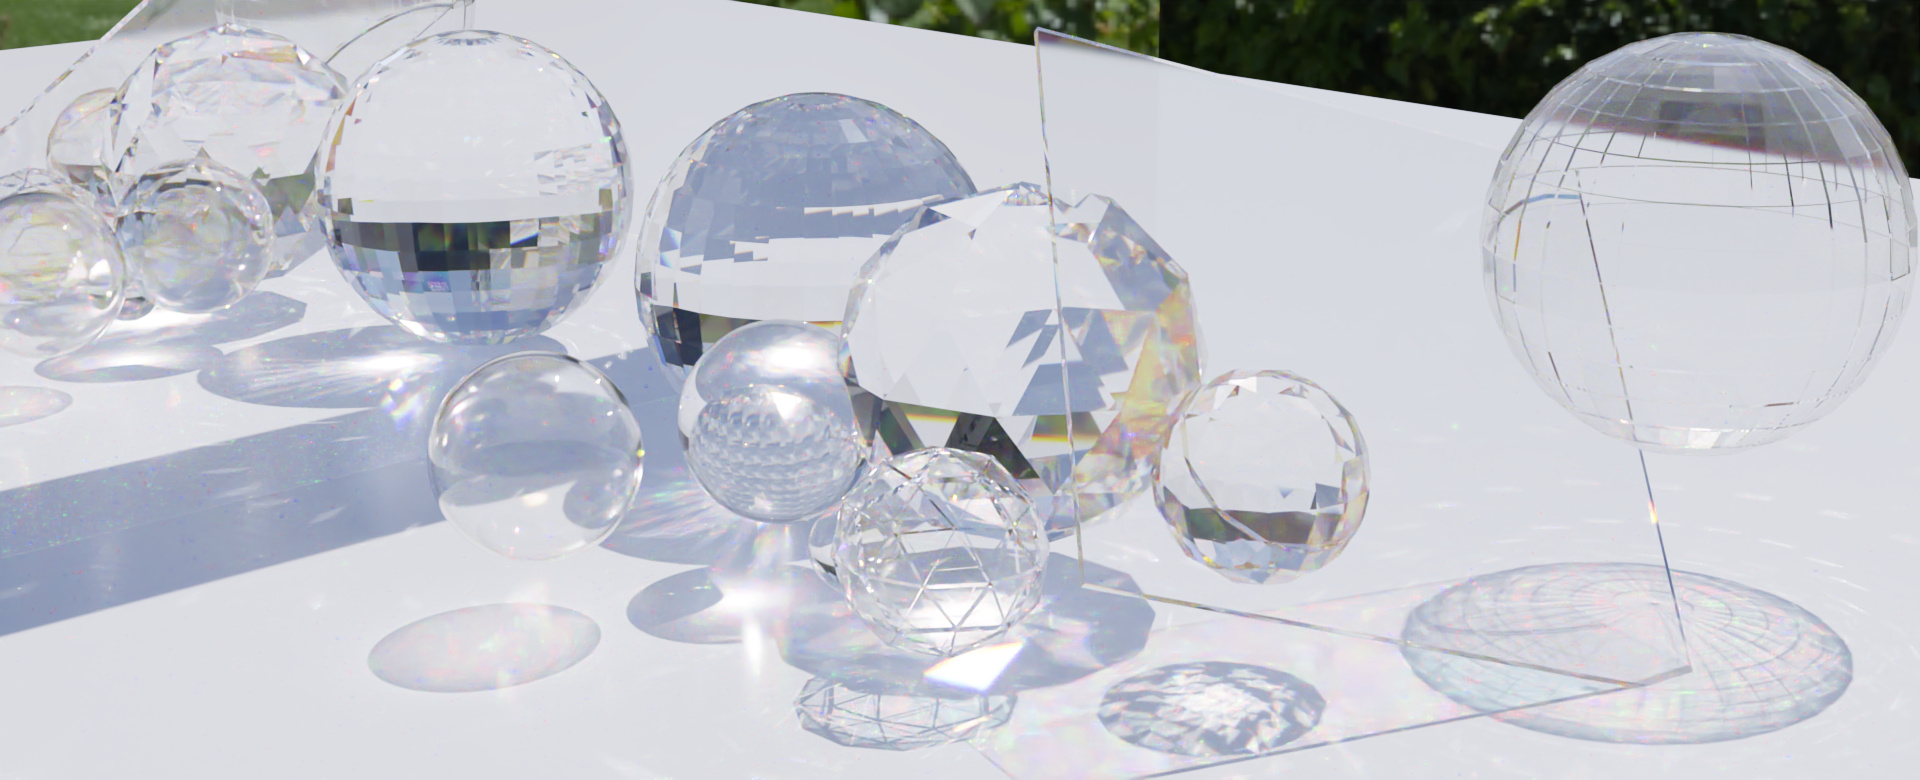
Think that’s enough samples. Let’s denoise and save final image:

3 Likes

Thank you for putting in the effort on this! It always seems a moving target to get nice caustics with Lux, you’ve given us a great head start.

I’ll re-do it as of we have adaptive sampling and stuff, but I don’t have time due to ferret health problems.
Also, need to finish the olive scene port. :slight_smile:

Hi @Acrivec
I just started up with Luxcore for blender and came across this feed.
I followed a basic tutorial. At one point the Light tracing comes into the game and it creates the lovely caustics you are displaying. However, this does not happen for me, no caustic reflections are showing up.

Tutorial I follow

my scene:

It’s all pretty basic so not sure why it won;t show up for me.
Any suggestions?
Thanks a lot!

I’d pump up a bit the light rays if you’re doing CPU-only computing to 40-60%. Denoiser might be blurring out the little caustics that you’re getting - you can increase lamp power.

Without .blend it’s hard to tell. :stuck_out_tongue:

Hi @Acrivec I just now saw your reply after continuing to look for a solution.
So for me the mentioned tutorial does not seem to apply.

  1. I had to change the render Engine to Bidir .
  2. The light needed to be a spotlight, the point light (as used in the tutorial) does literally nothing for me when it comes to the caustics.

why is this? any idea? is it a Blender version problem? (I have 2.91)

Thank you!
Sarah

Caustics are hard to generate without caches or biased path tracing (metropolis f/e). Bidir path tracing enables your light source to directly ‘cast’ the caustics like casting a shadow. With path tracing (with light tracing) it’s much harder, because you don’t start from light source - you start from the camera and then you have to bounce to the light source, which is low chance.

Point light shines in every direction, so to cover any area you have to spend much time. Spotlight goes on one direction, easier to compute. Just it.

You can use photon mapping like in the last examples in my post to see the results much faster. Some of those wouldn’t be even possible without the cache - f/e caustics in reflections.

Play around, have fun, that’s the best way of understanding it. Just remember, caustics take long time to achieve, are hard to compute, and usually… disappoint. :stuck_out_tongue:

2 Likes

Henlo there, I have a new compooper and decided to finally launch blender. I’ve tried half a year ago, but unfortunately blender was not really cooperative to work with my new AMD rig.

Since I’ve made this topic it seems that LuxCore has been abandoned, no daily builds since last august. It does not work correctly on blender 4.1. This indeed saddened me.

I’ve decided to give it a try on new Cycles, as of there were a looot of changes.
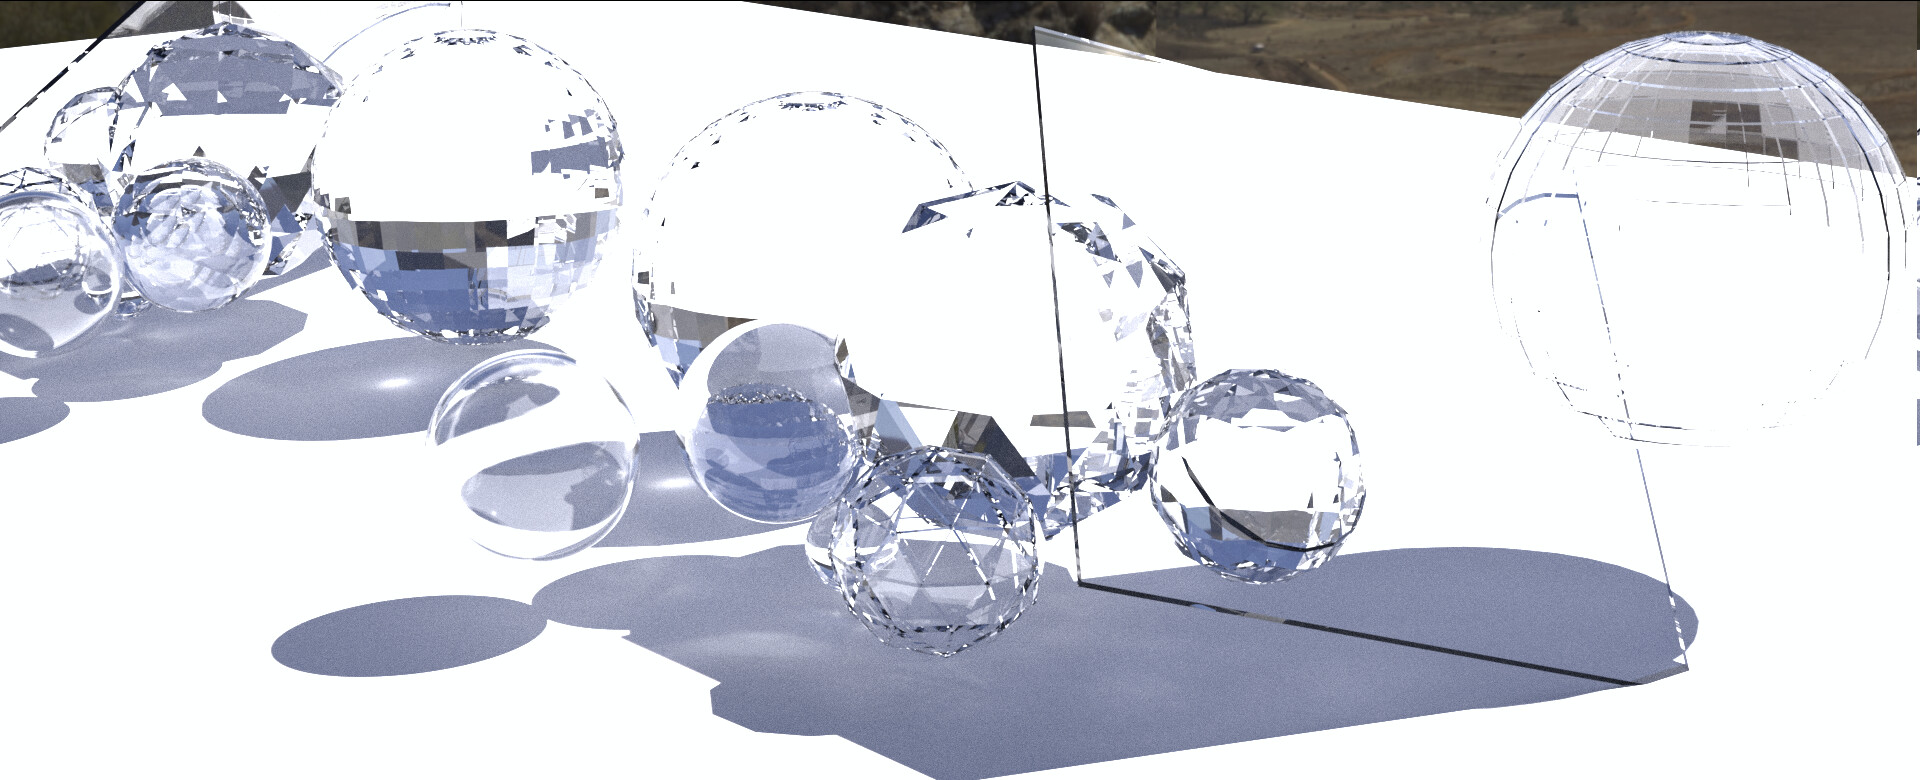
Please note - materials are new and different HDRI is used. I’d have to install older version of blender and luxcore separately to read which hdri was used with what rotation, same for material properties. That’s 1024 samples:

I’ve launched render expecting long time to get anything, but it ended very fast. I’ve pumped up the samples to 10240 and disabled indirect light clamping (which was set to 10). Also, light bounces limit up to 16. Minimum light bounces set to at least 3, minimum transparent bounces - 7.


Woah, it did do something! But that’s denoised image, lets see what’s hiding under the hood.

That’s… surprisingly good, for cycles! And the render time - it’s only 50% of 1920x780, but still - goes lightning fast. Lets try pumping them seeds - this image took less than a minute, I can give it some more.

I’ve lowered the filter glossy setting - to 0.001, then 0.01 and 0.05 - seems getting it very low does not help image quality too much - low filter values ‘spread’ the caustics a bit, adding the realism quicker, but very low values cause them to not be ‘smeared’ at all, making the shadows much darker and crispier. Maybe with 500k samples it would give a good result, but for lower ones I do need a bit of gloss filter. Just not too high - I want sharp-ish caustics C:

Here’s what I mean, 0.001:


And 0.01:

See how shadows are a bit brigher, as they should be? Yeah.

Note - both images took about a minute to render <3 Which means… you’ve got to pump it up!


40k samples. A bit above 4 minutes render time. It’s starting to look marvelously good, even the caustics in the mirror (which to remind, is on the left side of image).

Pumping samples to 100000, and also changing materials a bitsy to make it a little bit real life scenario - glass transparency down to 95%, mirror ‘color’ is not pure white, it’s 90% ‘white’ - this should darken the reflections a bit. Resolution scale 100%. Let it bake:


Nice. It took 45 minutes.

The denoiser does good in sme parts, but some parts look just bad.

And now for the interesting part. naturally I didn’t know that the new Cycles caustics required turning them on in more than on place, so now for the Cycles shadow caustics with glass having both checkboxes selected (mirror too) and the bottom plane as receiver. HDRI has shadow caustics turned on:


7 minutes… 10000 samples. Dissapointing much?
Test with only ‘cast’ selected on glass


Brighter glass, but still… The option that was supposed to make them appear - made them dissapear.

I haven’t found out what’s going on here.

/edit:
Okay, I see: the ‘cast’ is only when it’s emitting light, not the glass-refraction-light-casting. After I switched all glass objects to be ‘receiver’ and turned off ‘cast’ - caustics came back.
In a minute I’ll edit with comparison of shadow caustics turned on and off on 50% scale
/edit2: No difference between images, so I guess my understanding was wrong, and either the option is bugged currently or I’m doing something wrong.

/edit3
Okay, apparently the special caustics casters HAVE TO be set to smooth shading.
Rendering right now, but it does cause issues with the glass not acting like it was designed in some parts, and also the rendering speed slowed down A LOT even on half resolution. Seems it’s not really worth it:


Half of the objects do not render caustics properly because of angle limitting to shade smooth. And if I do not limit shade smooth, the mutli-faceted spheres just become smooth, which is not the point at all…

Here’s finished 10k:


This is not appealing to me at all.

1 Like

Hello Acrivec, I had a few pointers if you intend to use luxcore. You can get great caustics in much fewer samples (More is better obviously). This was done in under 2min with around 25 samples and 16 path depth, not sure about exact samples because I manually stopped it around that. Bidirectional with metropolis sampling and no caches tends to work the best and fastest for me. This was done in blender 2.93 with Luxcore 2.6. I explored this render engine because cycles needs massive samples to get very good caustics results. You may be overshooting the path depth… The first few bounces have the most energy, anything after about 10 makes very little difference unless you are penetrating multiple transparent layers or surfaces.


Hope that’s helpful

Hello,

As a reminder : Wiki - Caustics

Good :blender_logo_64_png:

The original tests were done in 2020 though, and LuxCore has been pretty much abandoned. I’m not looking forward testing old blender versions.