
Made an Energon Cube in Blender Using Claude AI. The Shader Didn't Come Out Correctly

I recently been tinkering with Claude AI and Blender using the Blender MCP. I did it out of curiousity.

Being a Transformers fan, I uploaded an image with Energon Cubes as they first appeared in the cartoon.
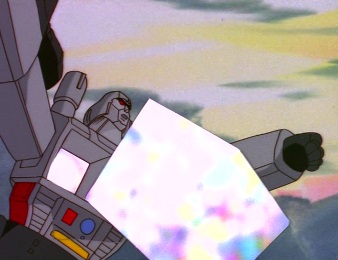
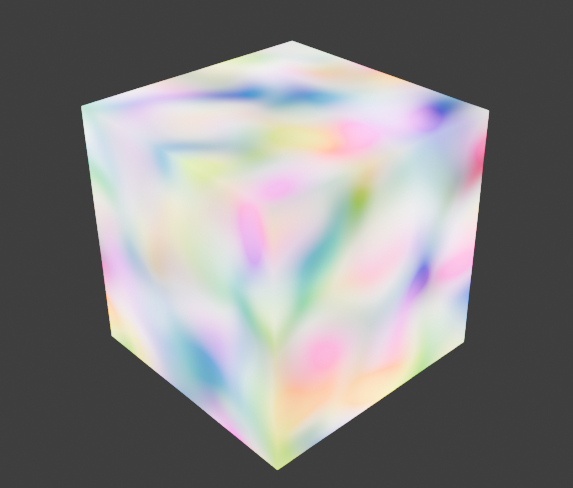
This is the image I used. I wanted the iridiscent glow of the Energon cube. Unfortunately, Claude screwed up the texture, and it doesn’t look correct.
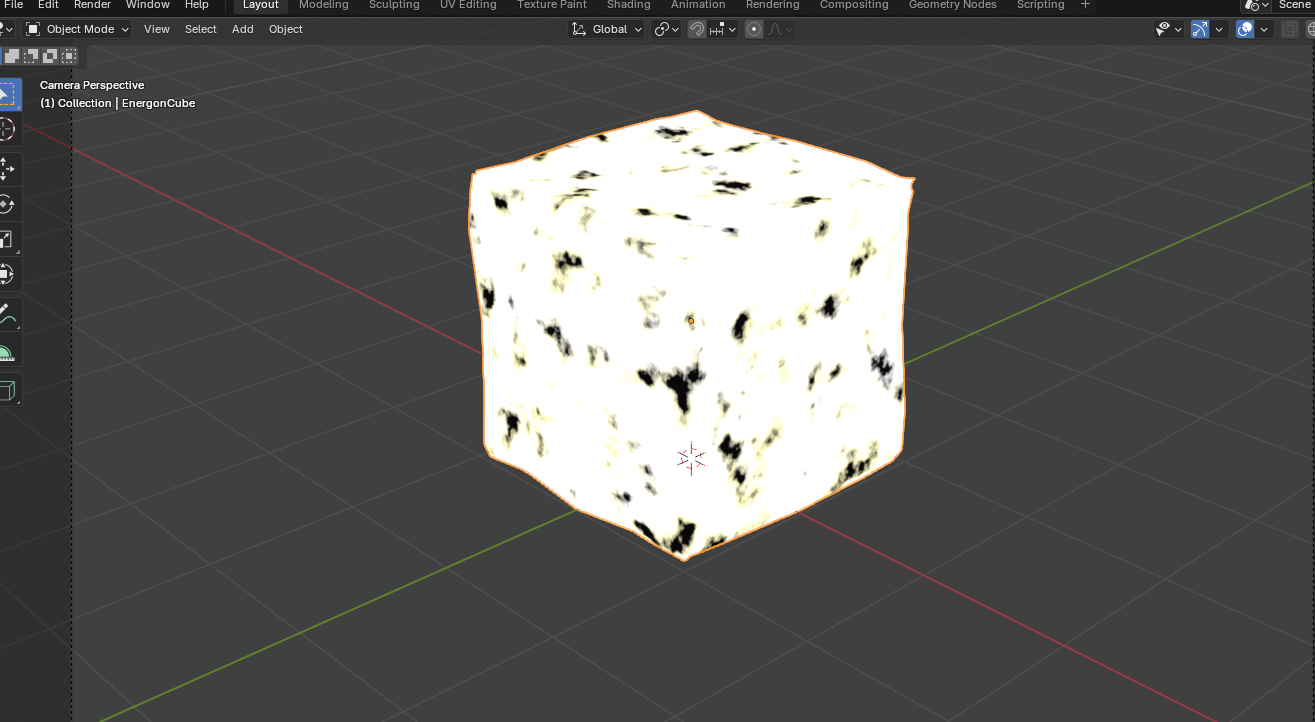
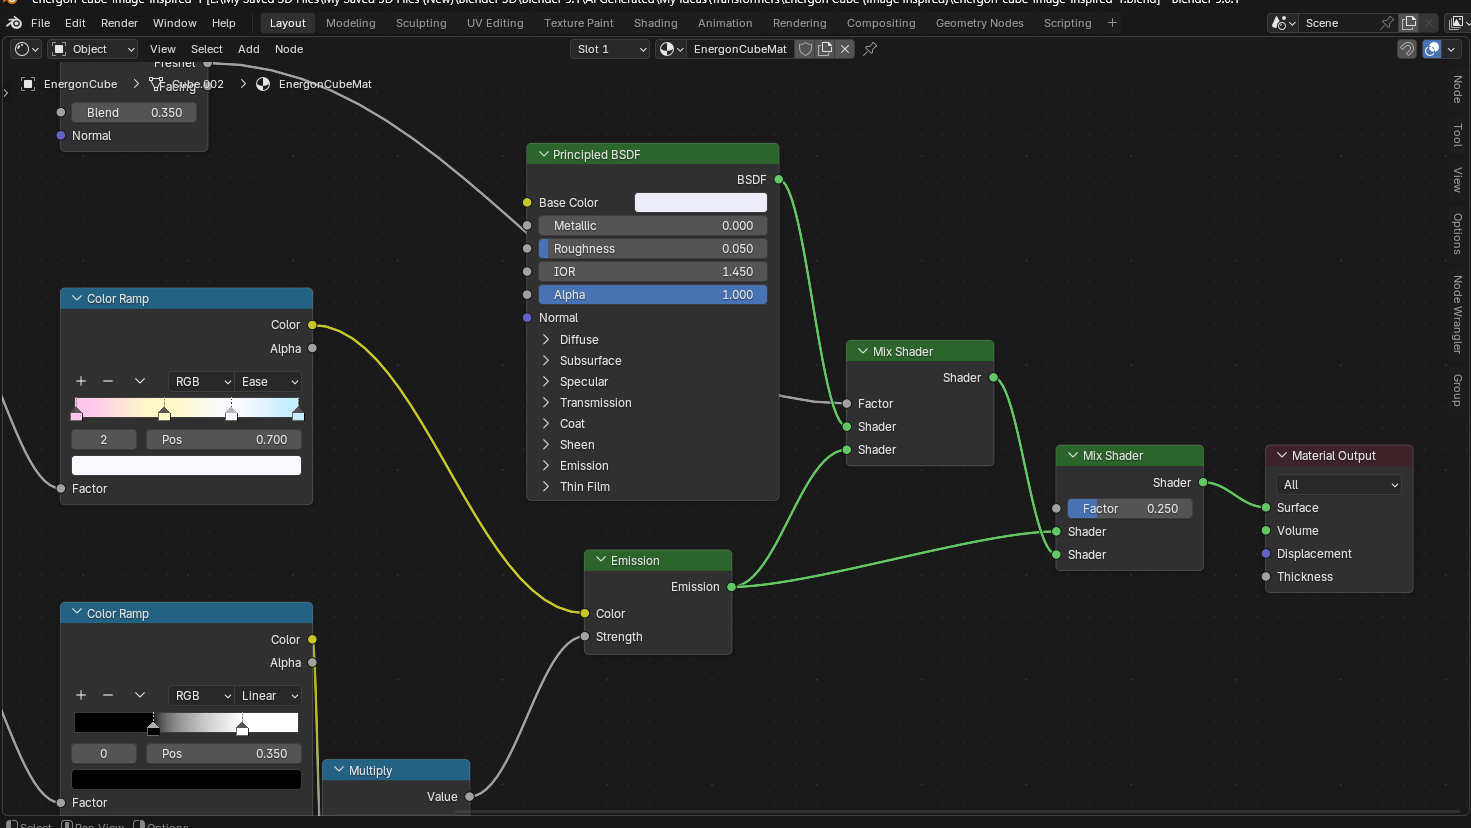
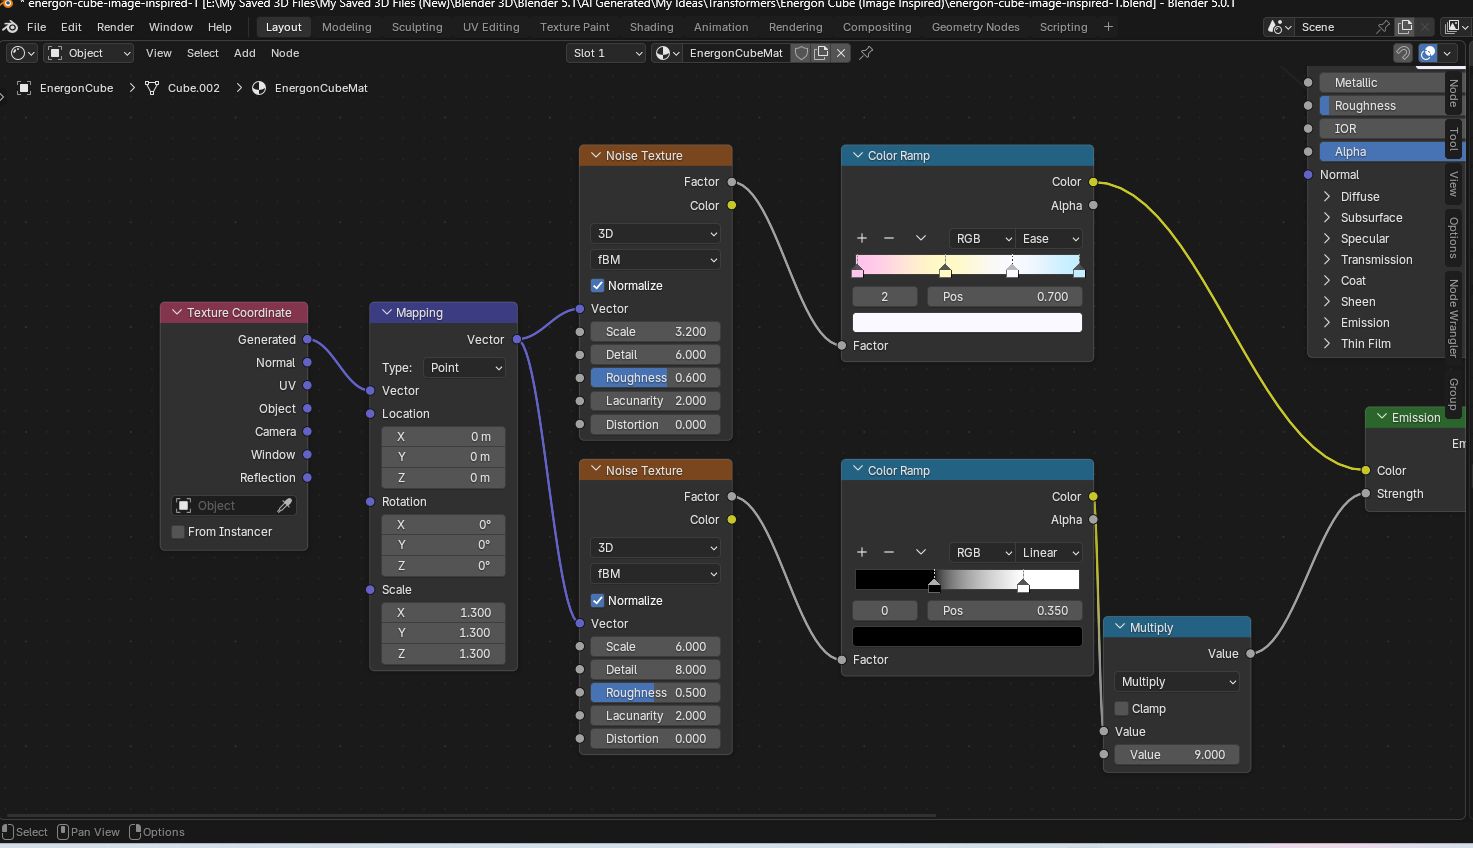
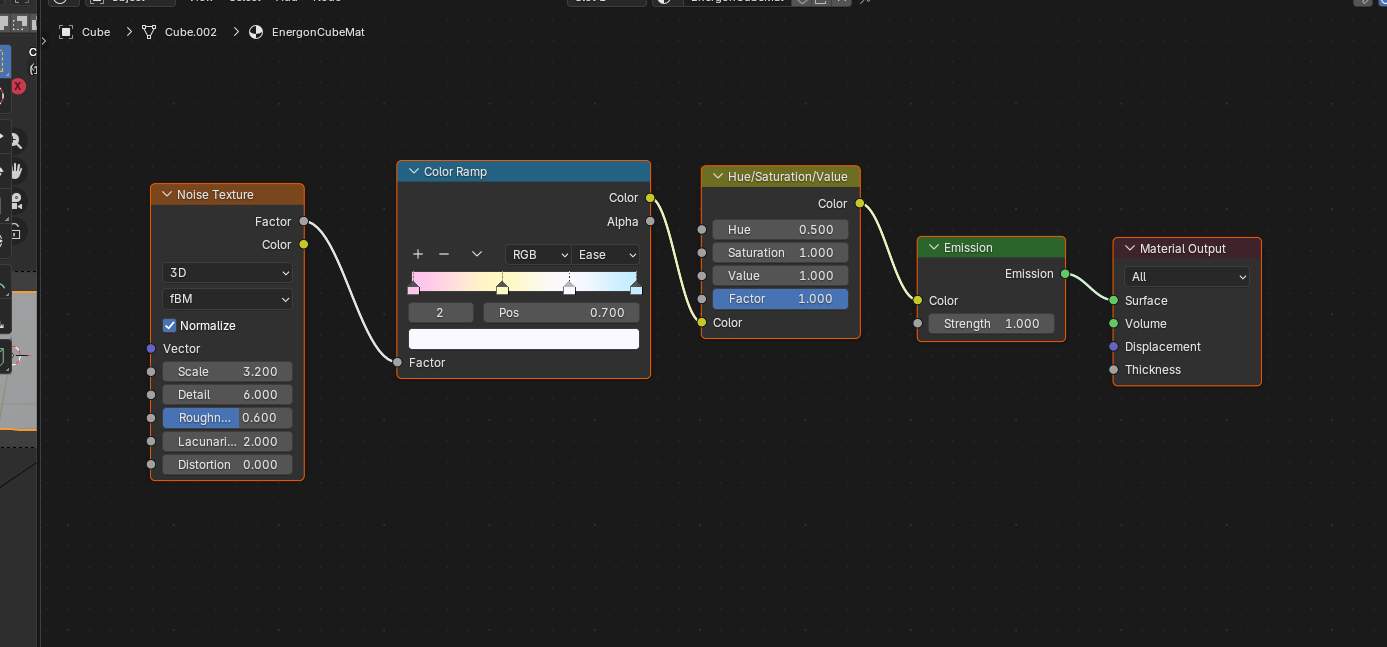
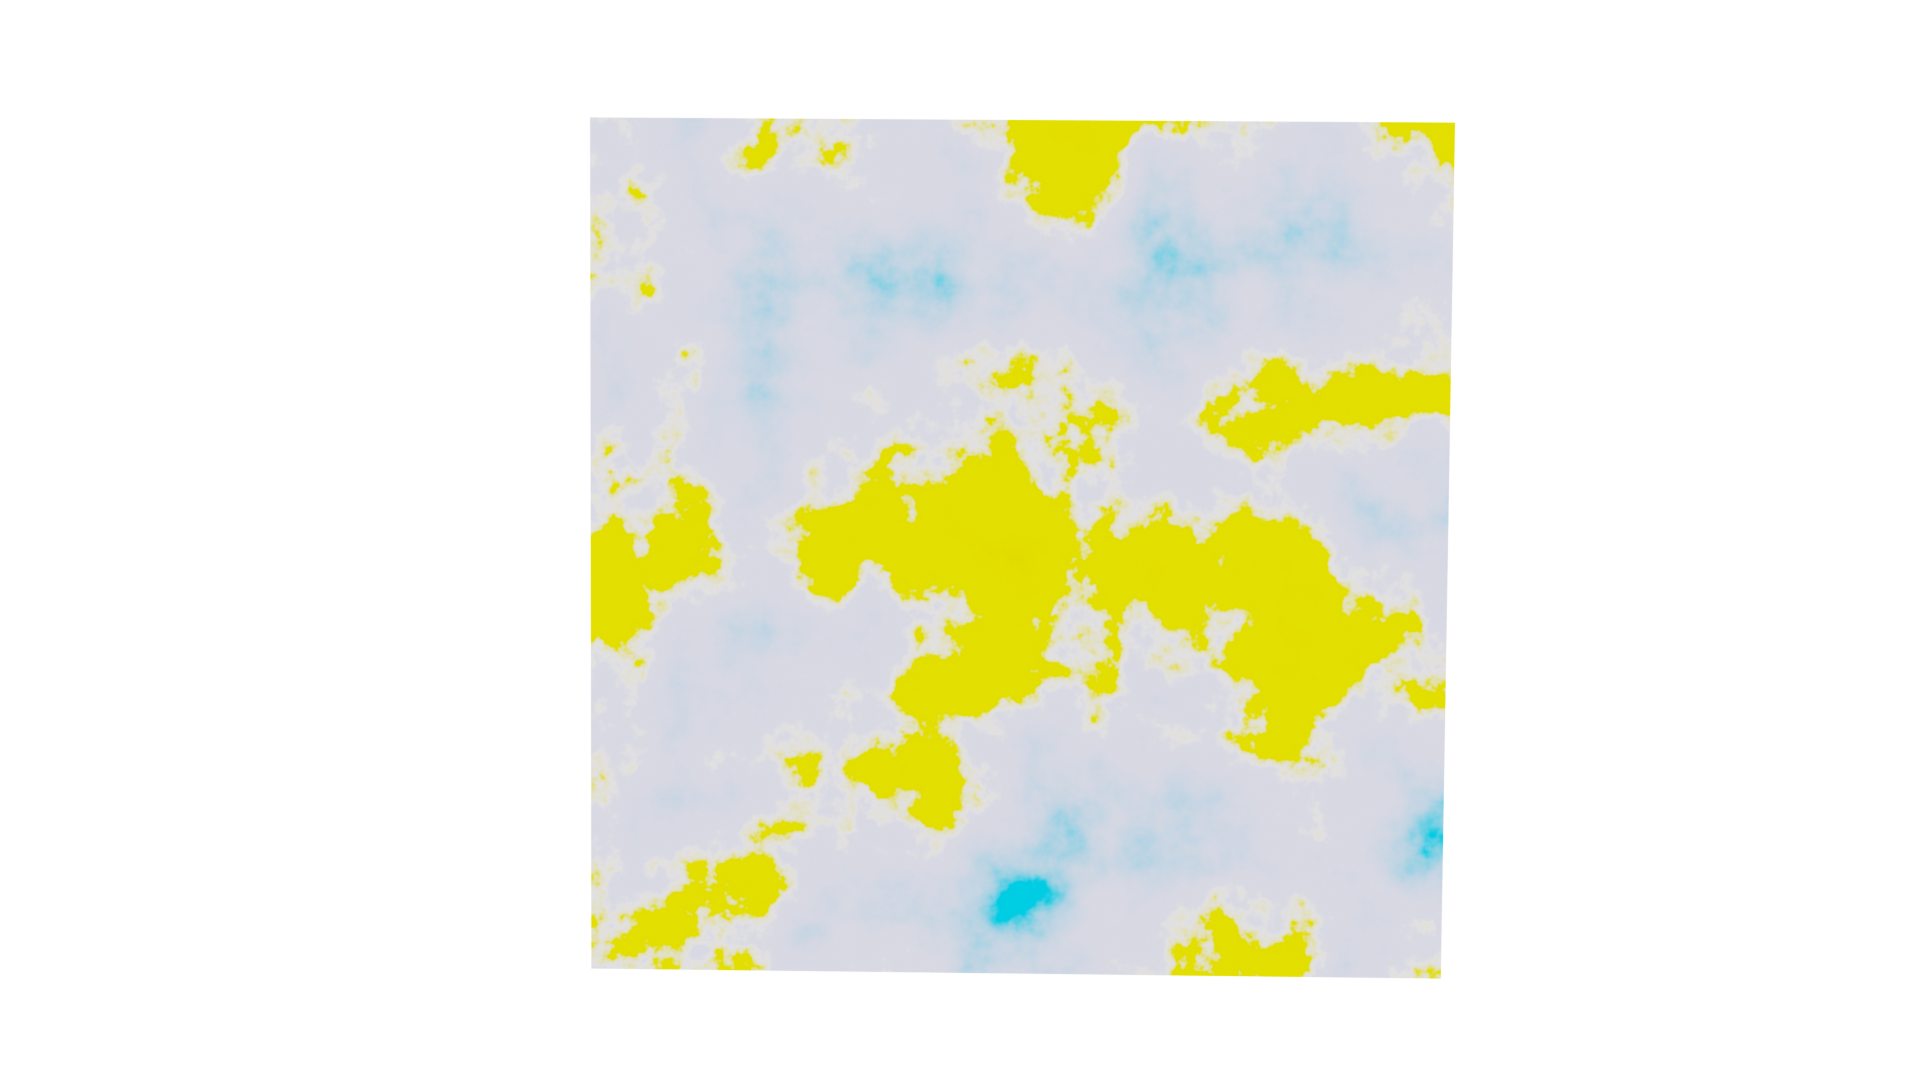
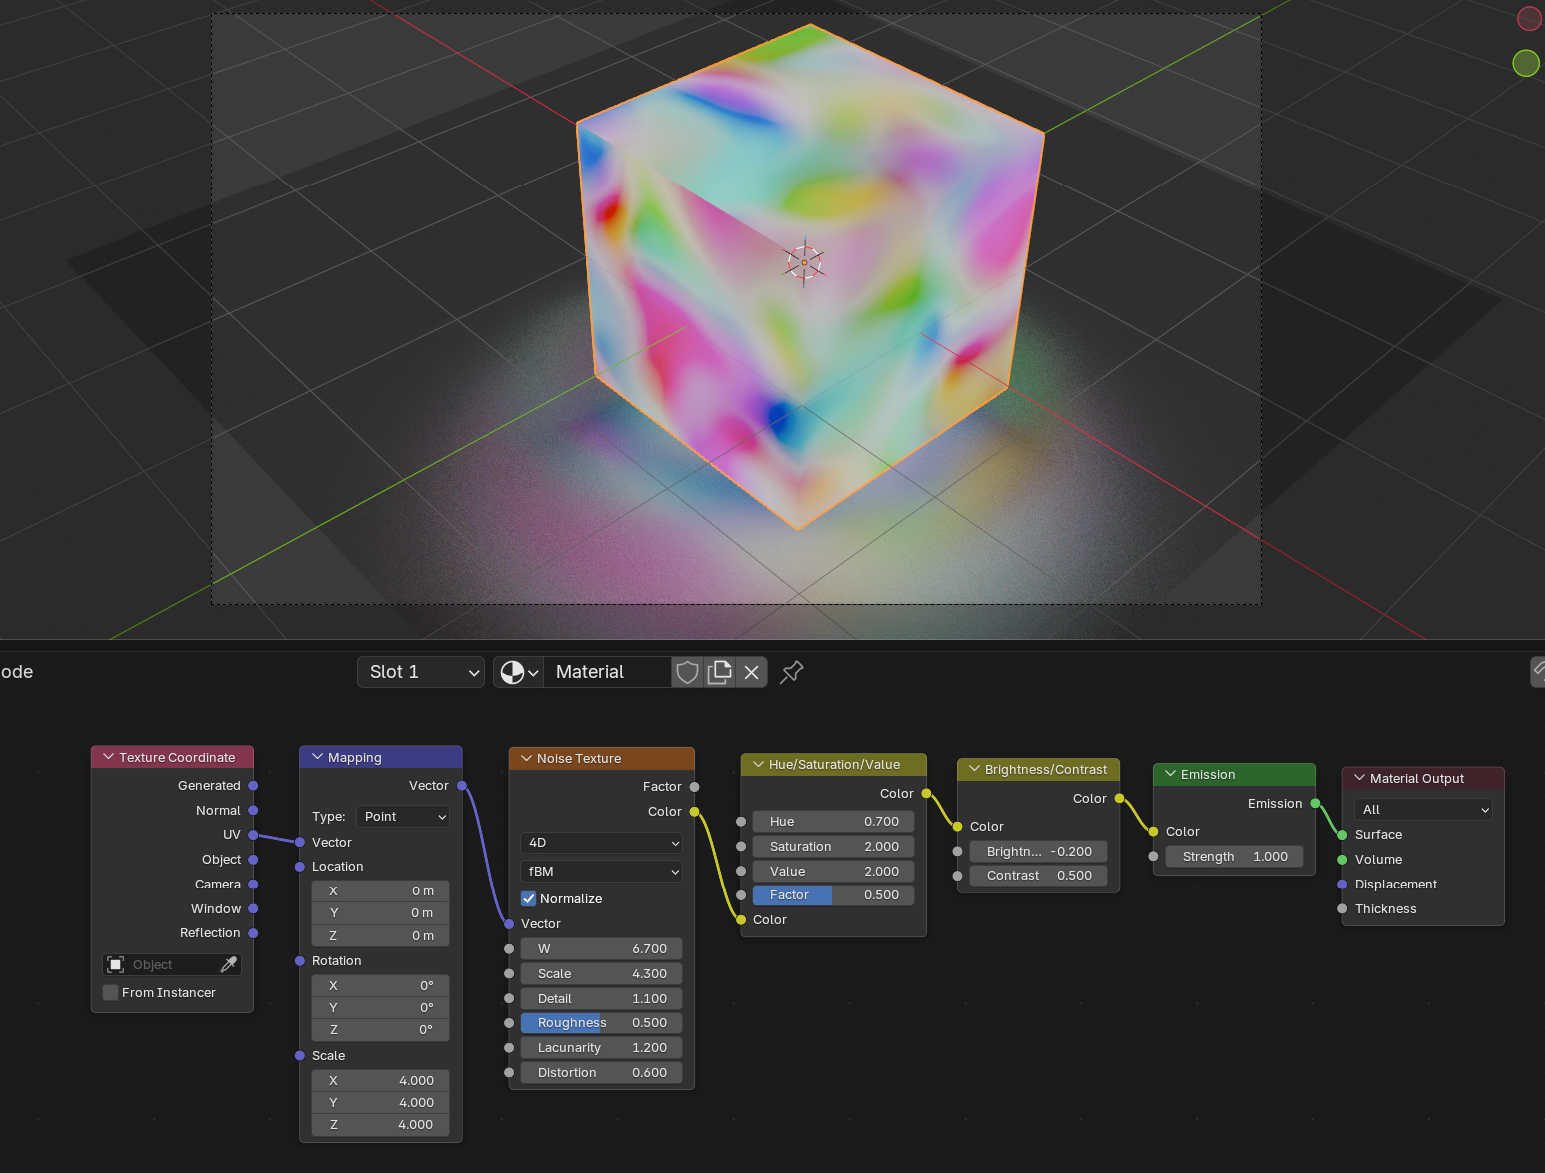
Unfortunately, this is how the shader turned out. I’ll put up a screenshot of my shade editor for everyone to see. I know someone will know where I can fix the error.
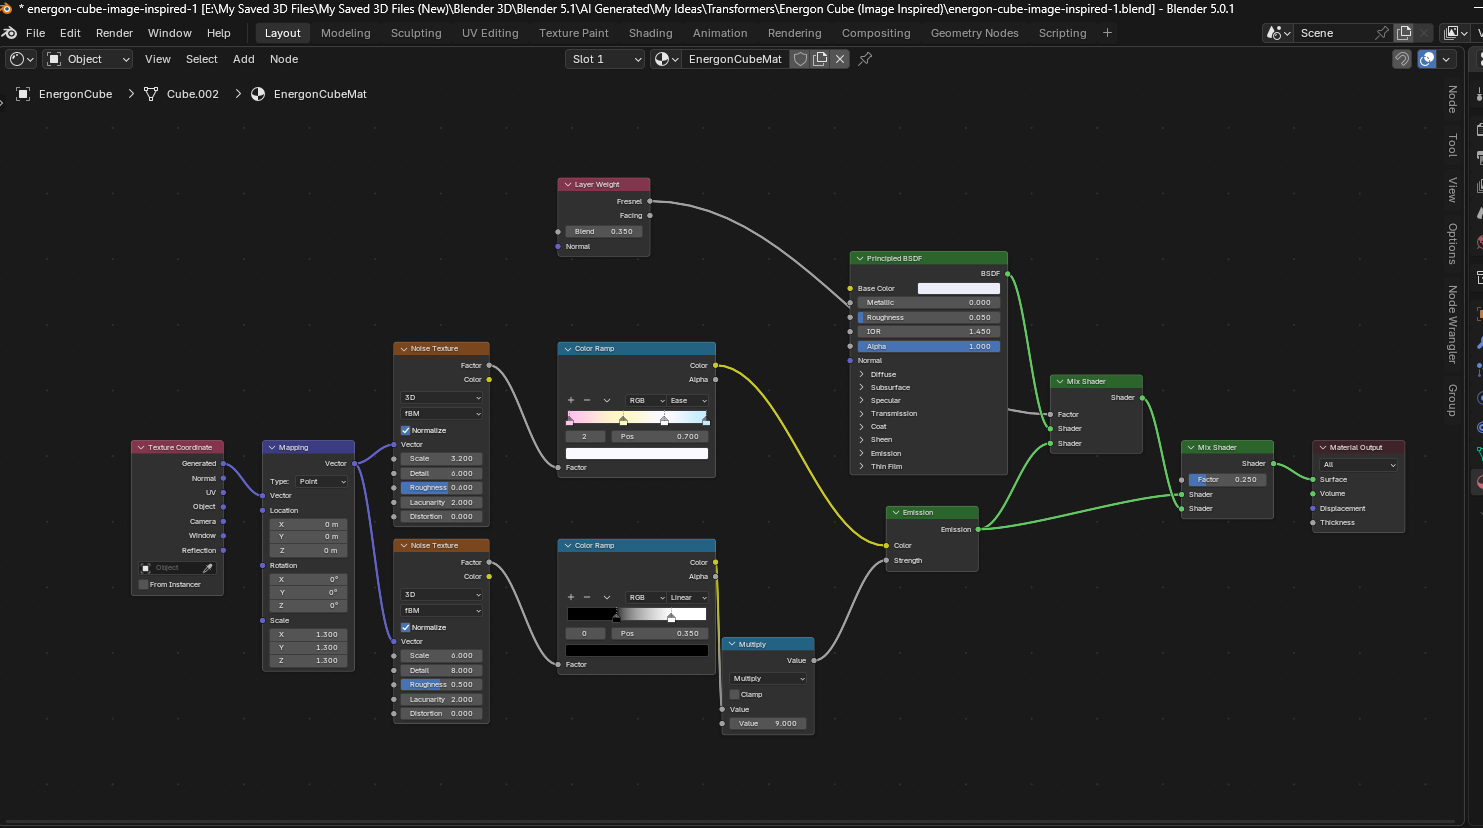
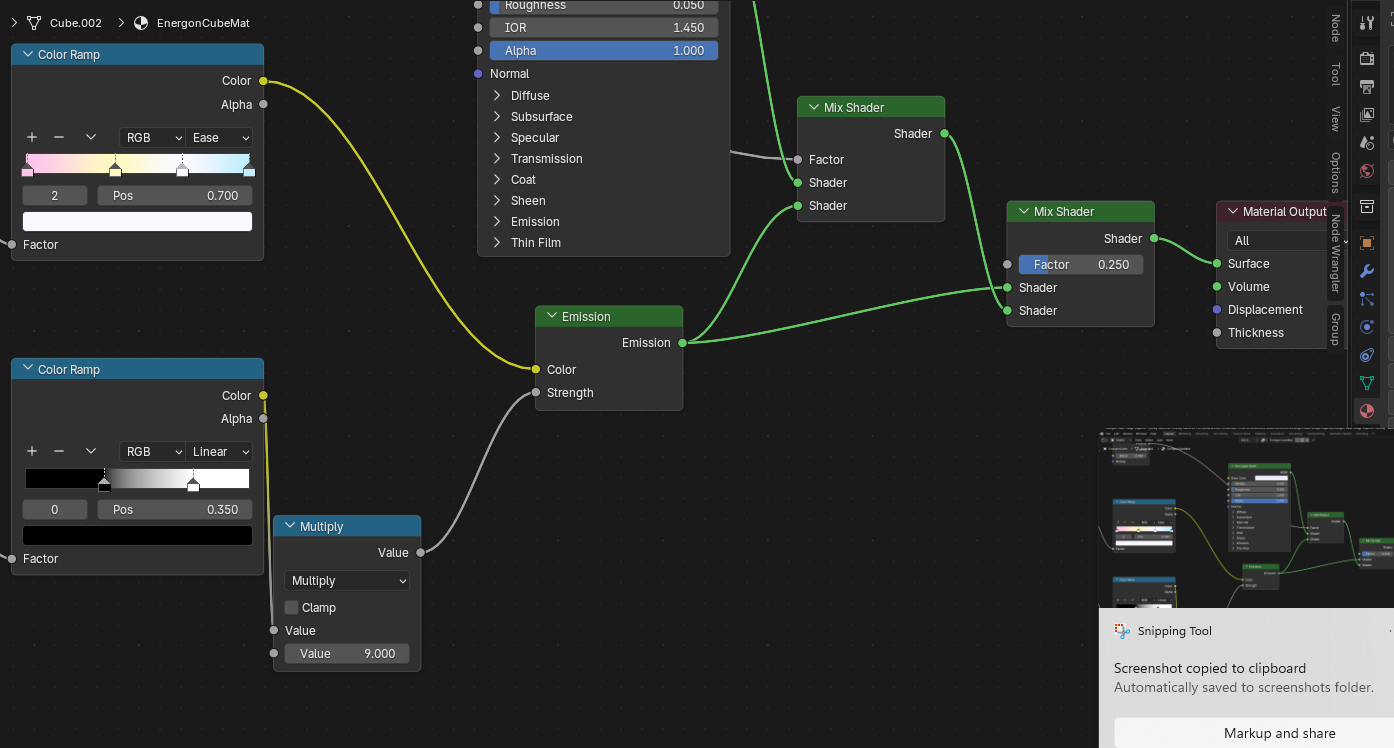
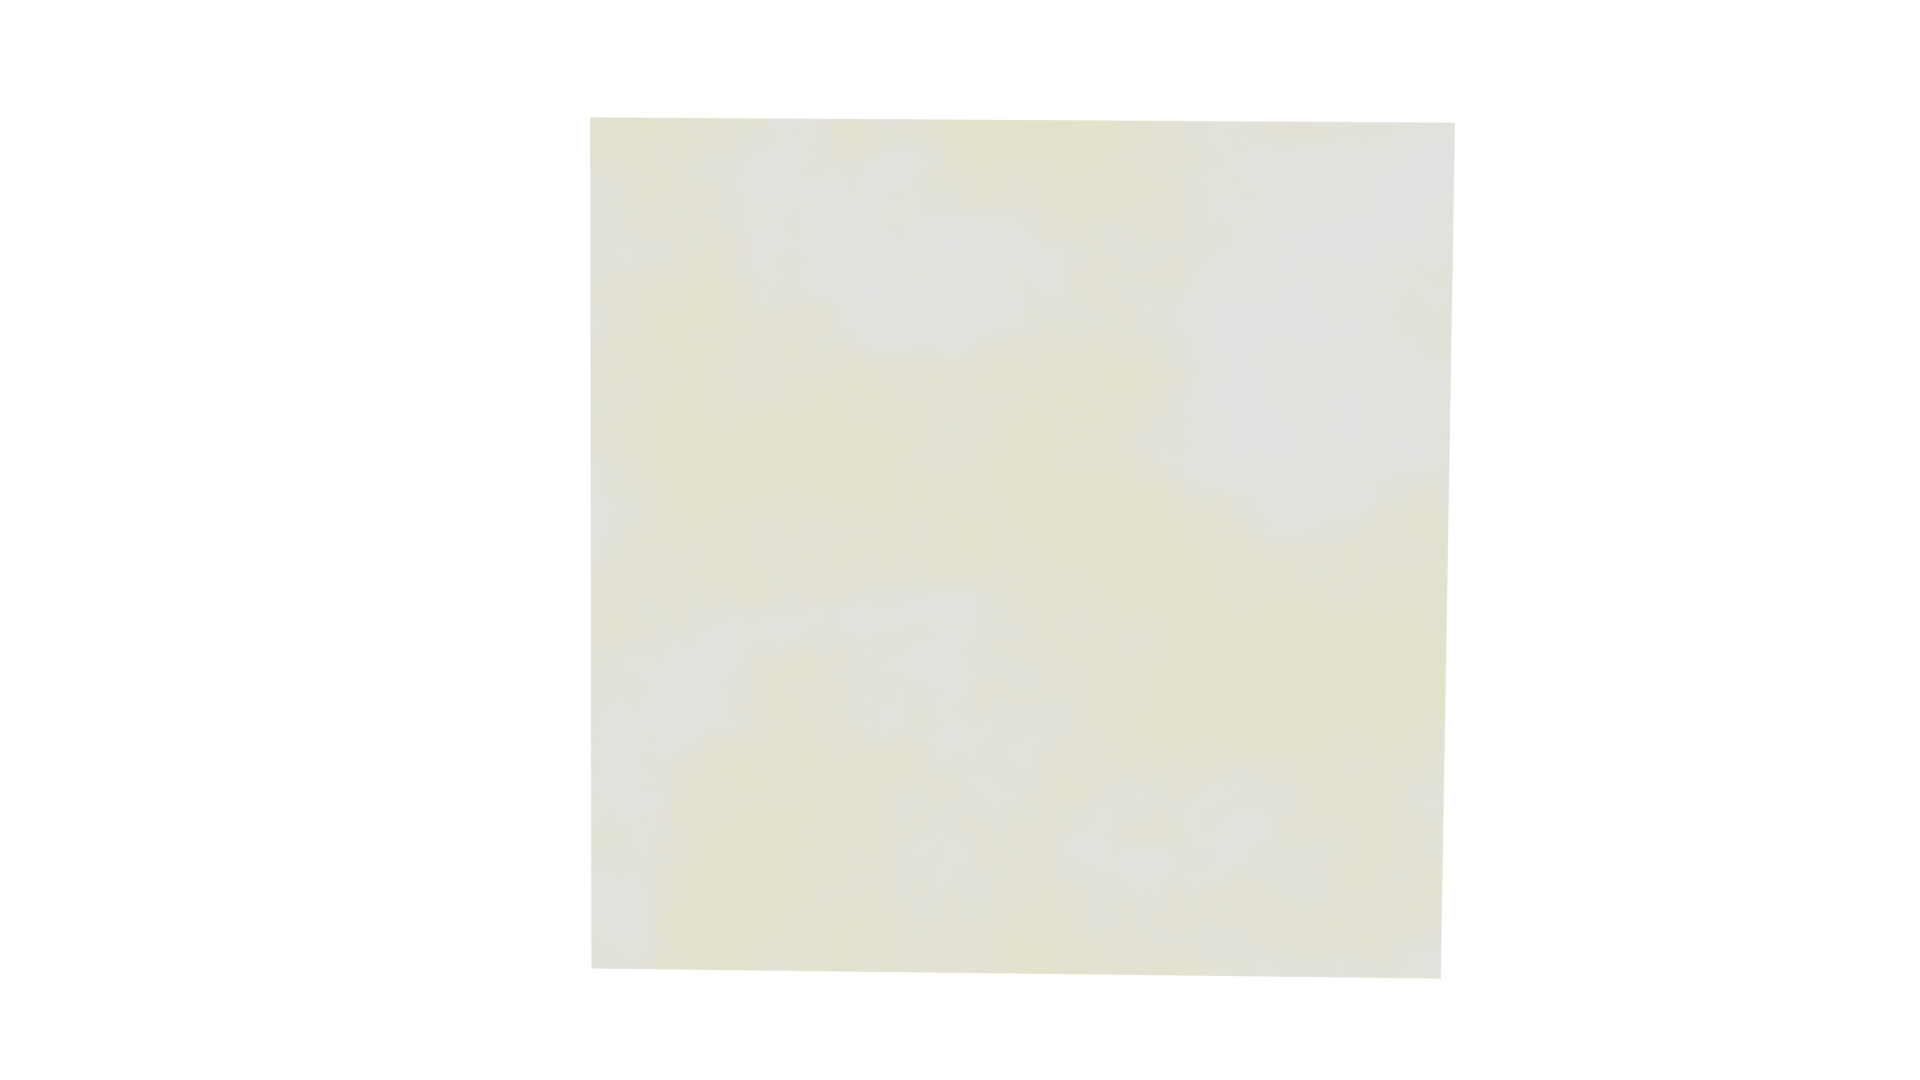
Also, I get this error when I try to render. Anyone know what I can do to fix this error?
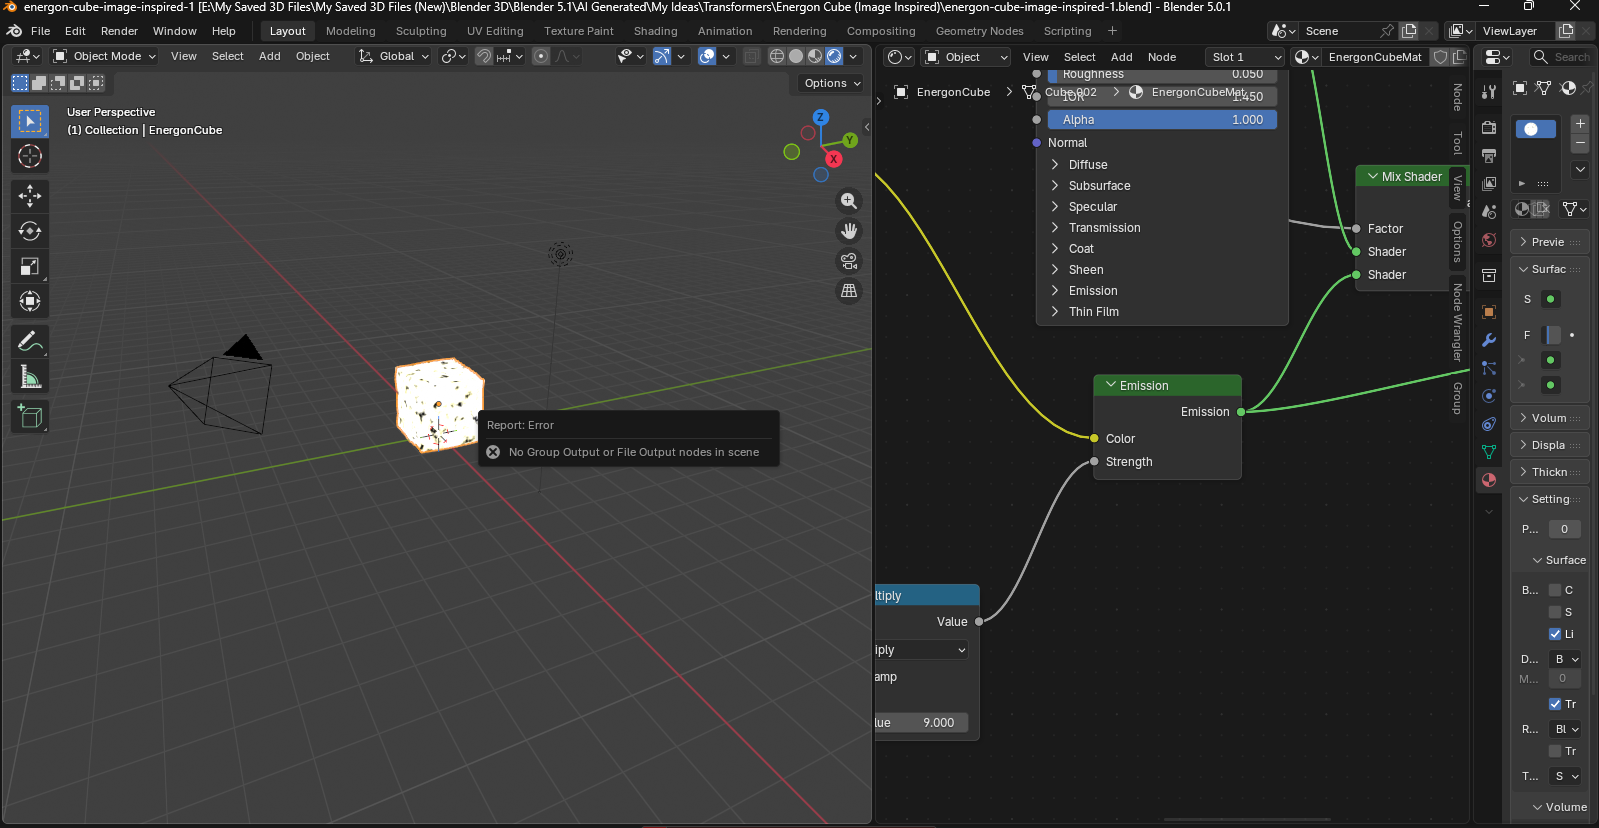
And I apologize for asking for help. I’ve used Blender since 2011 (on and off due to having different computers over the years; some couldn’t handle Blender). I got a refurbished computer back in December, and I started learning the Shade Editor around that time. I’m still learning how to work with that editor.
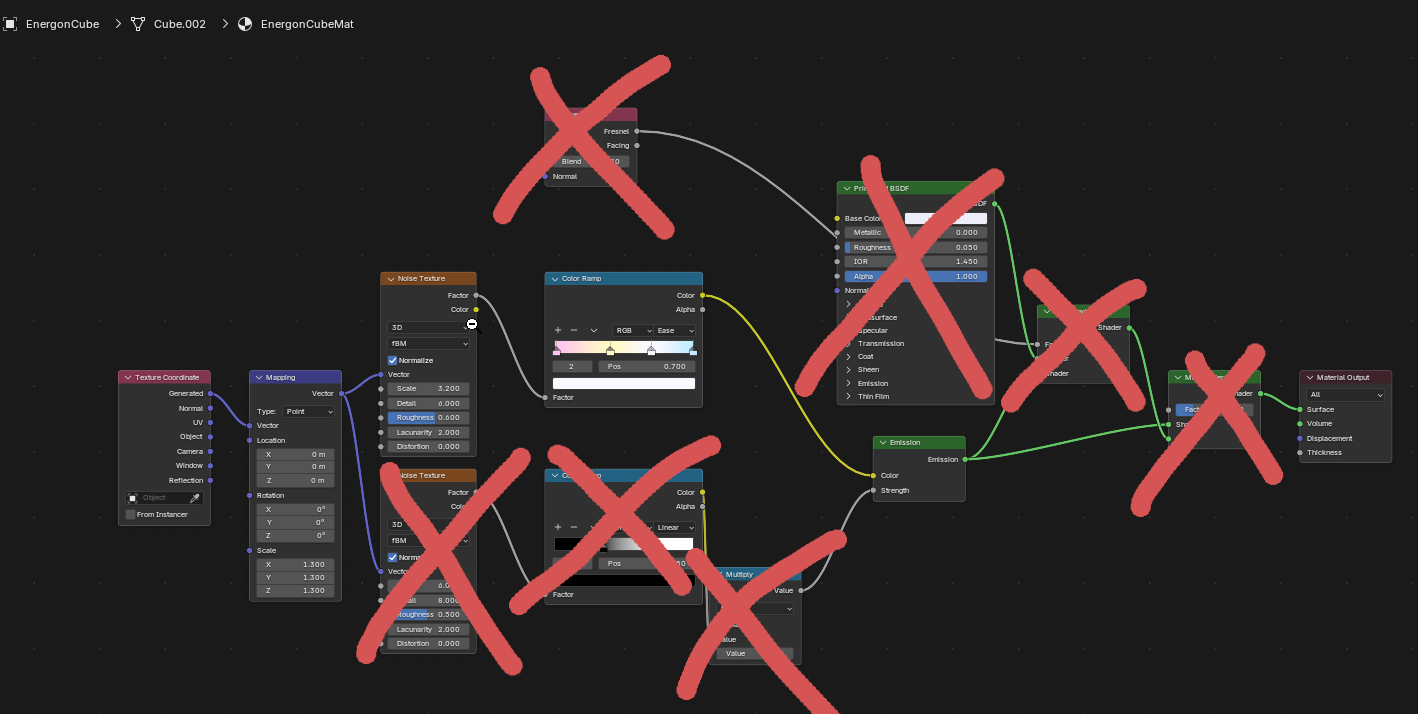
Start here.

Using a LLM for this? Humanity is truly doomed :frowning:

That’s a cube, Blender starts with a cube. That’s clearly an emissive cube, so you only need an emission shader. That’s hardly anything more than a standard noise texture.

Far from a perfect match, but much better than what that “intelligent” chat bot spit out.

Nah, we’re not doomed. I was curious.

I’m not sure why Claude added so many nodes. AI makes it all harder than it should be.

Because AI chatbot doesn’t know how to use Blender correctly.

Apparently.

Let it be a lesson: AI definitely has its uses, for automating complicated but repetitive and boring tasks, like rotoscoping for example (my excuses for anyone who loves to rotoscope, you are one (surely just one :)) very fine individual I’m sure), but never ever outsource creative work to a program. That’s kind of our thing.

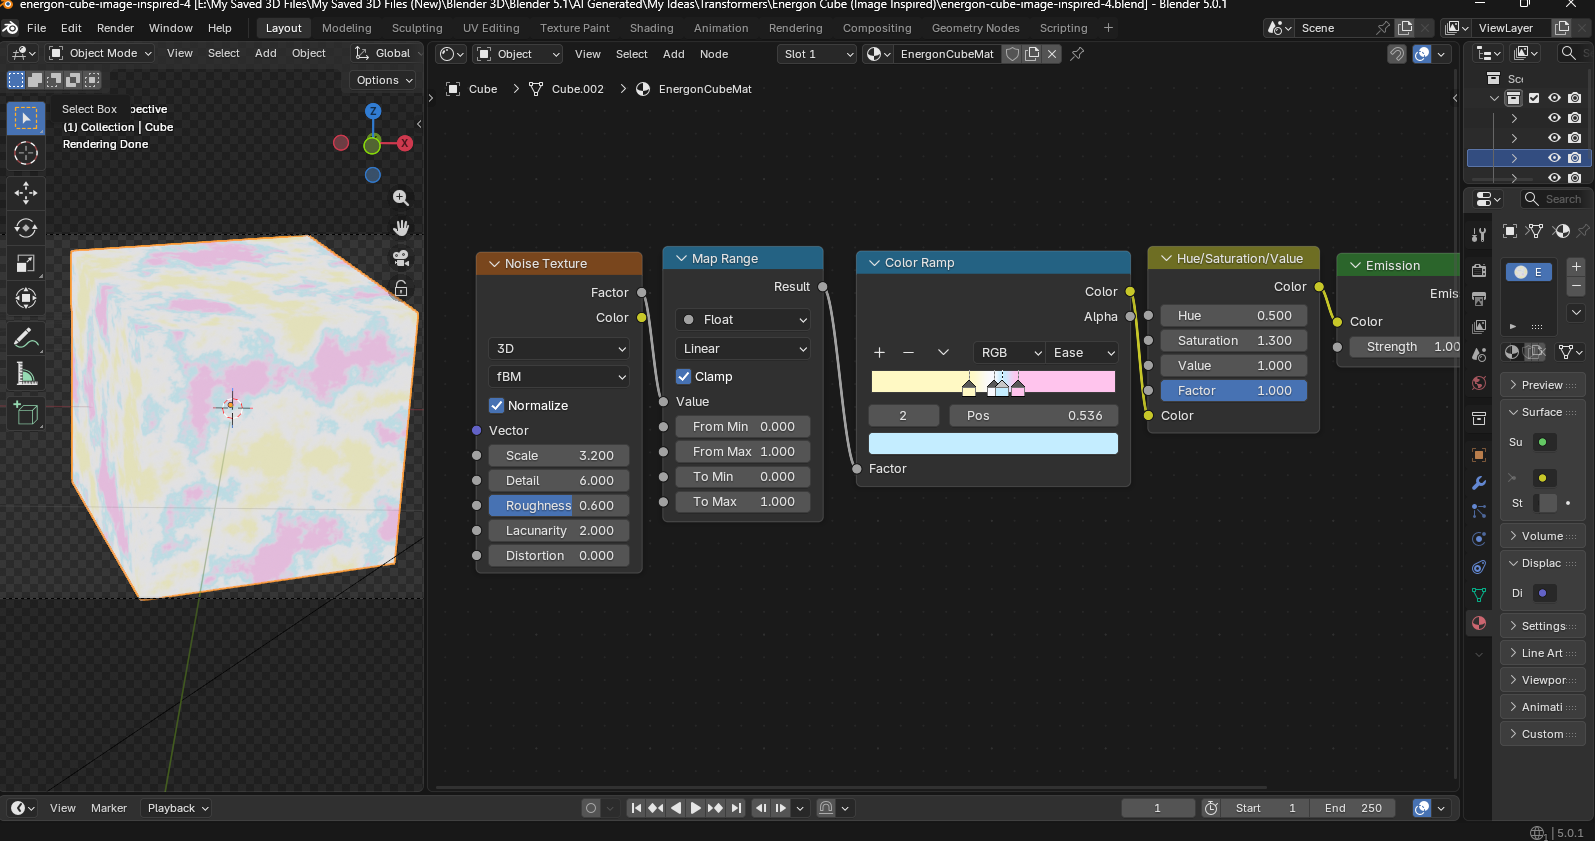
And I simplified the node setup. Still, all I get is white and yellow as the emissive material. I kinda understand the setup, but why it isn’t iridescent or the rainbow of colors is unknown to me.

I definitely agree Gaerial. I only use AI to speed up the process. I do it because I’m curious, and I love to tinker.

I think your colors aren’t nearly saturated enough, and the noise texture is “centered” around 0.5 (or should be), more or less where your put the yellow color in your color ramp.

Yep, definitely not saturated enough. Let me see what I can do.

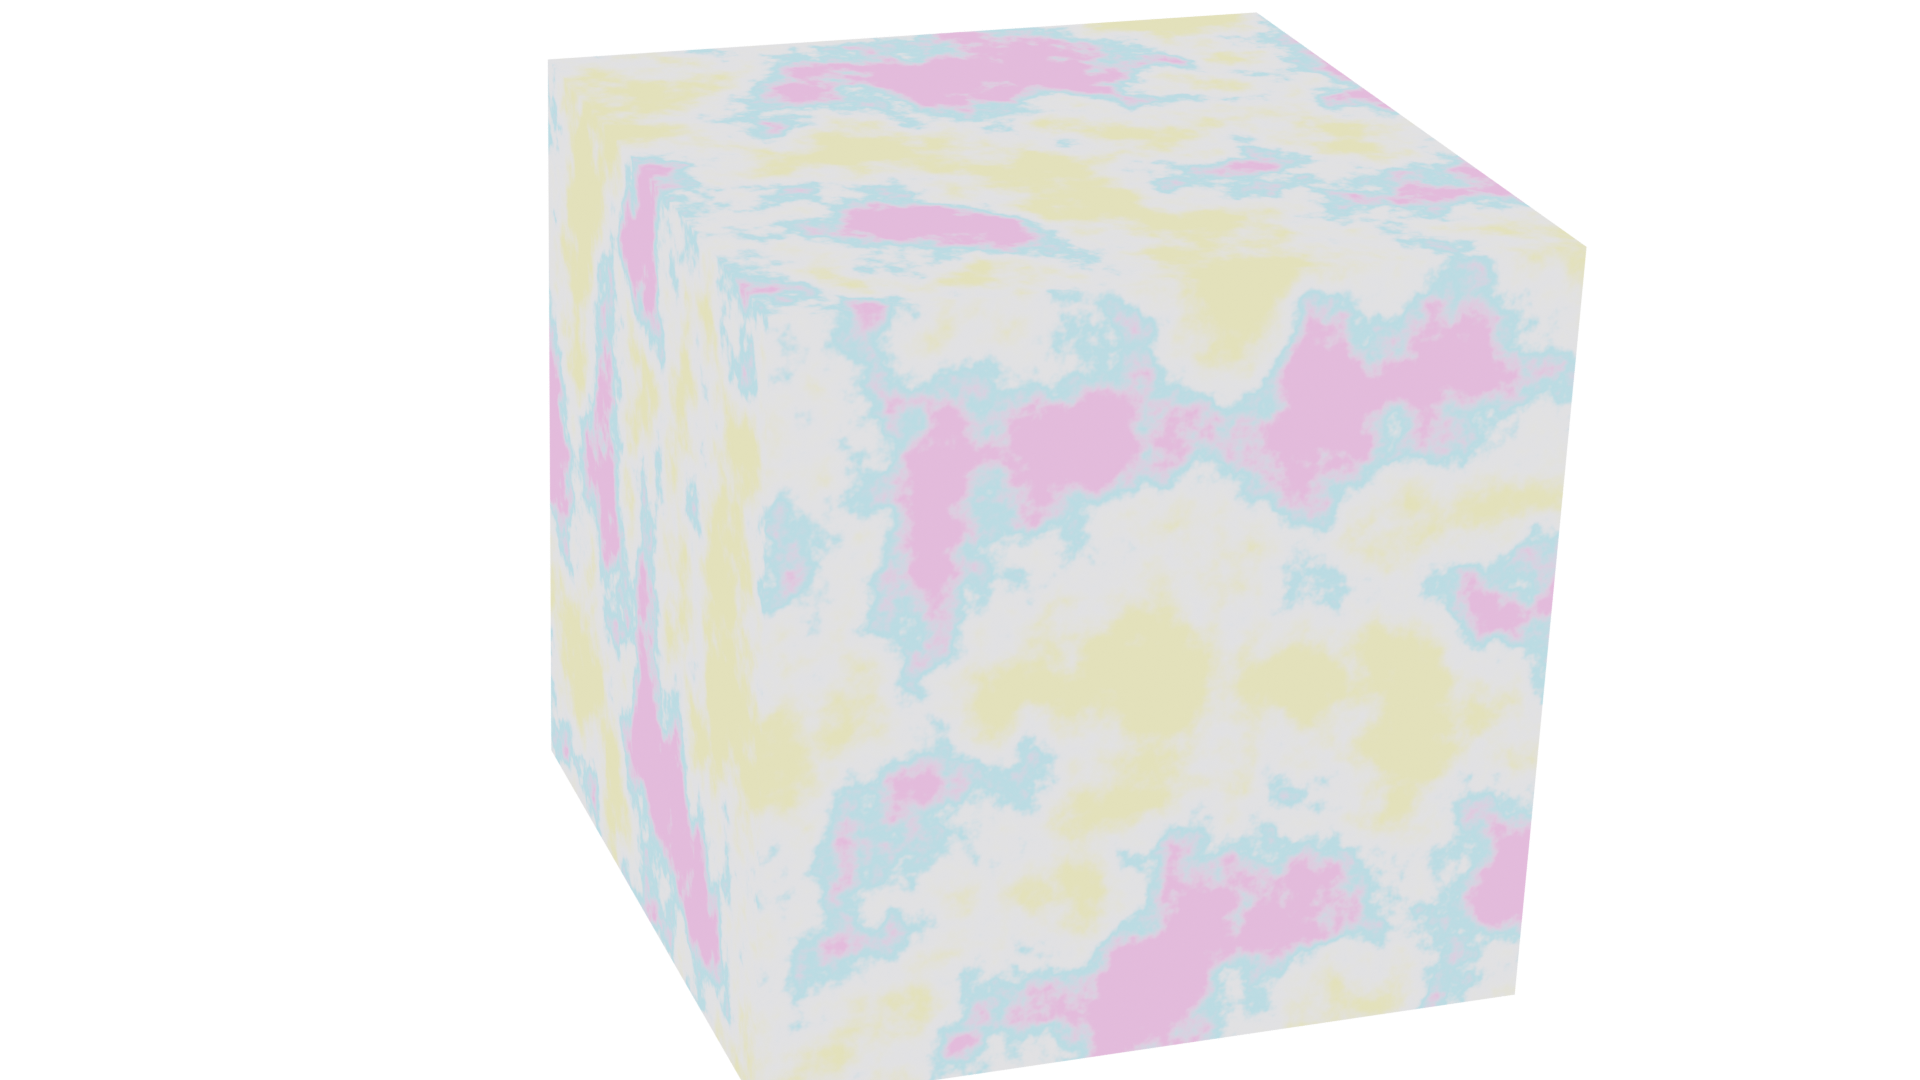
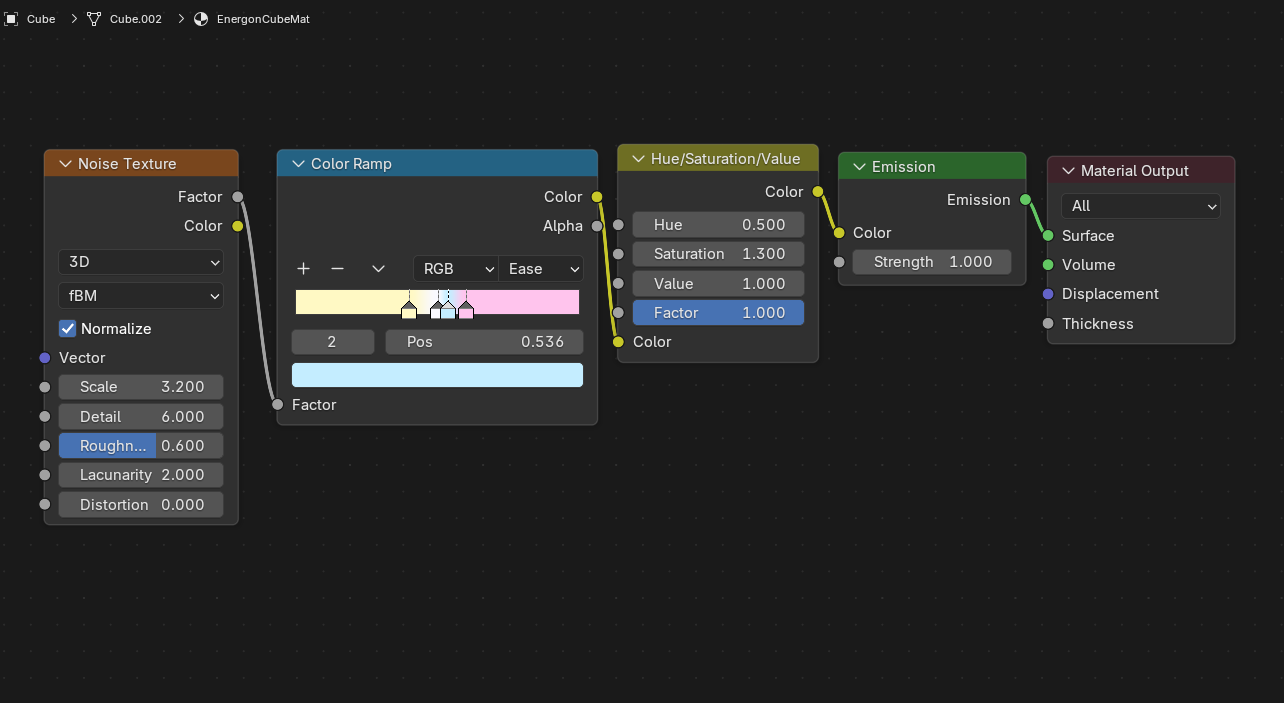
Closer to what I want, but not the same. Seems I need to play around with the color ramp. This will take some time.

Much, much closer this time! Thank you Gaeriel - I’ll take my time and tinker with my material for a while. Maybe I can get it to look even closer to the image.

Some of this should have been obvious to me. I’ve never been that good at problem solving.

AI finds it difficult to cover more than the questioner’s knowledge. (The question must be clear and precise to yield the desired answer.) :sweat_smile:

If you cannot understand whether the AI’s answer is incorrect and correct it to obtain the desired solution, the problem will not be solved.

Do not ask the AI ​​for the correct answer; instead, ask the AI ​​for the question and related links.

Then, personally review whether that constitutes a solution.

The best approach is to learn how to find information on your own.

More control over the saturated spots.

Instaed of crunching the color ramp i would put a map range right after the noise to distribute the noises range better between 0 and 1.

That way it is easier to control the ramp.

That’s something I didn’t know I can do. I’m still learning what can be done in the shade editor.


I put in the Map Range node just now. All I have to do is tinker with it.

Will the Texture Coordinate node and the Mapping node help too, or is that unnecessary?

Ooh ooh, energon cubes! Me too, me too! Iguana!

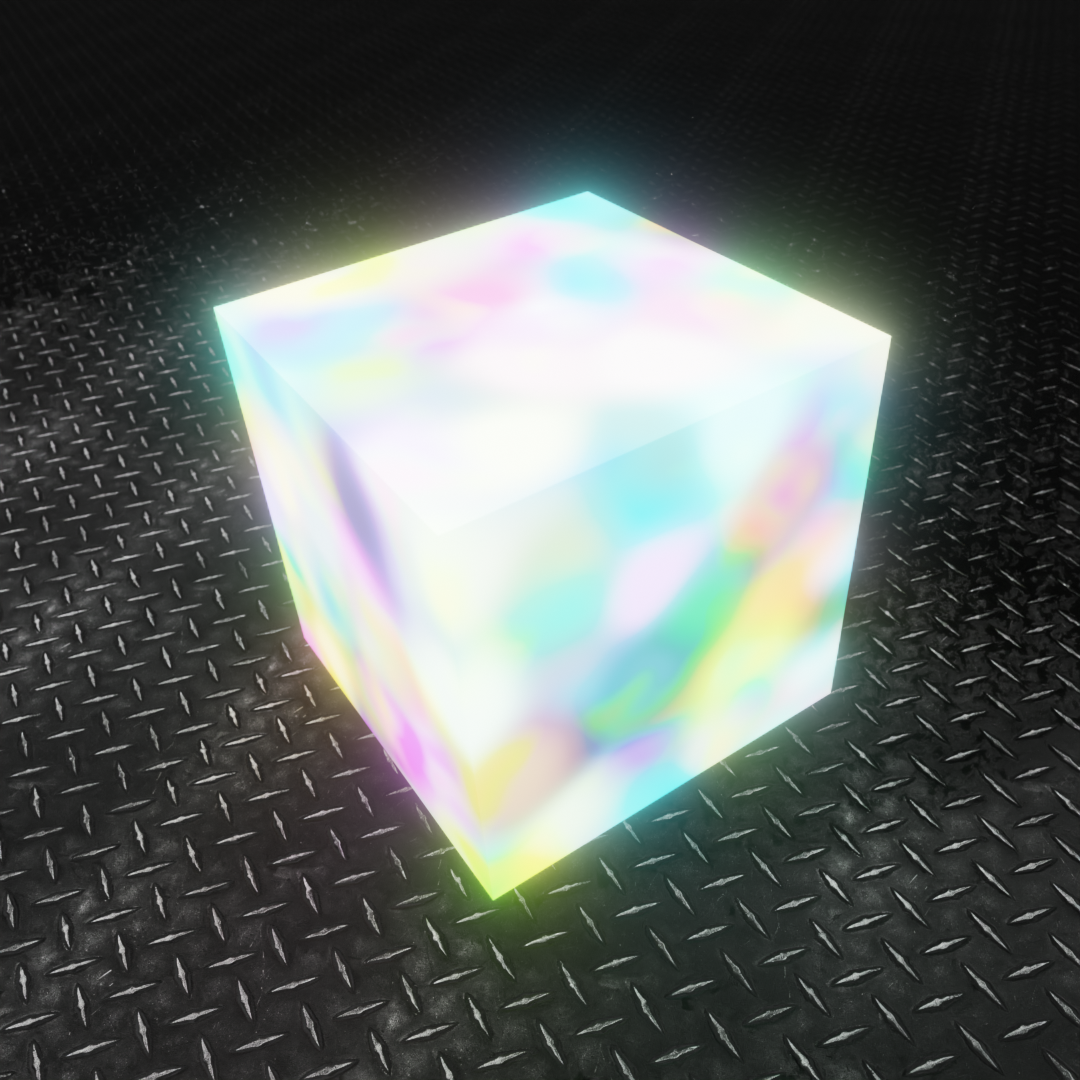
As always, Cycles renders better, but I am starting to figure out Eevee as well.

No one knows how big an energon cube is (in canon it varies). Mine is one meter square, which seems maybe a tad small but close enough with respect to Megatron’s dimensions (were he real).

The steel plate flooring is from a photo (https://unsplash.com/photos/a-close-up-of-a-metal-diamond-plate-v6uiP2MD6vs), modified to be tileable. I suppose I should have worked on it a little more to get rid of some of those bright streaks but this is close enough today.

Inside that cube Megatron’s ejecting there are two things going on: pastel rainbow washes and bright lava lamp lights that overpower the wash.

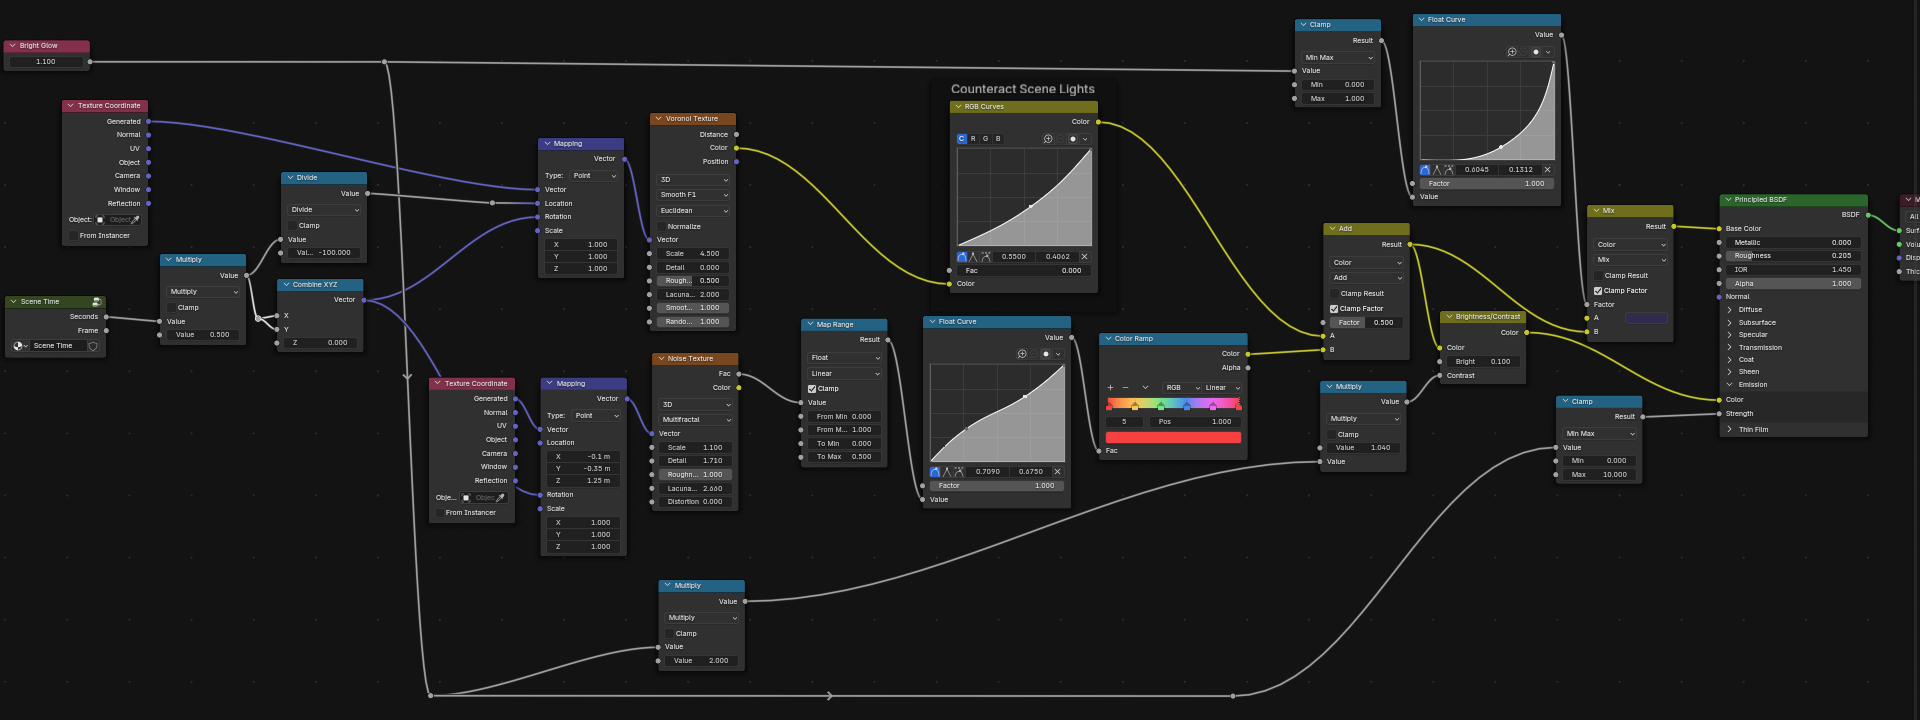
For the wash I just used a noise texture mapping into a pastel color range (but anything analogous will do). For the bright white I used a Voronoi (Smooth F1).

Energon is always moving. I did it by animating the texture location and rotation mapping with input from Funkworks’s “Scene Time” shader node, which is a whole lot nicer than having to dink with a #frame driver directly. I disabled the non-repeating location offset to get a loop for the animation, though.

energon-anim

I also added a control for brightness/glowiness, turning the thing a nice dull lilac when the power is gone, heh. I also like a bit of a good bloom effect (“fog glow”), which to me seems reasonable for this kind of thing.

Anyway, here’s the shader tree.

I am more or less pleased with the result.

Thanks for the topic @bigboy4006!
Hope you find this fun and helpful.
Also, AI is Evil™. Avoid it like the plague.

You’re welcome! I thought this would be a fun project. I plan to set up my shader the way you have. I think yours looks better than mine, although I think my shader would be great in any abstract art I do in the future.

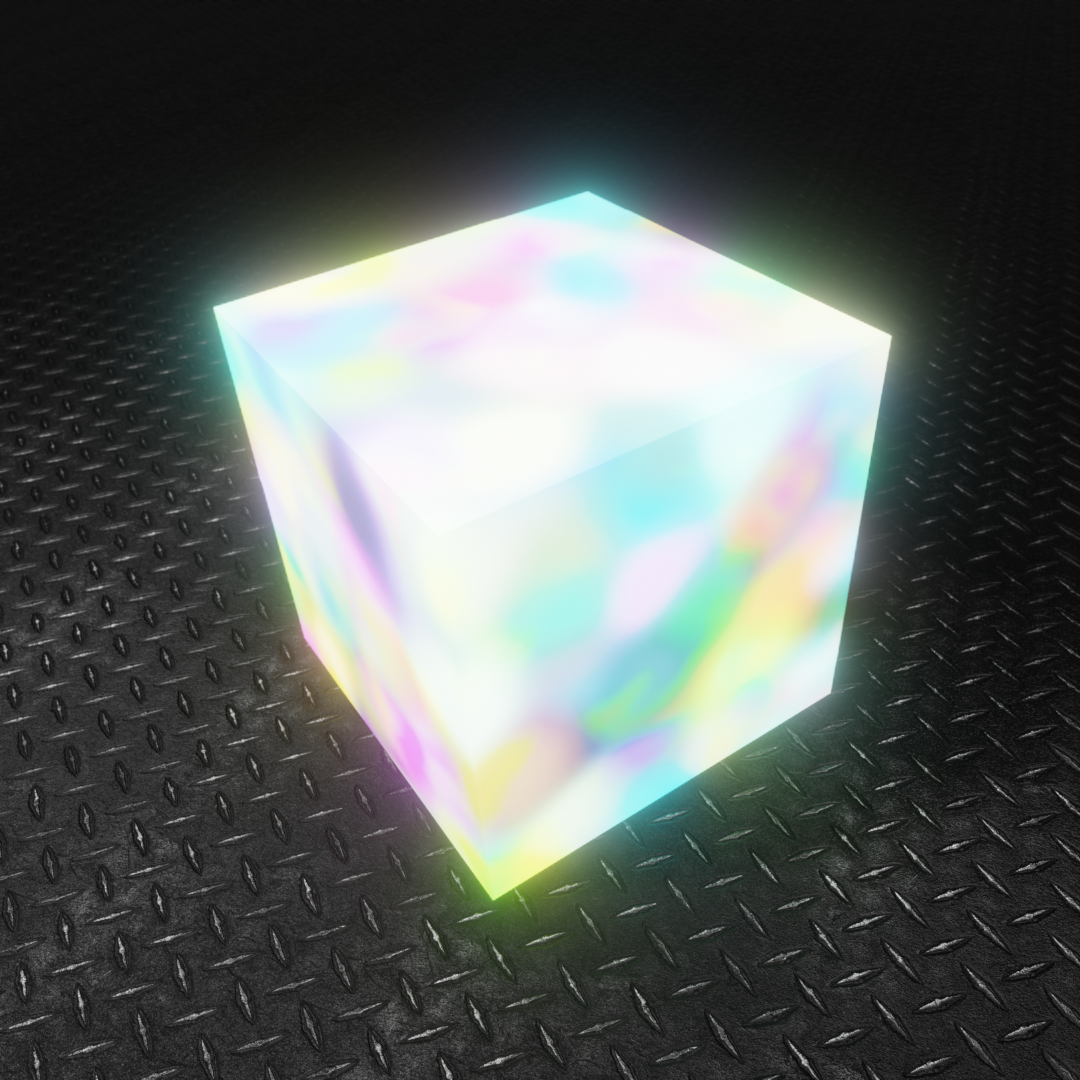
On mine, I decided to add a Glare node in the Compositor to give it a bloom or gloom. Just a little extra to make the file more fun!

And I’ll have to take a better look, but I assume your noise texture is set to 4D. Great idea, if true! I love that you animated the texture. Both creative and genius!