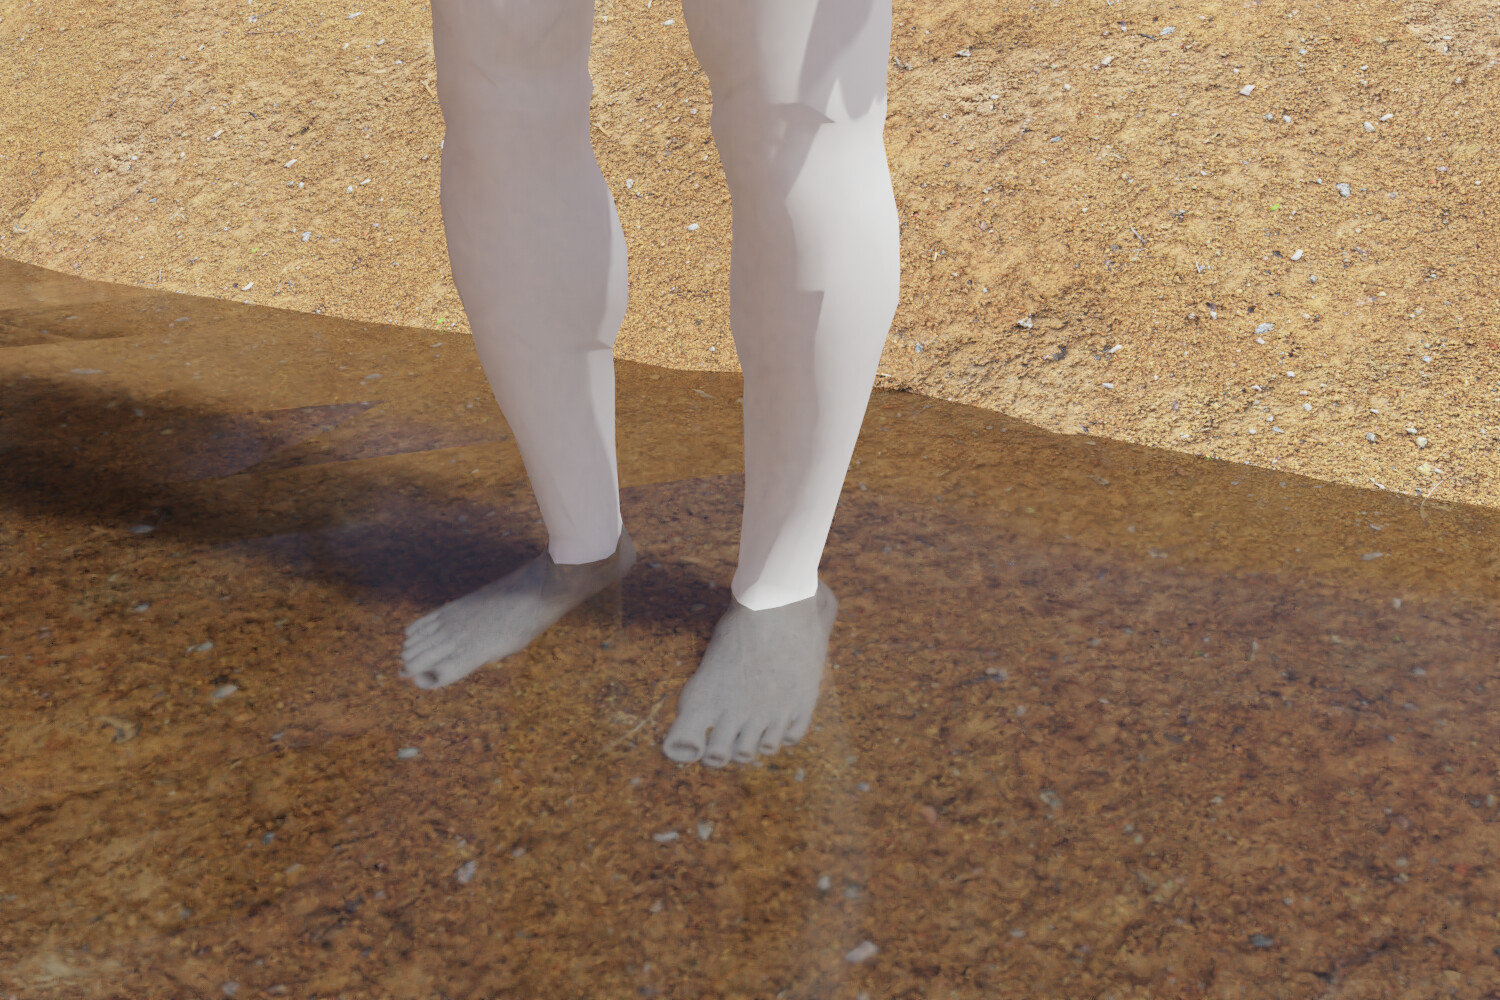
I’ve managed to make some reasonably realistic-looking (muddy) water. Now I’m wondering if there’s a way to make the sand just above the waterline look damp. I know it’s easy to do this in post-processing, but I’d like to find out if it can be done in Blender. (Thanks to Andrew Price’s Poliigon (sic) site for the ground texture.)
Yes.
- Basic Option. Select the faces you want and apply a new material.
- More Complex. You can use vertex paint to select the verts around the edge of the water and use that to control a mix shader with a darker wet sand.
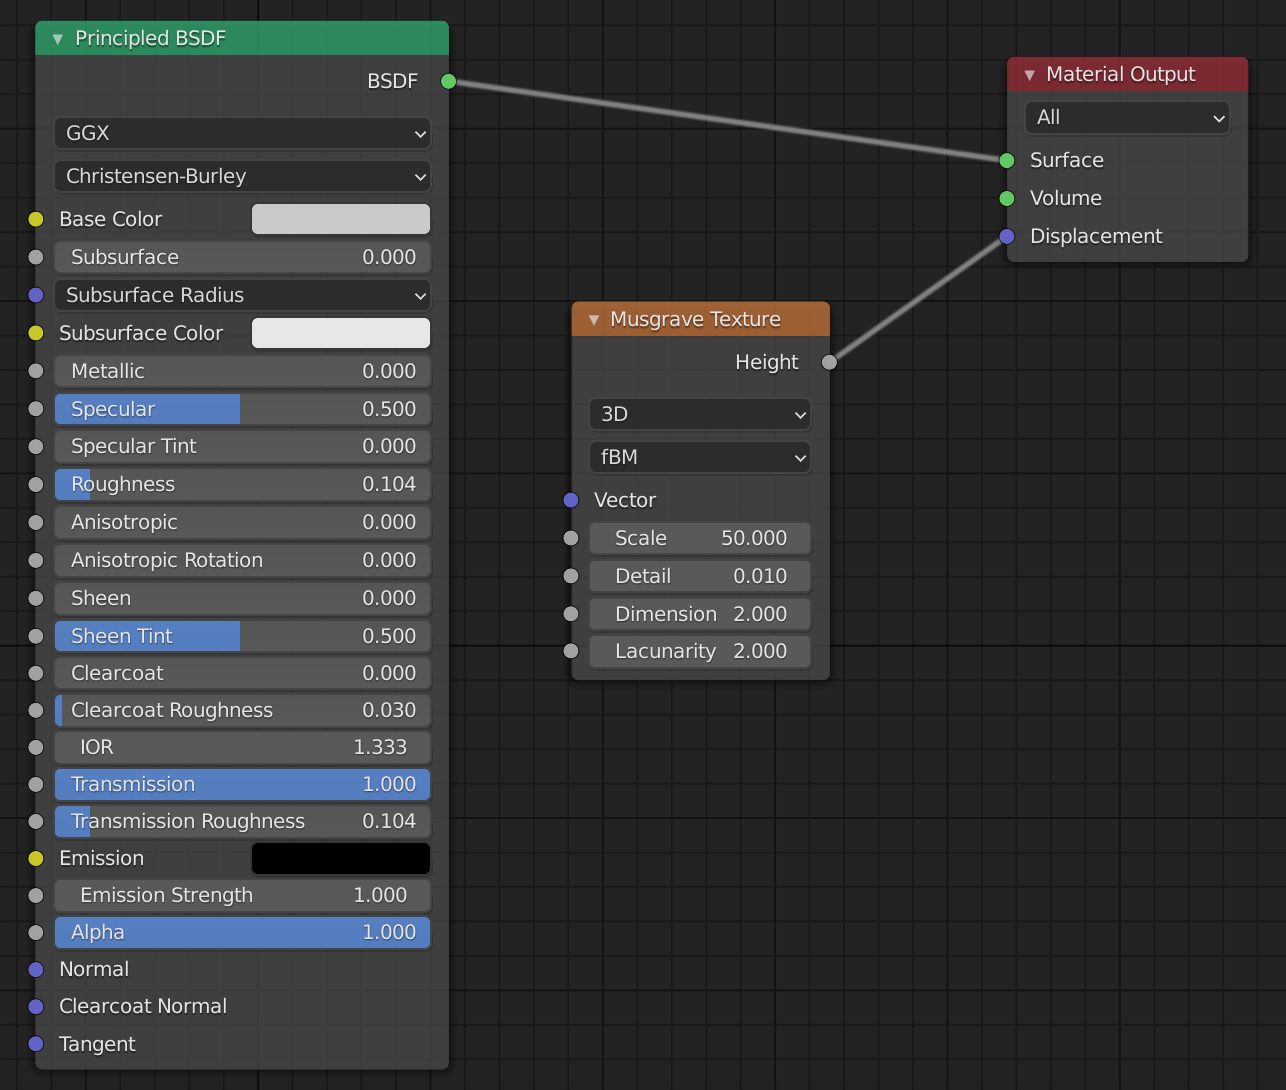
There is a node in Cycles to select the Vertex group to use, cant remember which it is at the moment, but it should be obvious when you find it. - If you’ve UVd the ground, you just use a black and white texture to controll where you want each material.
Thanks for the suggestions. I’ll give all three a try.
I’ve been trying to implement your suggestion #2. I was able to find the node you referred to: as you said, it was obvious. Now if I understand correctly, the colour I’ve chosen for painting the vertices is irrelevant: it only serves to distinguish them from others I don’t want to affect, similar to what a shades-of-grey mask does. But I’m not clear about how to use this “to control a mix shader with darker sand”. If you could direct me towards some examples, I’d be very grateful!
As you noticed, we’re just using this as a grayscale mask to represent the values zero (black) to one (white) with possible values in between. For a different use case, you could paint in colour and connect this directly to the colour slot on your material, but any detail will be limited to how dense your mesh is so that would be more suited to flat cartoon style colouring.
Make sure your vertex group is selected in the node. The default name for me was ‘Col’. Then use the Color output from the Vertex Color node as the Factor into a mix shader.
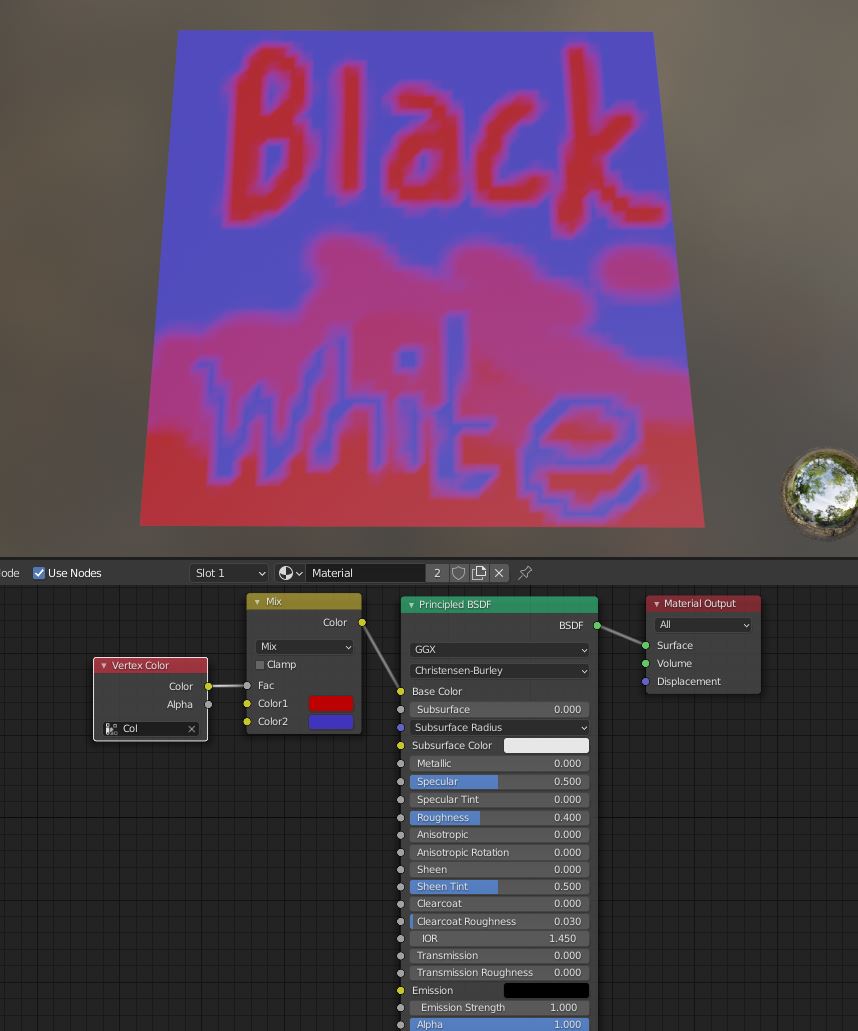
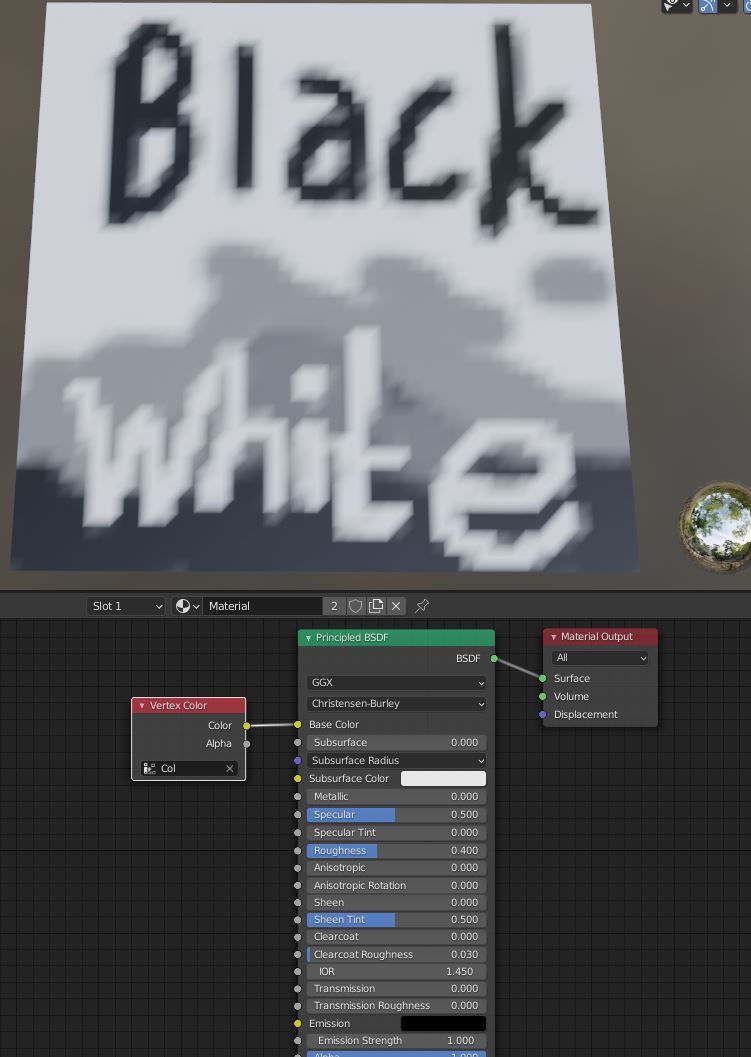
For this example I subdivided a plane, then vertex painted the bottom half black/gray then wrote ‘White’ in white, and ‘Black’ in black in vertex colours.
The Black colour is zero so takes colour information from the first option on the node (the red colour). Increasing the value towards one (white) selects from the second slot (blue). Values in between will be blended.
1 Like
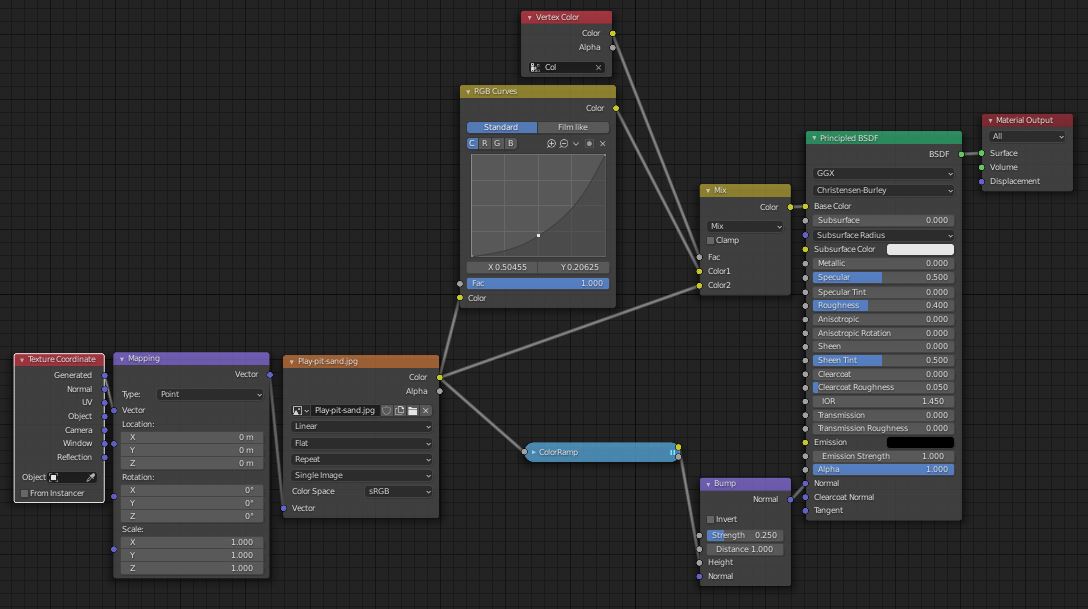
I found a photo of sand, and put this together for you.
Original photo texture with mapping node to fit it to the object.
Using a RGB Curves node I made the photo darker and mixed this with the original photo using the Vertex colour input to control the blending.
Added a Bump map using the original photo with colour ramp to control the details.

2 Likes
Many thanks for this! It’s exactly what I was looking for. New vistas in Blendering have opened for me now!
1 Like