I’ve looked at the solidify modifier on the ground object but that didn’t give me the result that I wanted. I think I need to join the ground, sides and bottom objects to give me a hollow map and then to fill in the resulting object so that it’s no longer hollow?
Try selecting all the parts then CTRL-J Object-Join.
You don’t need to fill the inner parts, hollow is ok as long as your object has the correct structure (manifold).
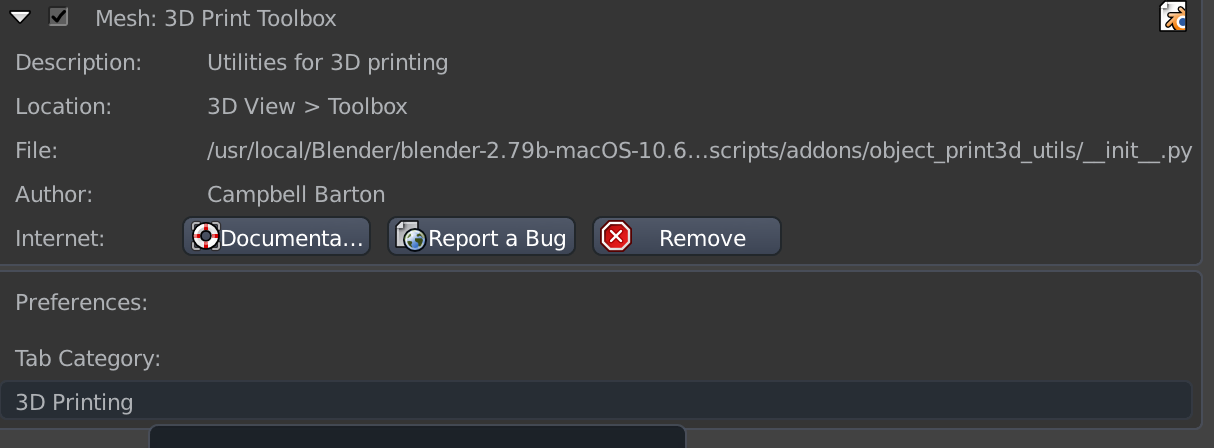
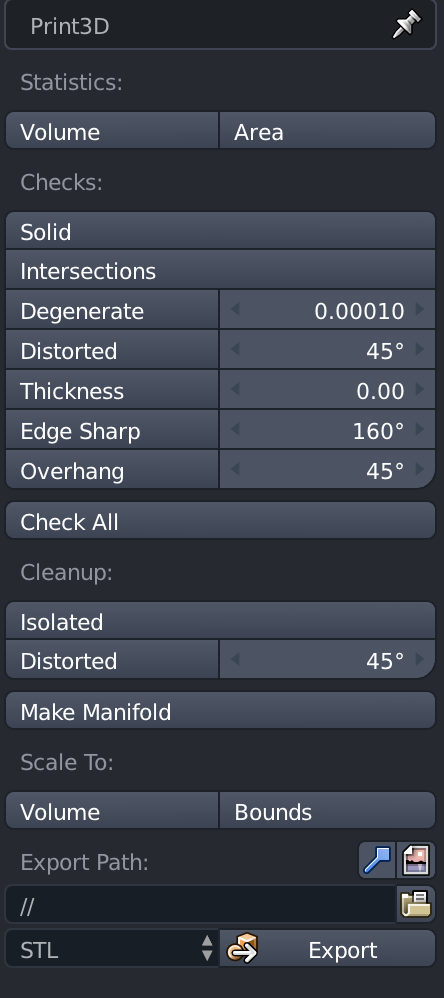
To check if the object is ok for printing, you can use the 3d printing utilities. It comes within Blender own addons:
I joined the 3 objects but it’s still exporting as an stl with 2 objects.
I think I do need it to be solid as I’m trying to cut a shape out of it in Shapr3D (I haven’t worked out how to create the shape in Blender yet) and Shapr is saying that ‘sheet body cannot be selected’. Not sure if that’s because the object needs to be solid or whether the ground/edges aren’t joined to the bottom.
Also I’d be printing out small, about 3.5cm x 1cm so being solid would give it a bit of strength.
A plane in 3D modelling applications is two dimensional, but the default cube will 3D print as solid. The solidify modifier, perhaps unintuitively, will make it hollow inside.
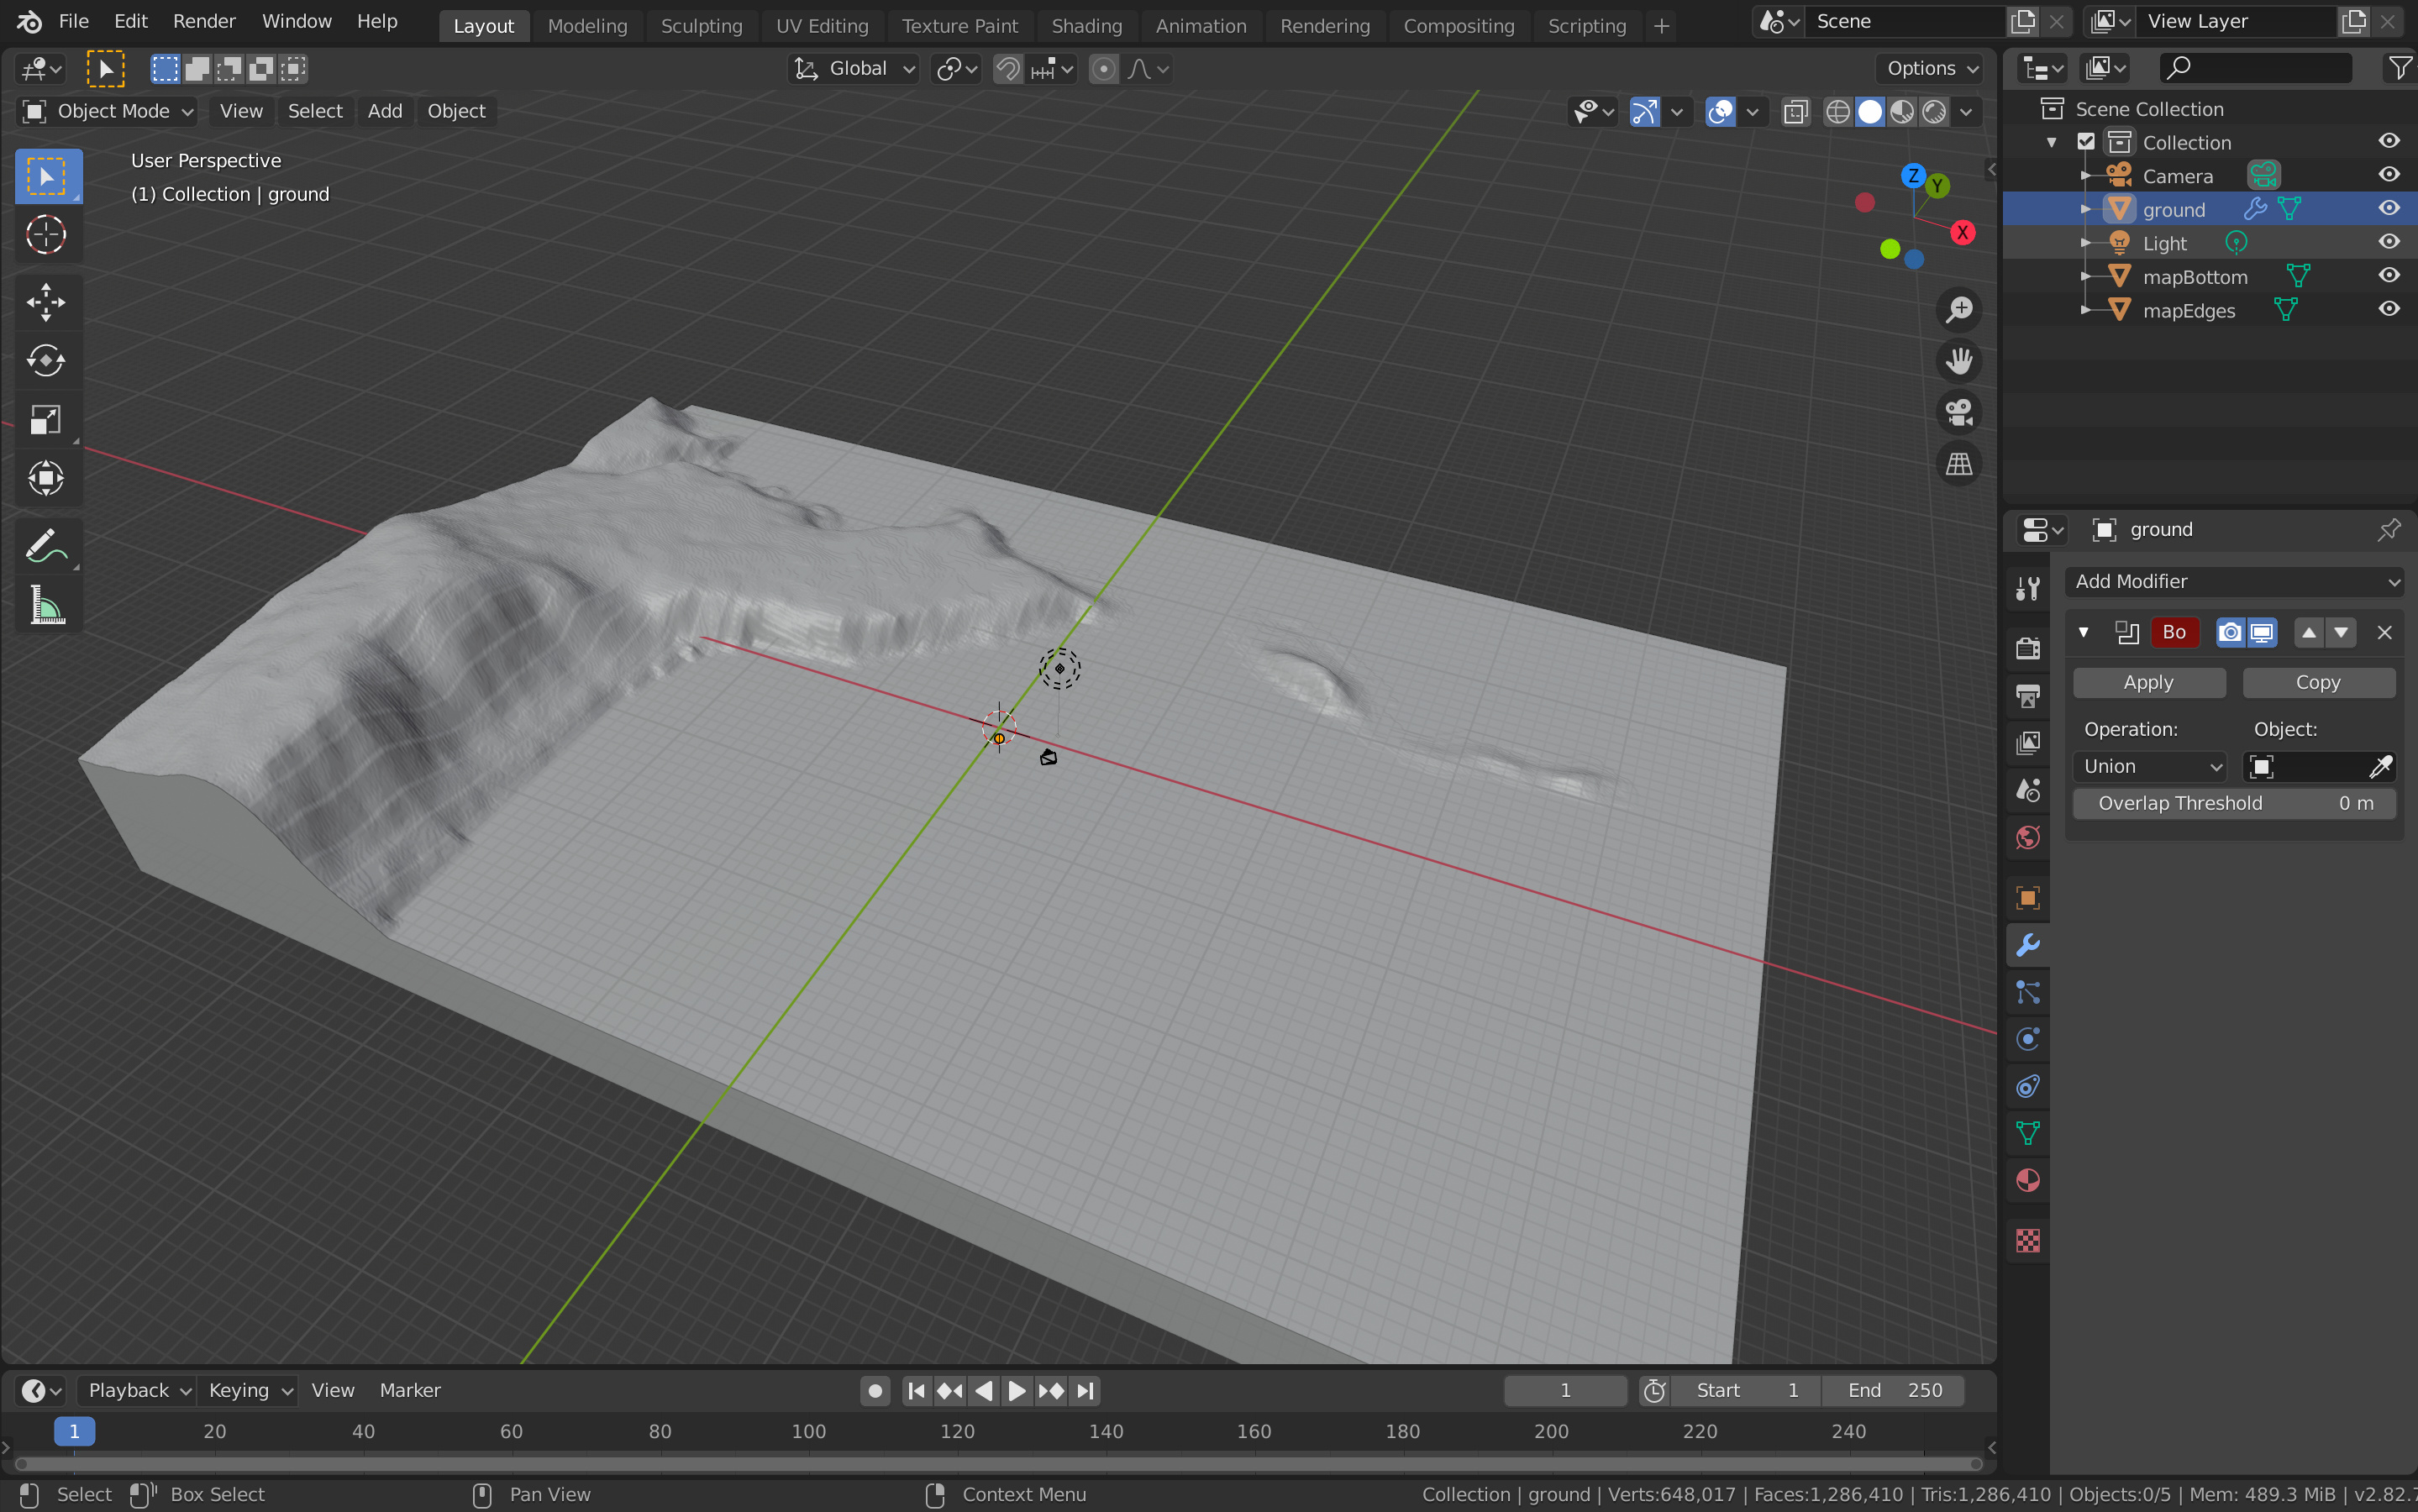
It looks like you may have an unapplied Boolean modifier, so it’s likely there are indeed at least two objects.
Try applying the modifier, then run the 3D print checks again. If there are still issues you can upload the .blend file here for people to look at and give better targeted advice.
Once it’s a single object it will still appear hollow inside in the 3D viewport, but it will print as a solid.
I’m stuck. I’ve tried joining the ground, the edge and the bottom and they seem to be one object but when I export as sql and import into Shapr3D there are two objects - ground/edge and bottom. The reason that I’d like to import into Shapr3D is that I’d like to cut out part of the map into a certain shape.
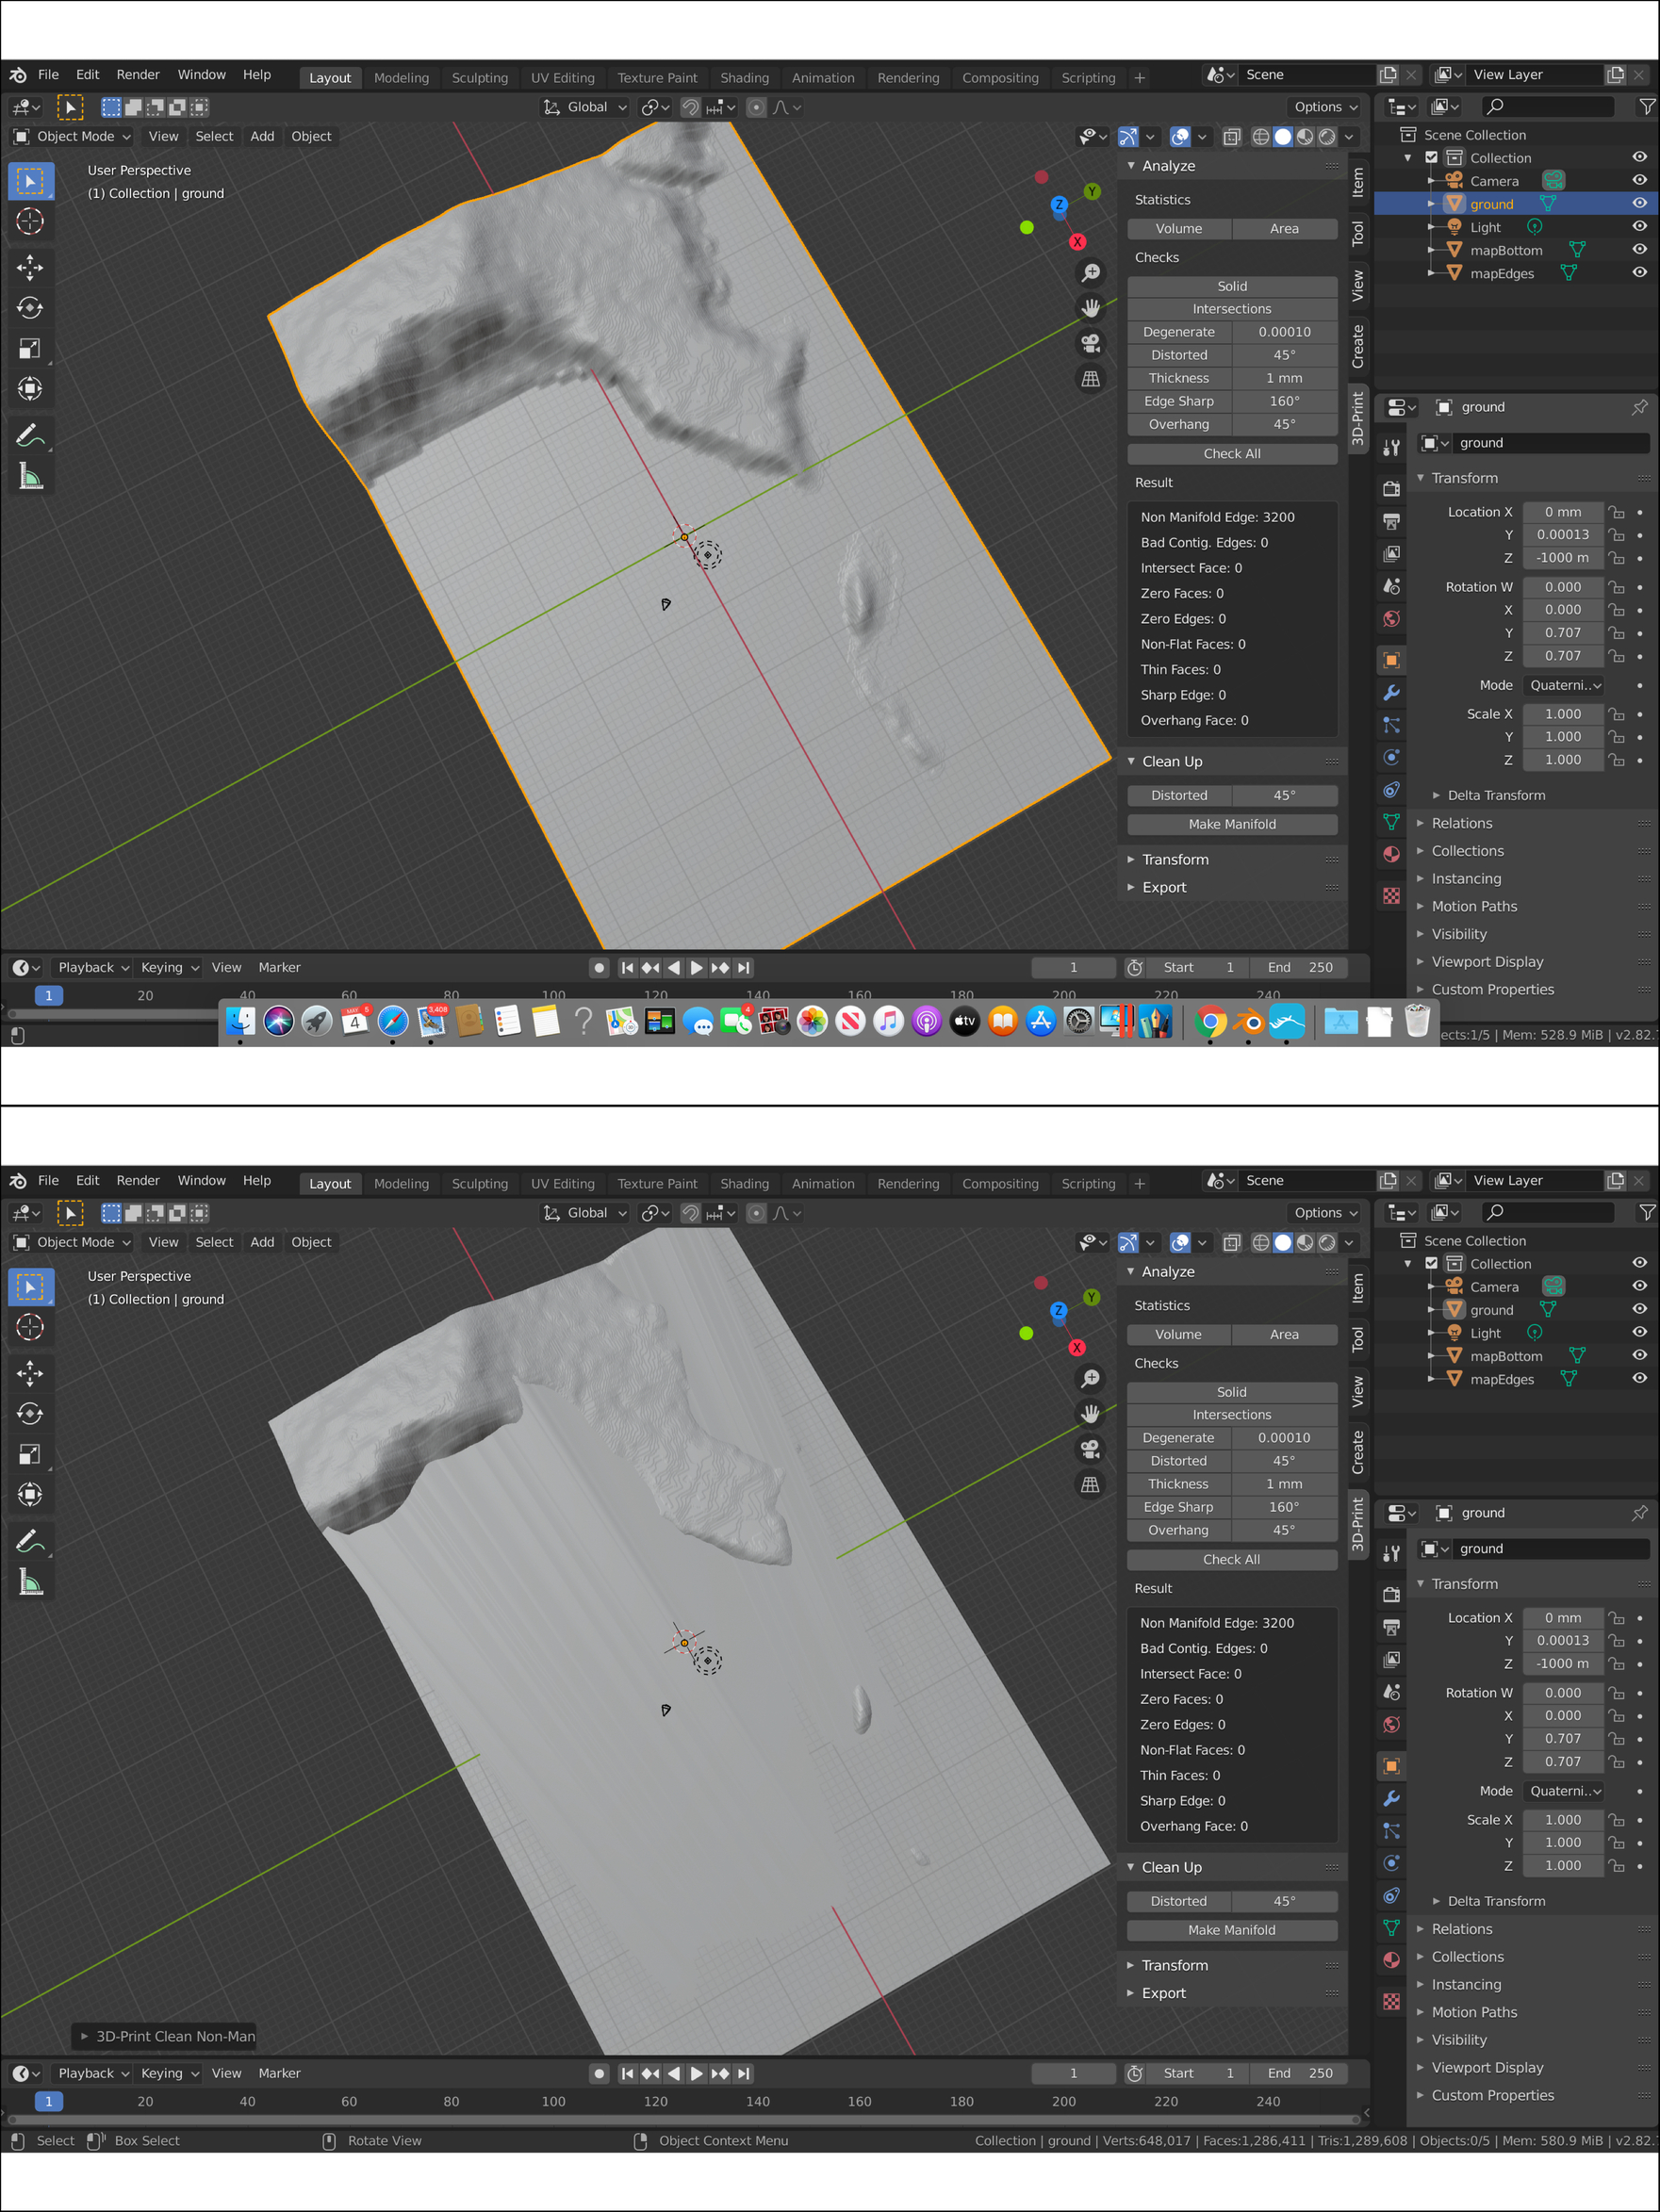
The file is a gITF that I bought from https://3d-mapper.com/3d-print-your-3d-map/ which is 3D printable. When I import it into Blender and run it though the 3D print tools I get 3200 non manifold edges, which I understand means that there would be problems 3D printing? When I ‘Make Manifold’ it does weird things to the map.
This is all very new to me. I don’t have a 3D printer, I’m trying things out before deciding on whether it’s worth investing in one. I’ve tried to attach the Blender file but as a new user the system won’t allow me to, but I could find another way of sharing if anyone is interested.
I’m looking for help with exporting the 3 objects as one (solid?) object via STL and either fixing the non manifold edges (although this seems a tall order given that there are 3200 of them) without the massive changes that the ‘Make Manifold’ option gives (if these non manifold edges are going to cause problems in the 3D print).
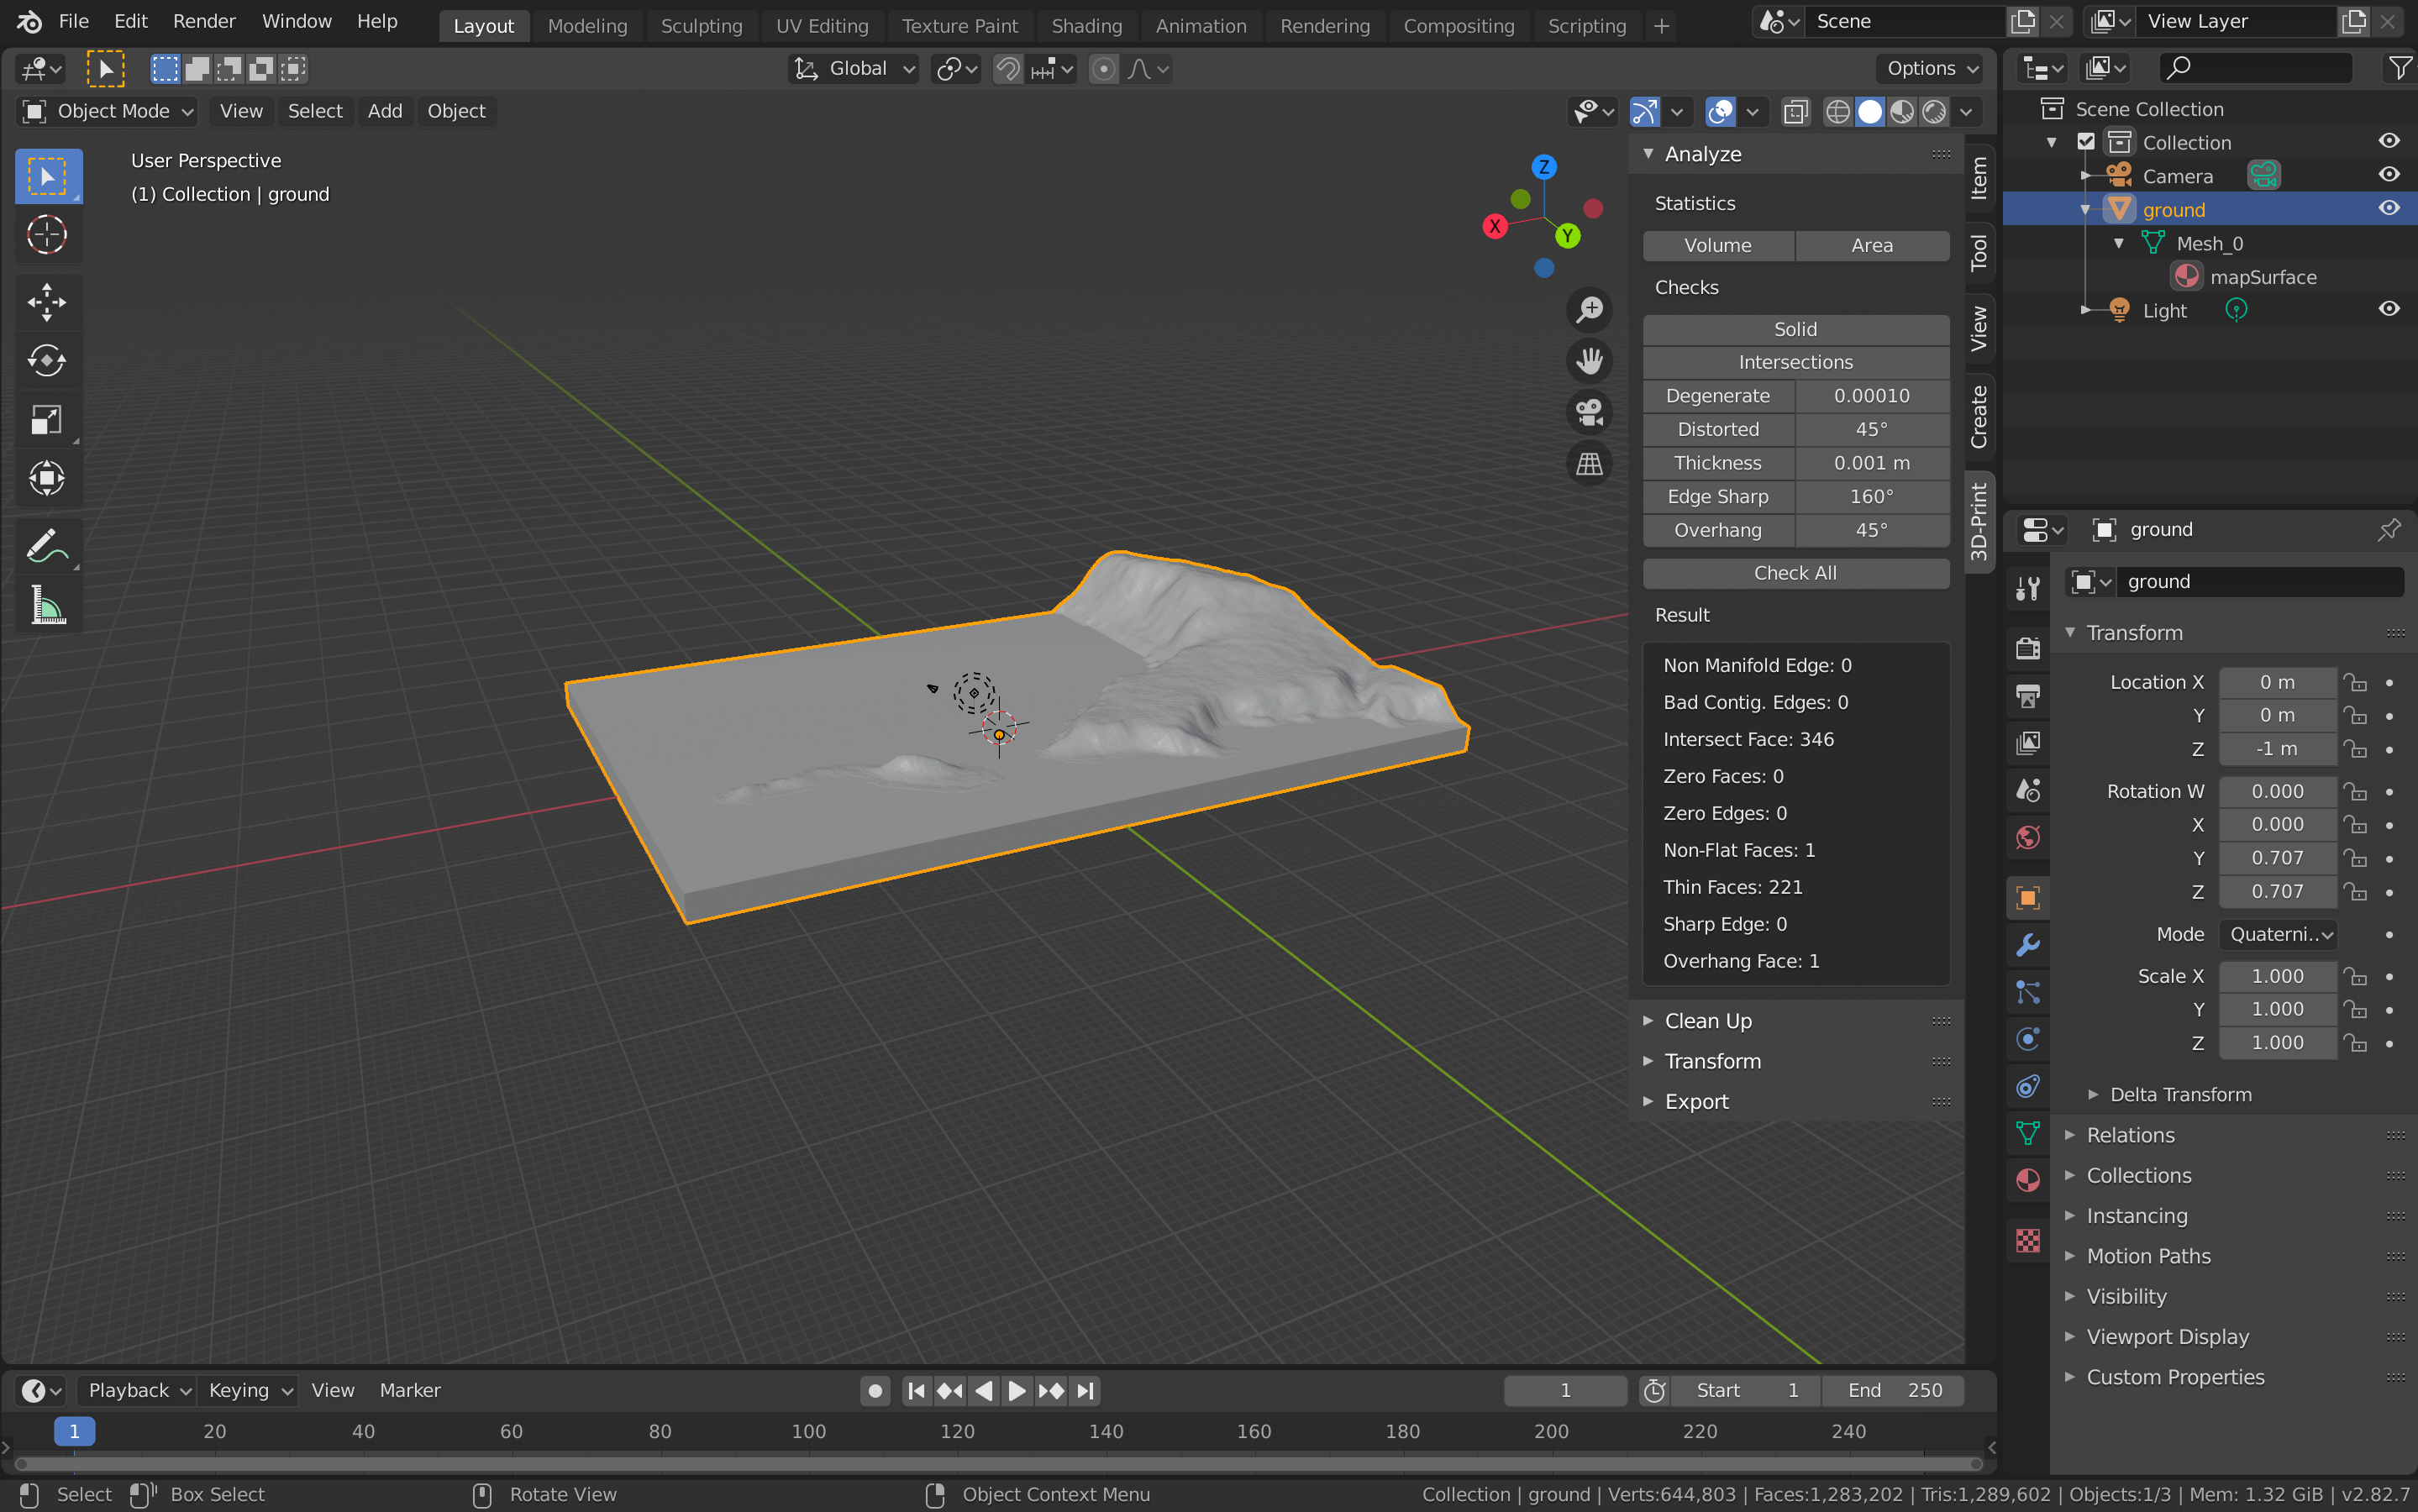
The problem I think is caused when the objects are joined, the bottom is a two triangles with four vertices, while the sides have a few hundred. I deleted the bottom and used grid fill to replace it(In edit mode select the loop of vertices, then - Face → Grid Fill).
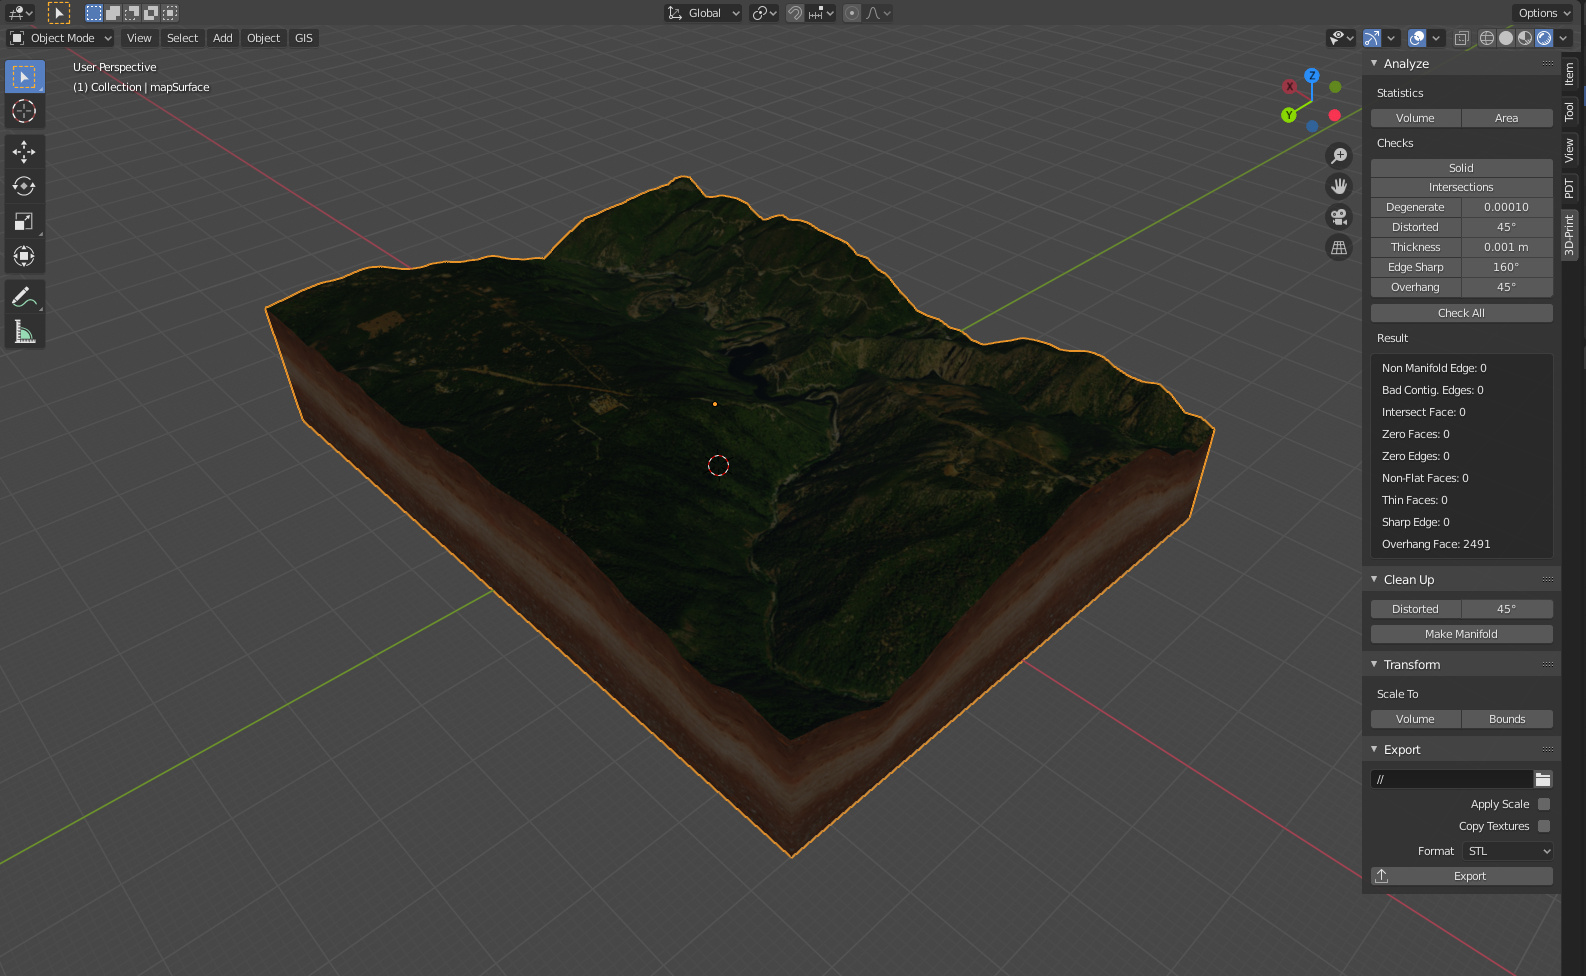
It is now a single object and seems to have no non manifold edges. 3D_Print_Test.blend (2.9 MB)
I’ve used your Blender file, converted to an STL and I can cut shapes out of it in Shapr3D, so what you’ve done is what I need, thanks very much.
I’m having problems replicating what you did though. The file that I want t sort out is high quality so I thought I’d start with the test file that you found on https://3d-mapper.com/3d-map-as-3d-file-gltf-glb/.
I imported the file.
There are 3 objects; “surface”, “edges” and “bottom”
Deleted the “bottom” object
Hid the “surface” object (I was going to do the join last)
Went into Edit mode
Selected the “edges” object
Change the viewpoint to X
With Vertex Select enabled selected the vertices along the bottom of the object
Rotated the view and shift selected the vertices along the bottom of the opposite side of the object
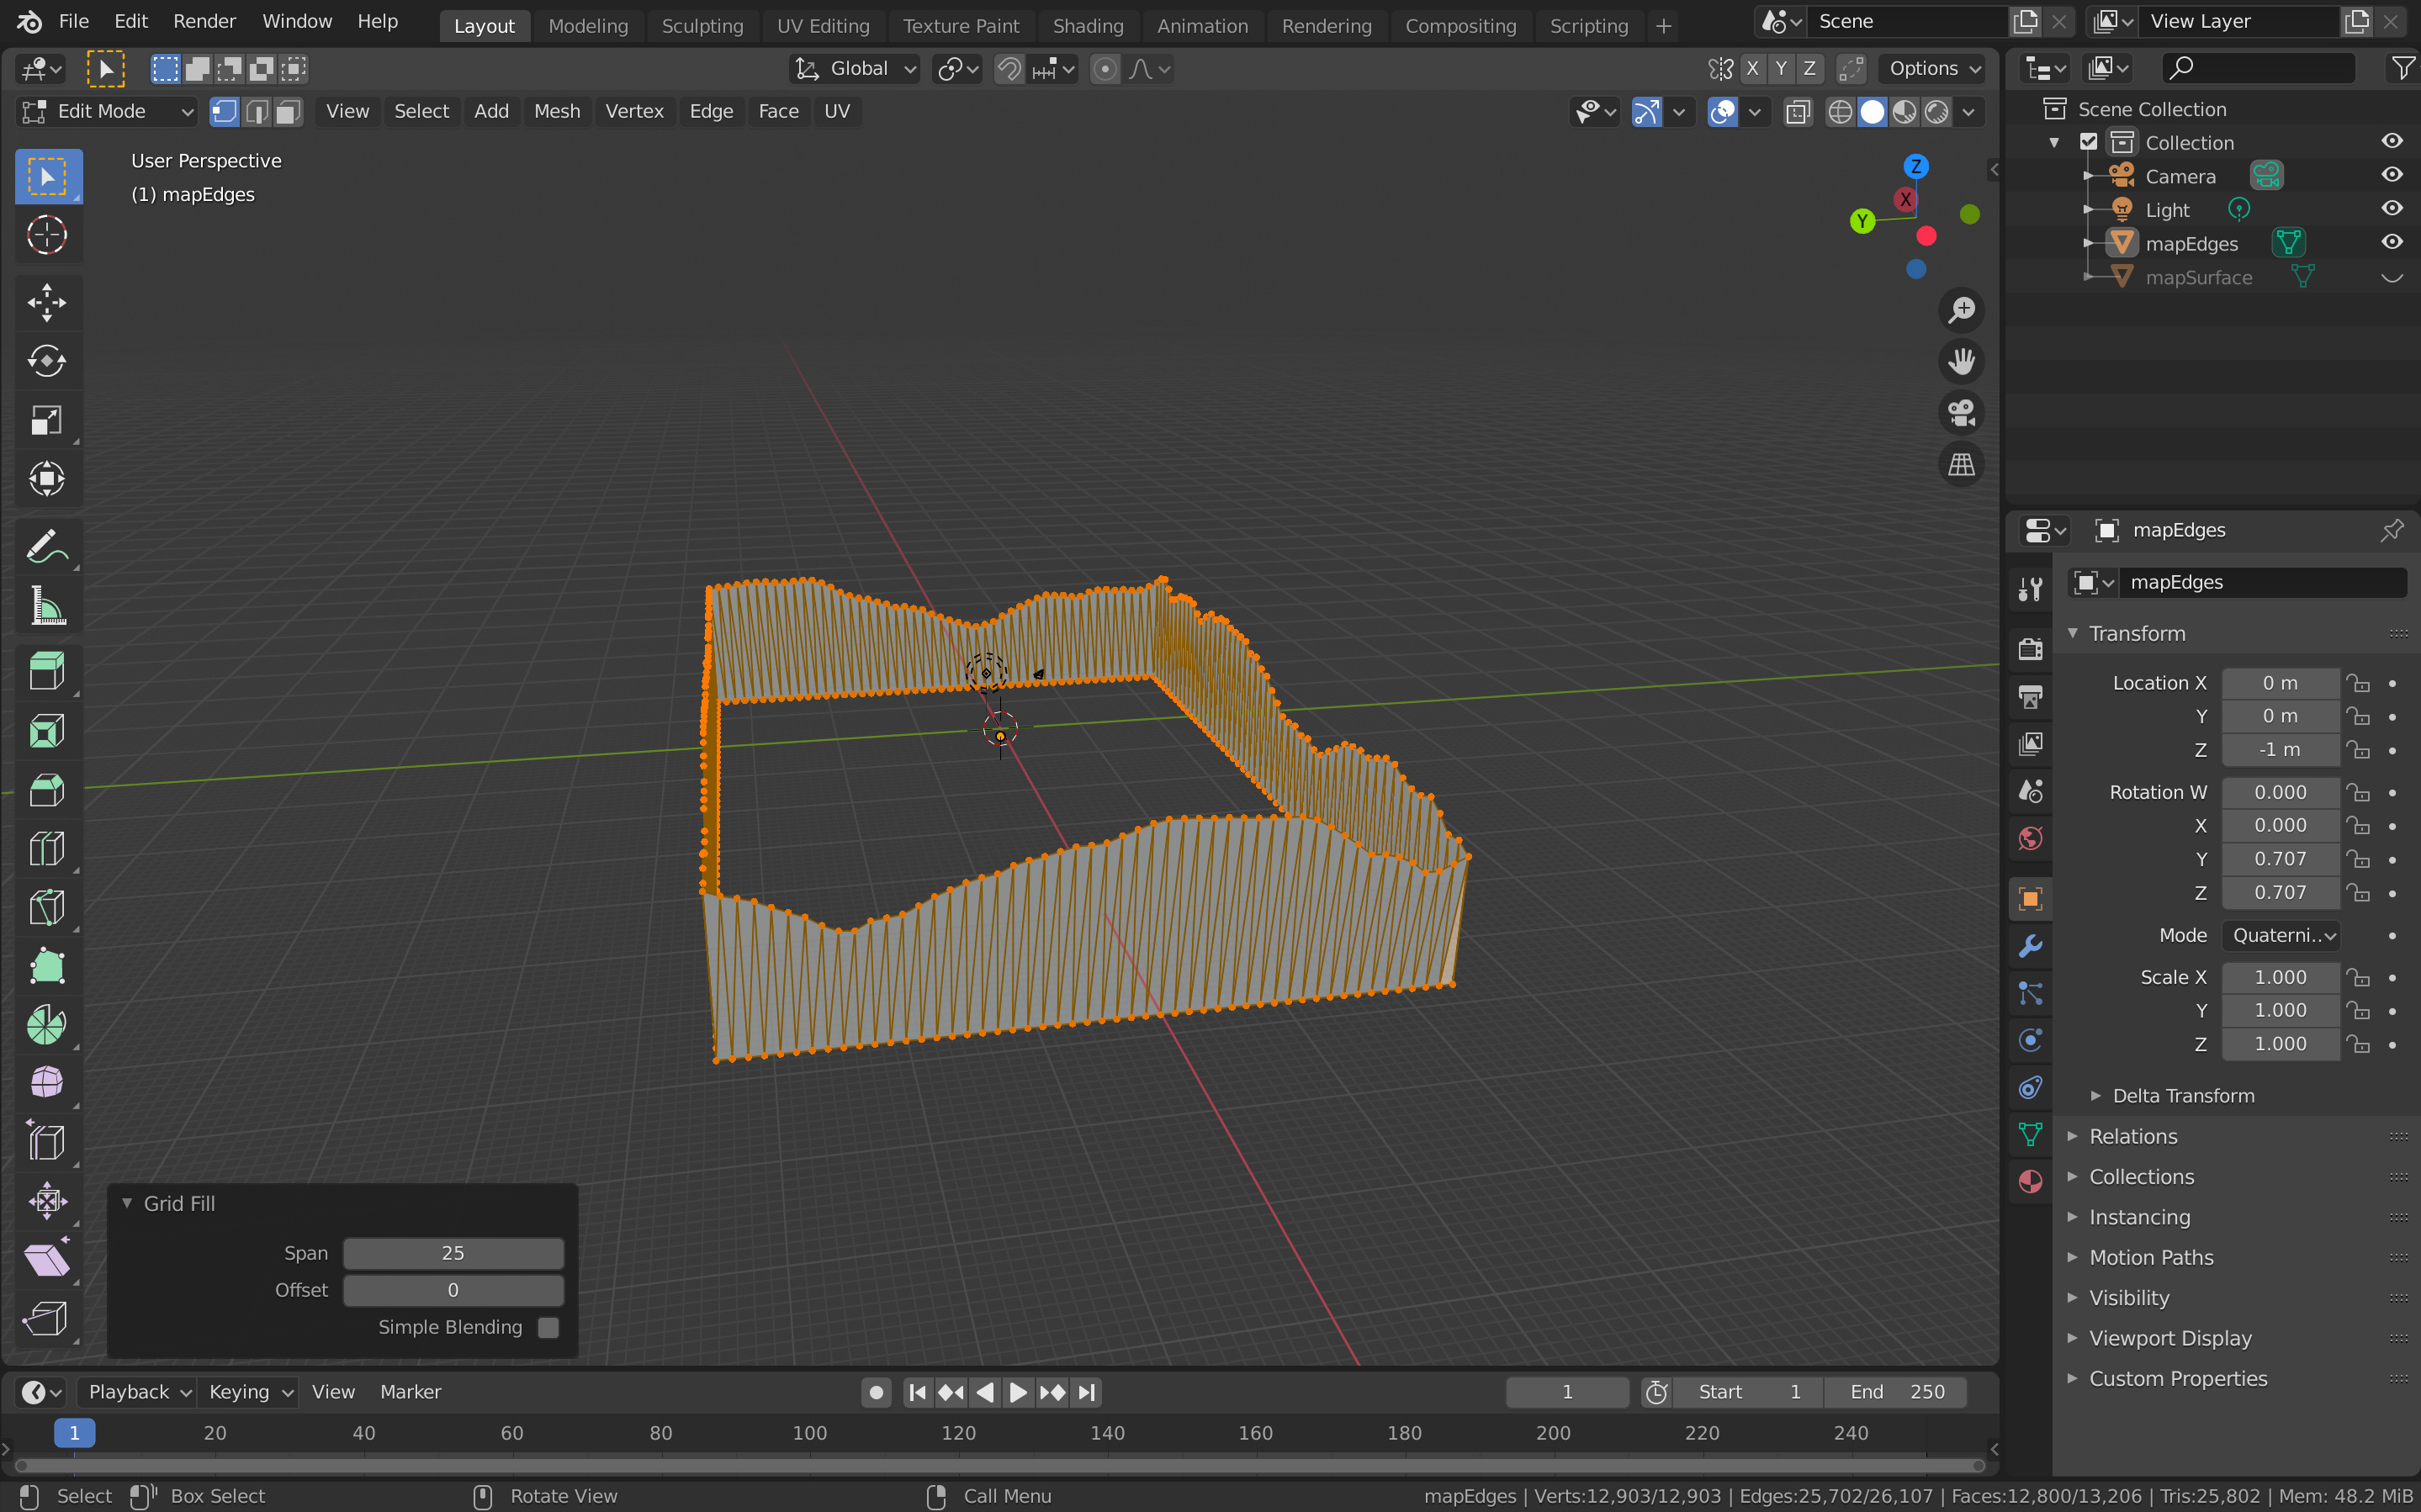
Face > Grid Fill
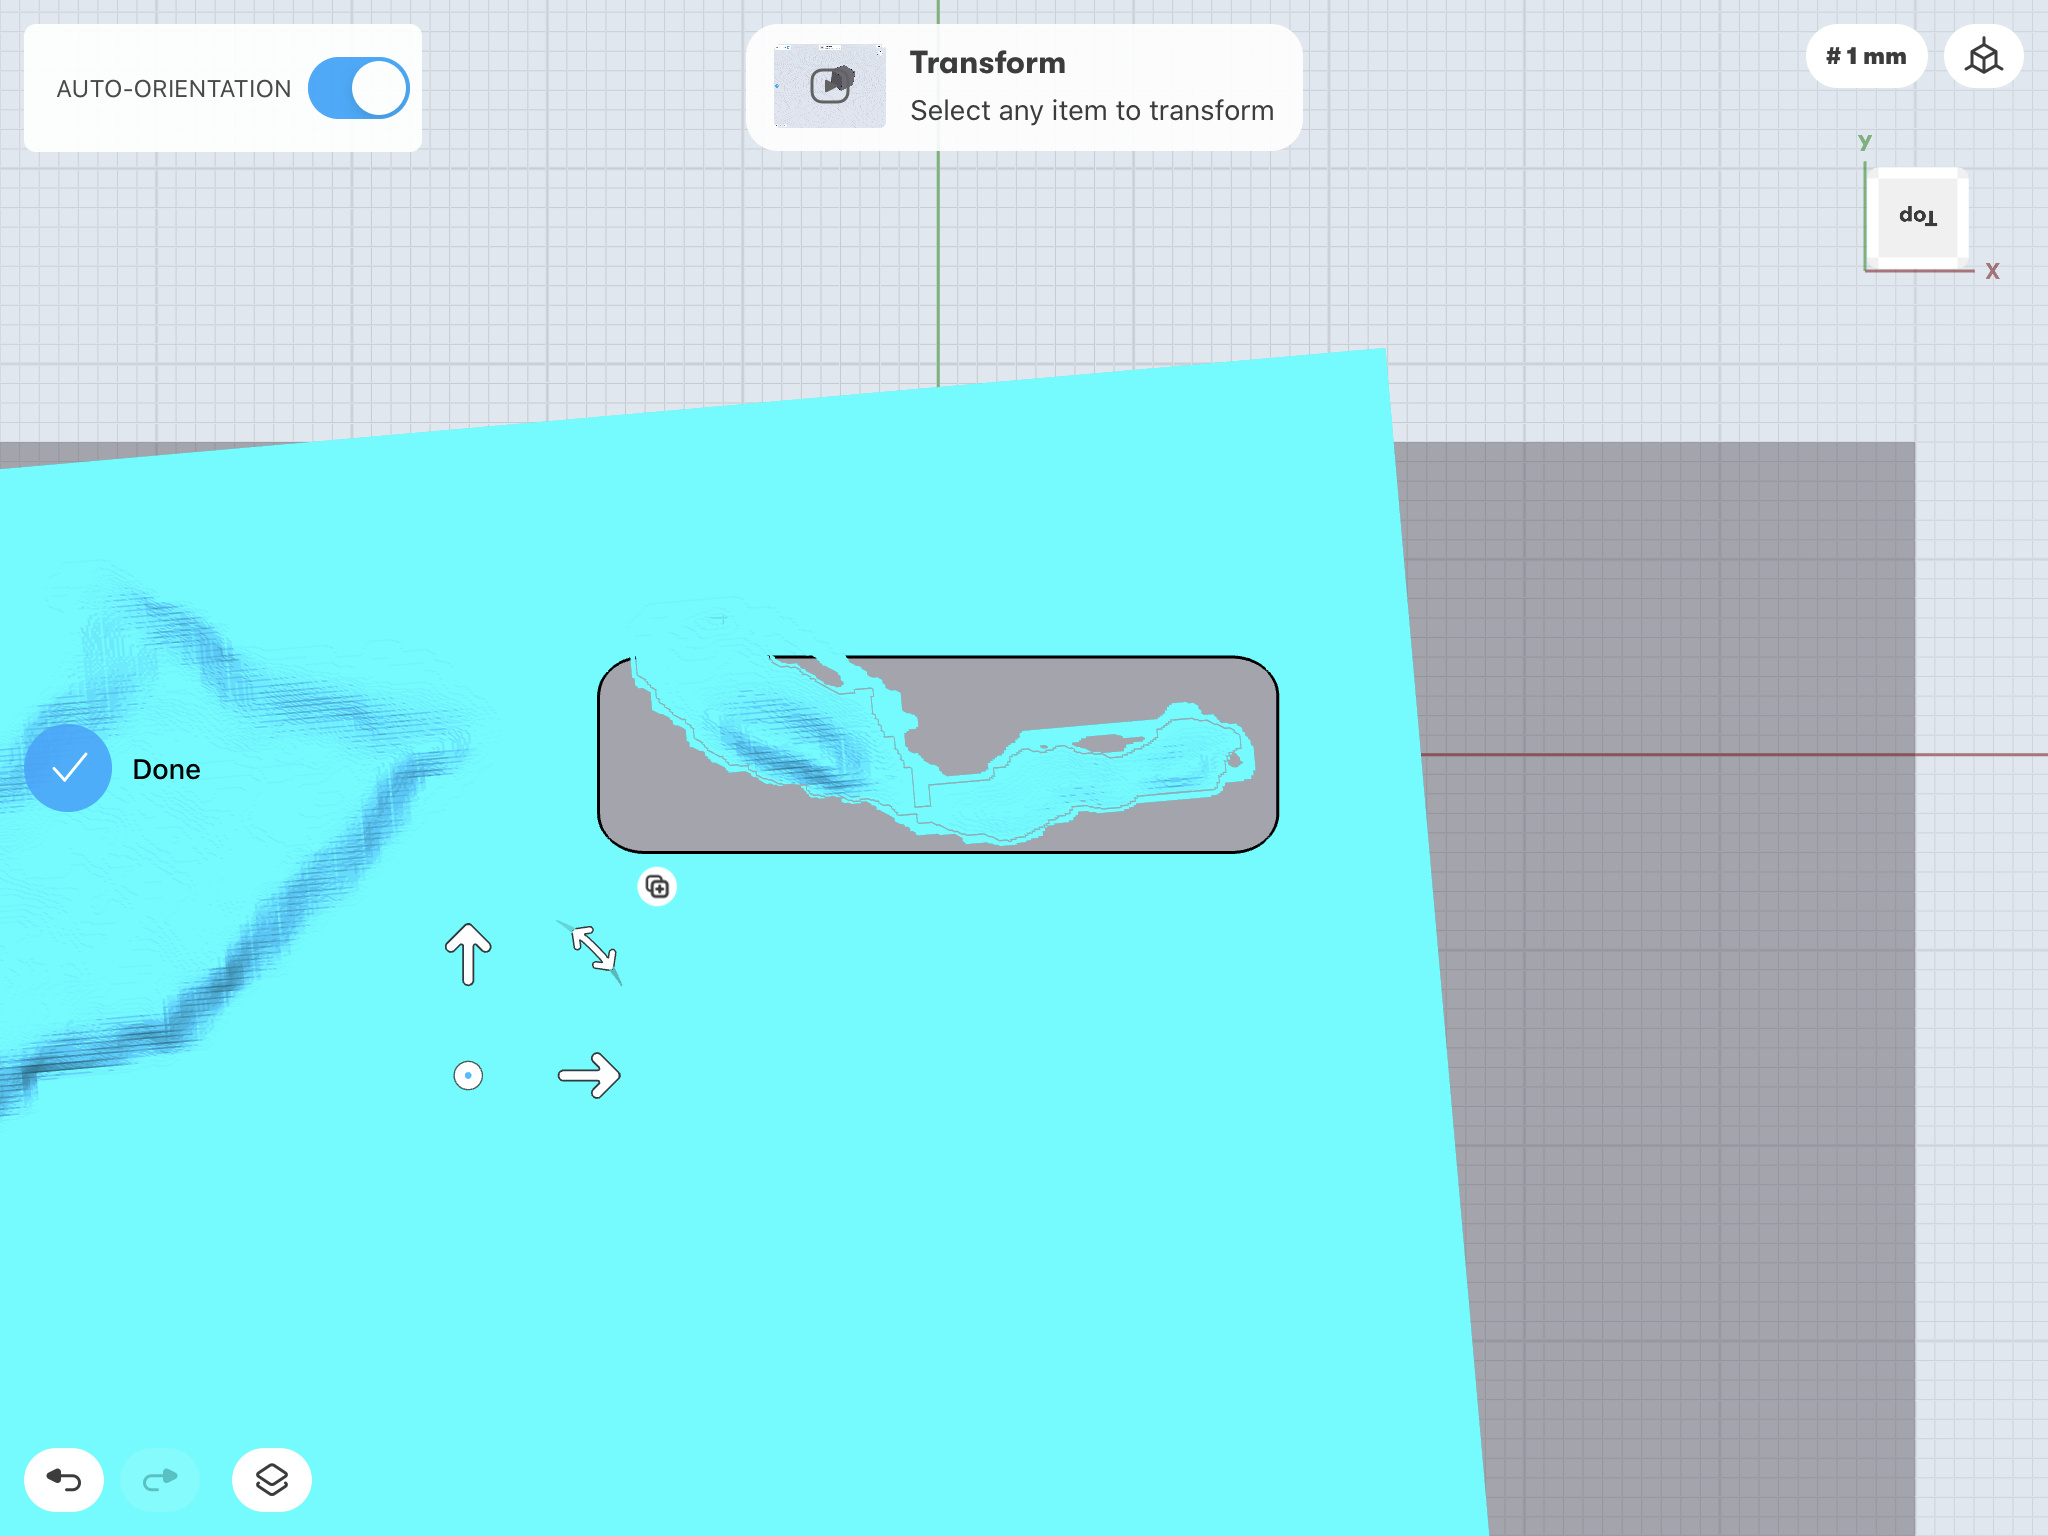
This is what I get:
I selected only the bottom loop of vertices for the grid fill, after doing ALT+J(with all the vertices selected) to convert the tris to quads. You should be able to use either fill, or grid fill.
I don’t remember if it was before or after joining all the objects, but I think it was probably after.
Remember to merge the vertices once you join the top to the sides. I don’t know whether it is necessary for 3D printing, but it keeps the mesh tidy.
Just in case it helps anyone else that wants to 3D print a map from https://3d-mapper.com/ this is how I ended up preparing the highest quality .glb file…
Imported the .glb file into Blender
Deleted the bottom and edges objects
Extruded the bottom edges of the surface object downwards
Used the Bisect tool with Fill and Clear Inner switched on
This gave me the map surface with a platform to sit on, with no non manifold edges.