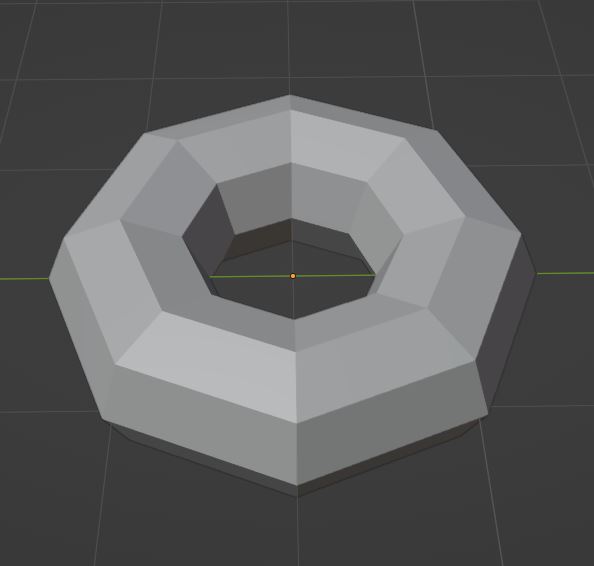
The easiest way would be to have the texture move rather than the polygons. You UV unwrap the torus so it fits the uv square perfectly (so no seam is visible), then use a seamless texture that’s moving.
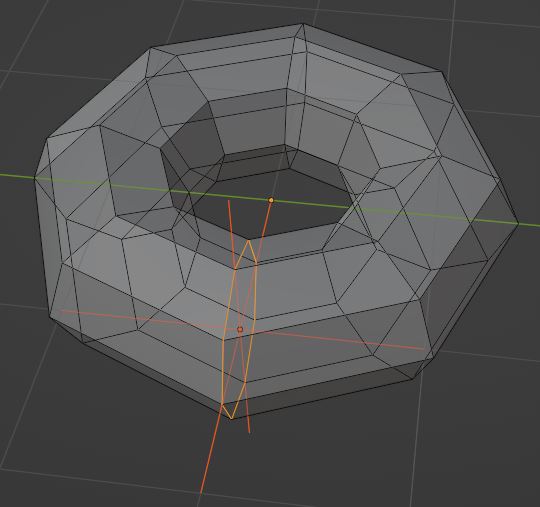
2-Select one of the edge loops that’s aligned with the x or y axis (not the diagonal ones). Use “hook to new object”, this will attach the selected vertices to an empty, allowing them to be moved while in object mode.
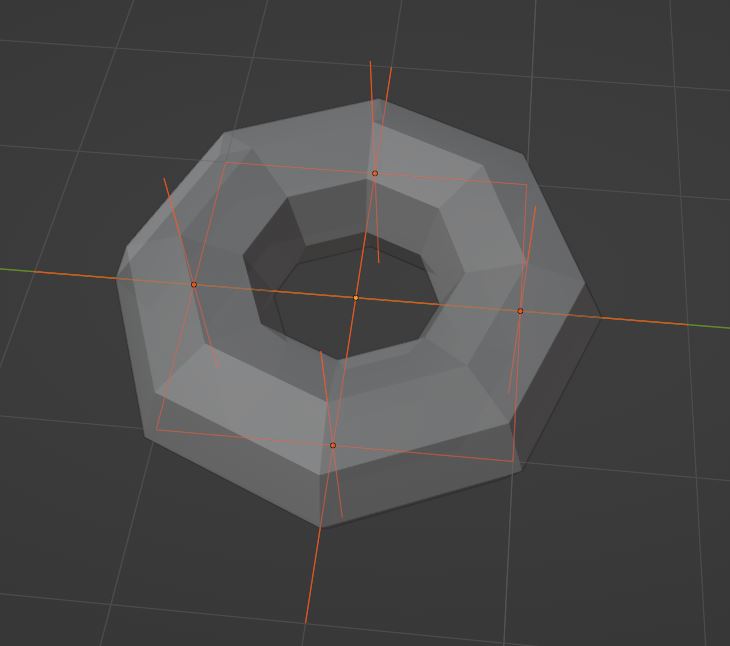
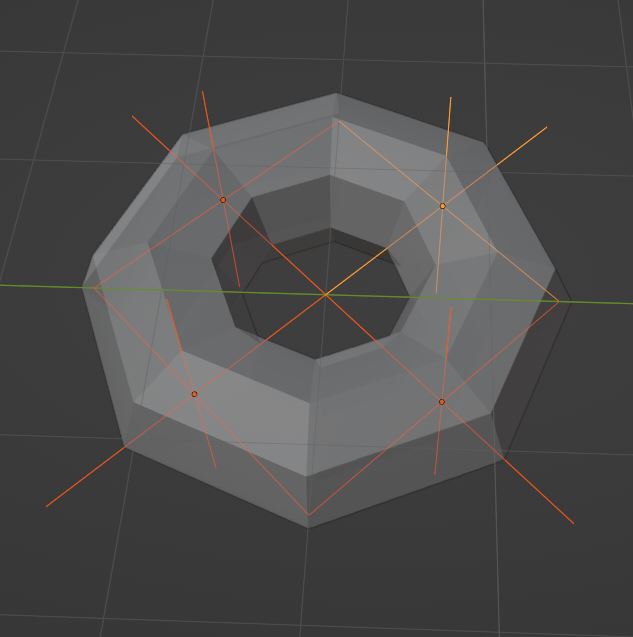
5-Now, the 4 other edge loops are aligned and we can create their hooks too. It’s important to align the torus like that so the empties that get created are rotated correctly and can easily be animated in the correct direction.
6-Now you can animate the rotation of the empties. It will be easier to animate the rotation parameters in the side bar rather than trying to do it in the viewport. Then, you can add a subdivision surface to the torus so it’s smooth.
Oh man! One thousand thanks!
From the very many satisfactory forum responses and support … this is one of the most quick and amazing ones I had. Too good that you took the time to explain, reproduce and make pics of every step and then upload the blend file. Wow
I was able to learn and adapt this technique to my needs, and it does really fulfill my needs and also produce a very powerful effect that I was looking for.
This community is far beyond good.
I wish you a great day, you really made mine much better!
One more question… I would like that the outside of the torus is fully populated of particles, so it covers almost the whole surface, but when it goes to the center it’s less populated, so the outside looks full but still in the center we can distinguish the individual instruments … is that possible??
I may have a solution for the density, but it’s a bit complicated to use and it only works in cycles.
My idea is to do it in the particle’s material. The closer a particle gets to an empty, the more likely it becomes transparent:
Here is the blend file. The explanations are in the material. Sorry for the number of things that need to be tweaked. test_gradient.blend (868.6 KB)
If you use that, don’t forget to set your transparent bounces to some huge number, cause you’re going to have lots of transparent objects on top of each other.
Look at Geometry nodes. I’ve seen what you want to do shown in GN tutorials.
Great material has been shared in the effort of learning GN; check them out on Youtube.
Hey! Thanks a lot for that creative solution, I think it will also help me with other stuff that I was dealing with in other projects … so double thanks