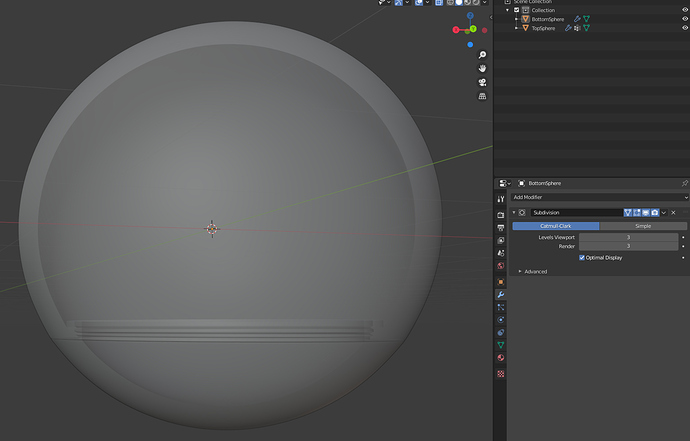
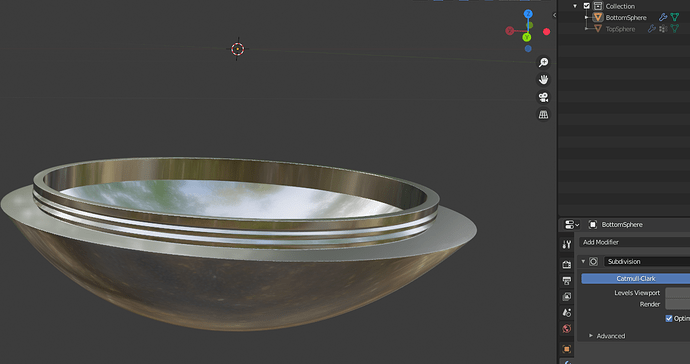
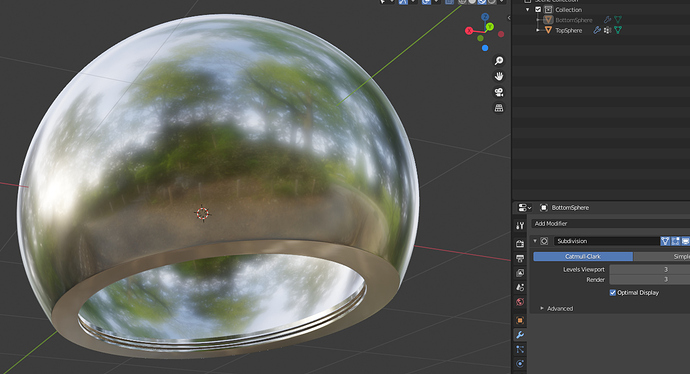
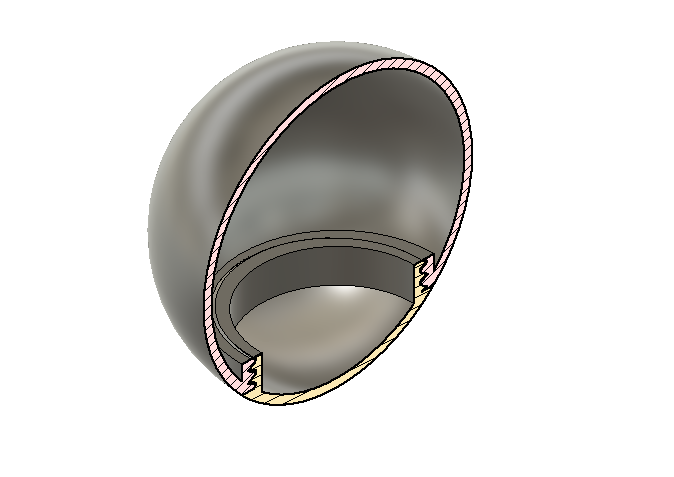
hello everyone I am new to blender and I was wondering if I could make this design in blender (composed of 2 parts ) and then I add texture then 3d print them piece by piece
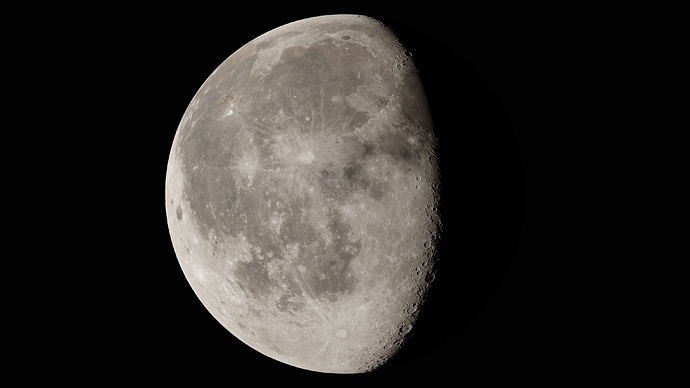
what I’m trying to reach is make a moon texture and then print in mountable parts and adding some light on the inside
can anyone guide or tell me what to do
Without doing a step-by-step, I will throw a resource your way that I used when making a CG moon. This is straight from NASA: https://svs.gsfc.nasa.gov/4720
And here is my moon:
you didn’t understand my question
what i asked is can i make this design in blender with thread and the joint
i didn’t ask about a moon
I apologize, @Skander_Belhaj. This is what I thought you were asking: You were asking on how to model the object in the image you posted so that you could add the texture of the Moon, 3D print it, add an internal light, and have a real-world, glowing Moon lamp. Is that correct?
As someone who has only 3D printed a handful of times, I didn’t feel knowledgeable enough to tell you how to model your object for 3D printing, but I assumed you would want to add the Moon texture before printing, and that is why I linked to the NASA site. There are downloadable height and color maps in ULTRA high resolution so you can apply them to your model before printing. If your already have your Moon texture, I understand that my post might not have been very helpful.
If I misunderstood your post, please let me know.
Actually, you did ask about a the moon…
what I’m trying to reach is make a moon texture and then print in mountable parts and adding some light on the inside
I’m positive the model can be made in Blender with some booleans and some modifications to the two mesh pieces.
yeah that’s the final goal …i didn’t ask how to do the texture i asked how to model it in blender or can it be modeled thank you for your reply
can you do the same thing on that stl file that i uploaded in the picture above and than export stl again but with modifications ??
Yes, the parts you have shown are not that difficult, the only problem I can see right off the bat is having to add the bridges on the inside would be part of your 3d print software. I know Cura would be able to, but I don’t know others to be able to say.
When you say TEXTURE…are you referring to a relief map ie: displace modifier modeled into the print…? Still not that much of a problem…you will need a FULL 360 shot of the moon with no shadow…but I believe there is one on the site @Hunkadoodle
pointed to.
How good is your modeling skills?
You can take a UV sphere or better yet a rounded cube ( Better geometry and UV ) add a thickness modifier and cut the lower section loose, the inner sections can be extruded from the cut sections and add in a screw modifier and you just about there…creating the height map and creating the moon surface would be the next step, Then export and print…
thank you so much that’s what ive been looking for but i am having a little bit of problem with exporting stl
i don’t know how to export stl each body in a single file and also whenever i export the stl file and open it with a slicer i find normal sphere with no texture
can you tell me how to solve these two problems
I was chilling and listening to some youtube saturday jazz and thought I would give this a go.
Not sure if it’s exactly what you need but maybe help you find the direction you are looking for.
Cheers and Happy Thanksgiving (for those in Canada!).
Stay safe.
Moon.blend (1.2 MB)
Actually now that I’m looking at it…shouldn’t this be a screw type connection!!
You wouldn’t be able to put it together then…doh. 
Not sure what the end result is but I’ll let you figure that out.
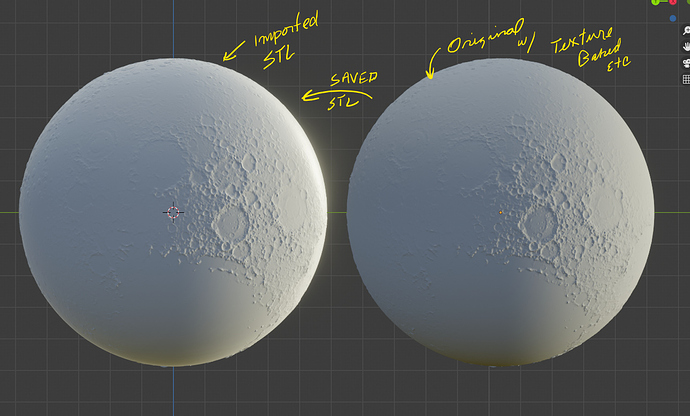
NOTE: After I played with this, I revise the steps above to add the displacment and save as a STL…import the STL and then create the parts as needed…if not the displacement will bug out in all directions on the new parts…
For a single file, take the parts and place along an axis ( X for example ) the shift select and Ctrl+J to join altogether.
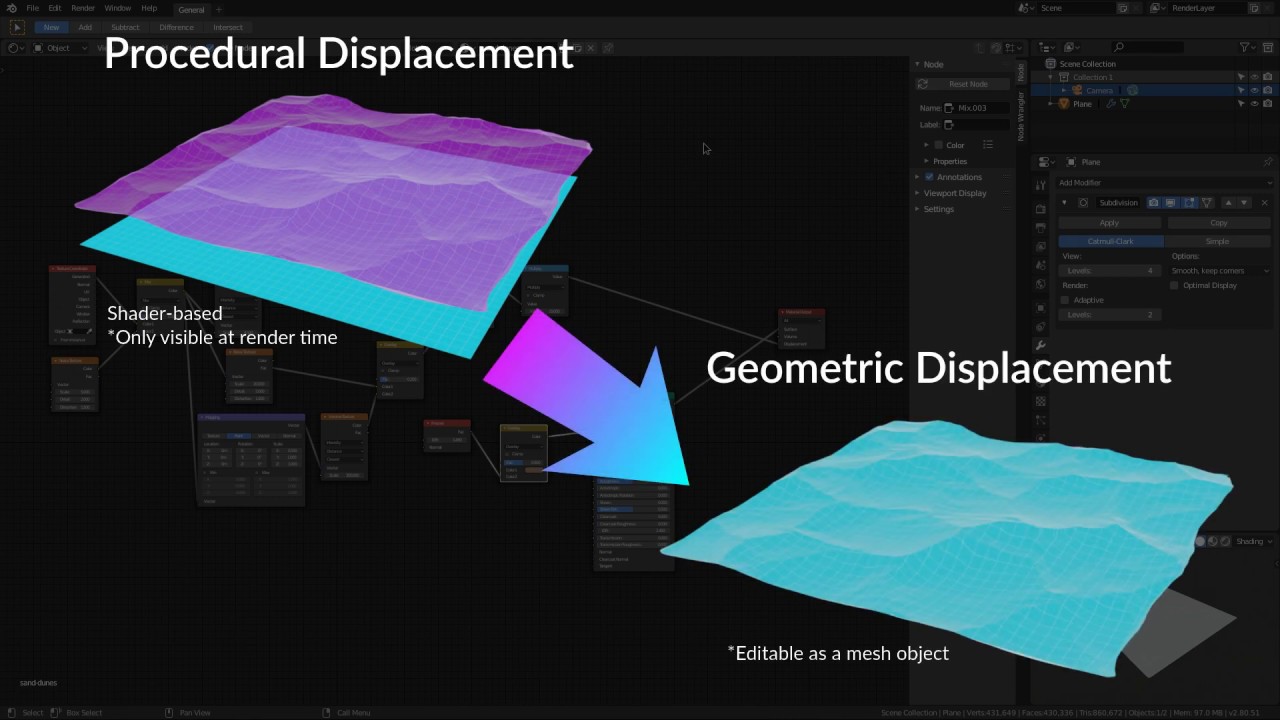
You need to use a displacement Modifier for an actual geometry displacement.
The “Texture” needs to be baked…as in this video…
Just did one and it works GREAT…I grabbed the 2k displacement map off of the Nasa site…followed the Video…and result looks like this…then I have to take the stl and make the parts from it…
thank you so much you made my day
one more thing can i add texture image to this and save it as stl ??
just asking
thank you thank you tahnk you ive been stuck with for a week now i’m pretty excited to go home and try this
Good Luck, and Happy Blending!! 
Nope. Busy now, Sorry
I’m sure you can do it.
STL doesn’t save UV data so…NOPE…
But you could save in *.OBJ or *.DAE with textures…But ( since I haven’t looked at new printers for a while)…unless you have one of the RGB printers it would be useless.
