First of all - I’m not a Blender artist, I’m just a guy who is trying to make a mockup but has no experience in 3d modeling ![]()
So I’ve figured out how to make a 3d model of a mug.
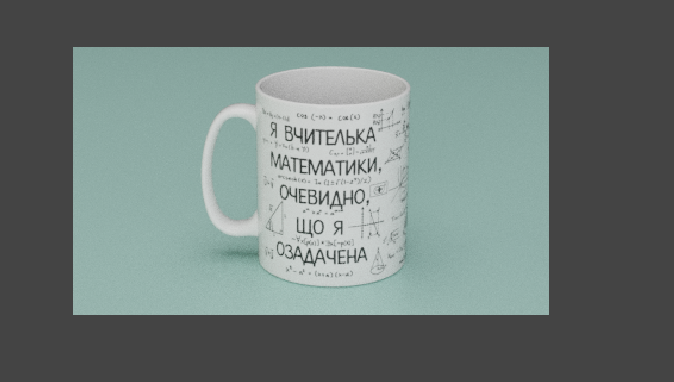
Figured out how to add a print to it (material added to a UV map through unwrapping the mesh), added a plane with some color, lights, camera and so on.
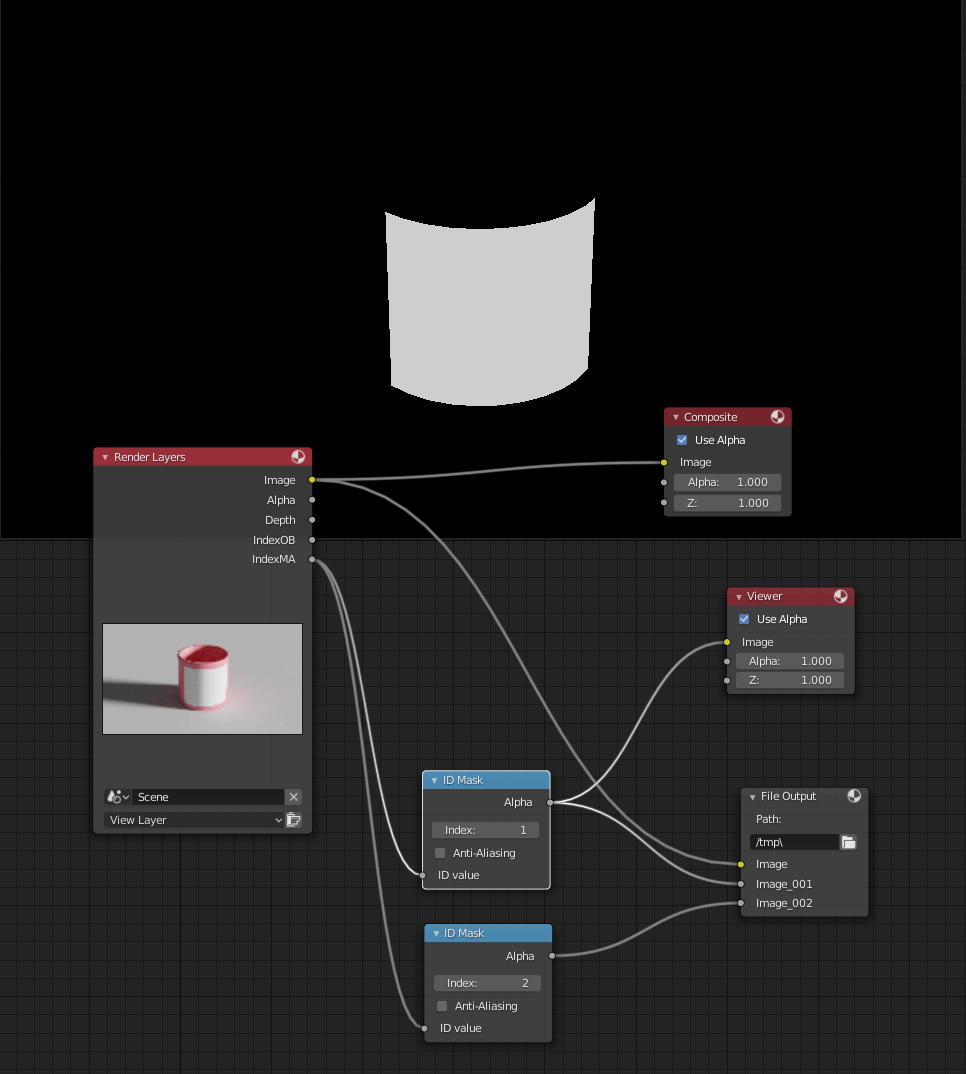
I’ve set up collections that contain lights with camera, background, mug itself and a mesh with the print image, added view layers and excluded collections in each one.
Checked the UV in View Layer - Passes - Data.
Checked the Transparent option in Render - Film.
Rendered the scene using Cycles to Open EXR.
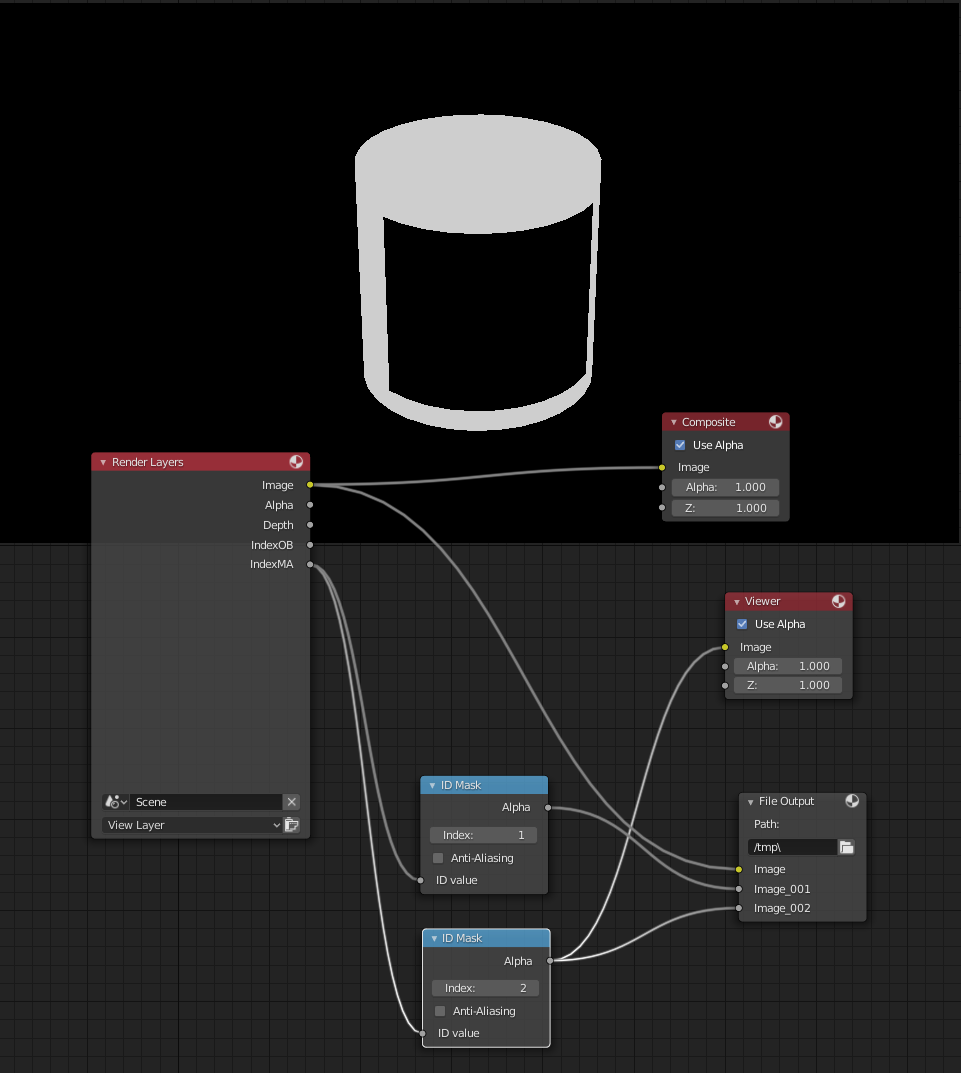
In composition did “Alpha Over” to (Background + Mug) + Print and got this
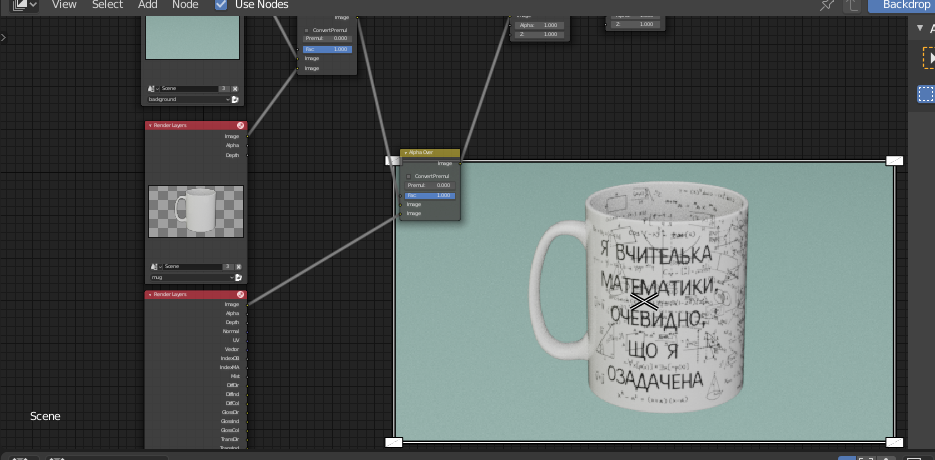
(you can see that the image adds straight on top of the previous one instead of “wrapping”, I suppose it’s because of the Alpha Over)
The main problem that I’m trying to solve:
I have a lot of print images that I want to render on a mug. So I want to figure out a way to render the scene once and then interchange the print images to get each render with new print witout rendering the scene each time. So basically I’m trying to make a mockup in blender. (Hope that makes sense ![]() ).
).
So question #1:
How should I add the print image to the render in somposition so it will “wrap” the mug?
Question #2:
How can I then change the images correctly? (I found some tutorials that point to the UV Map node in Composition tab, but when I view the UV of the Print layer I see that the text of the print image has violet gradient, instead of curved surface (can’t post more than 1 image))
I know that all this may sound weird and maybe I’m missing some very simple detail. But I would appreciate any help on this one. I spend a good week or two figuring out Blender workflow and seems like I’m on a finish line ![]()