Glad to see this inspired some work.
Some feedback.
It looks rushed. Also, I can see there are some pitfalls with the order in which you did some things.
It looks like you set multires without applying the mirror.
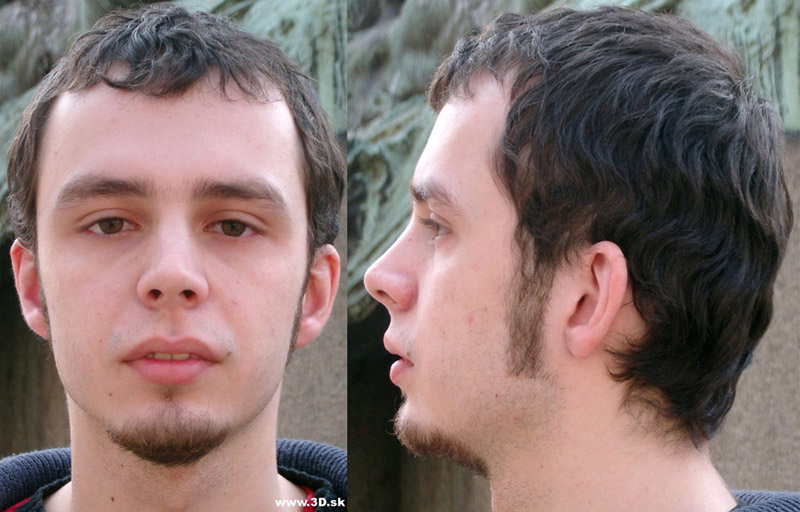
You didn’t use a reference. Or, if you did, it either wasn’t matched up correctly or you didn’t follow it. The model simply isn’t correctly proportional.
Take more time. As I said, the modeling looks rushed.
Texturing is a much more complex process for a realistic model. Don’t underestimate it.
Study anatomy of the face some more. Take a good look at the way muscles are put together to get an idea of the surface you’re creating.
It’s fine to make a sphere in place of eyes while modeling, but real eye models are more complex, generally involving reflecting layers and such.
Here’s a nice tut about face modeling that I remember using when I first started modeling faces. (I used it first to make my self portrait [a great idea for a first project, you can take all the ref pics you need!] which won me, indirectly, the laptop I’m using now.)
Actually, the basic method in that tut is mostly the same as that I used in the videos so far.
Thanks for the crits. And yes, I used source images. I just didn’t follow them too closely. And The eyes I just threw together because it looked weird without it. lol.
But to tell you the truth, I’m just not that good at modeling. I was actually pretty impressed with how it turned out. Even though it was aliitle thrown together.
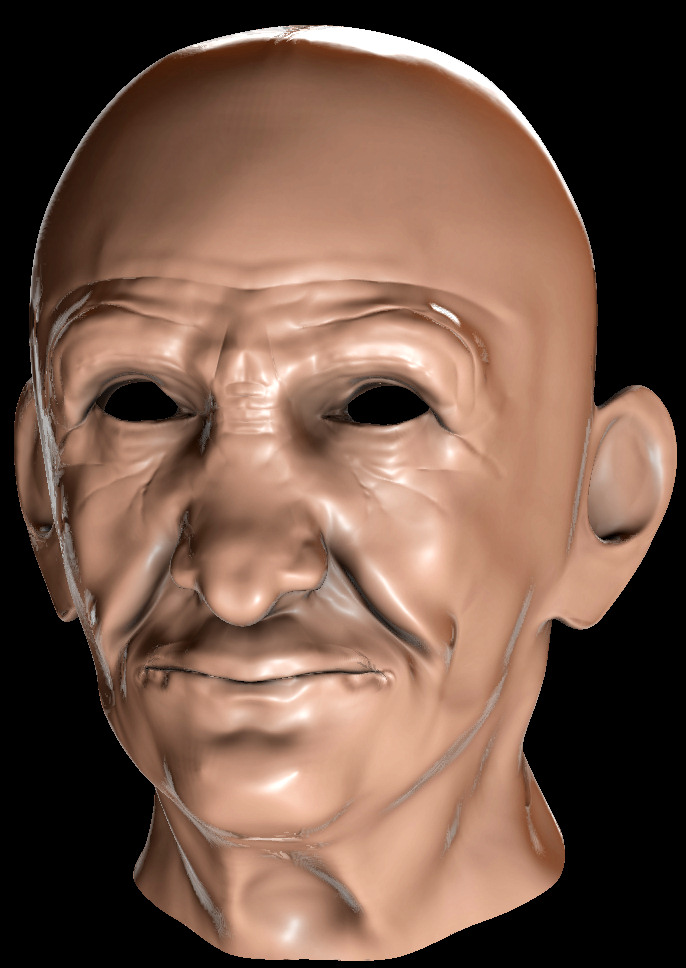
And here’s an image without multires.
Looks Fantastic. I’m just starting to follow this along now. Just about to put in the curve guides. I’ve never done them before. Sometimes I’d draw topology/loops over the reference photo but having them in 3D could be a real benefit.
EDIT
Done a bit of work on my character now. Really like having the 3d curves though they were a bit of a pain to set up. Is there any way to turn off the lines that come out of them when you’re editing them? (the arrow things).
Anyway, here’s a quick screenie. I’m not exactly following your topology because I want a slightly lower res model and I had to use 3 triangles when making the nose =(. I can cut them out but I’m not sure if I like how they will look if its all quads. May go back and do it though. Gona use him in an Iron Man style game I’m working on.
Rorkimaru: Is there any way to turn off the lines that come out of them when you’re editing them? (the arrow things).
Ugh… Those arrow things were annoying… I tried to find a way to turn it off… But it’s nowhere to be seen. Like your character so far btw. Yours looks way lower poly than mine (mine was a bit high).
I’m going to start sculpting today… Ugh, I hate sculpting…
Thanks, I’m quite happy with how he is turning out. Finished modeling the head just now, 824 tris. Those arrows irritated me but if you work with a higer res image they are a lot smaller in comparison. It appears they have an absolute size. I figured that out after I finished modeling, of course…
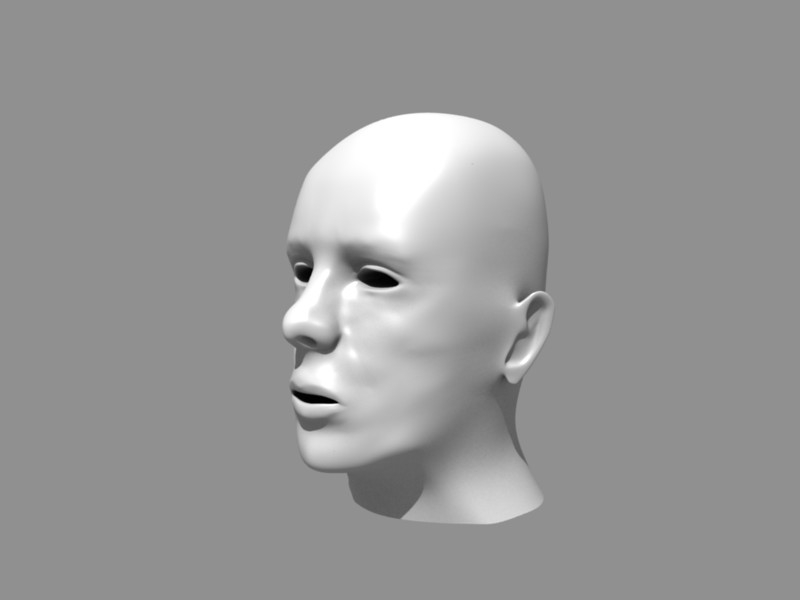
Here’s an updated image:
I like sculpting but I’m brutal at it. Gona start into that tomorrow if I have the chance. I’ve my last exam for the summer on tuesday so I want to get a bit of study done and I’ve an audition tomorrow so I don’t know when I’ll get me some blender time =(
I think its because you worked with a higher image resolution. They’re not too bad if your working at a large scale since they’ve absolute size. In future I’ll either use higher res or scale up the images. at the size I was working they made it all look very cluttered.
Just buffering it now, ready to watch. My intenet has been painfully slow as of late =/
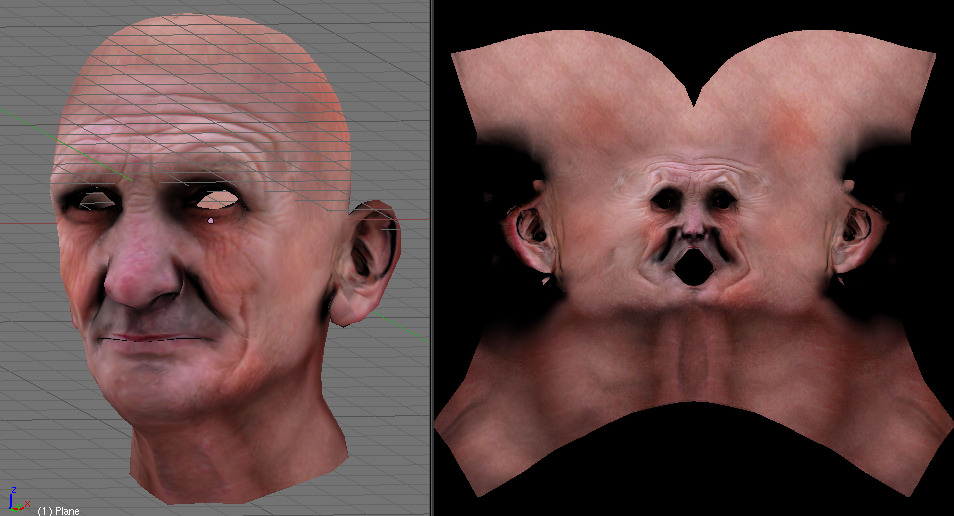
A very quick test of how projecting the textures could turn out. Won’t use any of this work, but I’ll be considering baked projection masking instead of the much longer process of fully manual texture painting. Mostly since the reference looks mostly unshaded, and well suited to that technique, but also because painting textures manually could end up taking a LOT of parts, even sped up a lot. That was definitely the longest process on the navy seal model.
This also uses baked AO multiplied over the texture.
Thank you so much for this guide. I am using 2.5 and hoping I can follow this to learn a lot. I have been trying to find an indepth guide to modeling, sculpting, rigging and this is the best one I have found so far.
Hey, i’ve been watching your tutorials and am now started with the sculpting.
Your tutorials are realy good i have to say XD
I already had some experience in modelling but not at texturing and sculpting etc, actually i can only model so your tutorials are my heroes.
Hey gilstudio, thanks for your comment.
The sculpt is not done (but still thanks for the comment) because if you look at the ear and more other areas there are stuff missing and the nostrils are tilled up because my reference has that weird nose XD