I don’t think you have to parent the clothes to the mesh.
Also, did you apply transformations (step 5 in the detailed guide)?
As for the expressions. Save the json in manuellab\data\humanoid_humanf01\phenotypes (for caucasian female…).
In the same way it’s possible to create new presets: manuellab\data\humanoid_humanf01\presets
I vote for polygon
I find particle hair very ugly.
It’s a complex matter. Polygons are good because they can be easily exported to any external engines, but particles are easier to create and more realistic…
I used an ancient math: theory of proportions from reinassance genius, from Leonardo Da Vinci to Piero Della Francesca. Not PCA or similar techniques are involved…Today I fixed the problem that is visible at min 1:13 of the video…the release is almost ready.
The proxy is the most experimental part of the lab. The algo works but atm it relies on files stored in Blender temp folder. Do you see anything weird in the Blender bash console or in the log file, when it doesn’t work?
Any mesh with polygons should work (but I’ve not tried with more than 4 edges for face). Parenting to the base mesh is not required (probably it can create problems too).
Have you applied the transformations, in order to reset scale and rotations?

Wow :o Really great idea. It in the philosophy of Treesketch and it’s definitely a very good workflow 
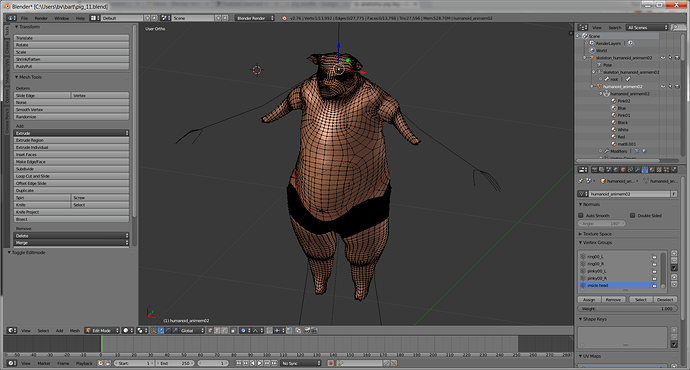
Started making a human pig :evilgrin:, beginning with a male caucasian, happily doing proportional editing and sculpting. Still recognized by the lab.
In order to make pigs feet and hands I scaled down the fingers and toes completely, smoothed them out and hid them inside the hand, since I can’t delete vertices. No idea what that will give once I adapt the rigging to the new mesh form. So this one will end up far gone from the original.
What I like about Manuellab in this respect is that later on I can easily add different types of clothes with the proxy approach. Anyway, it’s great fun :eyebrowlift:
Attachments

Very nice!
(it’s near the limit of the scope of the lab…![]() )
)
You can use the uv/image editor to select specific parts of the mesh. All mesh groups have seperated UV islands. Just enable 3d view selection.
Hi Manuel. Thanks for this great piece of Software! I already love it!
I have two question:
-
Is it possible to replace the default UV map? I have created a custom map wich better suits my needs and want to apply it on different phenotypes (asian, caucasian, afro), but once a selection was made I can only change the “sub-phenotypes” (afrocaucasion, euroartic, west asian etc…).
-
How can I export the premade expressions as shapekeys? Right now I get a lot of specific sliders to control each face part on its own (wich is great but it is quite hard to reproduce the expressions)
Hi GoldennBoy, sorry for being in late…it’s because I’m so focused on the completion of release 1.2 in these days…
Yes, you can replace the UV.
Atm it has not side effects. Anyway in future versions, when I’ll add the skin editor, your model will be not compatible with the builtin textures.
- How can I export the premade expressions as shapekeys? Right now I get a lot of specific sliders to control each face part on its own (wich is great but it is quite hard to reproduce the expressions)
It’s not possible yet. As soon as I complete the modelling and texturing features, I will start to improve the animation and proxy tools and this one is my todo list.
PS:: My plans are to add some alternative UV projections too. Perhaps in 1.3.
A lot of work to do ![]()
That sounds great! I cant wait for the next version. Have you considerd implementing the rigify rig?
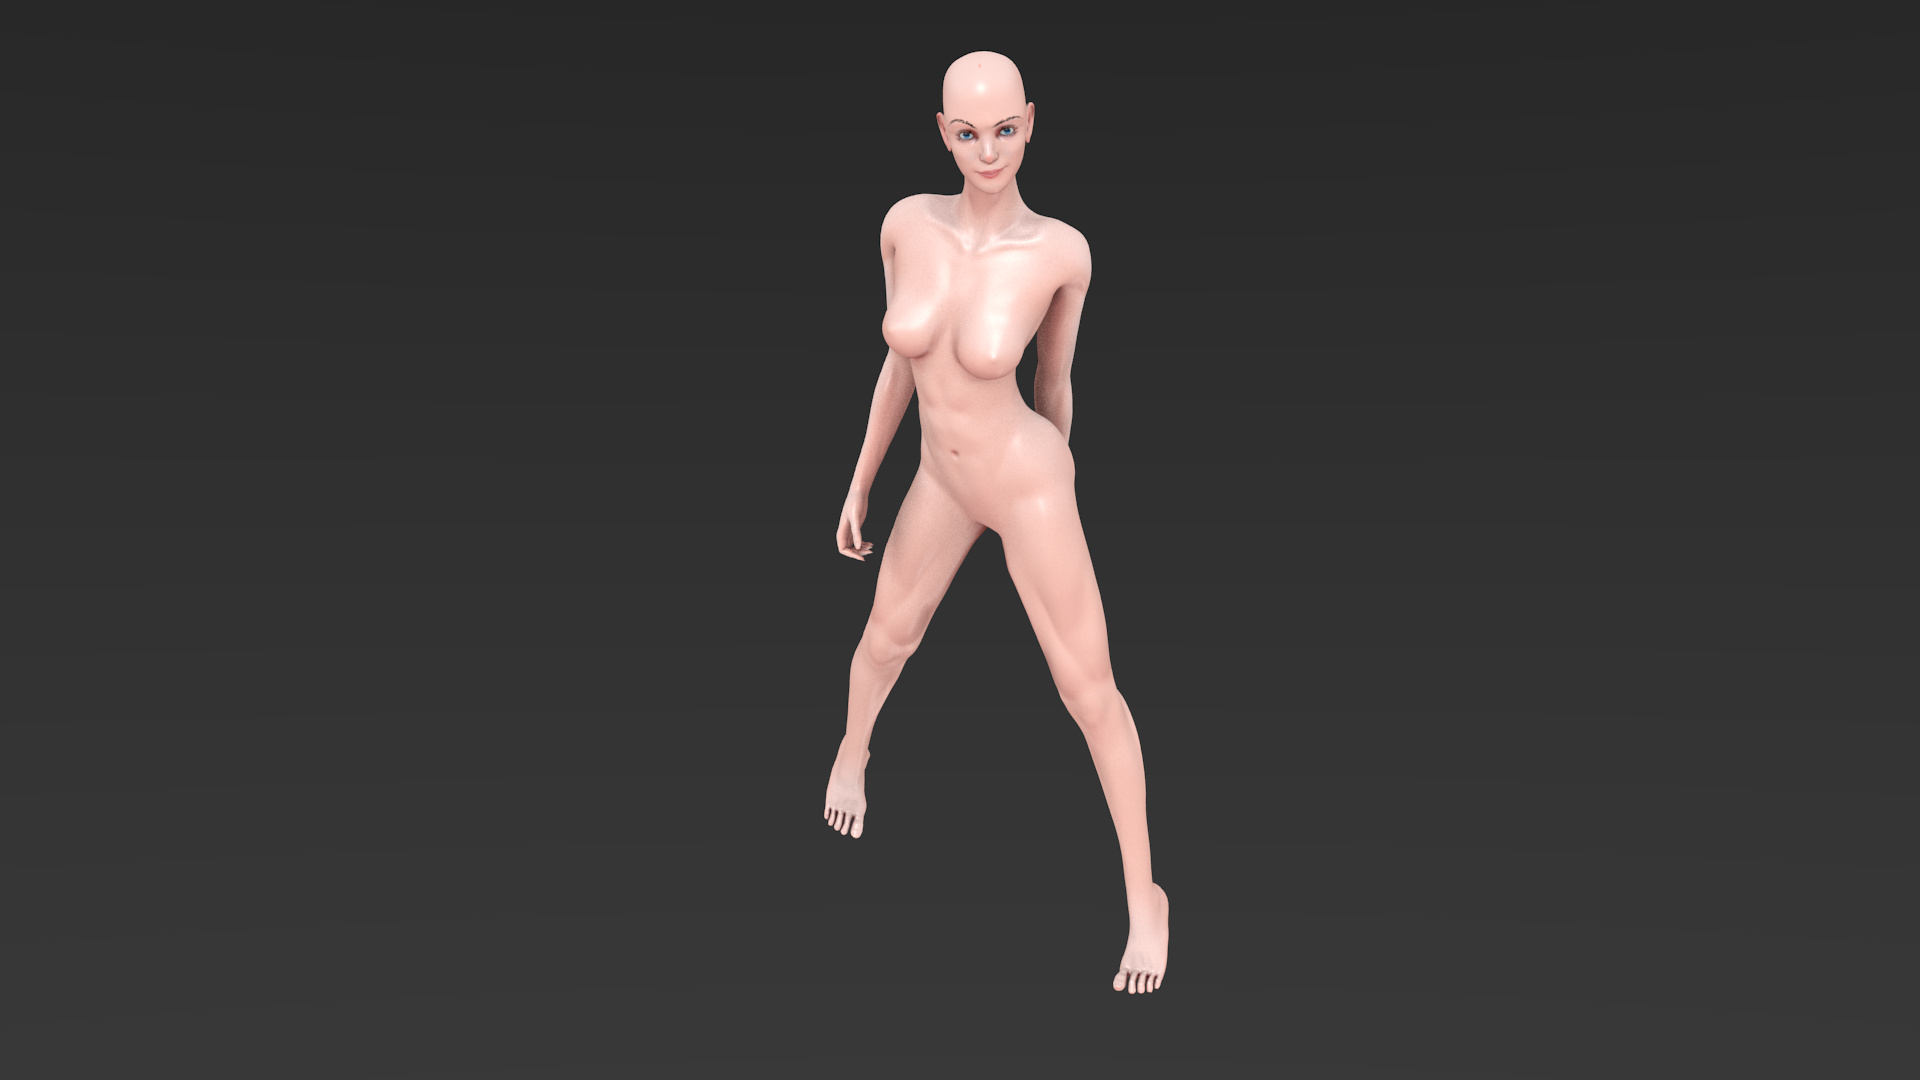
Heres a character I created with Manuel Lab and Blender sculpt tools. I made a quick texture using quixel for learning purposes:
Attachments
Nice!
In meantime, I completed the measure system for next release:
Awesome update, thank you for the continued witchcraft!
Side note, I don’t know if it’s just me, but I can’t see the video you posted… at least not here. I saw it in the e-mail sent when you posted to this thread.
In case other people have the same problem:
Hello, I have downloaded your tool for posing. It is fantastic. Works very well except having on issue. That is once I cloth the figure, and then pose, I have the shoulders of the figure popping thru the clothing. Other areas seem to work well, but shoulder give me a problem. Is there something I can do to fix it?
Below are some pics. I am using proxy fitting. I have not transferred weights to clothes. I am not sure how to use weight paint with your tool. Perhaps a quick tip to get me started?
Attachments


Thanks for that great Addon!!!
Here is a simple script to rename the vertex-groups to be usable with rigify. Just select your character, run the script and apply a rigify rig. All bones should be mapped to the right vertex groups now.
Doesnt really work for me. The mesh doesnt deform with the armature. Could you give a short how-to? Wich version of Blender/Rigify do you use?
edit: Ok it sort of deforms now… but the whole mesh is destroyed:
What I did:
- Initialized ML Character
- Finalized it
- Renamed the vertex groups using your script
- Added the metarig
- Adjusted the metarig bone positions to the character
- Generated the Rigify rig
- Added armature deform modifier
Have you stored the proxies before some body modifications that involved the shoulders?
In that case you should re-store them again using the final form of the body.
Another try is to manually fix the vertices for this position (edit mode, as usual), and then re-store the proxies. They will be optimized for this position, but perhaps it can create problems with other poses…
Nice clothes ![]()
Hi Manuel
I am a tailor living in Brazil, I use Rhinoceros to make sewing patterns, but I will learn Blender only for use your fantastic tool. I ama waiting for 1.2 version.
I would like to suggest you to make a video in wich you use photos of real people and morph the character to conform or match that photos.
Manuel, the proxies for the clothing are stored on the default pose. Once I change the pose and Fit, the shoulders pop through clothing. See pics. I understand this is not top priority as you are working on v1.02. I can work around this by adjusting the clothing after posing.
Attachments


Another variable that influences the result is the density of cloth meshes. Can you try to increase the resolution around the shoulders?
Consider that in case of lowpoly or topologies that are too much different from the base mesh, there is no algorithms that can prevent this problem, so the common technique is to use an invisible shader for the hidden parts.
Is there a reason not to mask out (hide or remove) the body under clothes?