Are there any handy utilities/addons for extracting/sniffing materials from multiple blender files and possibly putting them into a new file where I can manage them? In my case, I have a few hundred materials/gigabytes of cgaxis materials and I’d like to get them into my asset browser without too much fuss. I’m not sure I could take the torment of doing this manually.
You can mark materials as asset all at once:
go to outliner, in “Blender file” mode, open Materials section, shift select all materials and right-click Mark as asset
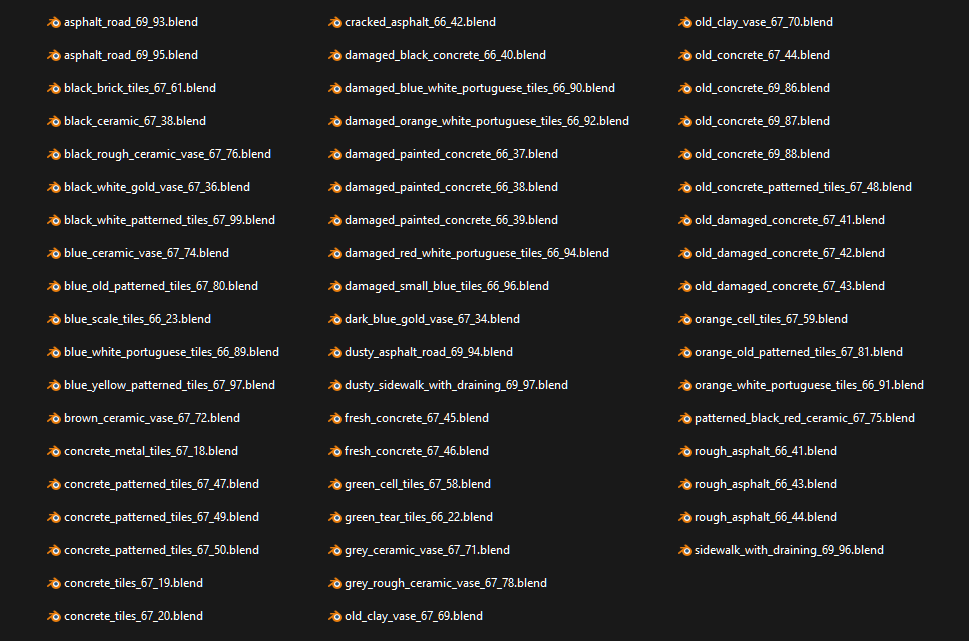
Each file has one or two materials (there are hundreds of files). It may not be too annoying to drag and drop and append just the materials from each one into a master file and categorize them that way. Still a slow process. Or I can browse the thumbnails, pick ones I really like, and concentrate on grouping those in appropriate master files to be assets. It appears there’s no answer that doesn’t require me spending many hours doing this manually
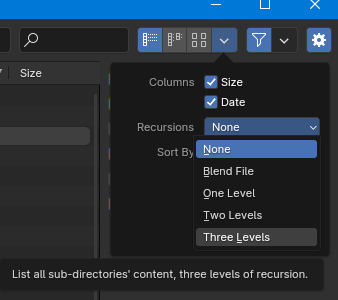
oh so the materials are spread in many files, right? you can look into multiple files when you use the append command. You can even look recursively into sub folders
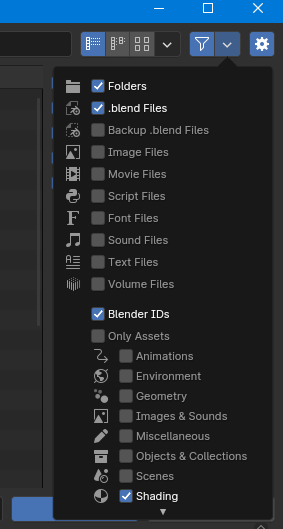
A recursion of one level should get you where you want to be. You may also want to sort by extension, just to make sure all the materials are together for easier appending.
Thanks for the help. Overall, this worked great to get the materials into a new file! Now, a whole other issue with resaving all the jpgs. Luckily that’s easy. Surprised at the overkill for the images, though. 2GB down to 200MB with nothing really lost for quality. And that is just for 34 materials. Anyway, thanks for the help! This has saved a ton of time.
I’ll explain what I meant and more below. I haven’t decided (or maybe don’t know) whether it’s better performance to dump all the material JPGs into one folder, or put JPGs in their respective category folders. It seems to me it doesn’t matter much since the assets will be viewed/accessed by the asset browser only if I click to view them.
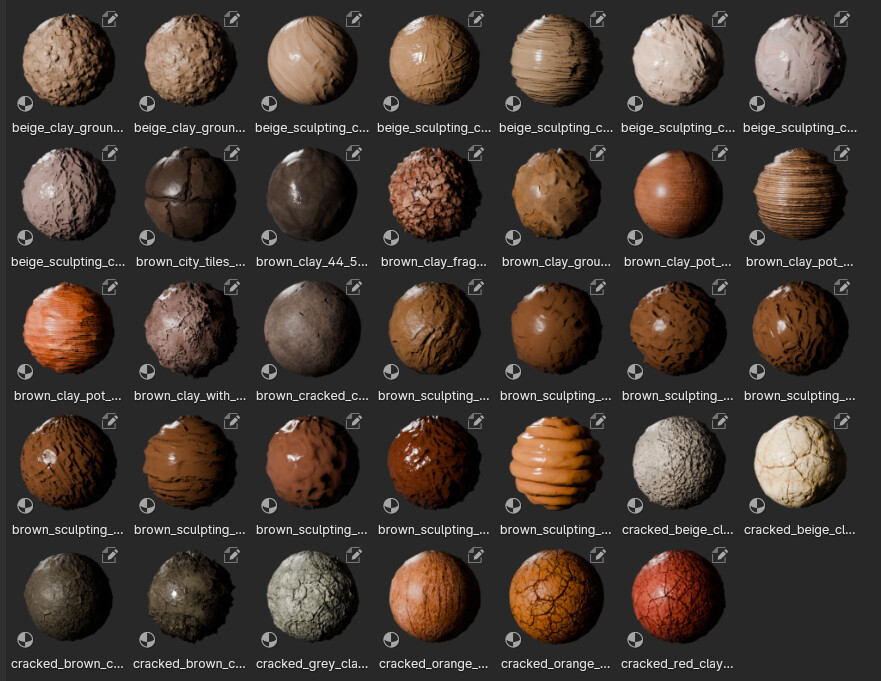
I’ll walk through the process I ended up with. I think I’m down to ~20 minutes per category, so the follow steps aren’t really that bad. I’ll note that it takes ~20 minutes only because I have to regenerate the material thumbnails in the asset browser. The displacement setting for 98% of the materials (and they all have displacement) was set to 1 so all the thumbs look like starbursts and are impossible to see what the heck it is. Very unfortunate, but I think it’s fixed in later volumes so that 20 minutes should go down to 5 minutes if the thumbs are hood moving forward. NOTE: I noticed while writing this that the next library is broken up into separate folders per blend file and has an asset text file. I’m not sure I’ll like that better than what I’m doing now, but at least they changed their method a little for the better. I guess that also means I’ll have better thumbnails, so that’s a definite plus and saves a lot of time.
Process
Download the category and save outside of my normal asset material folders (to my desktop). Each category so far is 6-12GB and some categories have multiple parts like Plastic Part 1 to Part 3. I’m breaking up my downloads per category so I can be a little methodical.
Unzip/put the blender files in that folder and delete any extra images that may come with it from the provider. So, just blend files in the folder.
Create my destination blender file - Open blender from scratch and save Plastic.blend to my overall material library folder structure.
Append the materials from the blend file with one folder recursion. I also filtered the results by typing 4K in the search, so I’m just importing the 4k materials to my clean destination file. 4K was my preference. If I ever need 8K, I can just go get it.
Save the blend file as-is. All of the PBR JPG/images get saved into the new category file and I end up with something that’s 13GB or so.
Then immediately Unpack Resources to default location (first option). This takes all the used JPGs and puts them in the new textures folder next to my Plastics.blend file. Save the file again, and it goes way down to ~18MB. Since the JPGs never have duplicated names, any and all category JPGs can live happily in one folder totally fine.
Now for the fun part! Create a sphere, split the viewports to show 3D, Shader Editor, and Asset Browser. Drag and drop material to sphere, adjust displacement setting in shader to something reasonable, refresh material in asset browser. Rinse and repeat. I didn’t find a way to refresh all rendered thumbnails, so of course now I consider that a huge shortcoming
Create asset folders, mark materials as assets and drag them to their folder. Save the file.
Now for the JPGs. Consider this step 6.1, I suppose. The JPGs are pretty big even for JPGs. I know why they are, I just don’t agree with keeping them that big for my needs. Especially when you consider there are 3-400 JPGs per category. I use IrfanView do a batch conversion and overwrite files from the advanced options. If you use IrfanView, be sure to click the “use current folder” option, or at least be aware where they are being saved. I use 88% compression for the resaved files and it looks great. File size savings vary. Diffuse can go from 40MB to 4MB. Height can go from 5MB to less than 250K. So far I have 4 categories totaling 2,700 4K files and the textures folder is just over 7GB. Only 50-60 more categories to go