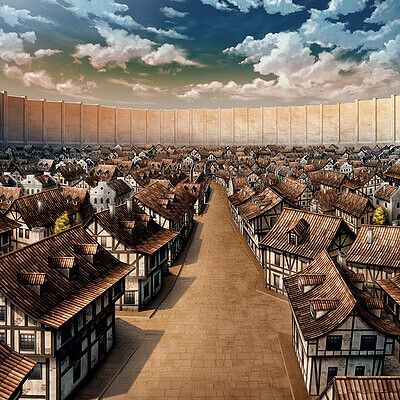
I have been planning to make an Attack on Titan(AOT) cgi short video on blender which will be based on the scene where the female titan is chasing everyone around.
I still am learning Blender and character modelling/sculpting in that, so in the meanwhile I am also creating some assets I might need for the short.
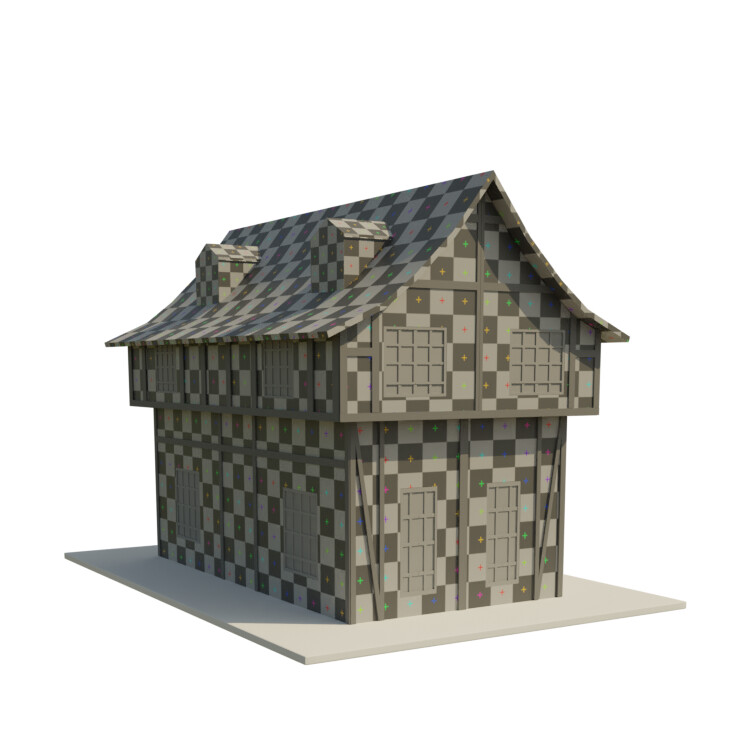
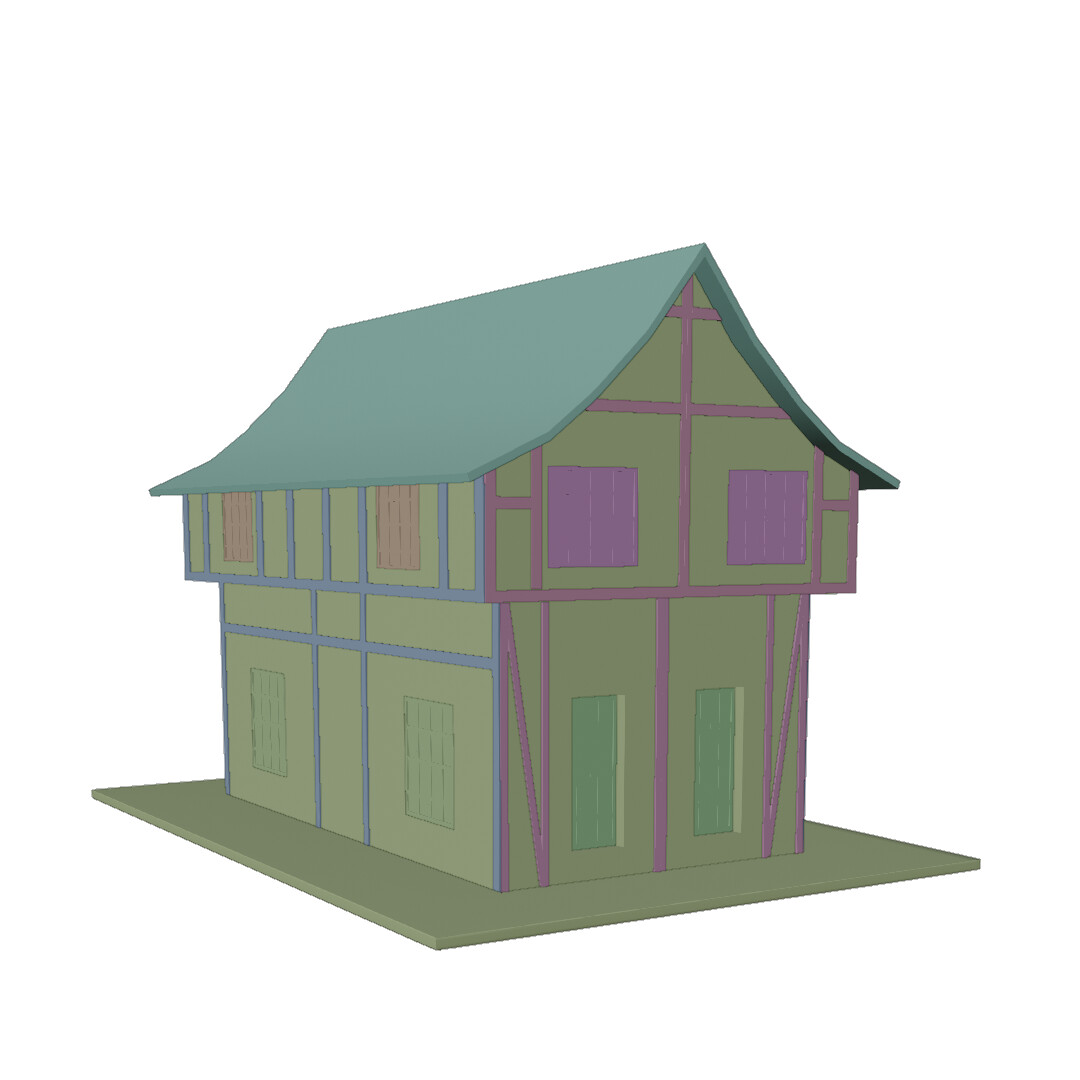
So here’s my attempt on making the house from AOT .
The reference I used:
So overall, the modelling process took about 3 hours.
Now left is actual material and UV mapping and texturing which I struggle with the most! Will do it soon.
I am open to your feedback and critics (pls be honest, I won’t mind), this will help me learn a lot.
Since you haven’t done any texturing yet, Ill just comment on the modeling and form. Ill start by saying I like it! As a AOT fan myself, I cant wait to see this completed!
Firstly, I’m not sure if its because of the camera angle, but I don’t see a door. you should add one, even if this house is only going to be seen from a distance
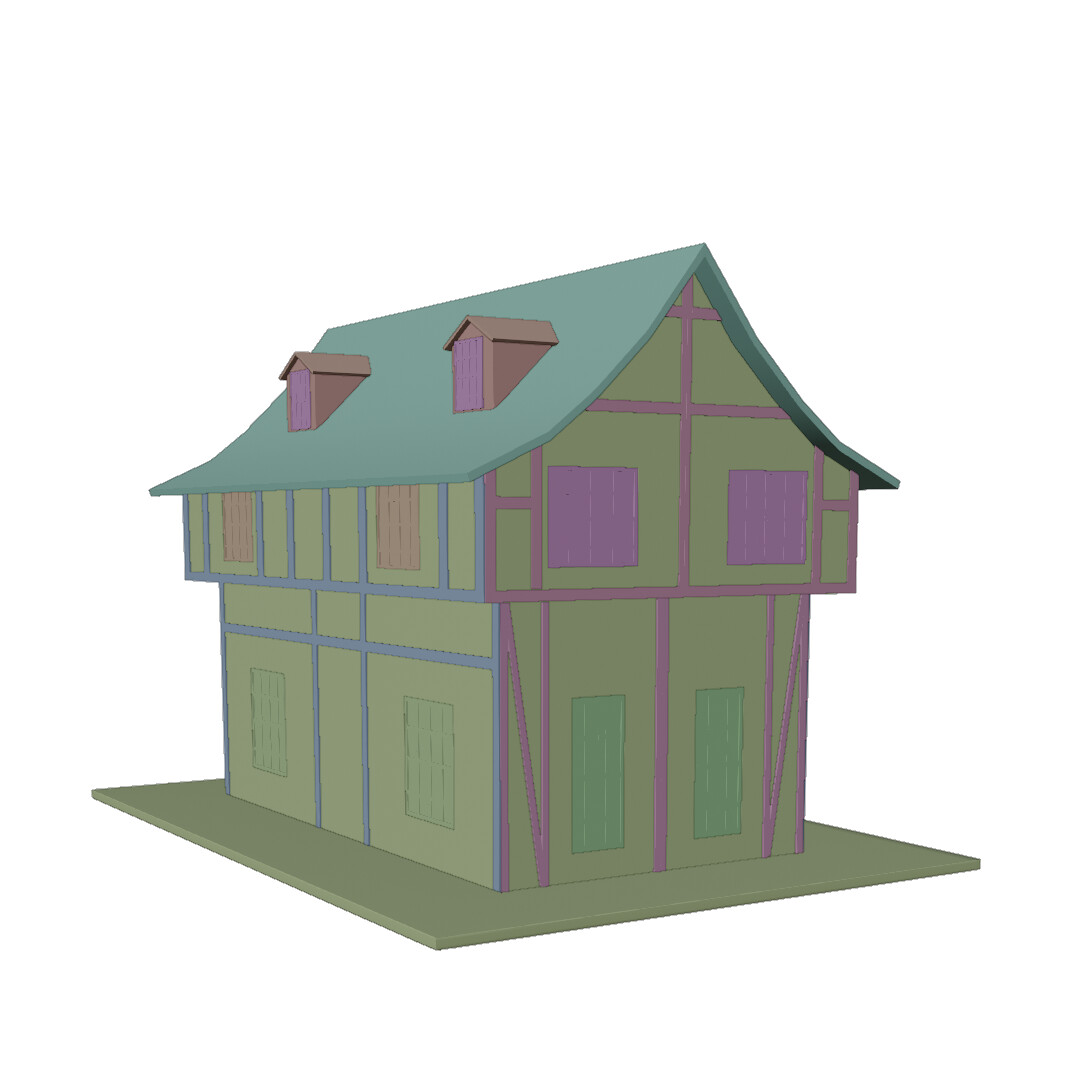
Secondly, Unless you’re going to be seeing this house purely from a far distance, you’re going to want add shingles. It will change the silhouette from a abnormally straight line into a more dynamic realistic line. I would recommend also just slightly moving around a few vertices in random directions to also help with breaking up the cg looking straight lines.
Thirdly, this is a small one, but just popping the beams out a little further, from the wall, will add a bit more shadows, and might make it look a little more interesting, the human eye loves contrast
Lastly, all your edges should be beveled, even if its the edge you want to look sharp, bevel it slightly, it looks much more natural
Id also recommend, making a few more variations of this house if more then a few houses are going to be visible in the render.
All in all I think it looks really good so far! I think its going to look great once you get those textures on there Can’t wait to see the finished piece! Cheers!
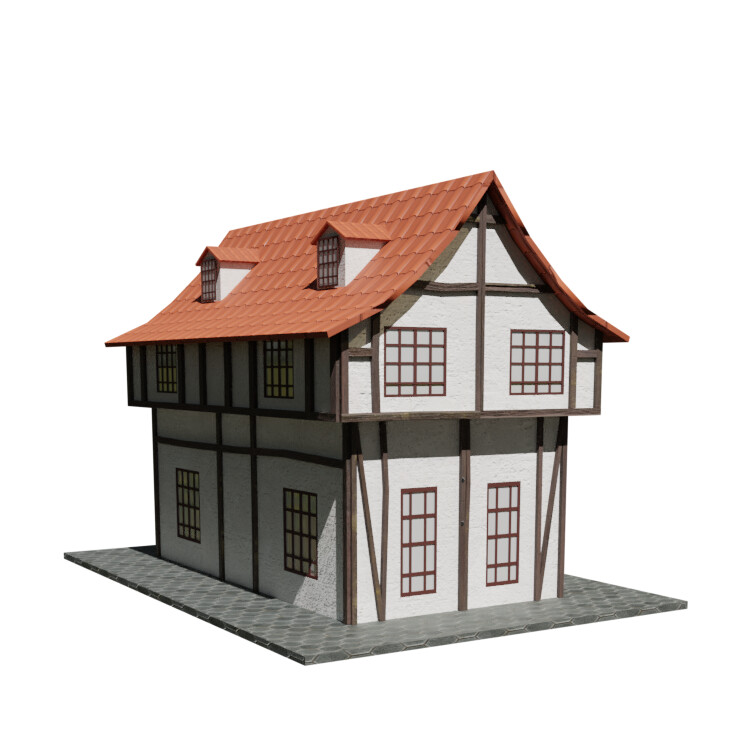
Thanks for the feedback Collin @CMP3D !! I am new to this and your tips definetley helped me. Yea there’s no door for now . but i will be adding it soon after I it more refined. That tip about dynamic realistic line instead of straight was very helpful, I almost forgot to consider it . I extruded the beams and it looks much better now.Thank you
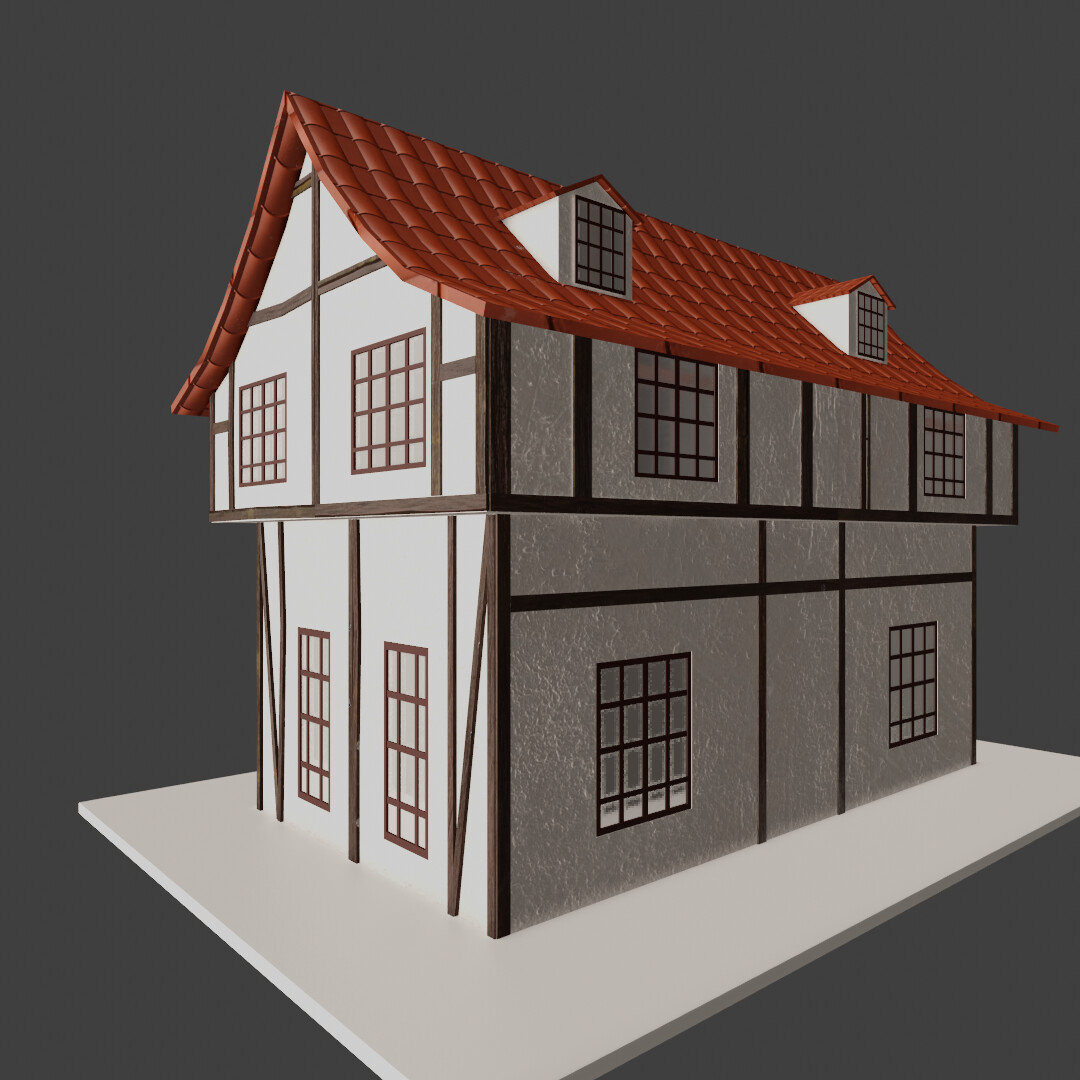
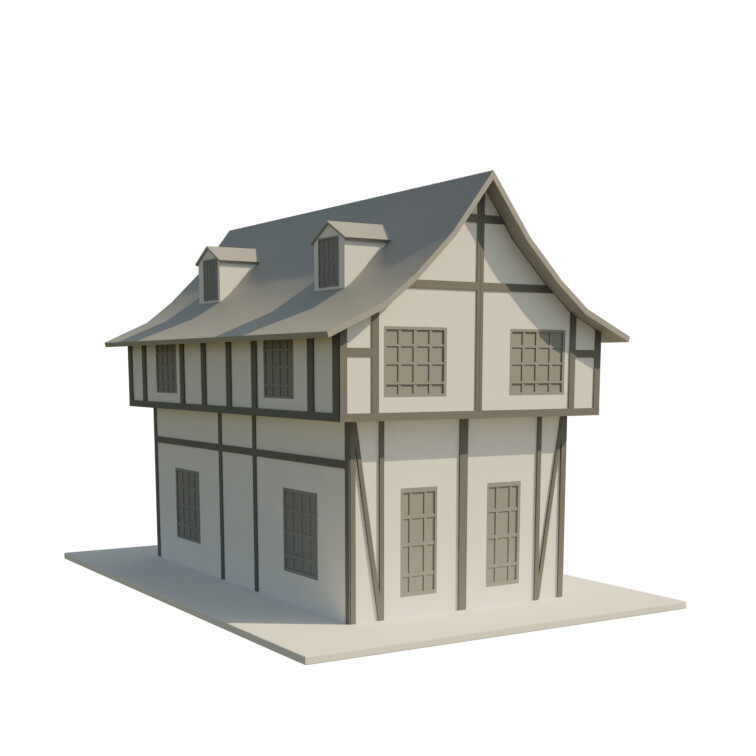
I am aiming for a stylized realistic(not photorealistic) look , but I don't know what it is but it still looks a bit cartoonish ! maybe I should change texture or something ?
I reckon adding some grunge textures and other surface imperfections such as patches of exposed brick would go a long way to adding realism.
Also as previously mentioned adding a bevel modifier to the objects would help.
Another thing is that the edge of the roof doesn’t seem to be textured/unwrapped right, with those large dark patches. Also looking at the reference the square shapes in the windows should all be the same size. Hope that helps!


 Can’t wait to see the finished piece! Cheers!
 . but i will be adding it soon after I it more refined. That tip about dynamic realistic line instead of straight was very helpful, I almost forgot to consider it . I extruded the beams and it looks much better now.Thank you