I was wondering how I would go about creating an effect to look like two heads were melting into each other?
I was thinking it should be easy enough to find a head model I can use on turbosquid or something of that nature, but I’m not sure how to get them to create like a melted goo stretch between the two?
It would almost look like how metaballs create a goo like visual.
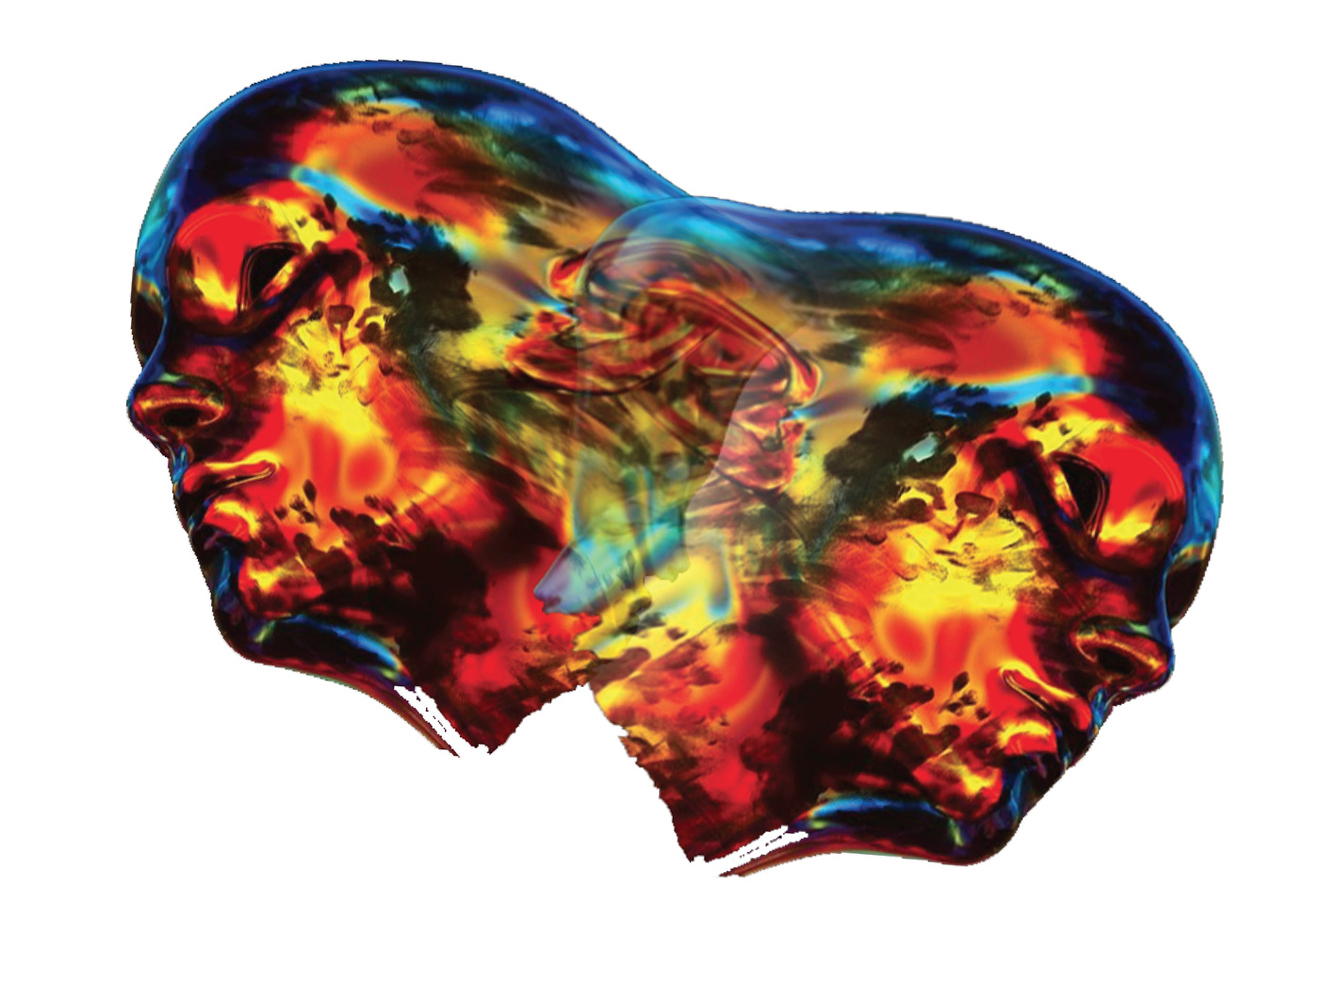
Creating a thermo map material should be easy enough to google and create, I’ve created an extremely quick example and attached of what I’m trying to achieve.
You could probably use particles or even animation nodes to get a better result, but I usually make a shape key + rig (using the mesh fariring addon) for transformations or try to get away with some modifiers -
That looks incredible, if it’s not too much trouble would you mind running me through a few steps you took to create that effect? I see it’s something I need to download first and install, after that how did you achieve that?
It’s a bit hacky for the modifier stack process, but the idea is to
load in the head you want to use,
duplicate it,
put on a shrinkwrap modifier with the method set to projection (positive/negative enabled), set the other head as a target
corrective smooth modifier, repeat set to 200 (you can play with that)
subdivide modifier (depending on the initial resolution of your head mesh, to get more detail for the connefcted parts)
another shrinkwrap modifier with the method set to projection (positive enabled), set the other head as a targer
Now if you move either object you should see them being kinda stuck together.
That’s the jist of it, you can pile up more corrective smooth/shrinkrap modifiers to refine your result, and also limit the distance in the shrinkwrap modifier when set to projection. Optionally you can add a data transfer modifier (maybe with a weight proximity) to transfer the normals for a cleaner transition, depends on how clean the result should be.
Also, this is just one of the many ways to achieve something like this, I’m sure someone more experienced with particles/anim nodes in Blender could make a mush better result.
Really appreciate you taking the time to put the steps in, what I’ve done doesn’t really match yours well but I’ll keep playing with it until i can get closer to your gifs, thank you
It’s really just a bit of trial and error - I’d upload the blend file but that mesh isn’t mine to share.
If you just put a simple shrinkwrap with the mode set to project on one of the heads, and a corrective smooth with the repeat value of lets say 10 on one of the meshes you can see how they react when you move them apart. The rest of the process is really just more of the same.