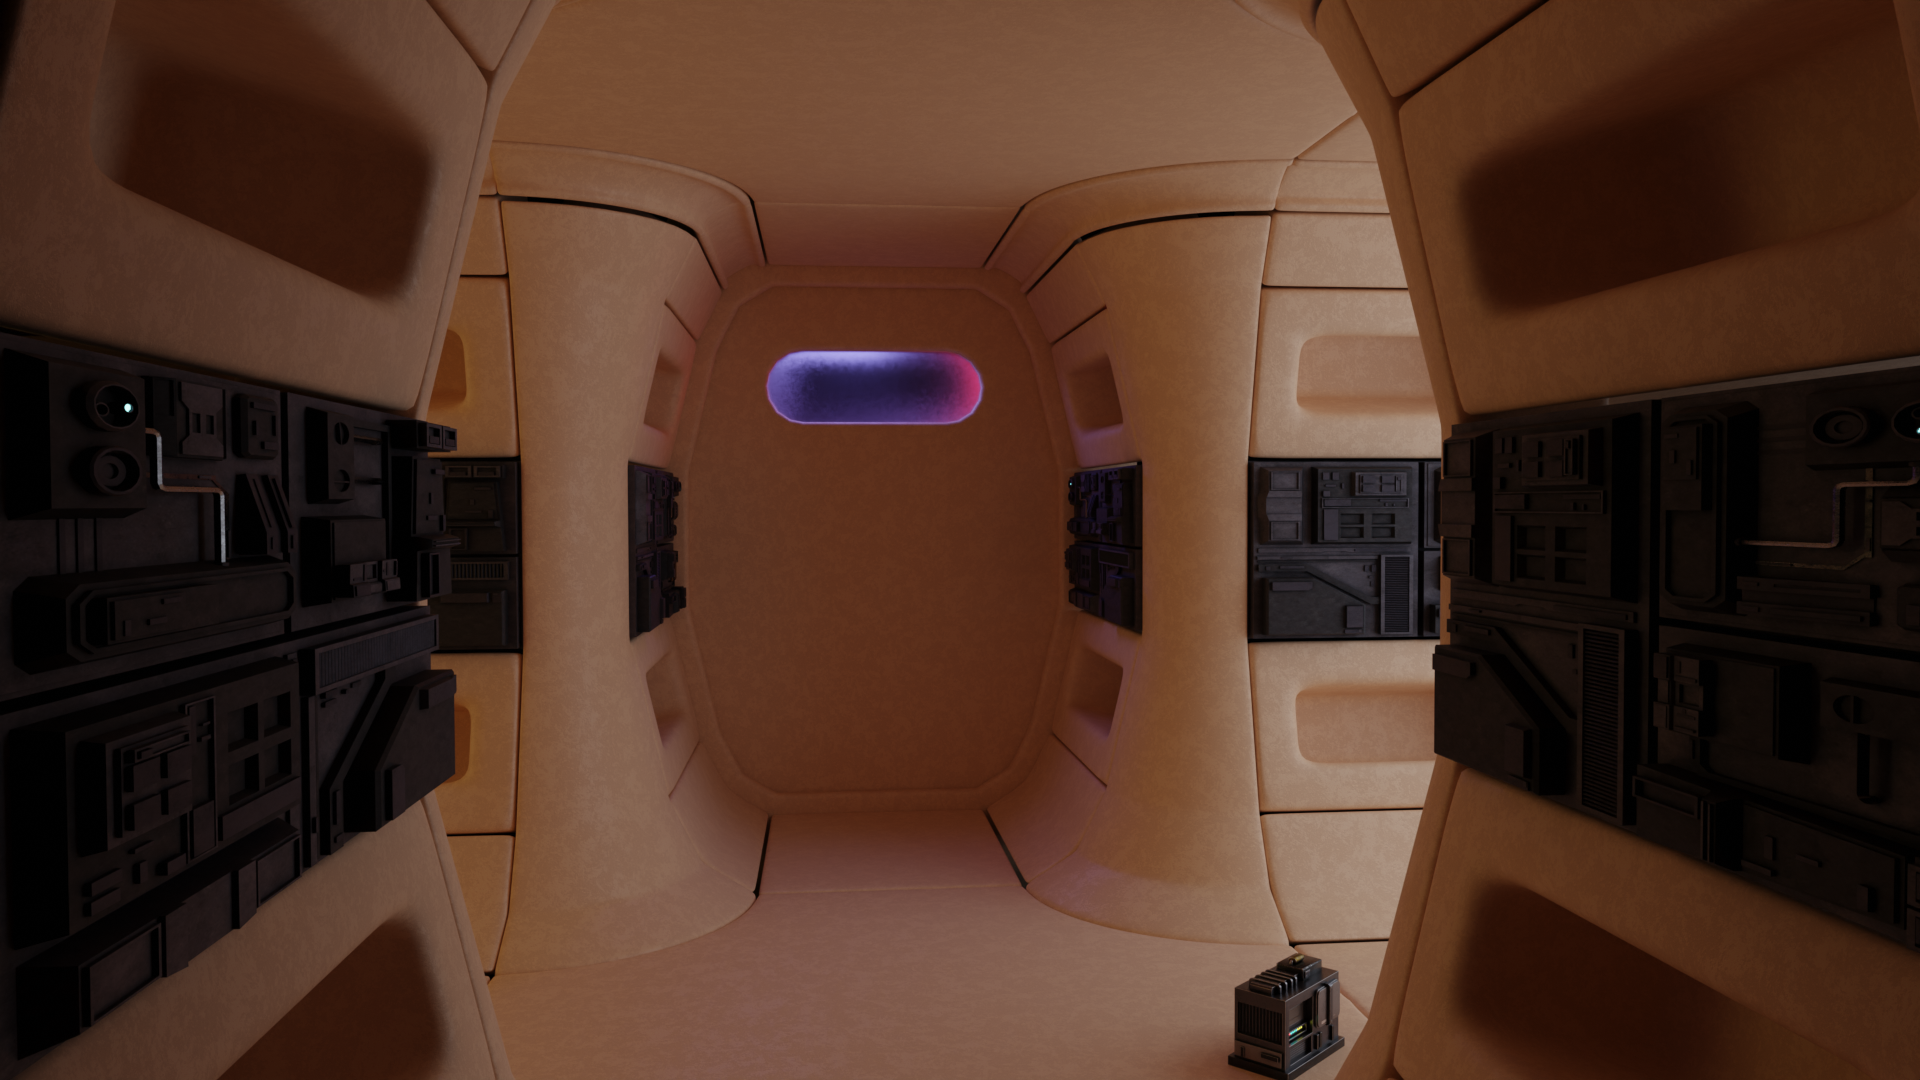
Alongside the craters research, I am working also on the Messie Ness spaceship interiors.
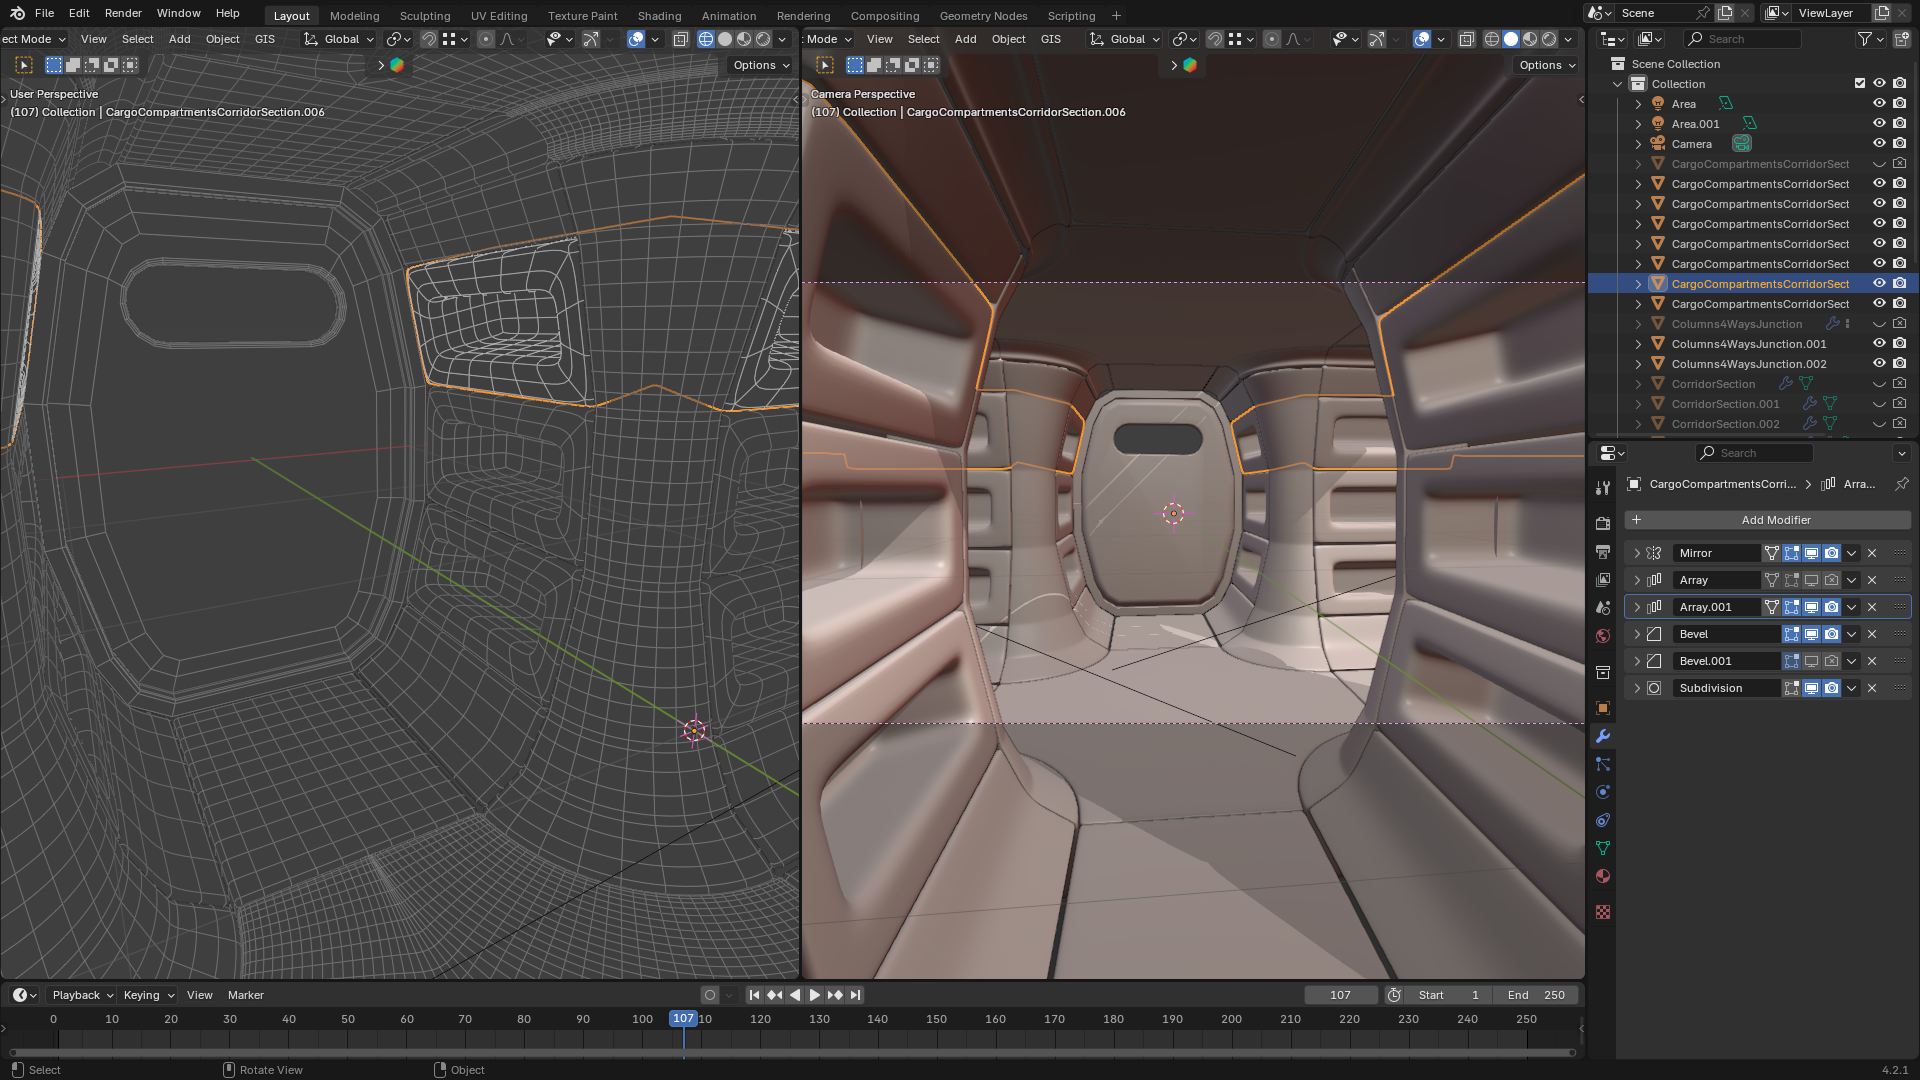
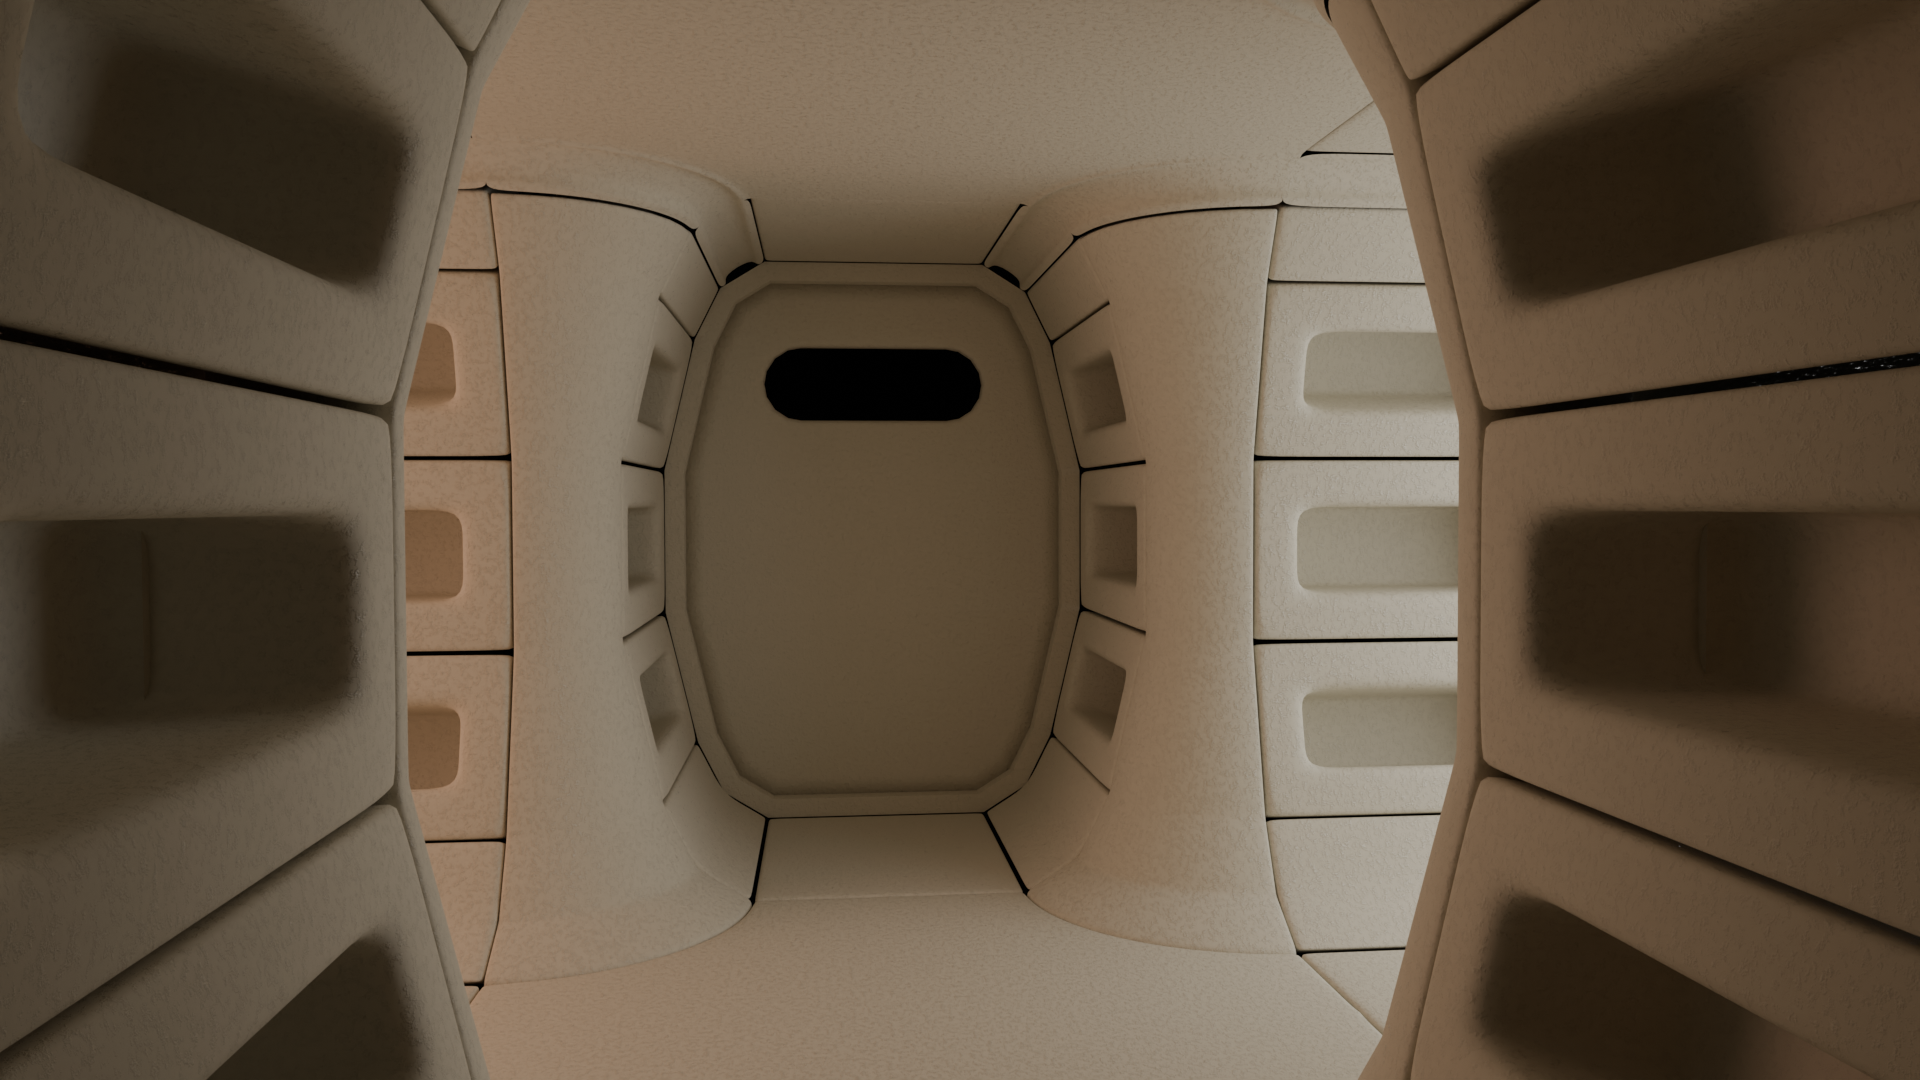
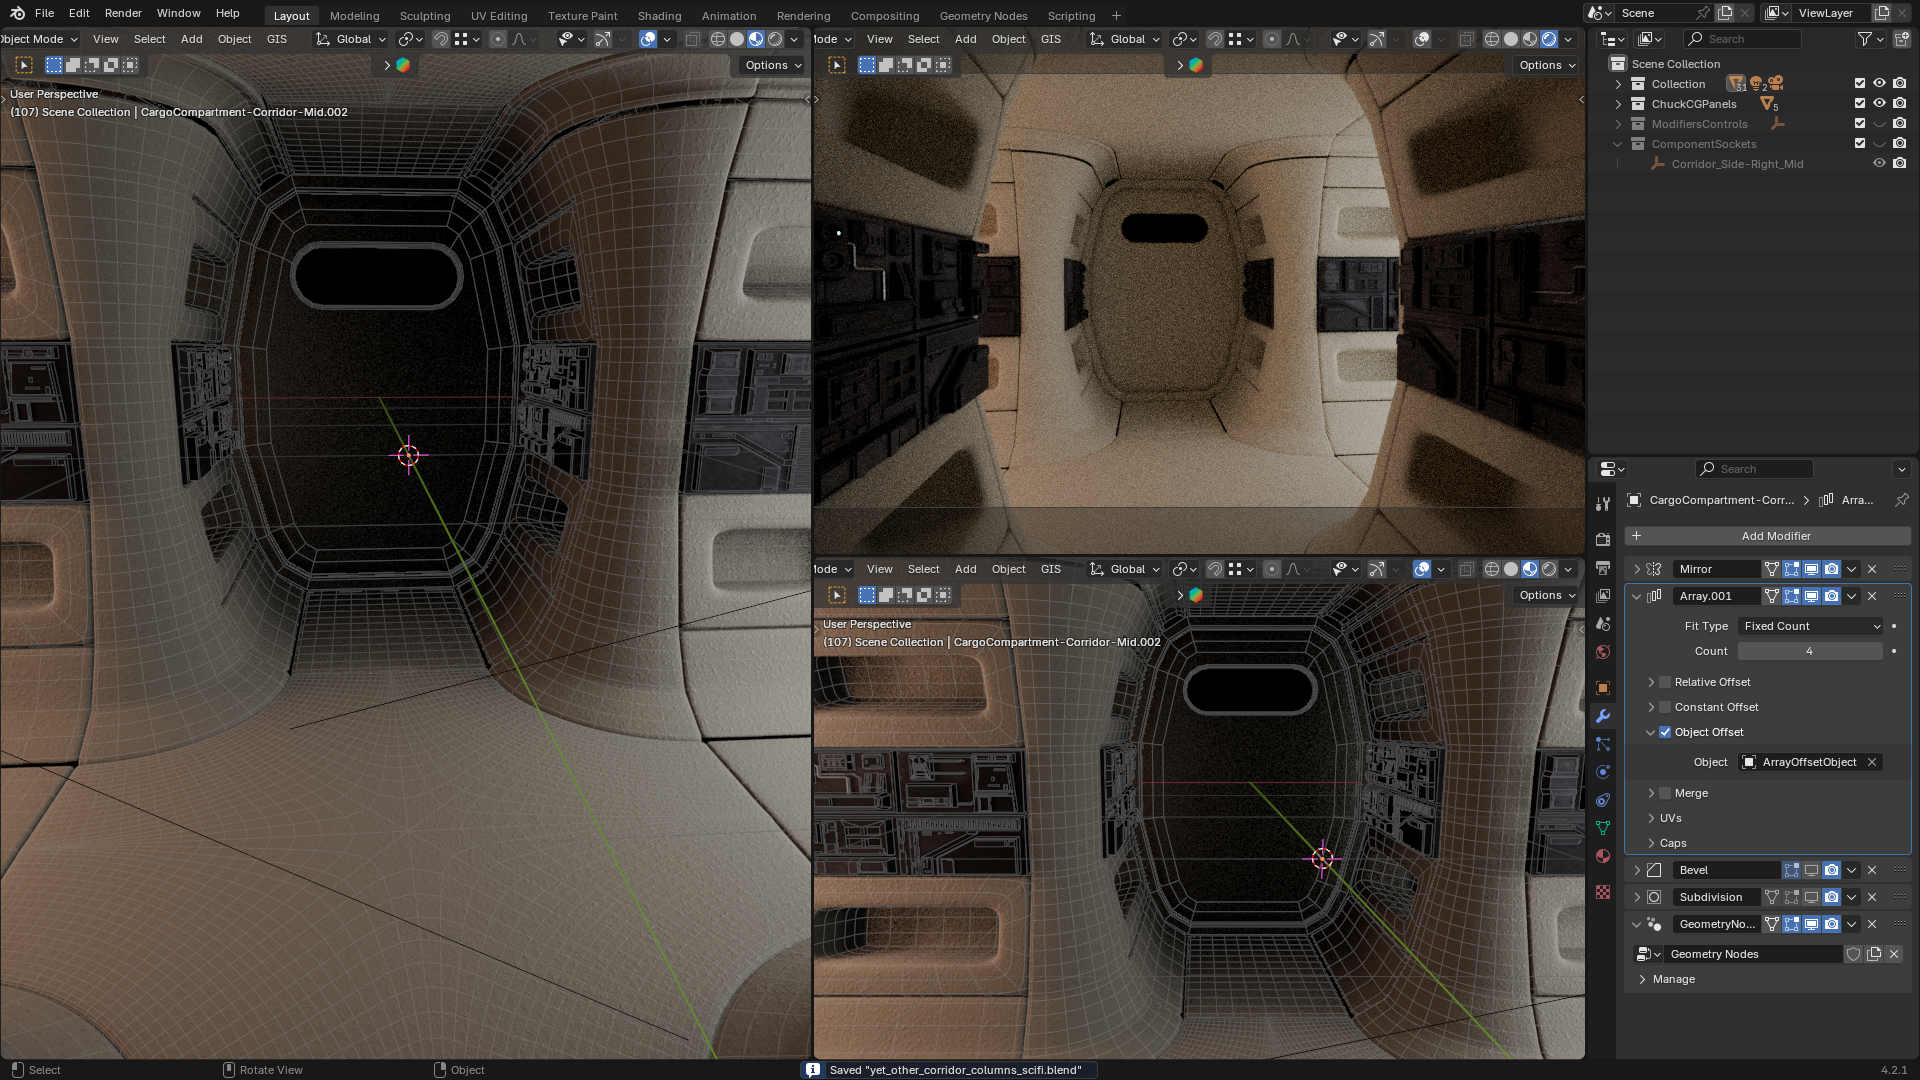
Speaking of visual intent and overall idea I like the result. So, I confirm that this is going to be the direction I will take for the interiors of Messie’s spaceship.
I fixed most of the visible exterior of the several general components (except for the door) and added the new greeble mid row on the corridor sides using @chuckcg’s Greeble Pack (slightly modified by me) and tessellating it on the surface with the aid of @higgsas Tessellate Helper.
I am still thinking of a name for the spaceship…
Yesterday I added some little changes. I adjusted the sliding door and added a draft glass based on the old (pre-Pricipled BSDF) Chocofur Advanced Glass material. I just added a Glossy Map to simulate some dirt (and, therefore, less transparency) near the borders of the window.
I changed the light material of the interiors. While I will probably desaturate it a bit more, to find a point in the middle between the previous one and this one, I improved the bump and the texture. Now, it is possible to notice a slightly higher specular intensity on the reflection zone of the far-left corner. Which is closer to my goal.
Then I followed Ryan King’s tutorial for making a modern glass material and completed it. While I am not sure if I will use his solution as it is, following his tutorial sparked some more research on materials.
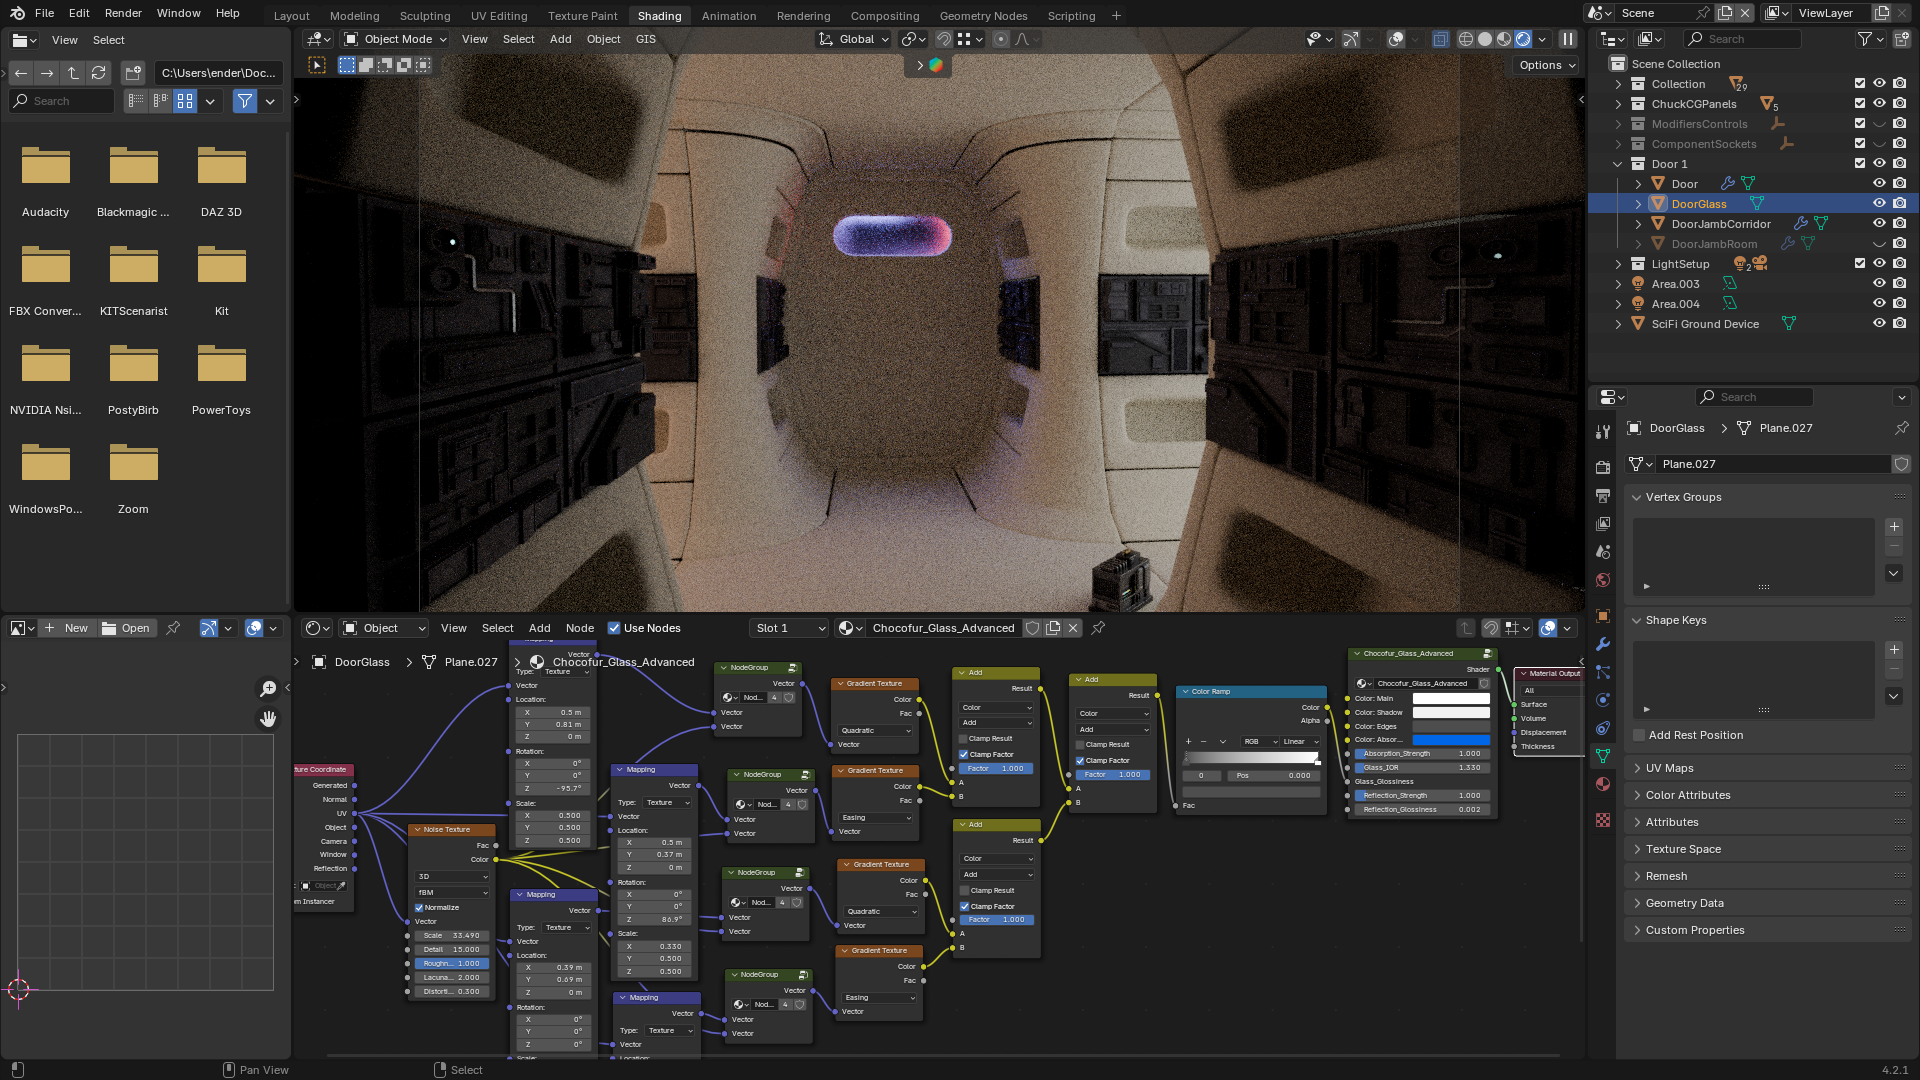
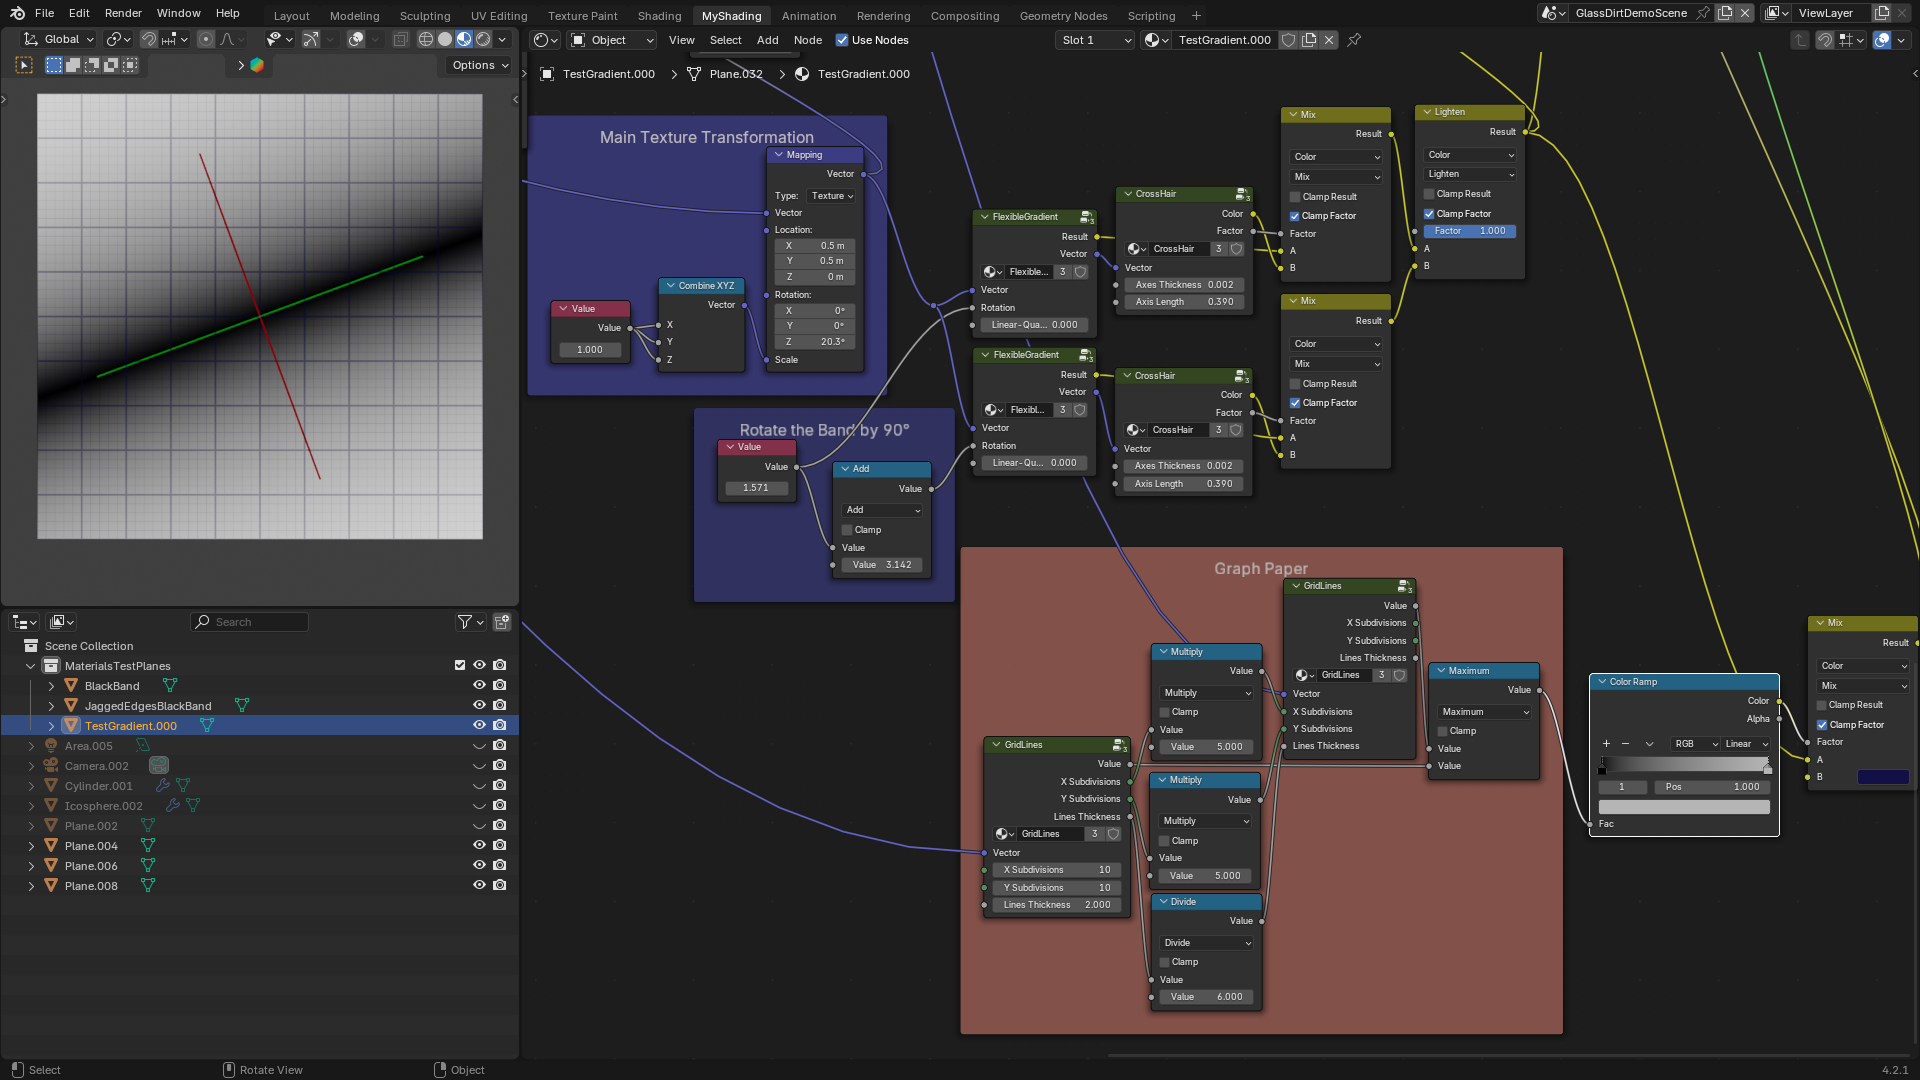
For example, I started to work on a texture coordinates debug material which is a pretty intense work, but it is starting to help effectively on visually assessing texture coordinates.
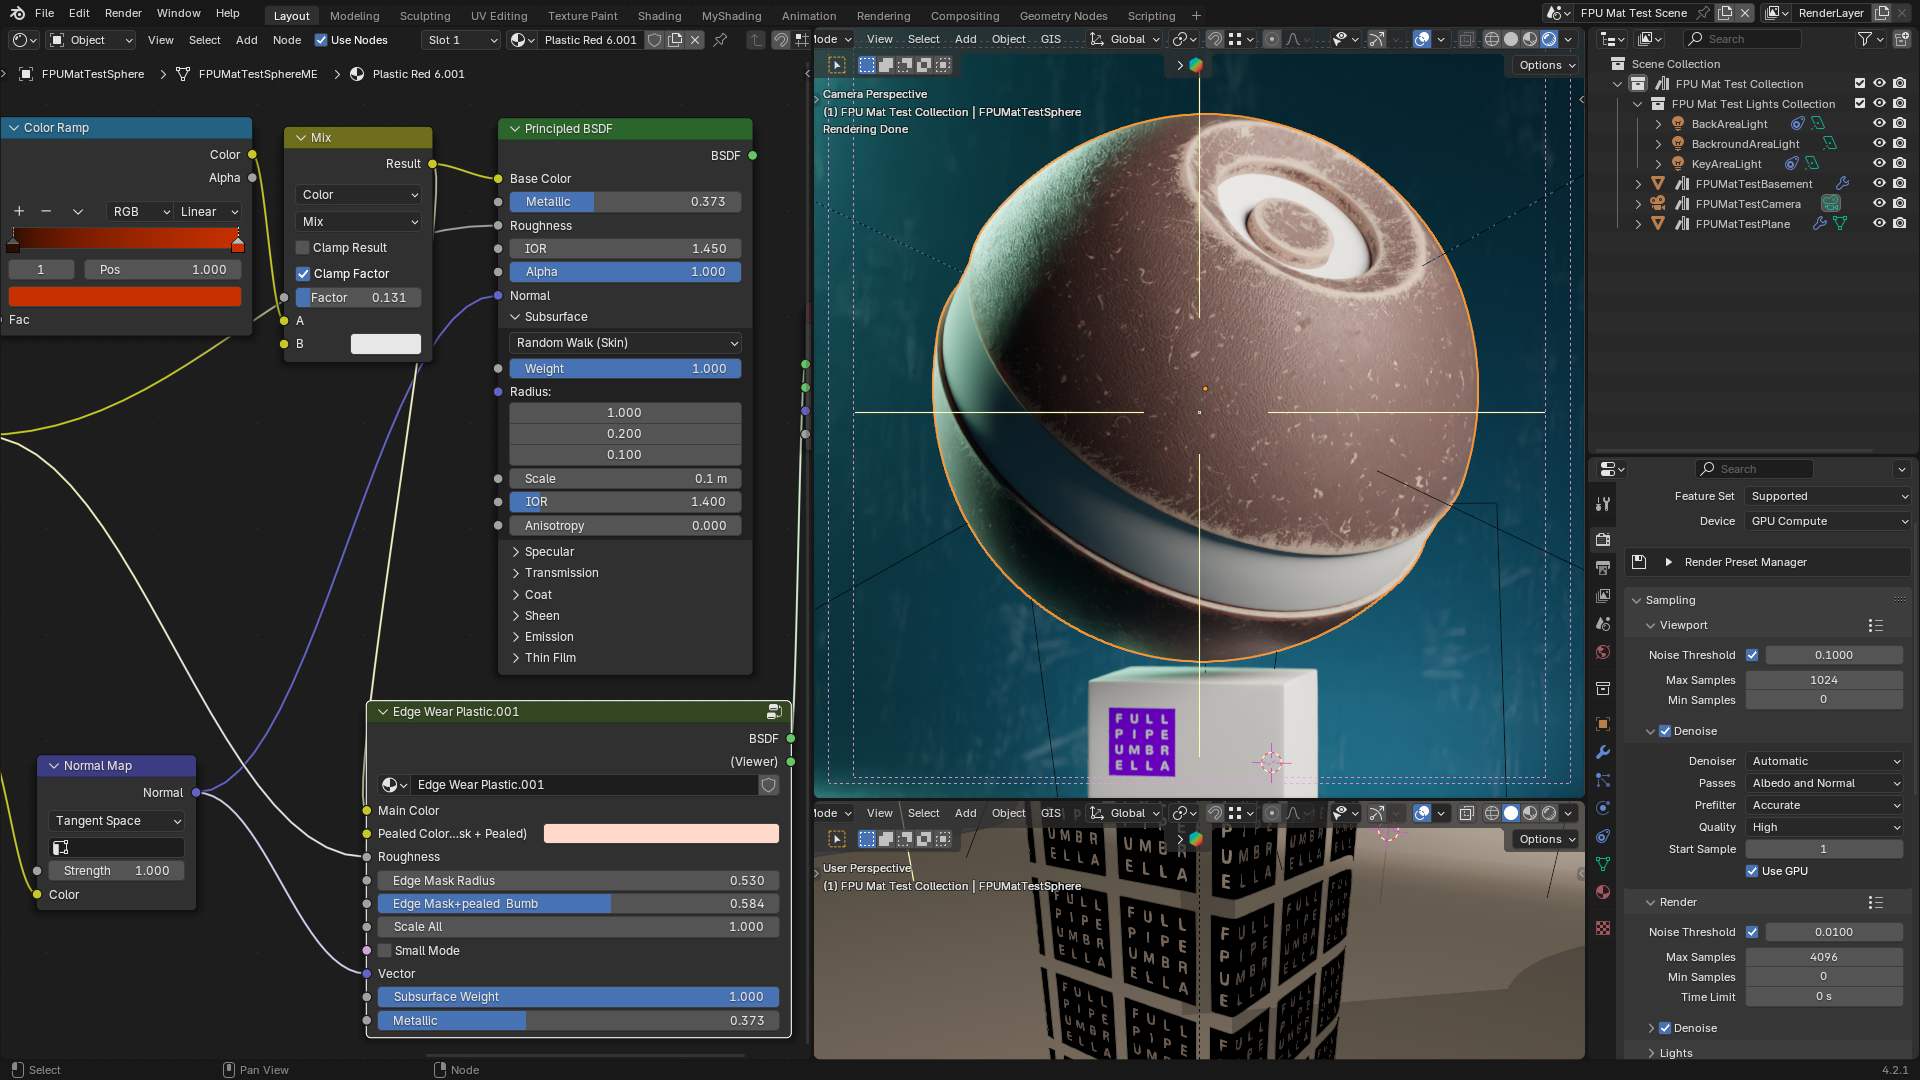
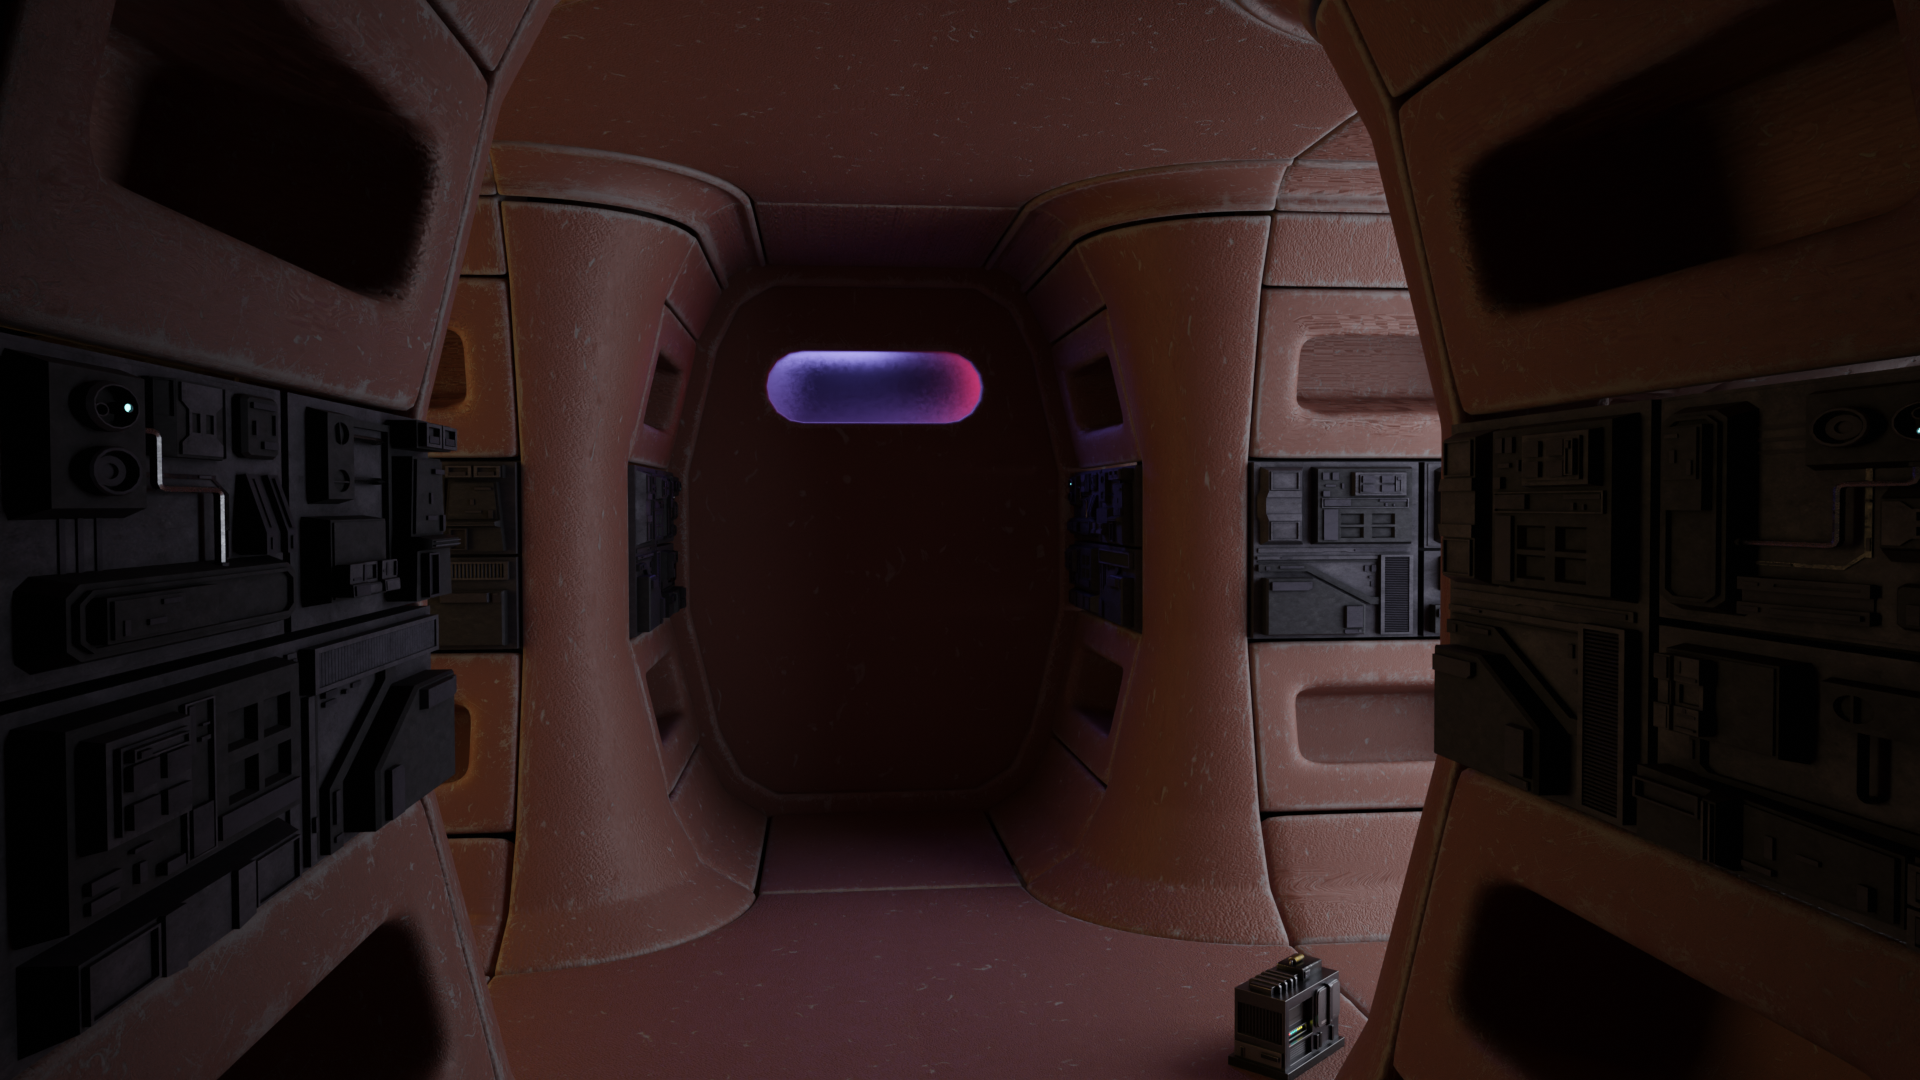
Today I am playing a little bit with materials. I found a couple of very good free plastic materials on Blendkit. The first one is the Edge Wear Plastic (Worn Red Plastic) by yossif kh and the second one is Plastic Red 6 by James Middleton. And I wanted to “merge” them because I like the edge wear effect of the first one and the granular texture of the second one. This involved a bit of trial and error, in order to fine tune all the details.
Also, some UVs have to be fixed. But, in the end, I wanted to get an idea of where the look and feel is heading.
I am not 100% satisfied, yet. Though, for now is a good to go.
2 Likes