Milgem Corvette

Milgem is the new corvette for Turkish Navy under development. I have decided to model it in Blender. This is the first time I’m modeling in any tool, yet alone Blender. I had used Blender before to render wavefront objects but that is my all experience.

Here are the reference images from the designers themselves.
http://i274.photobucket.com/albums/jj260/hakcayurek/milgem-blender/th_Milgem_class_corvette_of_the_Turkis.jpghttp://i274.photobucket.com/albums/jj260/hakcayurek/milgem-blender/th_MilGem_class_corvette_rendering.jpghttp://i274.photobucket.com/albums/jj260/hakcayurek/milgem-blender/th_MilGem_class_corvette_model.jpghttp://i274.photobucket.com/albums/jj260/hakcayurek/milgem-blender/th_18-2.jpg

Attached image shows my current status. I will continuously update the image and describe my experience below.

Attachments


A great start. Can’t wait for the item to be textured.

The first step was to build the upper half of the hull (above the water line).
For this purpose, I selected the sideviews (the last reference image) and loaded it to Inkscape. Then traced the upper half with inkscape.

http://i274.photobucket.com/albums/jj260/hakcayurek/milgem-blender/th_milgem-inkscape.jpg

Later, I loaded inkscape svg file to blender using inkscape2curve script.
http://i274.photobucket.com/albums/jj260/hakcayurek/milgem-blender/th_govde1-parcalar.jpg

This gave me the silhouettes that I used in my design. By rotating and placing these meshes in relative positions, I created the important vertices and used the beziers to follow the original design’s curves.

http://i274.photobucket.com/albums/jj260/hakcayurek/milgem-blender/th_govde1-yan.jpghttp://i274.photobucket.com/albums/jj260/hakcayurek/milgem-blender/th_govde1-ust.jpg
http://i274.photobucket.com/albums/jj260/hakcayurek/milgem-blender/th_govde1-on.jpghttp://i274.photobucket.com/albums/jj260/hakcayurek/milgem-blender/th_govde1-capraz.jpg
http://i274.photobucket.com/albums/jj260/hakcayurek/milgem-blender/th_govde1-calisma.jpg

The next day started to work on the over-the-hull structures. I used the same trick I did before, I traced the outlines I’m interested in with inkscape and loaded them to help me in the design.
http://i274.photobucket.com/albums/jj260/hakcayurek/milgem-blender/th_milgem-inkscape-guverteli.jpg

http://i274.photobucket.com/albums/jj260/hakcayurek/milgem-blender/th_govde2-yan.jpg
http://i274.photobucket.com/albums/jj260/hakcayurek/milgem-blender/th_govde2-on.jpg

At this step, I noticed that in order to get the sharpness I wanted on the corners, I need to have very high resolution model due to surface normals effecting their neighbors. One solution I think is the vertex normals but as of today, I have no idea how to modify them, so I opted an easier solution and cut the hull to two (the upper structures, and hull itself, and probably further cut in the future). This generated a very nice render.

Now, it was time to work on the more complex structure of the upper hull. The problem is that the silhouettes I used before is not sufficient for them. So I decided to create new silhouettes with the textures from the reference images. It worked very well, and I’m planning to write a tutorial in the future. Basically, I have used Gimp to cut individual views (side, top, front, back). Then filled individual views with black.

http://i274.photobucket.com/albums/jj260/hakcayurek/milgem-blender/th_silulet-1.jpg

Later, I used inskcape’s tracebitmap function to build meshes for these shapes. If I didn’t paint the views with black, the inscape’s trace bitmap functionality was not reliable. Having only black and white colors, the above image would have a nice trace, but once imported to blender, the curve will be very messy.However, it is not important as I can still put the reference textures on them.

UV maps below for the silhouettes.

http://i274.photobucket.com/albums/jj260/hakcayurek/milgem-blender/th_arka.jpghttp://i274.photobucket.com/albums/jj260/hakcayurek/milgem-blender/th_yan.jpghttp://i274.photobucket.com/albums/jj260/hakcayurek/milgem-blender/th_on.jpghttp://i274.photobucket.com/albums/jj260/hakcayurek/milgem-blender/th_usten.jpg

Finally, I applied the textures to silhouette meshes.

http://i274.photobucket.com/albums/jj260/hakcayurek/milgem-blender/th_silulet.jpg

Now, I have better reference images. I think this method is far better than using a background image and easy to do (if you know how to do material, use gimp and inkscape takes less than 10 minutes).

So I put these references with the correct orientation and immediately noticed that my previous design had some serious problems. So I fixed them and reached the final version I have so far.

http://i274.photobucket.com/albums/jj260/hakcayurek/milgem-blender/th_govde3-yan.jpg

Here is the model with the reference side view. I hope it is not too bad for a rookie :slight_smile:
http://i274.photobucket.com/albums/jj260/hakcayurek/milgem-blender/th_govde3-yansiluletle.jpg

thanks kbot. Once I finished the model, I would like to texture it in the sea scene. That part will be really exciting.

Can you attach one od the images?
My computer is blocking the host.

sure. I updated the first message so that the current work is attached, instead of served from photobucked. I don’t want to attach the other images because I refer them in the text in an order.

Thanks!
.

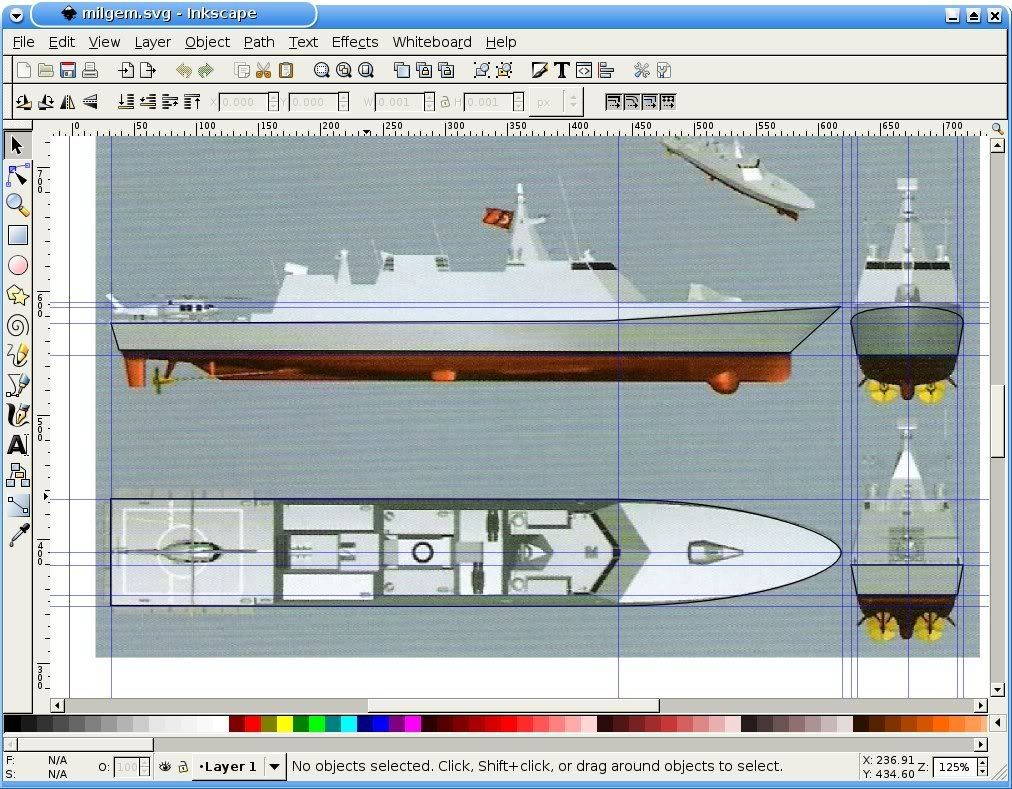
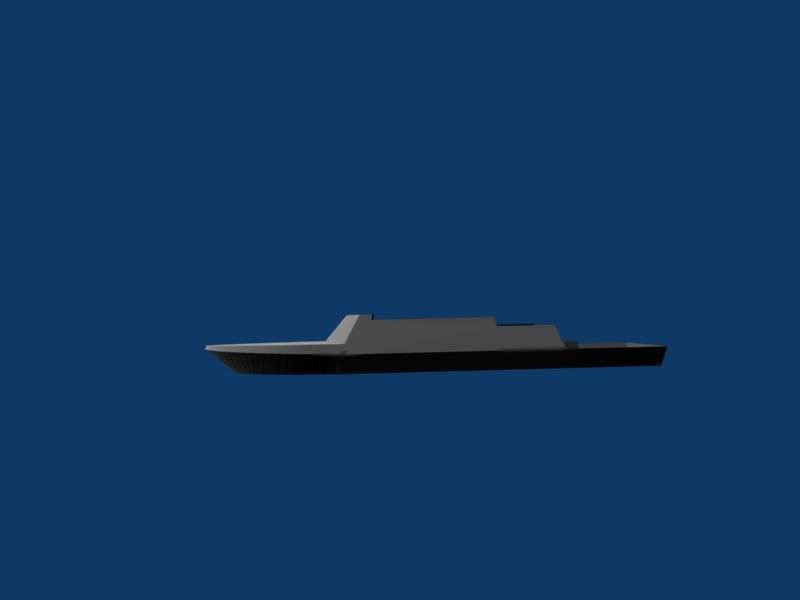
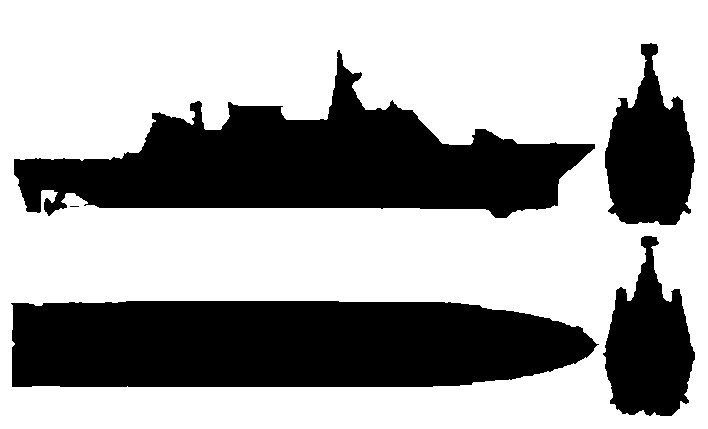
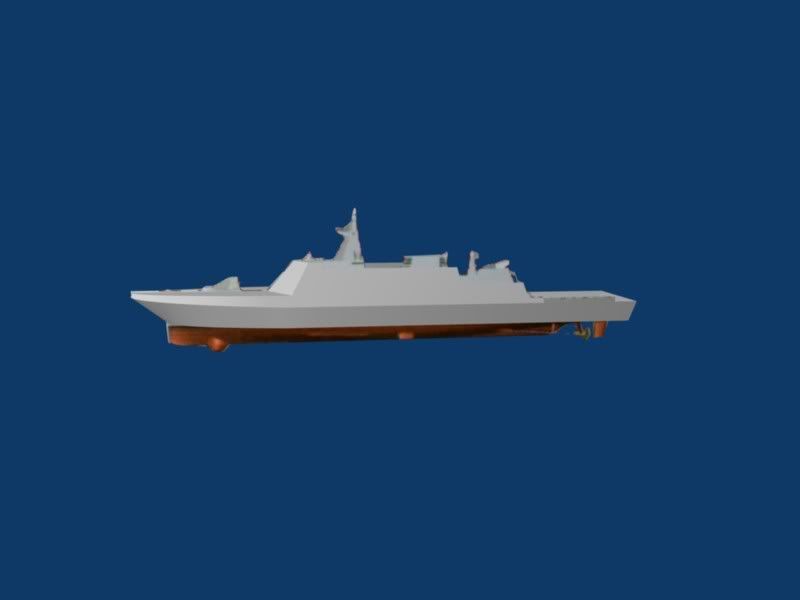
The upper body turned out to be harder than I expected. There were two problems. First, due to limited number of reference images, the measurements were hard, so I had to use my judgement to find out the correct ratios. Second, the CAD image I used for modelling was different than the actual scaled model. My design turned out to be something in between. So I spent the weekend modifying the model continuously. The latest version is not the best, but it is satisfactory for now.

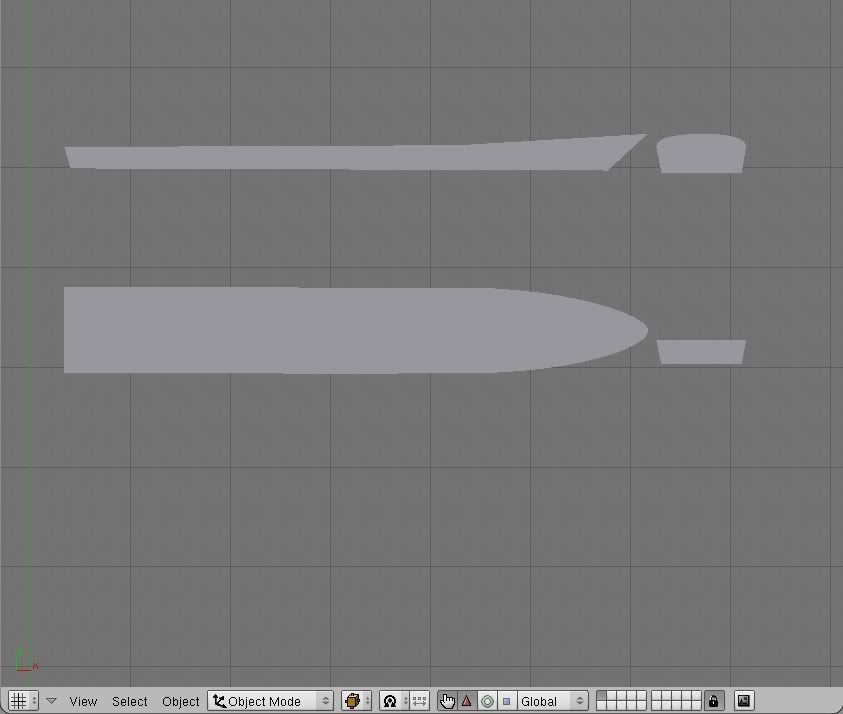
While I found the it hard to copy the geometric design at the beginning, later, once I get used to blender, it became easier. The trick I used most was to extend an edge by scaling at one corner (I found it in this forum, but it is also in the manual).

Geom Tool turned out to be a great script that is a must, as it make it very easy to connect edges to other faces. I had used Point Align occasionaly, but probably due to by noviceness, I couldn’t use it efficiently. I want to use it so that I can select a vertex in one object, and another one in another object and then put them over. I couldn’t do it using that script so far. I also used kloputils occasionaly. It was not in my “wizard” menu in debian for blender 2.45, so I downloaded it from SVN.

Finally, I couldn’t find any scripts that tells me the normal values of selected vertices, so I wrote one myself. Later I changed it so that it gives the angle between the normals of two selected faces. Here it is if somebody wants to use it. It is minimalistic, and it doesn’t even know the selected object, so you have the write down the object name in the code (I think blender has an function to return the active object, or I can loop through all objects to identify selected objects but for my purpose it works, so I left it as it is). After selecting two faces, if you run the script (with your mesh name in the place of “mymesh”), it should print the angle between the normals to the console. Useful to verify the surfaces you are working on are parallel.


import Blender
from Blender import NMesh,Window, Mathutils
from Blender.Mathutils import *
in_emode=Window.EditMode();
if in_emode: Window.EditMode(0);
print "


"
me = NMesh.GetRaw("mymesh")
selected = []
faces = me.faces
for f in faces:
  if f.sel:
      selected.append(f.normal)


me.update()
if in_emode: Window.EditMode(1)
Blender.Redraw()
print selected[0]
print selected[1]

print AngleBetweenVecs(Vector(selected[0]),Vector(selected[1]))

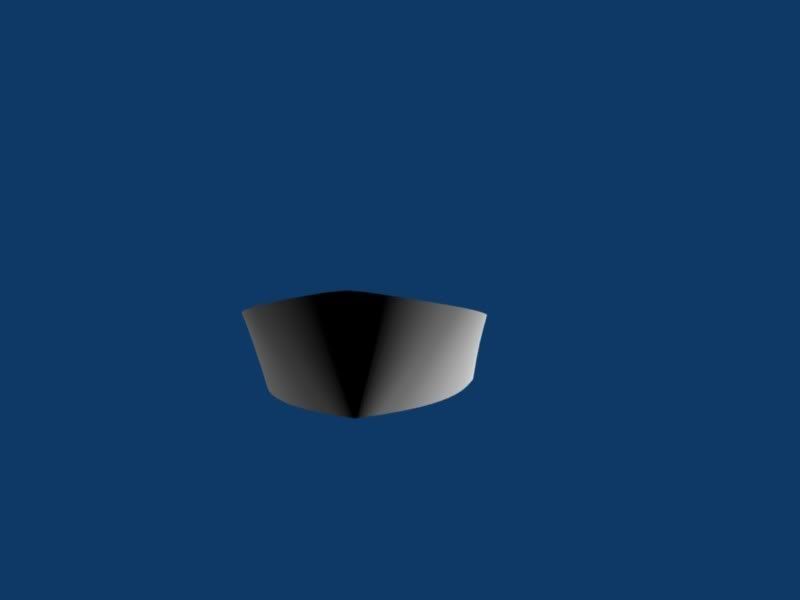
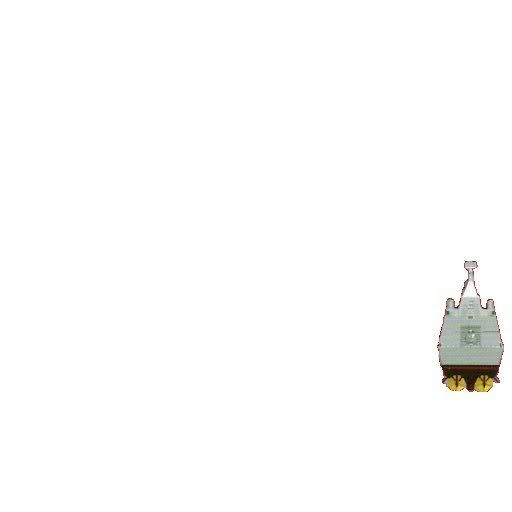
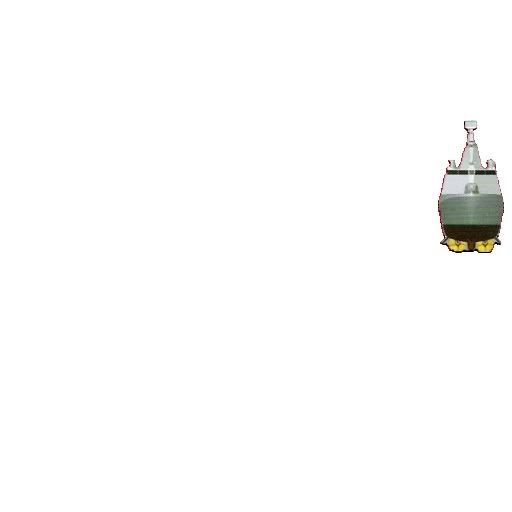
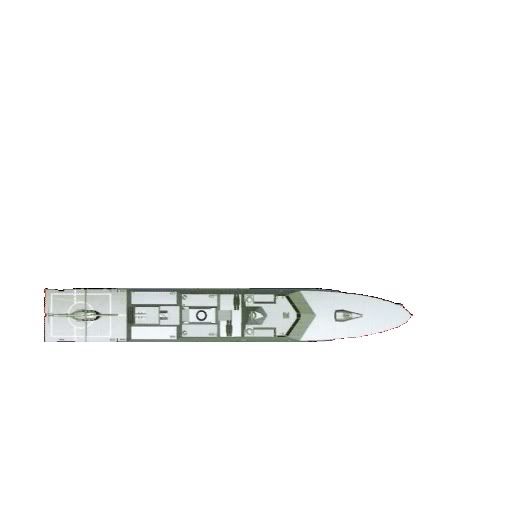
For some reason, my new faces have white shade. I may have accidently changed some default vertex paint value or so, it took some time to figure out how to paint all faces with a different color, but here is the latest version with some faces painted.
http://i274.photobucket.com/albums/jj260/hakcayurek/th_govde4-onjpg.jpghttp://i274.photobucket.com/albums/jj260/hakcayurek/th_govde4-yan.jpghttp://i274.photobucket.com/albums/jj260/hakcayurek/th_govde4-ust.jpg

http://i274.photobucket.com/albums/jj260/hakcayurek/th_govde4-caprazjpg.jpg