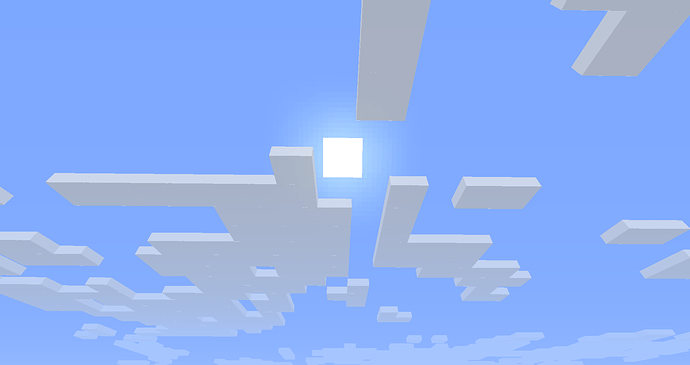
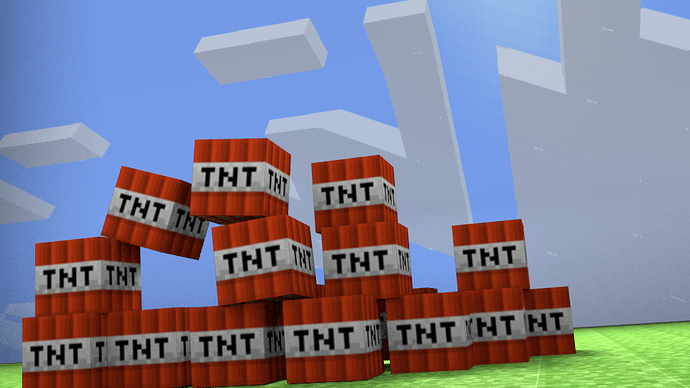
Minecraft TNT Block

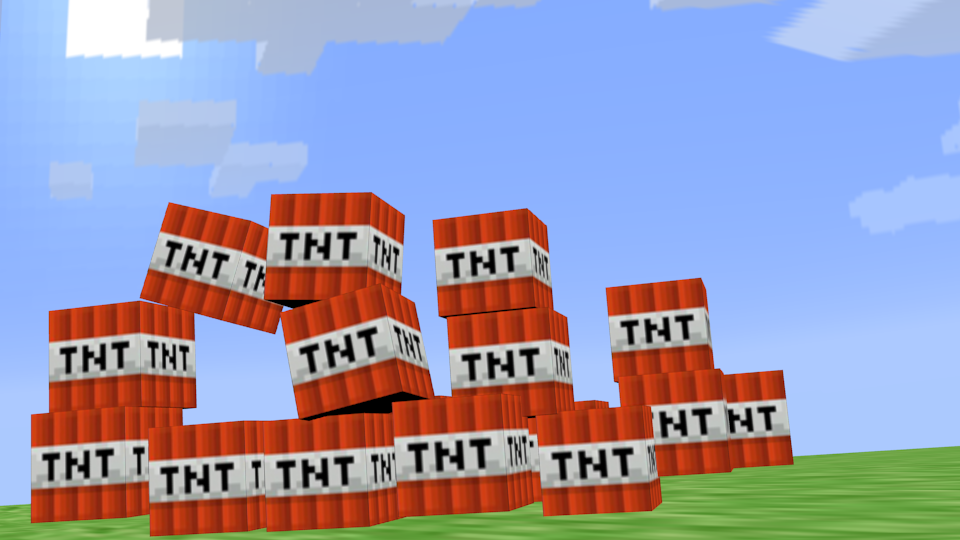
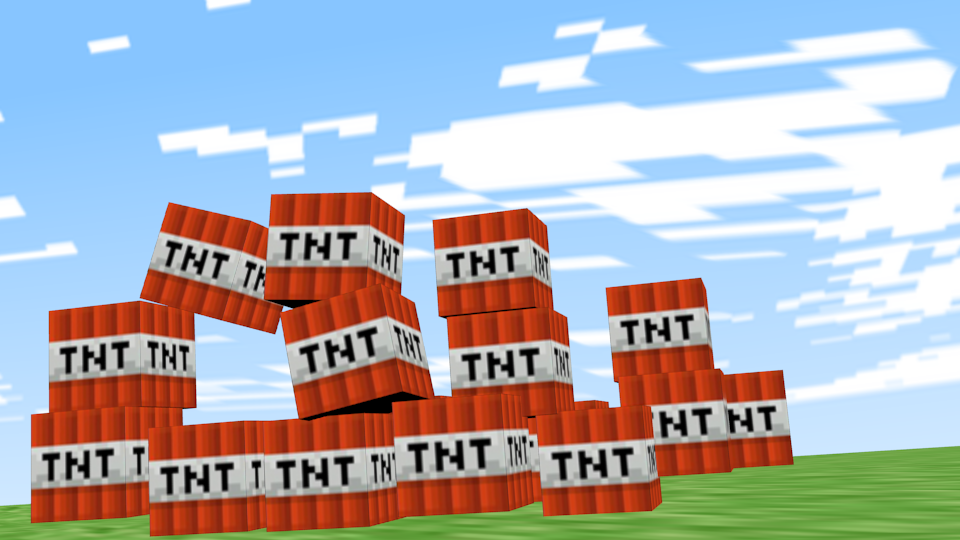
Hiya all! I am new to blender, And this is my first real work! I have been working on a minecraft TNT block in blender for a little while now, And I have learned SOO much about blender through this project! I am not done, I do know I want to make it into an animation where in the TNT blocks explode. However, I do not know how to do that yet, I am slowly starting to explore animations, And physics though.

Anyway! This is what I have so far! I will upload photos from various stages of progression! Tell me what you think please! Especially tell me any suggestions you have, Any ways to do it better or easier or anything else you could teach me would be greatly appreciated!


<—Third
<—Second
<—First

Your progress is great for your first time using blender, I’m happy to respond to any questions you have and provide all the critique I can :slight_smile:

First thing I noticed was the lack of shadows, so I recommend getting a light in there, you could try the ‘sun’ light or you could even make a plane, and make it emit light then position it roughly where the sun is, that way the shadows will come from exactly that direction, also, turn on Ambient Occlusion if you haven’t already and play around with it a bit.

After that try fixing that small texture error in the clouds off to the right, the cloud is slightly distorted, that may just be a problem with your UV mapping, so I’m sure it’ll be easy enough to fix.

But other than that, you’re doing great, be sure to post updates frequently and I’ll help out as much as I can

EDIT: If you already have lights, you either have too many and they’re lighting the scene up so much that there’s no shadows, or you haven’t turned shadows on, check the settings of the lights by selecting them and pressing the little light bulb tab, then turning on shadows; hope this helps :slight_smile:

nods Thank you so much!!! Yeah, I disabled shadows or something like that making everything illuminated because things were becoming so dark they were completely black and invisible. I had to add like, Six lights to just light up the TNT box, I’ll look into this again in a bit. I basically made a plane into a little box without a top for the TNT to be in, I don’t like the grass so much, It just looks like a weird green stretched mess. I’ll have to make the UV map into some kind of actual minecraft grass block.

Hmm, What is Ambient Occlusion? Hmm, For the clouds, I’ll have to look into that, I noticed that too. I think it might be the image I used, I’ll probably just take my own screenshots inside minecraft. Anyway! Thank you so much so far! hugs

Haha no problem :slight_smile:

ULTRABASIC AMBIENT OCCLUSION TUTORIALLL!

Ambient Occlusion definition:
"In computer graphics, ambient occlusion attempts to approximate the way light radiates in real life, especially off what are normally considered non-reflective surfaces.

Unlike local methods like Phong shading, ambient occlusion is a global method, meaning the illumination at each point is a function of other geometry in the scene. However, it is a very crude approximation to full global illumination. The soft appearance achieved by ambient occlusion alone is similar to the way an object appears on an overcast day."
-Straight from Wikipedia

Basically, it simulates the way light from the sun and other random light sources in the real world bounce off objects, so it illuminates everything slightly and makes dark spots ‘less dark’ as if there is a sun in the world, but the light is not coming from a certain direction, it’s coming from all around.

But you don’t need to know all the technical details, all you need to know is that it makes things brighter and everything looks nicer haha.

Here’s how you set it up:

World tab > Ambient Occlusion


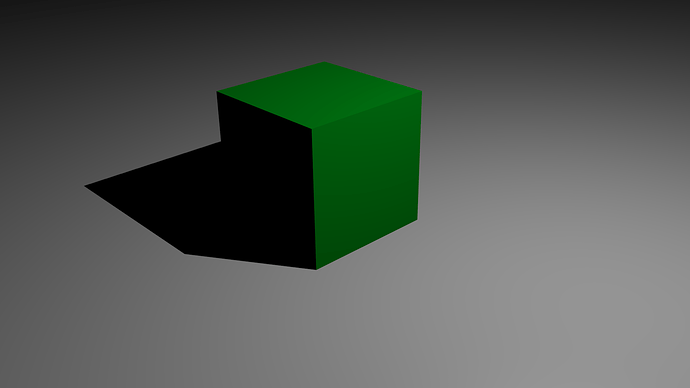
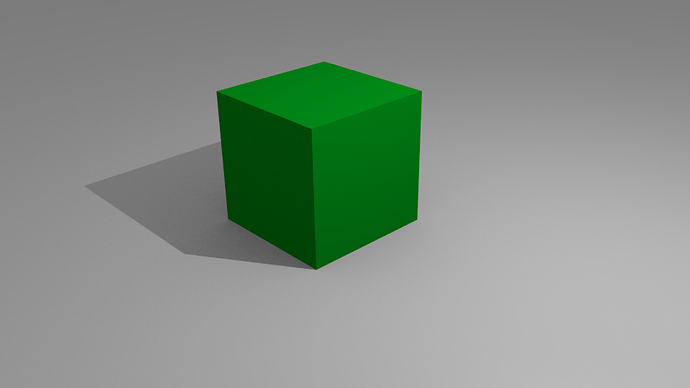
Here’s an example both with ambient occlusion and without, so you can see the difference

Without AO:


With AO (Factor set to 0.3):


Generally you have to play around with the factor a bit until you get what you want :slight_smile:

Also, could you show me the image you used for the sky and a screenshot of the way you UV unwrapped it? I may be able to help you with it

Yes! Okay! Thank you so much! Alright, I adjusted my image now, I’ll also try adding some physics and see how that works. The sky keeps getting messed up though! I also have to fix the dirt, Anyway, Here is the final image, And the sky image.


Oh! I just thought of this! Here is the .blend file! http://www.pasteall.org/blend/22554


I fixed the grass with my own screenshots from minecraft! :smiley: (The sky is also my own screenshot)

Oh! I am also working on another project! However, It involves using the blender game engine, And I do not know how to capture the recording. I told it to record the animation, But, I don’t know where that animation actually is.

P.S I think the above picture is a bit too dark, What do you think?

Looks great so far!

There still seems to be an actual lack of shadows near the blocks though, I’ll check out the .blend and see what I can see :stuck_out_tongue:

As for your animation, you need to actually render out the animation, go into the render tab and select the frames that you want it to render out, from 0 to whatever frame your animation ends on by selecting it in the ‘frame range’ section, and then press the ‘animation’ button next to the render button in order to render out the animation :slight_smile:

Here’s what I could get out of that .blend file you sent me:


These were the steps I took to achieve that

1: I changed the small light you had in the back to a big area light and positioned it slightly better so the blocks aren’t silhouetted so much, then I added a small light infront of the blocks and turned down the energy to 0.2, this was just so that the shadows weren’t so dark and the scene is a tiny bit brighter at the front. I also then selected the area light and enabled shadows, with the samples set to 6, and I disabled shadows on the light infront of the blocks, as I didn’t want it to interfere with the shadows being cast from the area light.
2: Then I went into edit mode and deleted the floor from the box you had set up for the scene
3: I then added a plane and positioned it where that floor was, then I went into top view, went into edit mode and selected all the points, and did W>subdivide a number of times until each subdivision was about the same size as the TNT blocks, here’s what it looked like:


4: Then I got a picture of the top of a grass block from google images, and brought it into the UV image editor
5: Then I went into top view by pressing 7, and made sure that I was in orthographic projection view by pressing numpad 5 BEING IN ORTHOGRAPHIC WHEN YOU DO THIS IS VERY IMPORTANT.
6: Nowthat I was in orthographic view and top view, I pressed U while in edit mode with all the verts/faces of the plane selected, and then pressed ‘project from view’
7: Next I positioned the uv map so that 1 square of the subdivisions (sorry I’m trying to put this simply LOL) is the same size as the entire block texture, like this:


8: Then I just set it up like any other texture, you know how to do that so I don’t need to explain it.
9: And that was the grass texture done, I don’t know how you fixed your sky so I’ll leave you to do that again, because I think you sent me a .blend in which you hadn’t fixed it yet.
10: Then I turned the specularity way down (about 0.1 for everything, even less for the TNT blocks) because in minecraft things aren’t reflective.
11: Then I turned Ambient Occlusion all the way up to 1 as the scene wasn’t very bright, but I didn’t want to go crazy with lights.
12: Then I just rendered it out and there you go :stuck_out_tongue:

I’m sure you know most of how to do the things I just said, but just incase, I did it anyway :stuck_out_tongue:

Here’s the .blend file so you can check everything I did out for yourself, if you want you can just use that and not bother doing yourself, I honestly don’t mind, but it’s all your choice :slight_smile:

http://www.pasteall.org/blend/22557
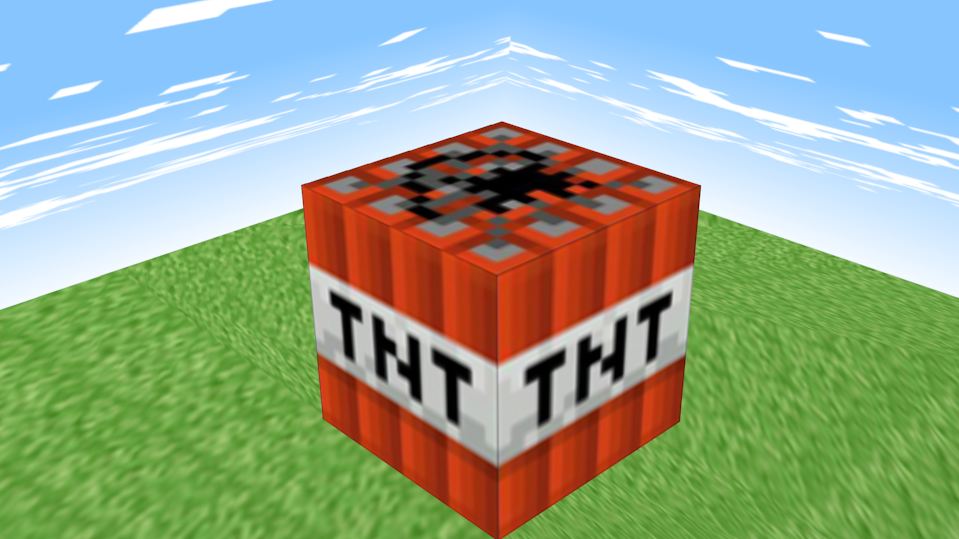
nods Thank you so much! I’ll probably do it myself and make my own tweaks, I know minecraft isn’t that realistic, But, I like more realistic, Artistic animations of what minecraft could be I suppose. ^-^ I’ve been working on that domino animation, I’ll make a thread for that too, However, I cannot as of yet figure out how to render it like you were saying. I’ll post the .blend here for you to look through, The buttons you were talking about just don’t seem to be there for me. http://www.pasteall.org/blend/22572

Alright, I’ll have a look at it now :slight_smile:

Alright, I’ve had a look, and one thing I noticed right off the bat was that your animation is a bit messed up, at exactly frame 42 and 77 the ball instantly goes back to where it started, so I an easy fix I’d reccomend is just setting the render of the animation to start at frame 77, here’s how to do what I told you about in detail :slight_smile:

Step 1: Switch back to ‘Blender Render’ from ‘Blender Game’


Step 2:
Go into the render settings and adjust the resolution, frame caps (what frames the render starts and ends on, in this case I’d have set it to 77 so as to completely skip both of those glitches in the animation), and adjust the frame rate if you wish. You can also enable motion blur if you want and play around with the settings, and you can also use a render preset to get a preset resolution and framerate if you wish.


Step 3:
Scroll down to the ‘output’ section and select where you wish to save the file when it’s done rendering, and what it will be called, then select which file type to save it in, ‘AVI Raw’ is the easiest and is recommended (make sure you have RGB selected instead of BW or something else), and finally scroll back up and hit the ‘render animation’ button, as shown in part 3 of the picture, and then wait for every frame to finish rendering, and the animation will be saved where you chose it to be.


Hope this helps! :slight_smile:

Might I just add that the textures you’re using look good and your progress is coming along nicely so far!

BUT I found some errors with your scene :stuck_out_tongue: first of all the texture for the ball is all messed up, you seem to have just pressed U and did ‘unwrap’, you shouldn’t do this for spheres, be sure to either do ‘smart UV project’ or ‘Sphere projection’, sphere projection works best.
Also your ball still needs it’s shading set smooth so it doesn’t look so hard and blocky, here’s how to do it (press T if the panel at the side isn’t there):


I’ve already fixed the texture problem and set it smooth in that picture, see how much better it looks?

Here’s the .blend file, I’ve set it all up for you except where the animation is saved, so that’s all you have to do if you don’t want to do it yourself :slight_smile:

http://www.pasteall.org/blend/22575

Hope this has helped!

nods Thank you so much! I’ll probably do it myself and make my own tweaks, However, I added more dominos since I sent you the file, And when I try to animate them, It goes back to how it was originally. Also, Subsurf or subdivision, Which ever control 1-2-3-4-5-6 does, Anything above two makes it lag horribly! I think that might be all, Here is the .blend, Thank you sooo much for all of the help so far! This is all very helpful! http://www.pasteall.org/blend/22577 P.S, Where did you learn all of this?

I’m talking about subdividing, not subsurf, you don’t usually go above 3 with subsurf or you lag like crap aha, you subdivide something by going into edit mode (press tab with the object selected) and then selecting all of the verts (you can press A for that) then pressing W, and selecting subdivide :slight_smile:

And I learnt everything I know mainly from practice, playing around with things in blender, testing things, looking at some tutorials and posting a lot on the forums, I find that help from other people is generally the best rather than from articles or videos :slight_smile:

For your domino problem, I checked out your .blend and found that you had about 30 dominos all hidden inside each other in the exact same place, which was causing that huge mess in the animation where all of them just went flying, so I just deleted all the spares, here’s the .blend :slight_smile:

http://www.pasteall.org/blend/22578