My brain just shut down like 75% of the way through reading that… XD I have no idea what im supposed to do…so I just make a whole new uv map from scratch? Myself? Noooooooooooo thank you
It’s not hard. The annoying part would be repainting the messed up parts of the texture after you bake the texture to a new image. To make a new good uvmap, press the plus icon on the UV section of the data tab, then you can either follow the method shown in the video that was in one of my earlier posts, or just use the “smart uv unwrap” feature.
The smart unwrap looks like it will work well enough here, but sometimes you need to manually mark seams and unwrap it normally to get a good UVmap.
Unwrapping actually made the problem 10X worse…i’m starting to think I might as well just keep the squares but sadly a similar issue is happening with the gi on the left shoulder. I can’t catch a break…WHY DOES BLENDER HATE ME!!!
First stop blamming blender. The model has issues and you just need to learn more about 3d in order to fix them. Anyway, the new UVmap alone wouldn’t fix anything. Thats not what I was saying. I meant that you first make a second UVmap that isn’t messed up, then you make a blank texture, bake the old texture that is using the old messed up UVmap to the new texture while the new good UVmap is selected in the UV section (New UVmap should be highlighted in blue, the old one should be deselected, but the camera icon next to it should be on).
These steps should cause the new image to look exactly like the old one, but the UVmap for it should be the second one that you created. At this point you can go into texture paint mode and paint over any odd looking areas in the new texture (make sure you save the texture in the UV editor before closing blender). After all that is done, it should be safe to delete the old UVmap and texture and just use the new stuff you made.
I’m gonna have to watch the tutorial cause I have absolutely NO idea what you’re saying XD
I took a hiatus from this so im back now
Well I got some help on the steam forum. There’s alot of problems. But im focusing on one at a time
Like before I just need to put the broken uv pieces back where they belong but I have some questions. Do I need to stretch them and make them match the uv thats in the correct spot or just move it beneath it?
If you bake the old texture to a new image and UVmap, then you shouldn’t need to make any changes to the new UVmap. The process I described in my last post is for when you want to transfer the way the texture currently looks to a new UVmap and image.
Oh, that’ll be helpful. I kept getting close but it was still off.
Remind me how do I bake textures
I explained how to do it in the blender internal engine (the default render engine in 2.79) in this post:
I cant find the property editors data tab…
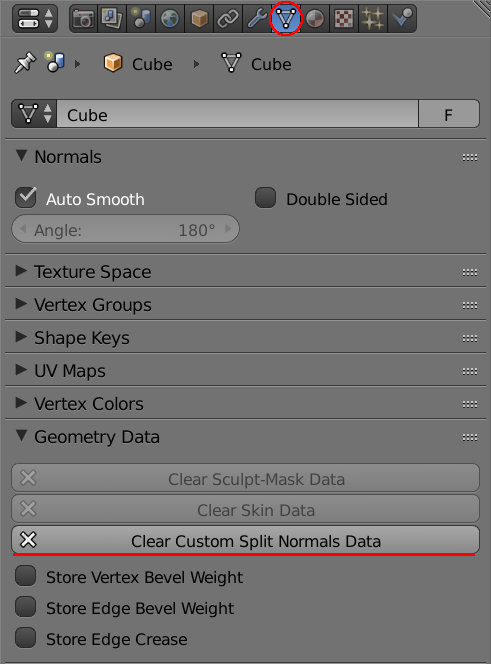
Ok I did it and auto smooth was already on. I did what you said and the squares are STILL there
So I guess I need to bake the texture then?
I cant add texture nodes
also how do I bake the old texture to a new one?
After that you remove doubles like folks said earlier and it should look fine. You’ll probably want to re-read the earlier posts again to refresh yourself on how to resolve that issue.
Dude, I literally linked a video that is a step by step guide on how to do that in my earlier post (Model in blender messing up - #85 by zanzio).
Last time I checked the file, you were using the blender internal renderer, so you don’t need to add texture nodes in order to bake a texture. That is something you need to do when you are using cycles to bake textures. If you switched the render to cycles then you’ll have to do more work to convert the materials to cycles nodes on top of having to bake the texture to a new texture and UVmap.
Here is the video again, and please take your time and try to understand the process:

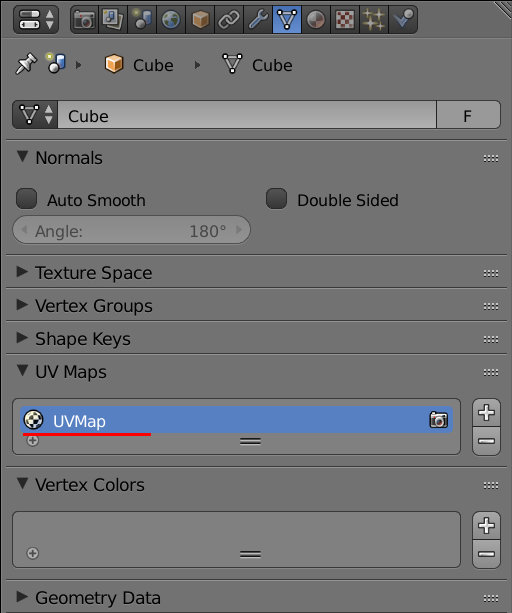
I dont have uv textures. I looked at that triangle thing and I have everything but UV textures, the option isnt there
UVmap, not UV texture:
I was saying you need to both make a new texture and new UVmap, then bake the old texture to the new texture using the new UVmap. What the UVmap is was explained earlier, so this really shouldn’t confuse you.
Say, I don’t say this often, but maybe you should give up. It seems like there are too many gaps in your knowledge, and I’m now simply re-explaining the same things over and over again. What were you trying to convert this model to anyway? sfm or a game engine or something? You are probably going to run into a lot more issues you don’t know how to fix if you just jump into the deep end of cg like this. My recommendation is to work on simpler modeling projects, then slowly build yourself up towards doing things like converting character models.
I recommend taking a look at this guy’s tutorials. A lot of these helped fill the gaps in my knowledge that other tutorial makers never bothered to cover when I was learning blender:
https://www.youtube.com/playlist?list=PLda3VoSoc_TR7X7wfblBGiRz-bvhKpGkS
There is also this old, but timeless series on cg concepts that helps explain a lot of simple concepts in a software agnostic way:
https://www.youtube.com/playlist?list=PL6A7DF3D7866EB076
I figured it was uv map since it was in the same spot.
I’m struggling a little bit to get it right but so far I got it right. Just struggling to make a new image. I dont know what to do about the first one and it comes up black and when I bake it like the video said it just makes the uv map entirely black so I assumed I missed that part
Here, are my final instructions for you. After this, I don’t think I want to help you with this project anymore. I went and fixed most of the issues for you.
First, you’ll have to append the mesh data into the scene (File > append > /path/to/blendfile > Mesh > Hair_top_FIXED_VERSION), then switch the mesh data that is on the original with the new data that has most of the issues fixed:
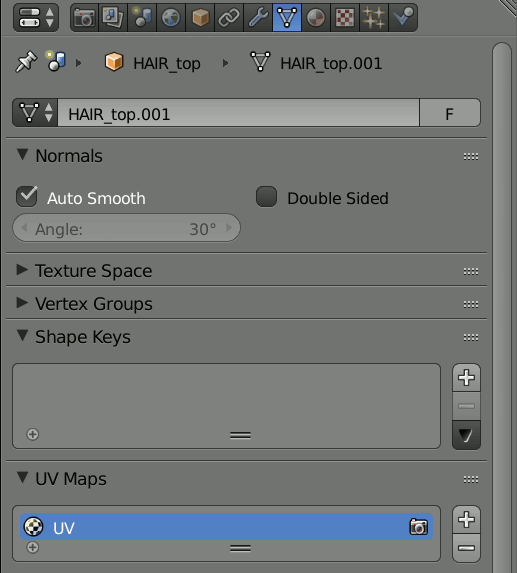
The new texture and blend with the fixed mesh are below. Just make sure you save the new hair texture in the same folder as the project file so that blender knows where to find it:

mostly fixed hair.blend (690.5 KB)
After you have that swapped out you’ll need to go into texture paint mode and paint over the odd looking parts with the right colors, but please, do take my advice. This project is too advanced for you. Start slow and work your way up to doing stuff like this. You’ll get there eventually, there’s just a lot of stuff you need to learn in order to get there.
I was just going by what the tutorial video you showed me said, so its not entirely my fault for the gaps in my knowledge