How would I be able to make a model switch button so I can switch shirts, pants, etc. for rigged characters like the cookie flex rig? If python is required, may I have a sample of the code to do this?
The best example is, as you mentioned, the Cookie Flex Rig. The Flex Rig uses python for the menu, but here you have the instructions to make it without using python (using just a simple custom property instead), you need to have a basic knowledge fo how setting drivers though.
I uploaded a simple example on mediafire, but here’s also the instructions on how I set it up:
https://www.mediafire.com/?94g8gy0hqq3vlrc
-
Creat an object that will have the property (when you want to change the prop/clothes you select that object and then the menu will appear).
-
Creat a new “Custom property” in the object panel. Name it (“Change prop” for example), choose the default value (a number without a point so that it uses integers) and choose the max number (how many props you’ll have).
-
Open the Properties panel in the 3D View and in the panel “Properties” you should have the custom property “Change prop”. Right click in it and then Copy Data Path (we’ll use the data path when setting the drivers).
The hiding is made through a Mask modifier with a driver
-
Choose the first prop, create a vertex group (name it “everything”) and assing all the vertex with a weight of 1.
-
Add a Mask modifier and choose the “everything” vertex group.
We’ll put a driver in the button that’s beside the vertex group in the modifier’s panel (the one with a twh head arrow).
-
Right click on that button and choose Add driver.
-
Go to the Graph editor, then Drivers mode and, with the object selected, choose the Invert (Mask).
-
In the Drivers panel choose:
Type: Scripted Expression.
Expr: var != 1
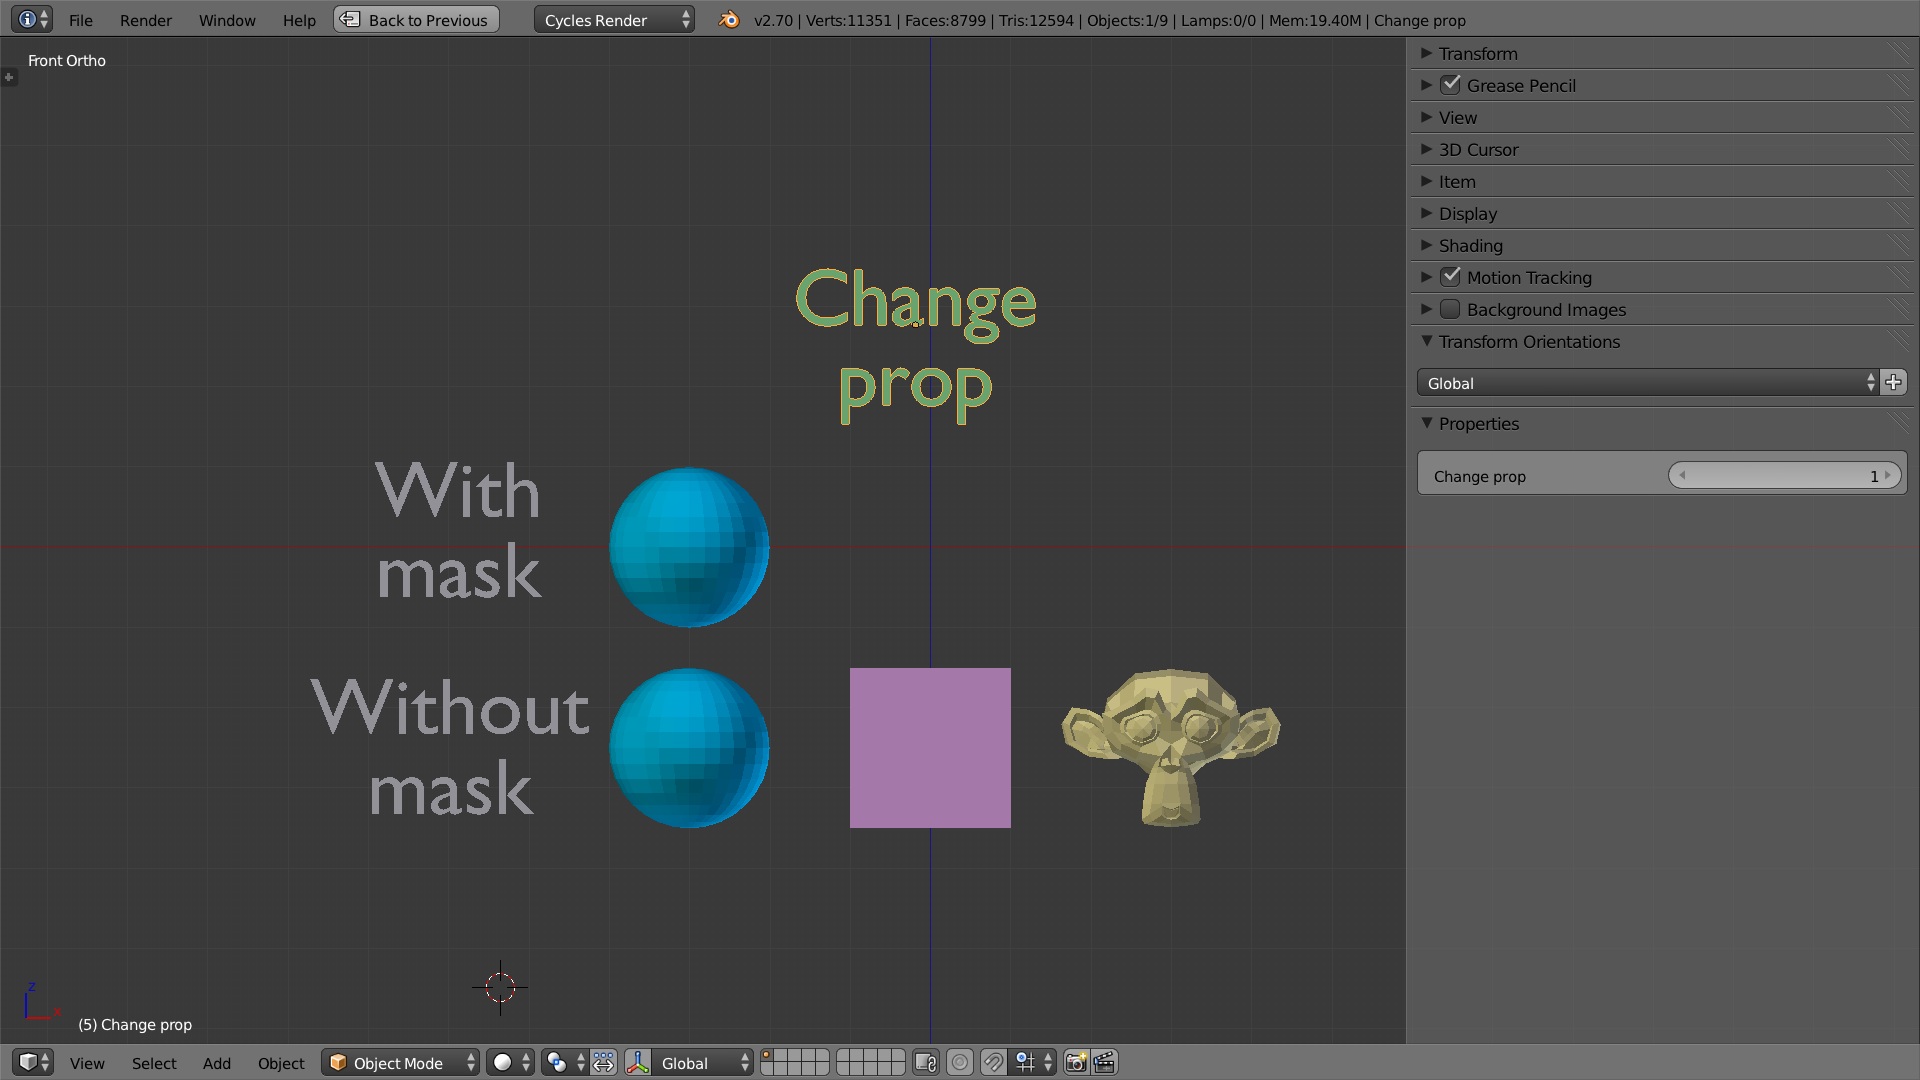
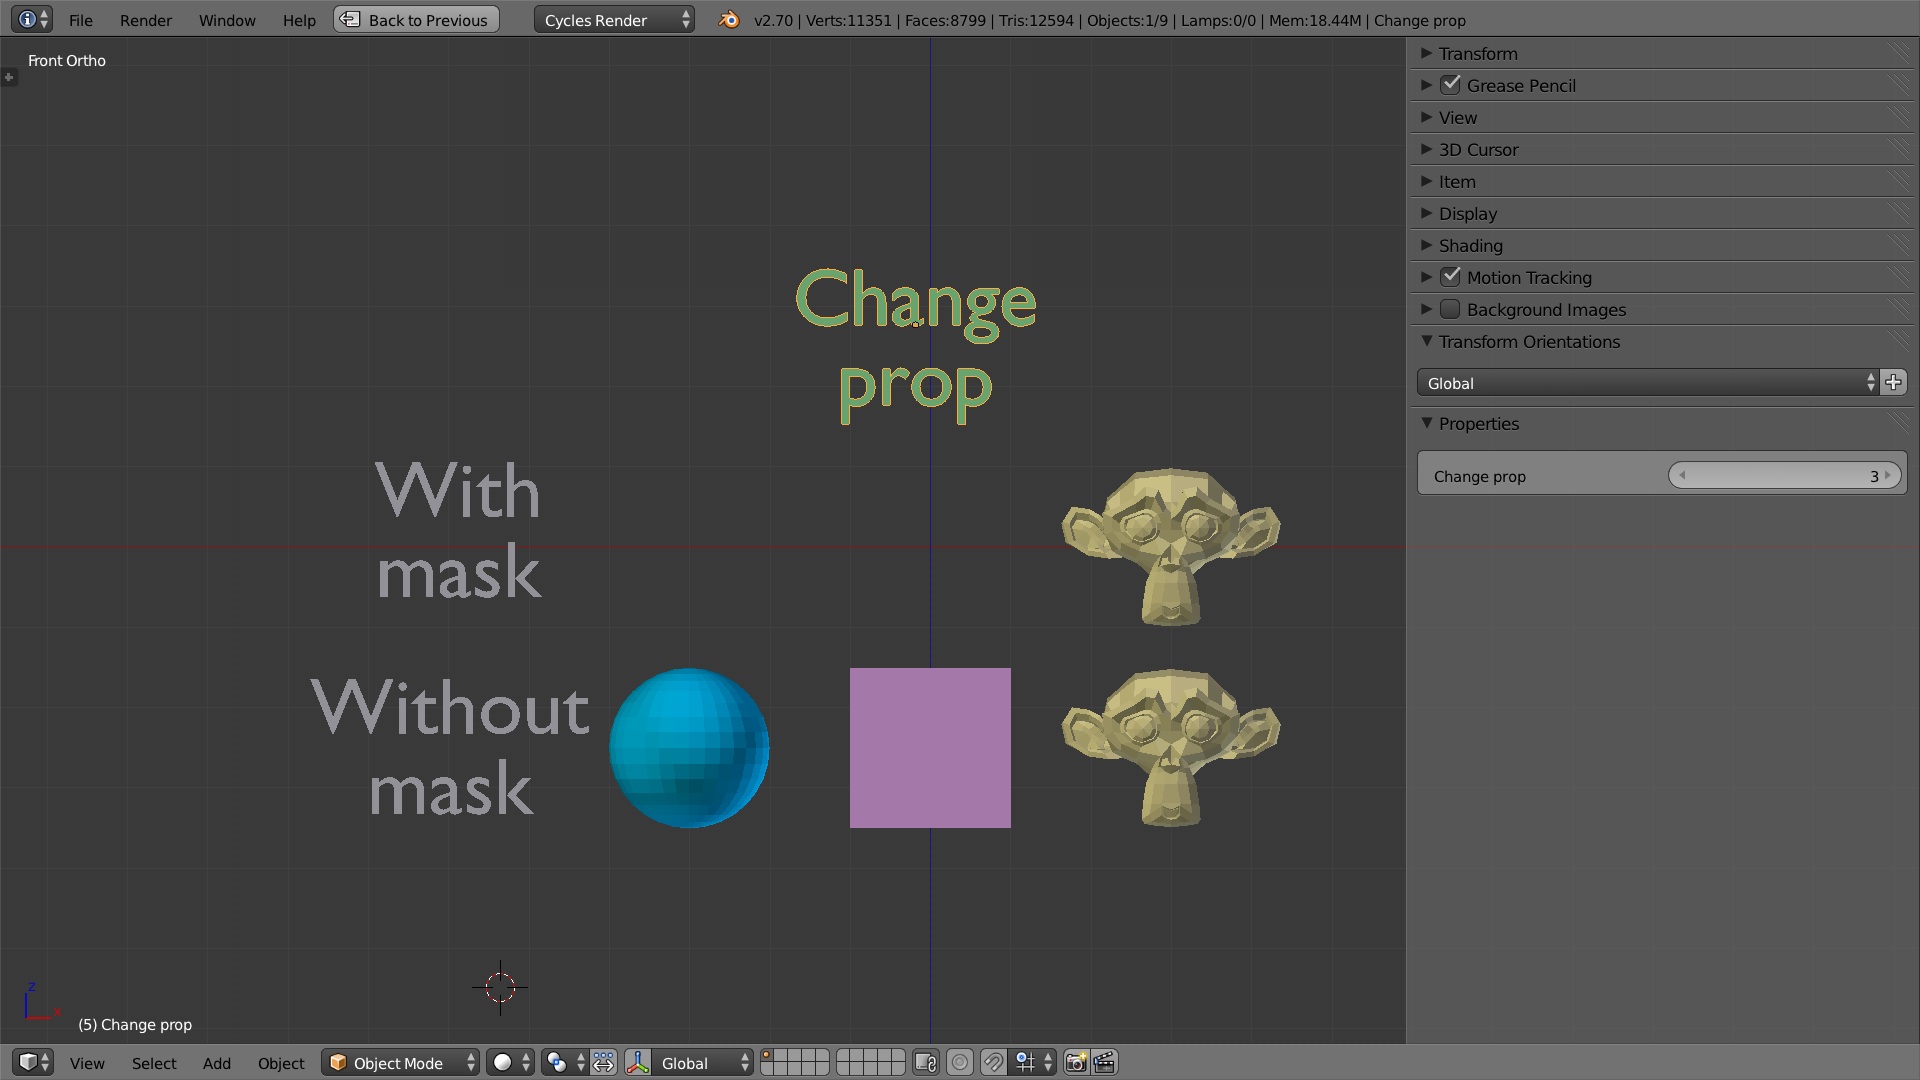
(!) This expression means: when the variable/property is 1 it’ll show the object, when it’s something different than 1 it will hide it with the mask. So for the other objects you have to put their respective number.
- For the var settings:
Single Property
Prop: Choose the object that has the custom property “change props”.
Path: Paste the Data Path from the custom property.
- Now you just need to copy the driver from the modifier’s panel to the other objects (create the “everything” vertex group first, assing all the vertex and then add the Mask modifier), changing the expression on the driver (var != 2, var != 3, etc.).
And that’s it!
Hope it was helpful. Cheers,
Darío
Here’s the simple set up working

Ah! Thank you very much, Dario! I was having troubles with your blend at first and realized that I didn’t have my user settings set to auto run python scripts. I’ll have to try this out now!
You’re welcome! Hope you managed to do it
Very helpful for me too!
Thanks and greetings from Torino, Italy
Josh