Modelling a car, best practices & techniques?

Hello,

It’s been quite some time since I’ve done anything in Blender, but what’s bringing me back is my desire to do more car stuff (I have a bit of an obsession).

I’ve tried several different methods of modelling a car, but they all seemed very inefficient and tedious. I came across this video today (https://www.youtube.com/watch?v=9_voQevw9T0) and while he’s using Rhino 3D, not blender, the technique used to create the model of the car seems very natural and efficient. I’m looking for a way to accomplish the same workflow in blender, but am having a hard time figuring it out. Is there a way to do the same thing as what he does, but in blender?

Whether there is or isn’t, what’s the best technique for modelling a car? I’ve tried creating a plane to model a hood, and adding loop cuts with a subdivision surface modifier to “sculpt” the curves (not actually sculpting, all hard surface). I’ve also tried following the lines of a reference blueprint image by extruding vertices, then filling in the faces. Neither methods have worked well. I also tried modelling each individual part of the car, and modelling the whole of the car then working in the details and separating the parts. I either don’t know enough about modelling, or didn’t try hard enough because nothing seemed to work right.

What are best practices to follow when modelling a photo realistic, geometrically accurate car? I’m not particularly interested in low poly cars, but modelling a low poly car could be good practice for the higher poly models. Thoughts?
2 Likes

I only scanned through it, but it looks pretty standard to me. Just setting up the basic edges with curves, then adding fill.

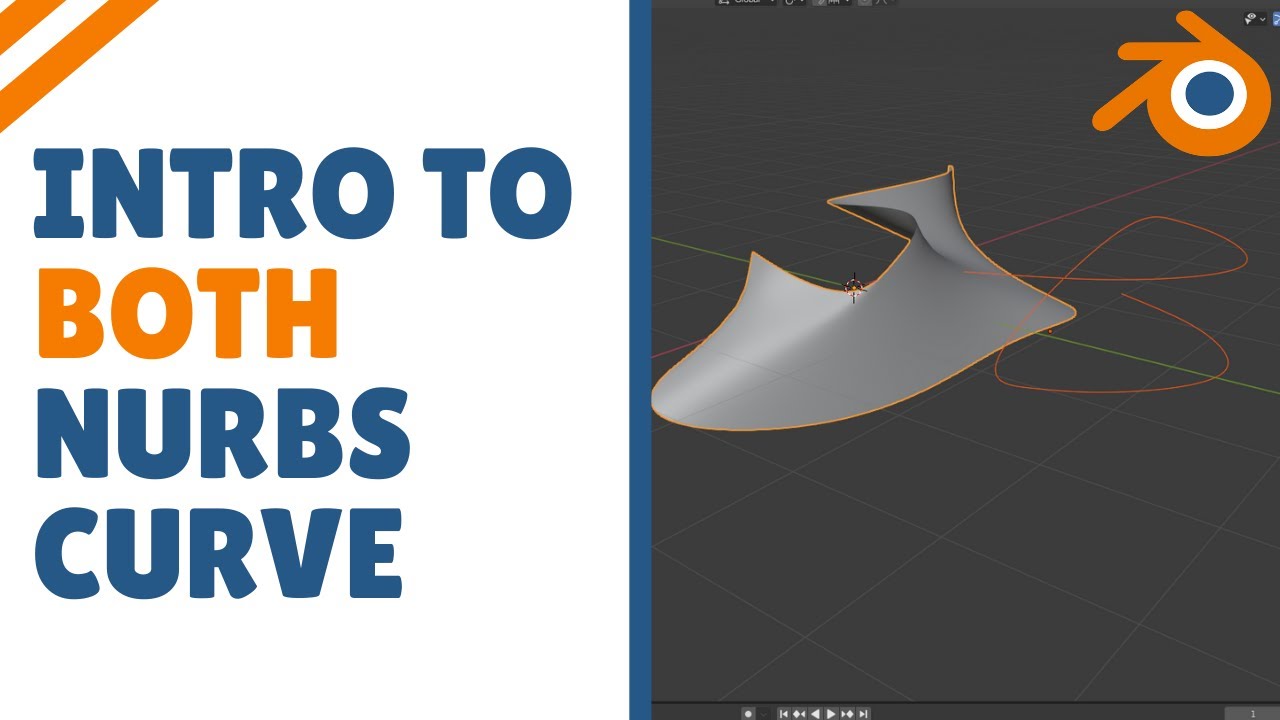
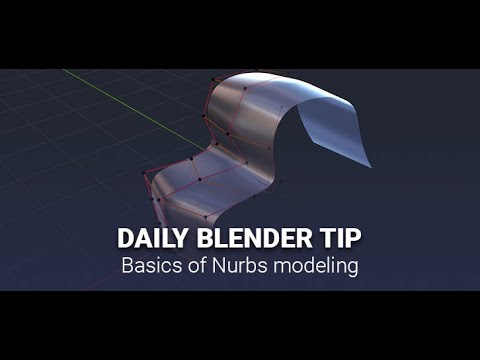
Car surfaces in Blender are usually done with NURBS curves:

5 Likes

I’m not a specialist at car modeling so I hope I won’t do too much disinformation here …

First , a software like Rhino is really specialized in industrial modeling, I’m not sure you’ll get the same tools in blender. Obviously you can get really good looking hard surface models in blender, but maybe not as precise or not as fluently as in dedicated software.

The method I use is to start with a lowpoly basemesh (cube), that follow closely the shape of the car, And I subdivide it one step at a time.

Once the basemesh is ready, I separate elements like doors, windows, and then it’s all about adding details to these parts.

It’s not very important how you get your basemesh, it’s more about how precise and patient you are, so you end up with a clean geometry.
Maybe starting with cars that are kinda boxy without too many streamlined curves can help.

A tutorial that look interesting :

It’s for maya, but the theory can apply in other softwares.

It’s another way of getting the basemesh, propably much better than mine, but at the end of the day, it’s more about how you’d like to work, as long as you get to that important step it’s fine.

Some people like to model piece by piece, I find that a bit harder to get all the parts that end up matching well within each others, but they seems to manage to make cool stuff so …

I think doing vehicles ask for a lot of patience and precision, generally I tend to lack a bit of motivation and prefer simpler shapes to model. But if you are passionate for the subject it helps a lot !

Have fun !

3 Likes

Hmmm :thinking: … IDK… just a random find…

Seems to be only practice, practice, practice, … to get experience…

Also:

Whatever fits the purpose and you are capable of… or in other words… practice, practice, practice…

There’s a lot of stress about modeling a car since the normal and shading can break easily if your car has too many panel, it sucks

1 Like

Thank you, this is helpful.

It’s easy to flip normals though, unless you’re talking about something else I don’t understand?

I think he talks about the subtle curvatures of a car that are really easy to break while working.
In the beginning it’s ok since generally you work with low subdiv models, but the more detail you add, the more geometry is needed, and it’s likely to break at some point.
Which will look as if someone made a bump rather than having the car looks like it’s out of the factory.
That’s why, no matter what technique you use, it asks for a lot of patience and precision.

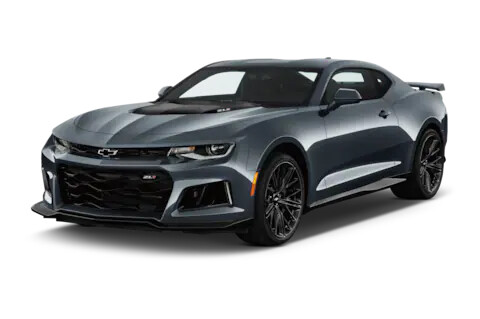
That’s also why rather than starting with something like this :
image

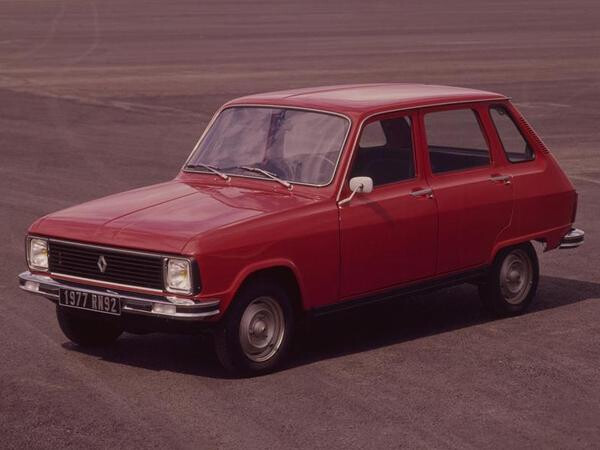
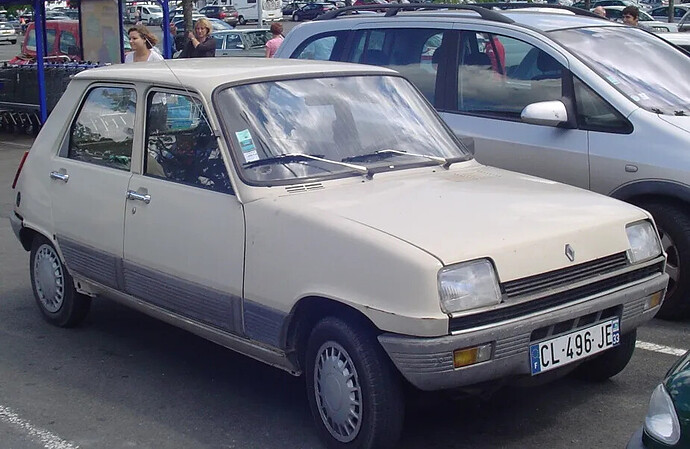
You might try something like this :
image

Which got obviously more simple shapes on the overall.

Of course it’s still very challenging if you want to do something accurate because while a rather lowpoly version might be easy to do, adding all the needed detail is already a lot of work.

Once again, modeling something like this :

Is much more forgiving in that regard, since a bump somewhere or something slightly distorted might feel right.

While something distorted on something like that :


will look super off.

Starts simple and try to grow in complexity, it’s the best way to stay motivated and eventually get better !

3 Likes

This is some great advice, and I did not think of this. Thank you.

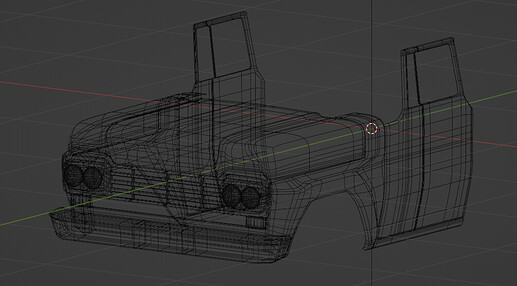
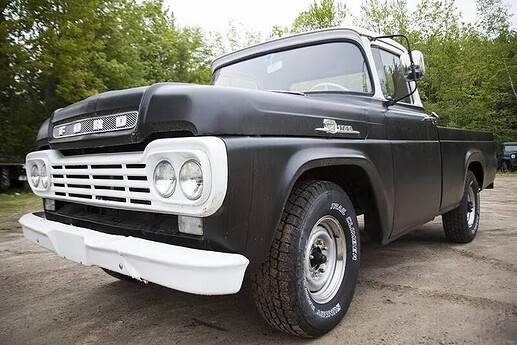
I think a part of my problem was I was trying to jump straight into those complex cars. It didn’t go very well. My first serious model that I tried was a 1959 Ford F250. Here’s some screenies of the progress I made:

Here’s what a real one looks like for reference:

I got to the part where the fenders, hood, and doors meet the cabin, but couldn’t figure out how to blend all of that together. I made each part of the car separately, which is probably where the problem started. I also picked a car that has a lot of complex curves, particularly the hood.

But I’ll try to find a simple car and model that. I imagine that would go quite well. Thanks again for the advice.

2 Likes

Dekogon Studios has a free tutorial in ArtStation for Vehicle Production in Blender. It’s a bike but concepts and techniques can be applied to other vehicles.

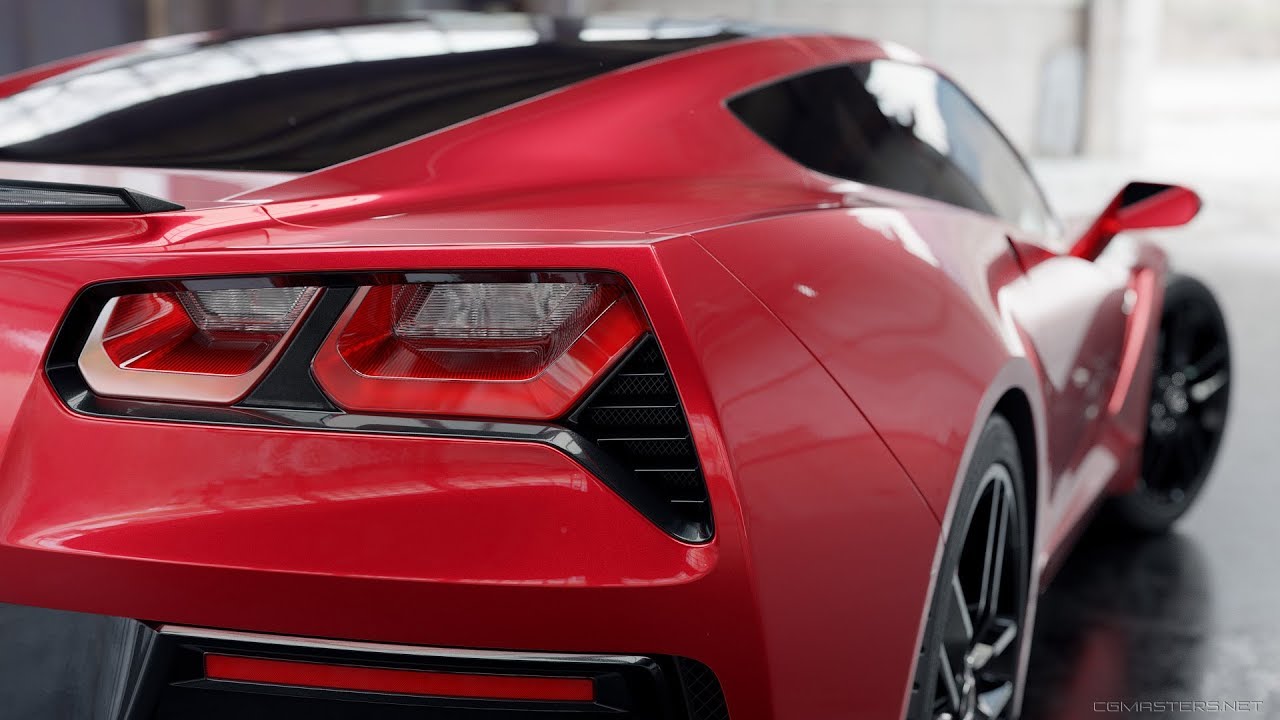
There’s a paid tutorial, Master Car Creation in Blender, looks very good. I’ve seen other artist publishing this Covertte for free, probably is the same.

Wire Wheels has some free high end models so you can check topology for trick parts.

3 Likes

The GCMasters tutorial is worth it but also very time consuming, there are a lot of places in the tutorial where you can speed up the workflow. I still have it downloaded but have yet to really finish it.

1 Like