I have been modeling the italian job mini in one of my long winded projects for about two years now I just spotted something on the front wheel well I never though of trying…(thanks)
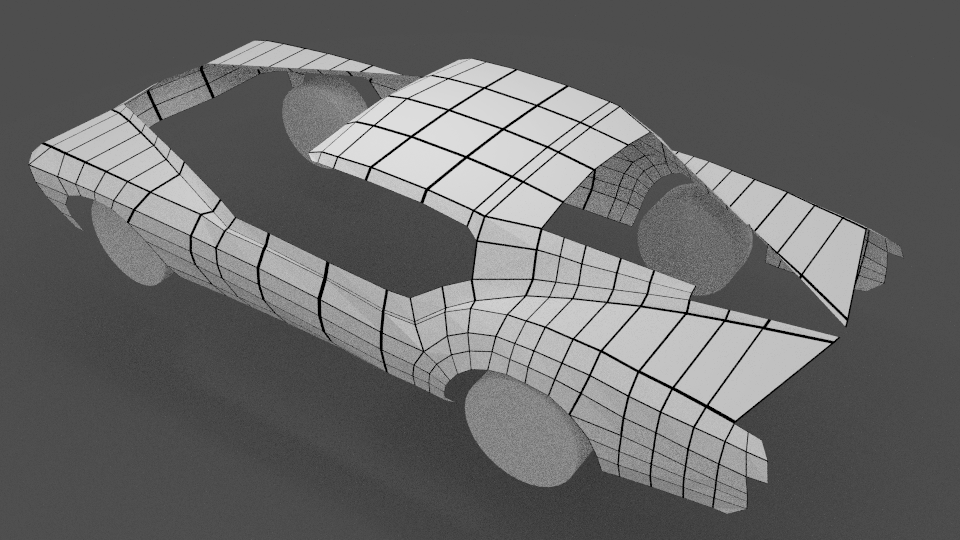
I think you could possibly live without one or two of the horizontal loops at the bottom of the door, and maybe spread out the vertical edge loops on the door so that things are a bit even. consistent polygon sizes helps when things get subdivided. When loops bunch up the can make bumps even more pronounced than the ought to be.
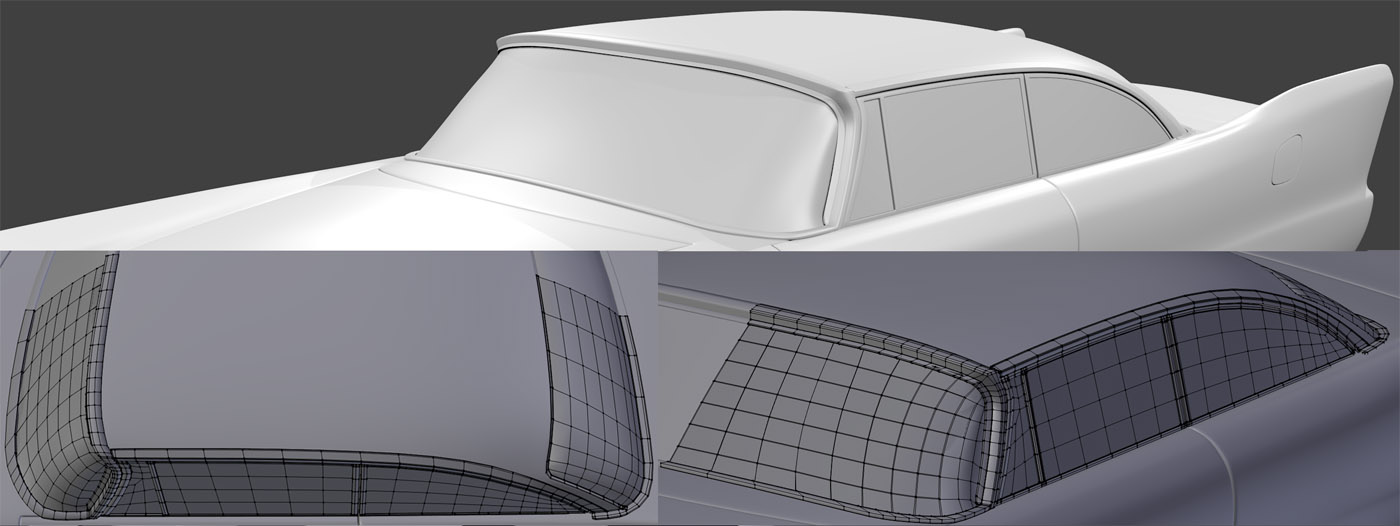
@revolt_randy: I think you might be able to separate the roof, because from the references I googled up, the are where the roof meets the rest of the body is pretty sharp.
Or, make a low poly roof with subsurf that is smooth, then retopologise your current vertices. It works surprisingly well, at least for simple things like this roof.
EDIT:+1 to what tyrant said. also, once you separate parts, you can get away with having very different topologies, but still making the surface flow smoothly between parts
@revolt_randy
Looks good, nice and clean. Agree with with TM; if you can, loose those edge-loops on the door. It’s the sort of thing I might check out with a good render (an excuse to switch to mats in cycles:) )
One thing to be aware of: when separating panels, one has the opportunity to have different geometry; it appears it can affect how light falls and can affect shadows and highlights, giving breaks in symmetry. So be careful.
Agree with GOBT, the rim on the old style mini - just below there - would be a good place to separate it.
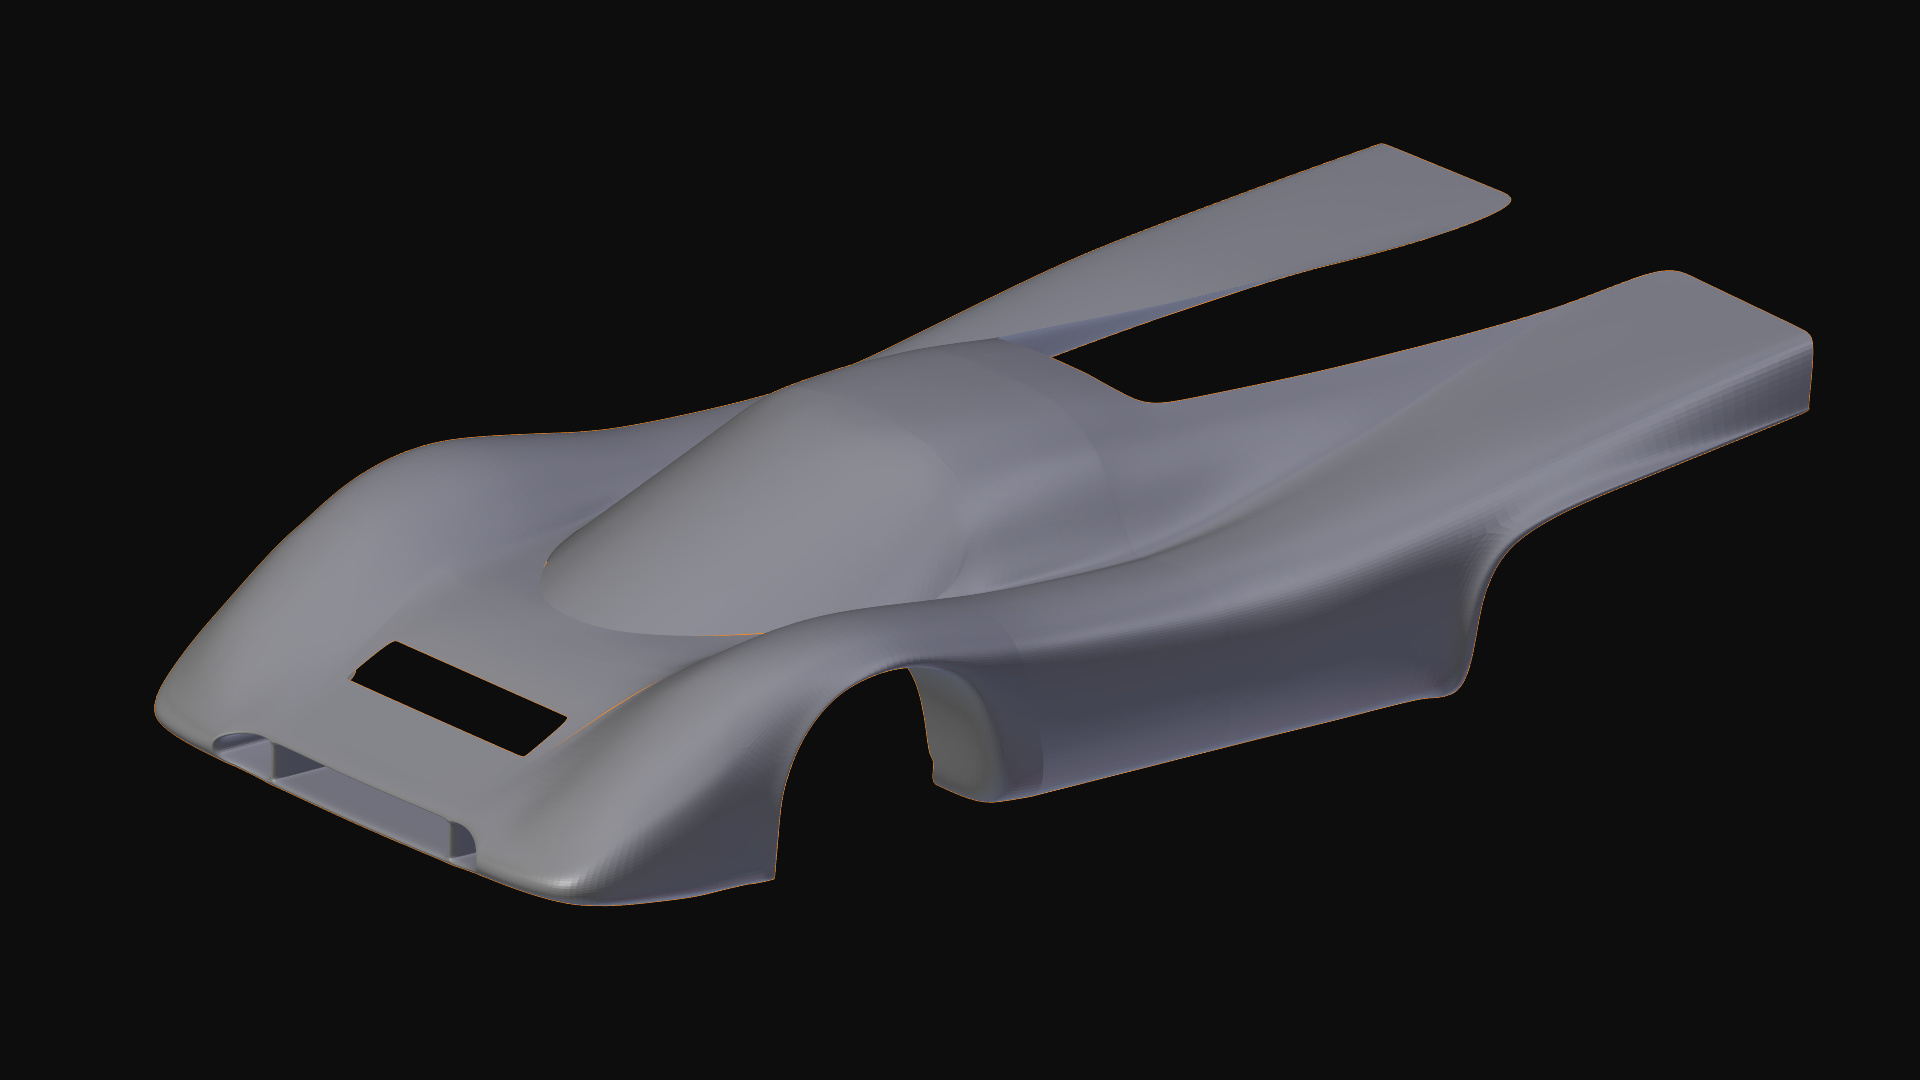
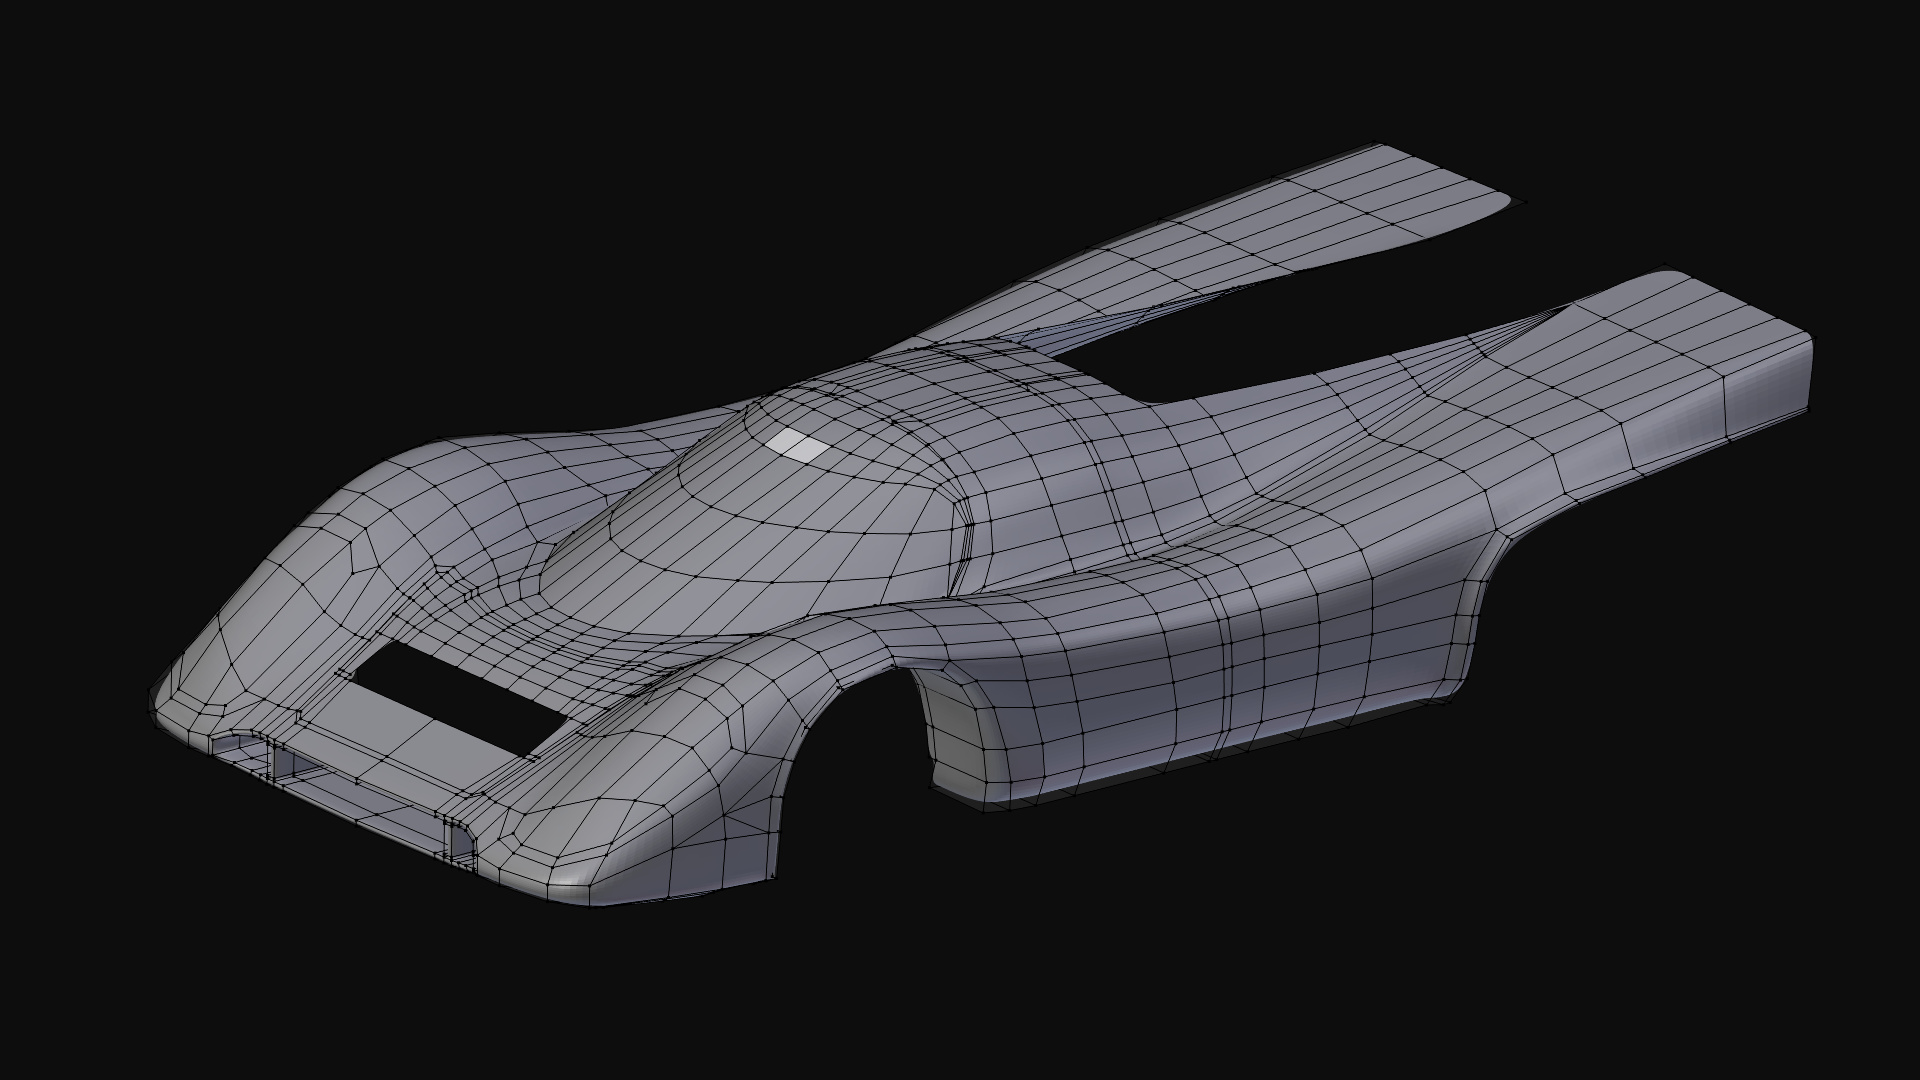
This sounds like a great thread and a challenge I should try. Here’s my entry a Porche 550 spyder the one that James Dean drove to his end.
I just started the tut linked by tyrant monkey so I may have to go over alot of things, anyway this is my progress so far.
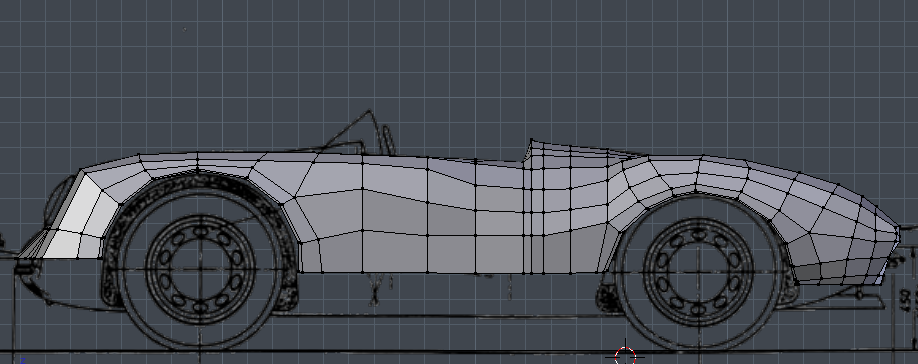
Very nice start; the three close edge-loops just right of centre on image one are perhaps going to need some tweaking, but I like how it’s starting off.
Last update until after the weekend.
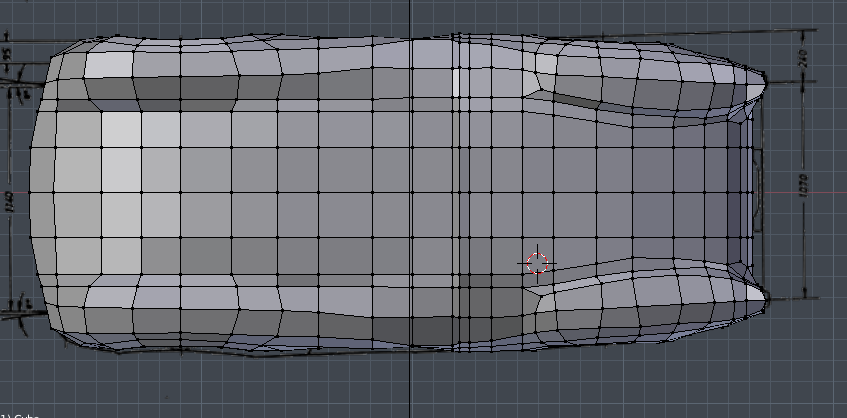
Sides are nearly there, starting to block in bonnet and boot.
Third pic uses cycles wire render as per: http://www.blendernerd.com/wireframe-in-cycles/
@ebb thanks for joining the more the merrier it looks like a good start so far
@rg-designs its looking way better man. on the rear wheel arch you could lose one vertical edge loop. I think its going to look good once you put on a sub surface modifier the surfaces look clean.
Well, I couldn’t find any blueprints for the Miller-Meteor, so I’m doing this hardcore. I have a lot of reference photos of the plain car and the ecto-1, and with luck, a little guidance from the resident car buffs here.
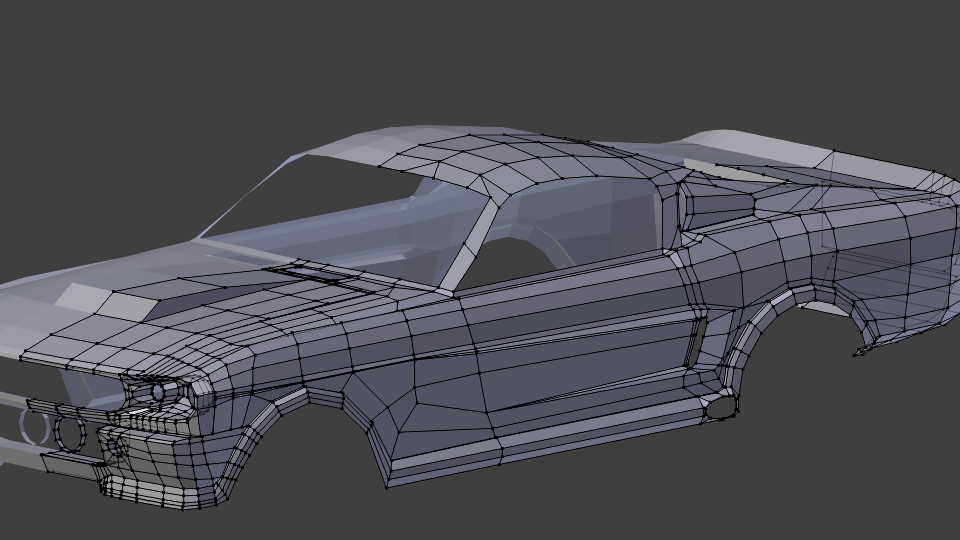
Finished the rear end now re arranging the edge loops. removed some edge loops to make it lighter. Will need to take another look at the head lights to see if I can reduce them further.
Not the most productive of weeks here in Switzerland You guys have been doing great work while I was out, nice job. Also spot on on the feedback as well, I’ll try to check back on the thread more often to see if I can help too.
I worked on the wheels, uploaded videos 13 and 14 to youtube. Not too happy about them to be honest, it just wasn’t “scientific” enough for my liking but I’m letting them rest for now. I may render a panning scene, so until I’m sure I won’t be blurring the tires in the end I’m letting them stay like that. No point in wasting time getting them perfect and then hiding the perfection with motion blur!
(search for Jeep YJ if you’d like to critique, I’ll be very grateful for any tips!)
I’ll start with heavy detailing now for things I’m pretty sure will show up on the render. Like the front grill, lol, about time I got back to that.
Oh! And +1 to this:
I had said a few days ago I was really glad I learned modeling before B-mesh came up, and at the same time I was really glad B-mesh came up because of the awesome tools it brought. “They have made my life so much easier” indeed!
Fax I hate you dude:evilgrin: I now have a permanent ear worm I am sitting here looking like a dork humming the theme song to Macgyver Lord knows how am I going to concentrate. Nice work nothing to crit because it looks good. You and writer have heated things up I got do something here.
Looks really clean; nice flow down the side. Love the tyres too, they look really awesome. I like modelling tyres; it tends to use a lot of geometry though. I’ve never tried baking normals for tyres - can normals be used in cycles anyone know? And anyone know of any tuts on baking normals for tyres and using in cycles if they can be?
EDIT:
Added some additional renders to my Christine thread.
A little question about texturing though, I have never done texturing, so if I am going to use UV mapping for dirt and mud splashes, and I want those textures to flow smoothly between parts, should I unwrap now?
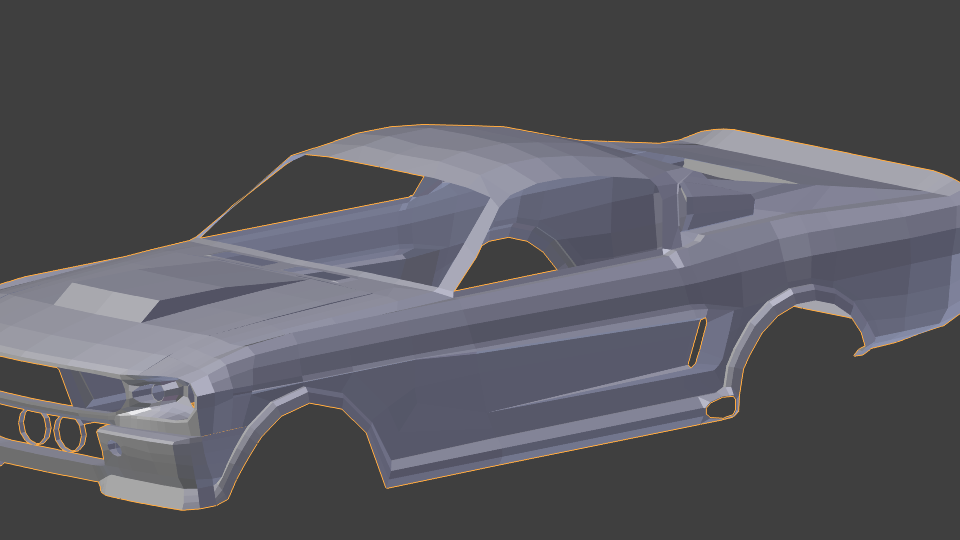
Looking very good; great job on correcting the issues - don’t forget to shade smooth; w key, shade smooth. Nice clean topology; I do see a couple of tris but if you apply a level one sub-surf that should get rid of 'em.
As you split sections up, then can be a good time to mark seams; it can also be beneficial to mark 'em before apply a sub-surf modifier - it’s much easier.
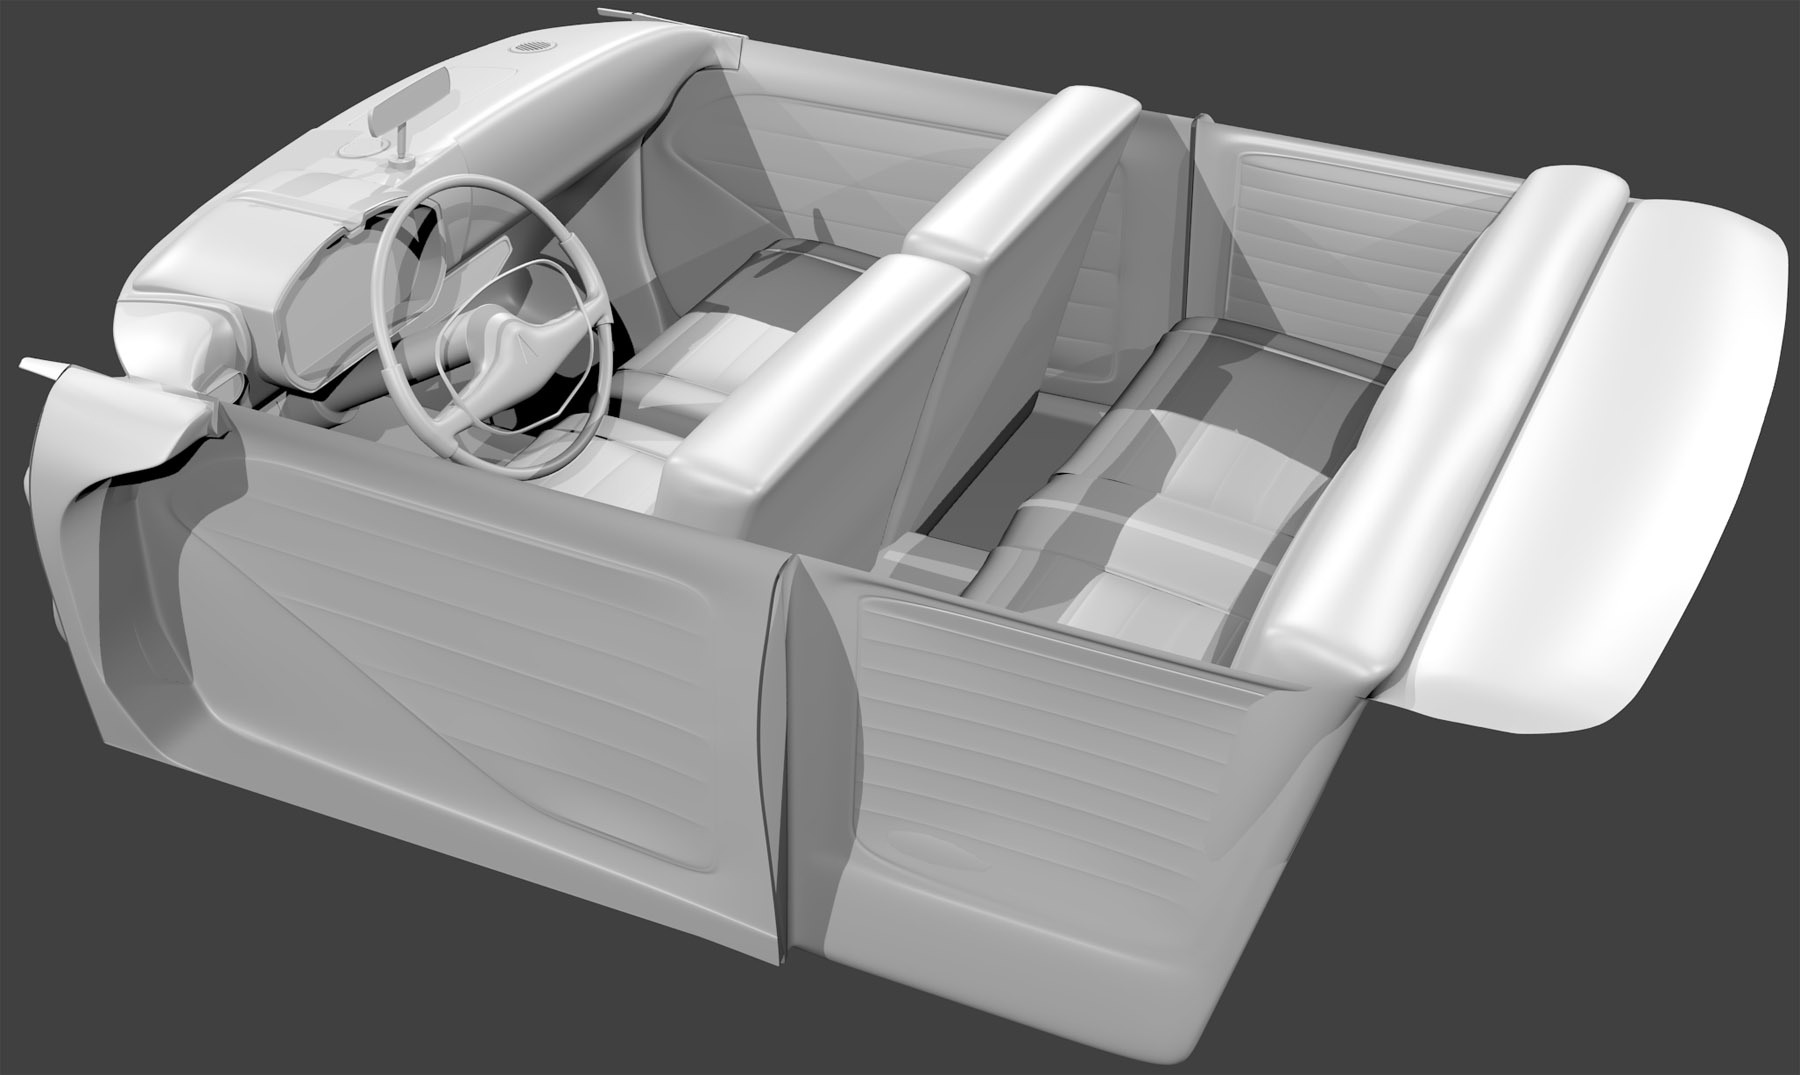
Windows and frames done; not 100% happy with front as yet so may redo. I didn’t reduce the geometry from the front after copying some verts from the car body. Made it more complicated and prone to error in what was a more complicated window.
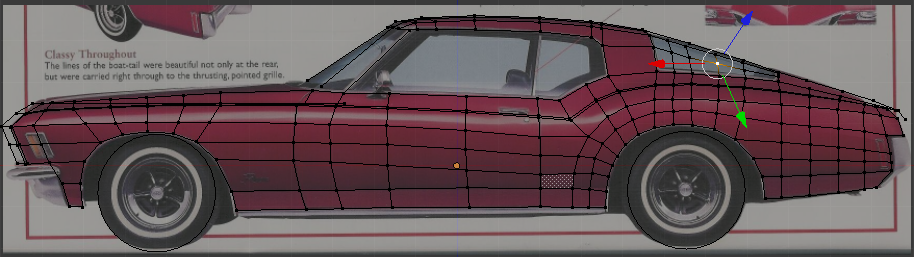
The picture I posted of Christine shows (chrome?) dividers on the sides; yet images I’ve got both have and don’t have 'em. I’ve put them on as this is supposed to be ‘Christine’.
EDIT:
I am redoing the front window; the more I look at it, the more unhappy I get; especially when I compare with side and back, so time to take a brick to that glass.