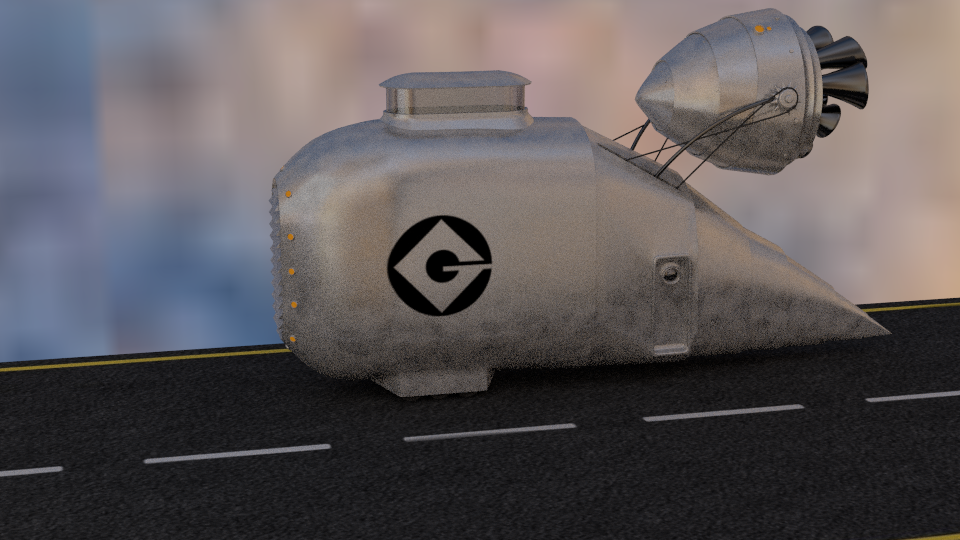
Update on the Gru Cruiser:
I was writing a primer on car modelling and I wanted to have the first draft out just at the start of this workshop but currently my time is split between this workshop, sculpting with dynamic topology and practising my digital painting.
I can only offer some quick answers.
- It depends on your modelling style and what you are comfortable with I will say this though, very few people for all kinds of modelling are comfortable with box modelling I heardly see too many tutorials on this style of modelling.
2.what is more valuable to know is how face loops change direction around poles. Poles are the key to understanding topology because the alter the flow of polys in an all quad mesh. Triangles and n-gons can also alter the flow of polys in a mesh.
- all I can say is a lot and its pointless to go through this because each car is going to have different topology. understanding point #2 means you don’t really have to worry about this.
4.don’t really know, I uses array with an object offset so I don’t think I am in that good a position to judge which is better.
I should say that the point of this modelling jam isn’t to trudge through tutorials. This is a bit in the spirit of conceptart.org CHOW challenges you learn by getting your hands dirty.
Trust me you are not going to know how to model a car until you model one without following a tutorial. You are going to make a ton of mistake everyone does but if you are posting here than you will get feed back.
Checked out DDD’s tute, very imformative, yet not quite what i was after.
I’m Ok with setting up the ortho views.
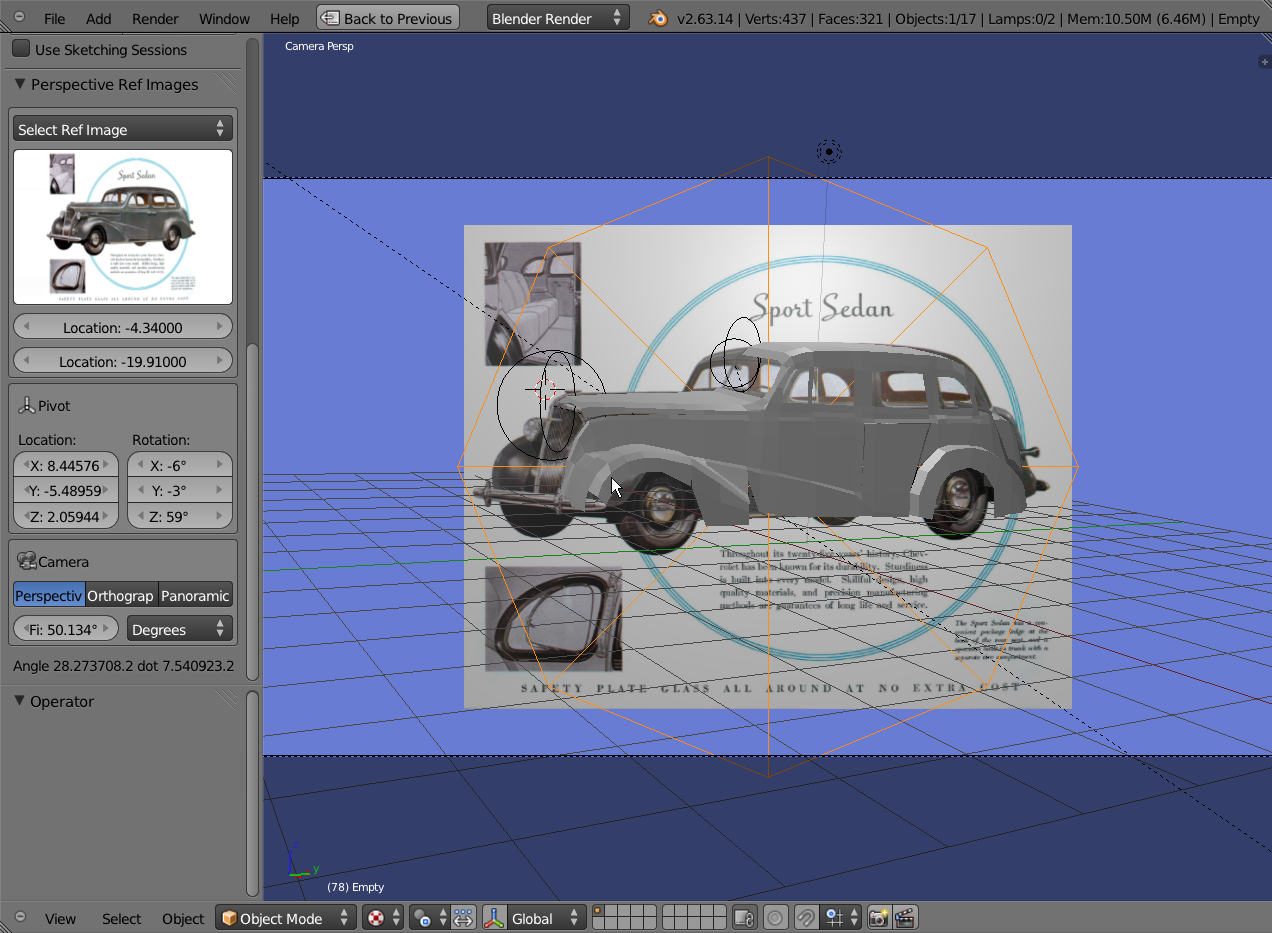
Looking at a quick way to set up aligned to camera perspective reference images too.
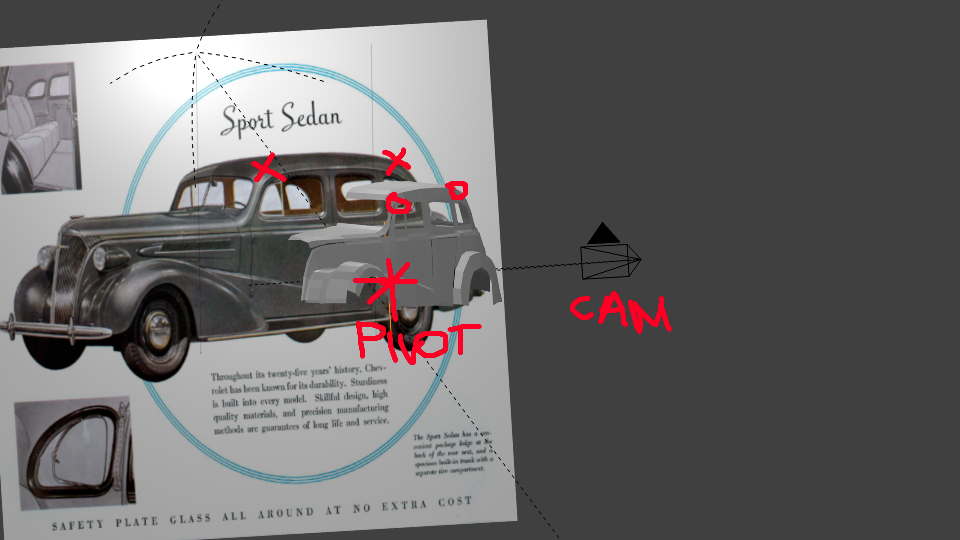
In the above image the plane is a child of the camera. This set up is then parented to the pivot point empty. I can then rotate this empty to get reasonably close to the photos camera angle.
If I shrinkwrap two empties to the photo plane on two specific landmarks, add two corresponding empties to the model I can then use some vector math to align camera / model / image, and maybe even… (haven’t looked too far into it) the cameras FOV.
Might make this into an addon… anything to get out of modelling when I get stuck LOL.
Enjoying the hell out of this workshop, wanted to model a car for ages.
@WB
Christine looks great mate.
Cheers. ![]() Always nice to get comments.
Always nice to get comments.
Might make this into an add-on… anything to get out of modelling when I get stuck LOL.
LOL. Stop slackin’ Although it sounds like an interesting add-on; and in all seriousness, when stuck, taking a break can be a good thing.
There is a short cut that allows you to set the camera to your current view; you might find that useful? With camera selected: Ctrl, Alt, Numpad 0.
Tutorials are great for learning blender; great for telling you what’s possible, but for sure - go and make some mistakes. ![]()
LOL I would love something like this I would love to use photos as references…
I recorded about three sessions and plan to record three or four more so that I can edit it into one vid, there is a lot of parts where I tweak which I might have to cut out.
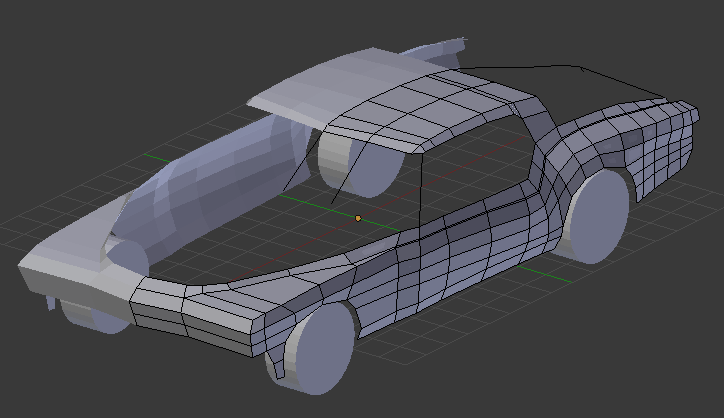
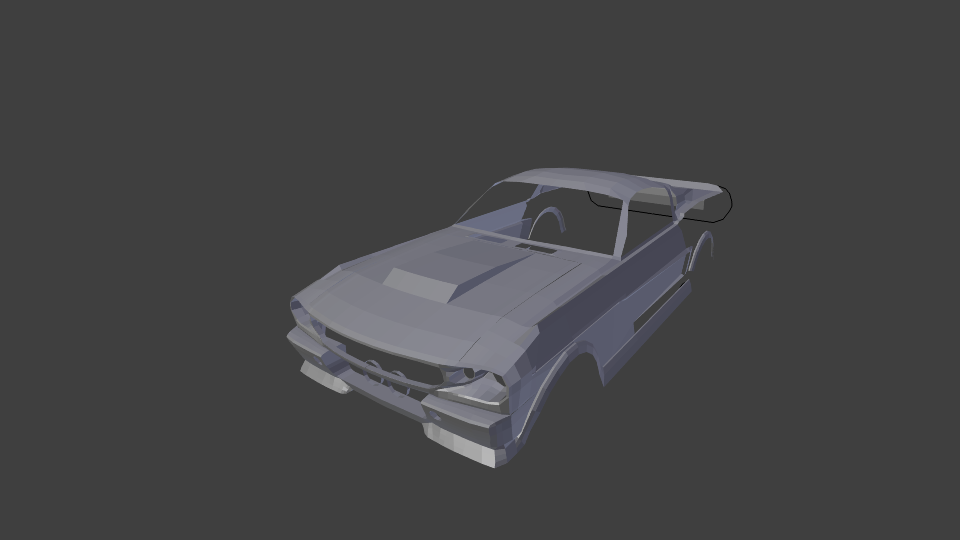
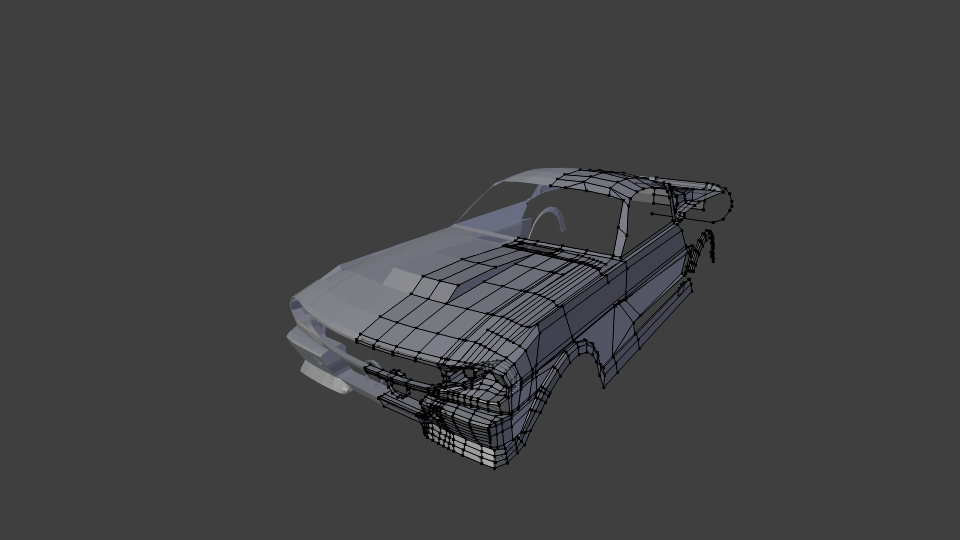
Here are some progress shots I did of the side and front…next I cut up the back and door. I am using ngons a lot now it’s better than poking holes in your mesh.
Knife,vertex slide rule and ngons rule. They have made my life so much easier.
Guess what I made…
Doesn’t do it automatically yet. Doesn’t take too long to align. Now comes the hard part… time to slack on two fronts.
Trying to get the body shape but got quite dense at the front though. Will sort out edge flow after.
Attachments
@@batFINGER
Hey, you know that you can also display a background image in camera view as well?
Press n to bring up the properties panel, look for Background images, check it, add image. Now in the Axis option it should say all views, if you want just the camera select the list and choose camera.
Now if you click on “Lock camera to View” you can move the camera just like you navigate the view-port, set up a good position and start modeling. That is pretty much how i modeled my Barracuda.
Just getting the sides in. Only got photos to work from so I’m really appreciating the tips coming out so far. They’re really going to help when it comes to the tricky stuff on the tail and bonnet.
Dammit I was going to do elenor aswell, ah well, good luck with her, and remember its a 69 gt-500 in gone in 60 seconds not a 67 gt-500 which is the most famous one, although they are both almost identical the 67 is half an inch longer than the 69, looking forward to seeing her.
P.s. I’m a Shelby nut so any questions about the car, just ask ![]()
@Bizla wow, thought you’d died or similar. No reason you can’t do eleanor; nice to see you about.
@Chuk_chuk
It looks like your going for detail too soon; get the basic shape (very basic) first. When you look down the side of a car, it’s smooth and clean; you will find it very difficult to get the clean shape as it is.
Been trying to upload a file to demonstrate what I mean, but can’t for some reason; will try in the morning.
I’ll comment on a few before I post my updates. I would request people to mention their car names in their attachment file names, or in the post itself so people can google references.
Its going to be a long thread, and no one would like to dig up the first few pages to be able to critique.
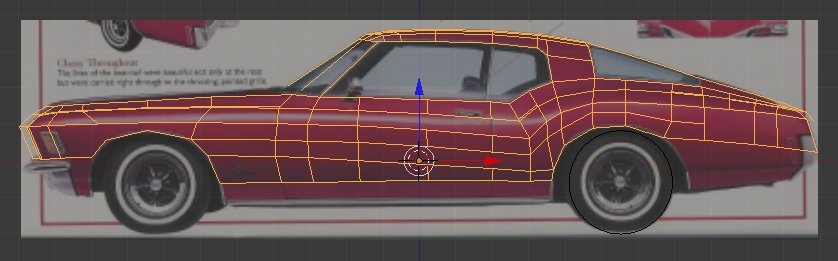
@tyrant monkey: looking great like always, but I’d make the edge loops of the roof between the B and C pillar point outward according to the curve rather than straight down. Same for the loop in the middle of the C pillar.
Probably won’t make a huge difference in the end but gives better results, I think.
@chuk_chuk: the density needs to be higher in the side region if you are to have all the details of the car.
@rg_designs: looking good for a start.
Thanks for the feedback.
@writer’s block
Do you mean for the whole body is too dense or just the front.
@GOBT
Currently the side panels are just ngons but once I finish off the rear end. I’ll get the proper edge flow and density around there.
@ Chuk_Chuk
(Tried uploading a blend file, but issues at PasteAll atm.)
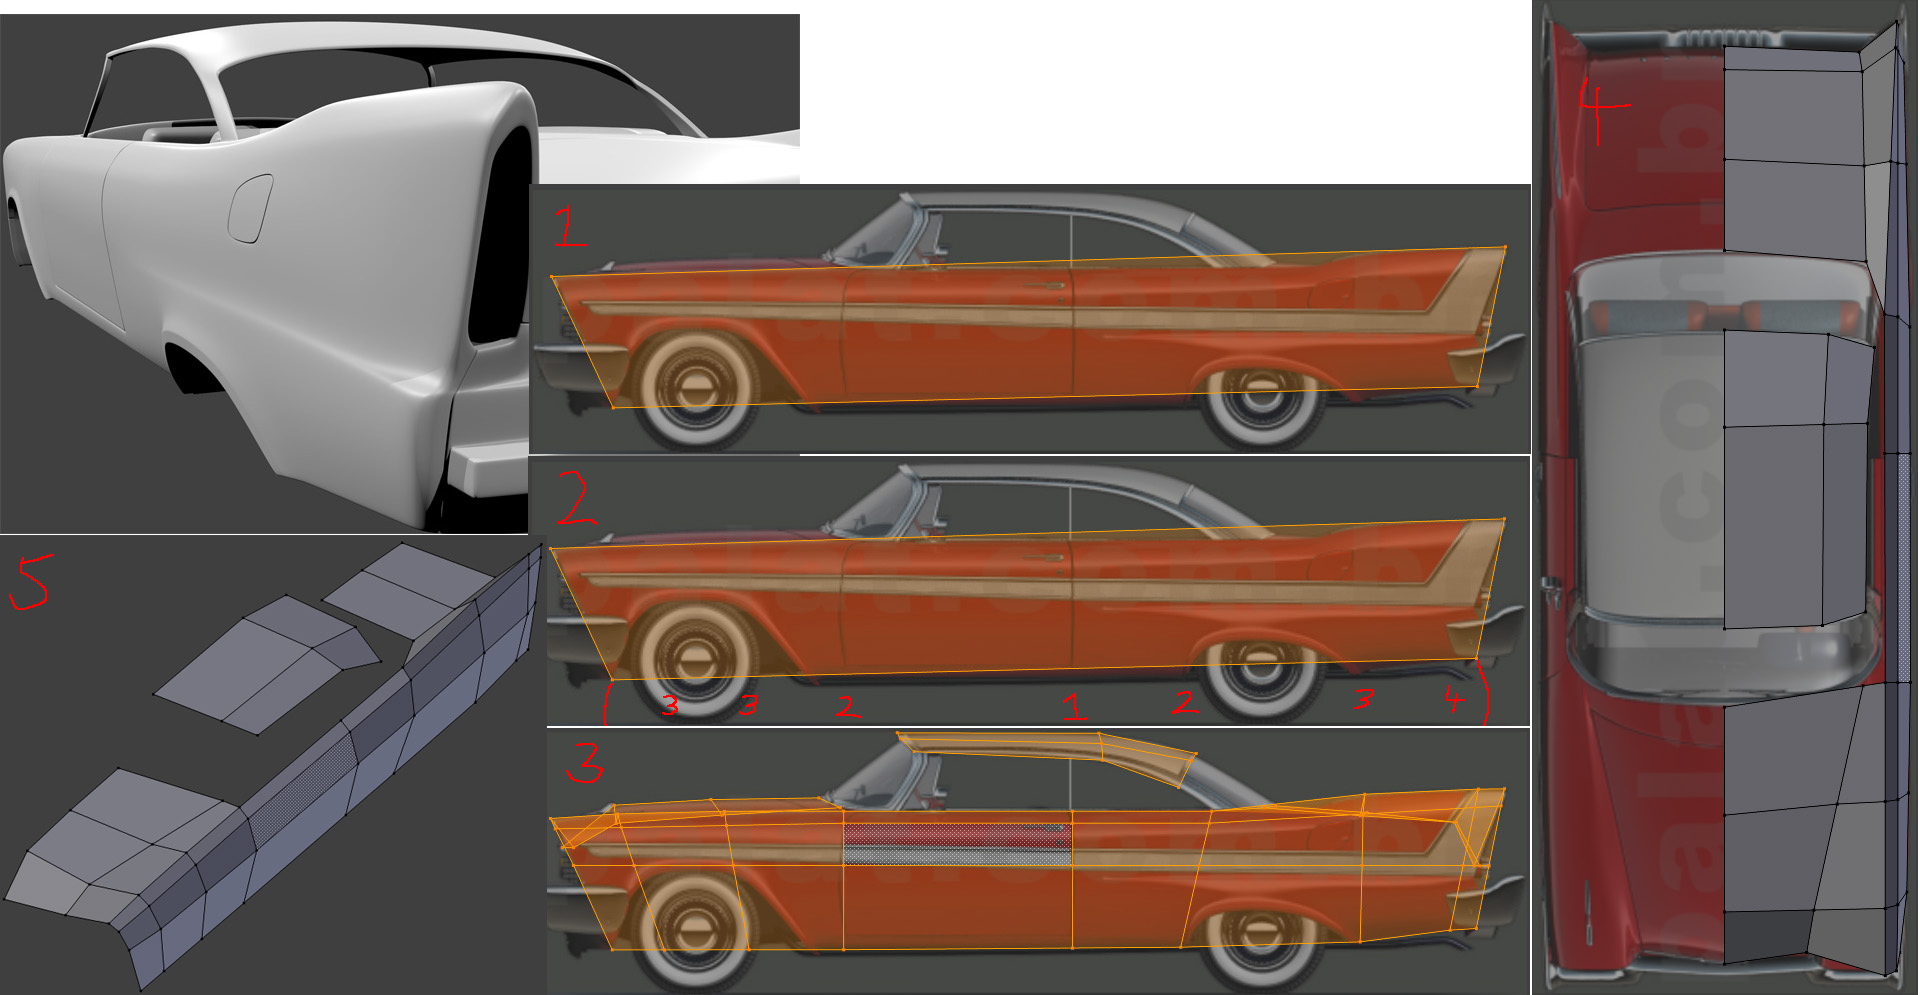
Here’s what I was trying to explain:
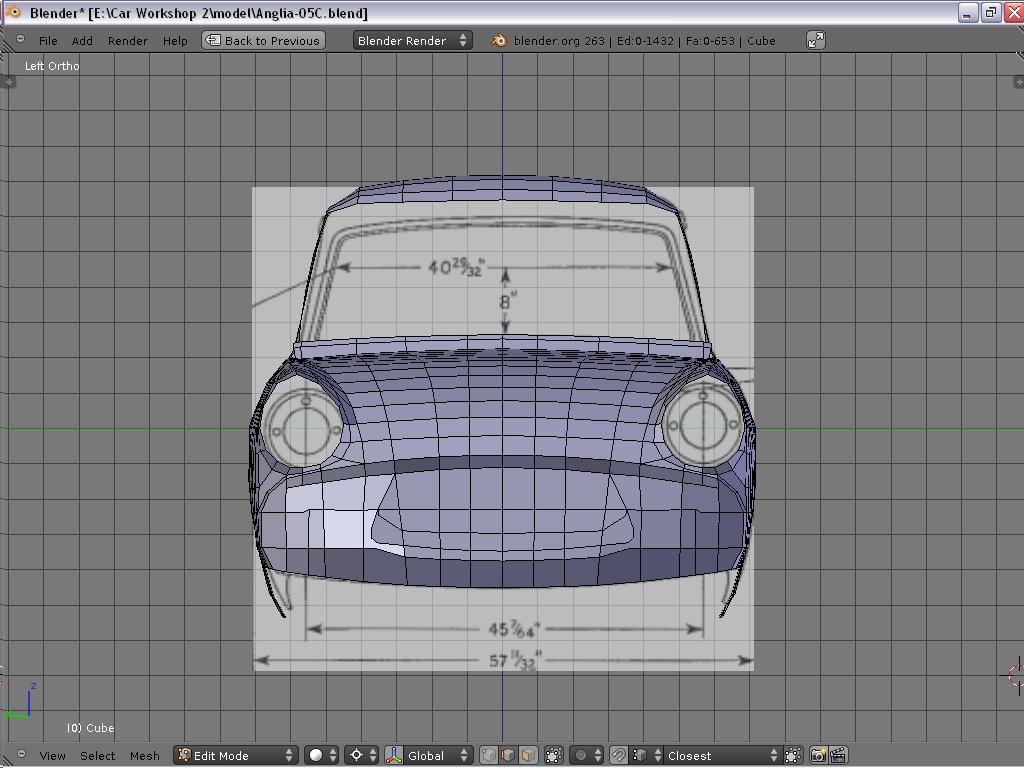
After setting up the reference images, I used a cube to help in their alignment, I delete four of the verts and end up with a plane.
I then adjust the four verts to get the shape I’m after - reference 1.
I identify the areas to place an edge-loop; in reference 2, I identified the order I would add them - important: not all at once. I use the top-down reference (4) to adjust each edge loop as I add it.
reference 3 shows the most basic of shapes; this gives me a good start, and I know the flow down the line of the car is good.
reference 4 shows how after I’ve done the side view I add the basics for the boot, bonnet and roof. Angle shot in reference 5.
Reference 6 shows that by starting this way, the line down the car is nice and even. I use Blender Internal for early renders - they are quick and imperfections show up without issue - so far any way. Not only that, by ignoring cycles I don’t get bogged down with materials at a stage when modelling is more important - I try not to get distracted. 
There are various methods of modelling, and you’ll find your own as you experiment; I’ve found this method, works for me, by only doing the most basic of details early on.
I don’t shade smooth or add a modifier early on - TM shouted at me for that - as well as shouting at me for a lot more too.
@ rg_designs
I also think you model might have issues with even flow. Hard to tell from your post though.
Edit: Oh yeh, and sometimes the easiest way to correct a problem is to delete it, then do it again. And backup files often.
@GodOfBigThings thanks, I think you are right the should follow the slant of the roof and the outer edge of the pillar I shall tweak them into shape.
edit
@chuk_chuck
that write up by Writer’s Block is pretty much how I also go about things block ->tweak->cut-> smooth->cut->tweak.if your mesh gets too dense while the underlying shape is not good it gets really hard to tweak.
clean up your mesh a bit that triangle on the roof for example is not needed you could merge the vertices. the area where the A-pillar joins the roof could use some clean up
You guys are off to great start this thread is going to be awesome for sure.
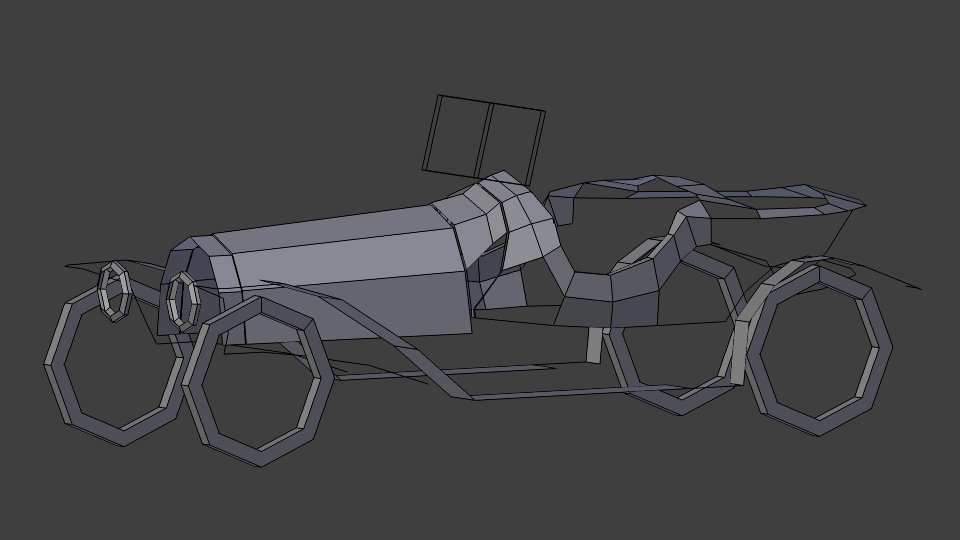
I just finished my bachelor thesis, so now I have finally some holidays and I could get started on working on this!
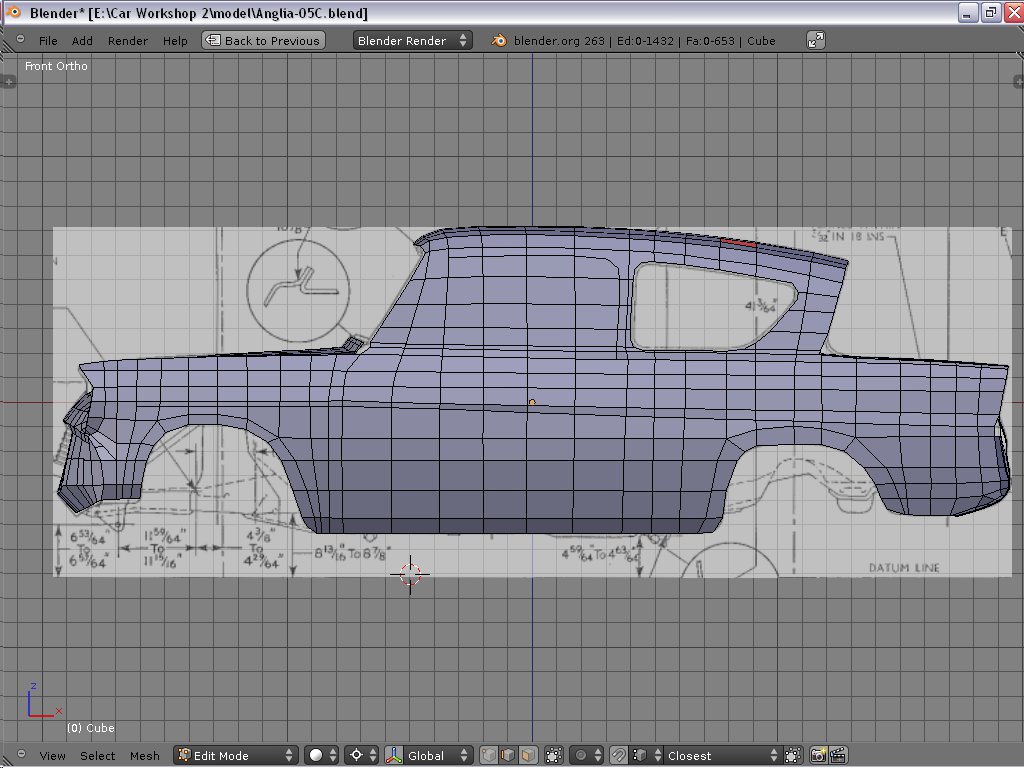
It is still far from calling it a beginning, but I did some basic blocking out based on some blueprints I pulled of the blue prints. Once I got a solid basis I’ll probably start working of photos.
Good start. ![]()
Nice quantum physics reference in your location too. ![]()
 can it be? Chitty Chitty Bang Bang
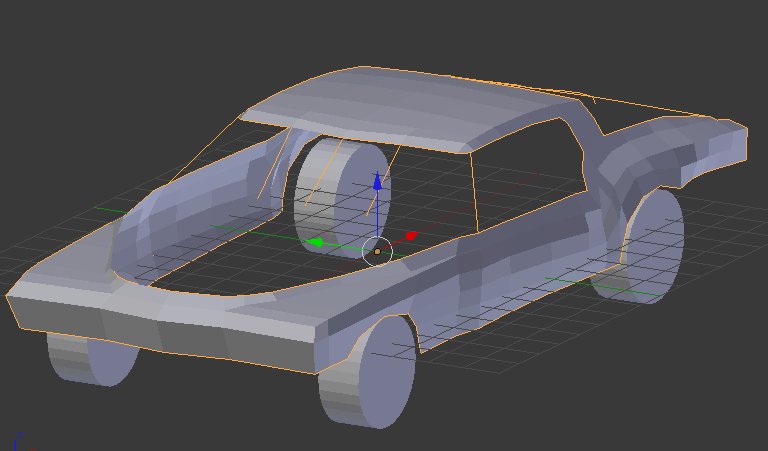
Since this is my first time modelling a real life object from references my methods jumped around a bit. At first I tryed to get the basic shape by using edge extrude modelling (I think thats what it’s called) but ended up with quite a detailed frontal area as you can see above.
I then started again but went with the box modelling technique but when it came to actually cutting the shapes and body flow into the model it was a headache.
So I decided to model out the basic shape for the key features of the vehicle, which where the wheel arches, windows and side vents. Re used the front area from when I started and then connected each of the them together using ngons, quads and triangles to form the body panels.
I decided to ignore edge flow and topology since I hadn’t actually finished the basic shape and I wanted to leave that till after.