Here is my latest client work for an interior design company.
I hope you guys like the renders and as always feedback and suggestions to improve are always welcome and hugely appreciated.
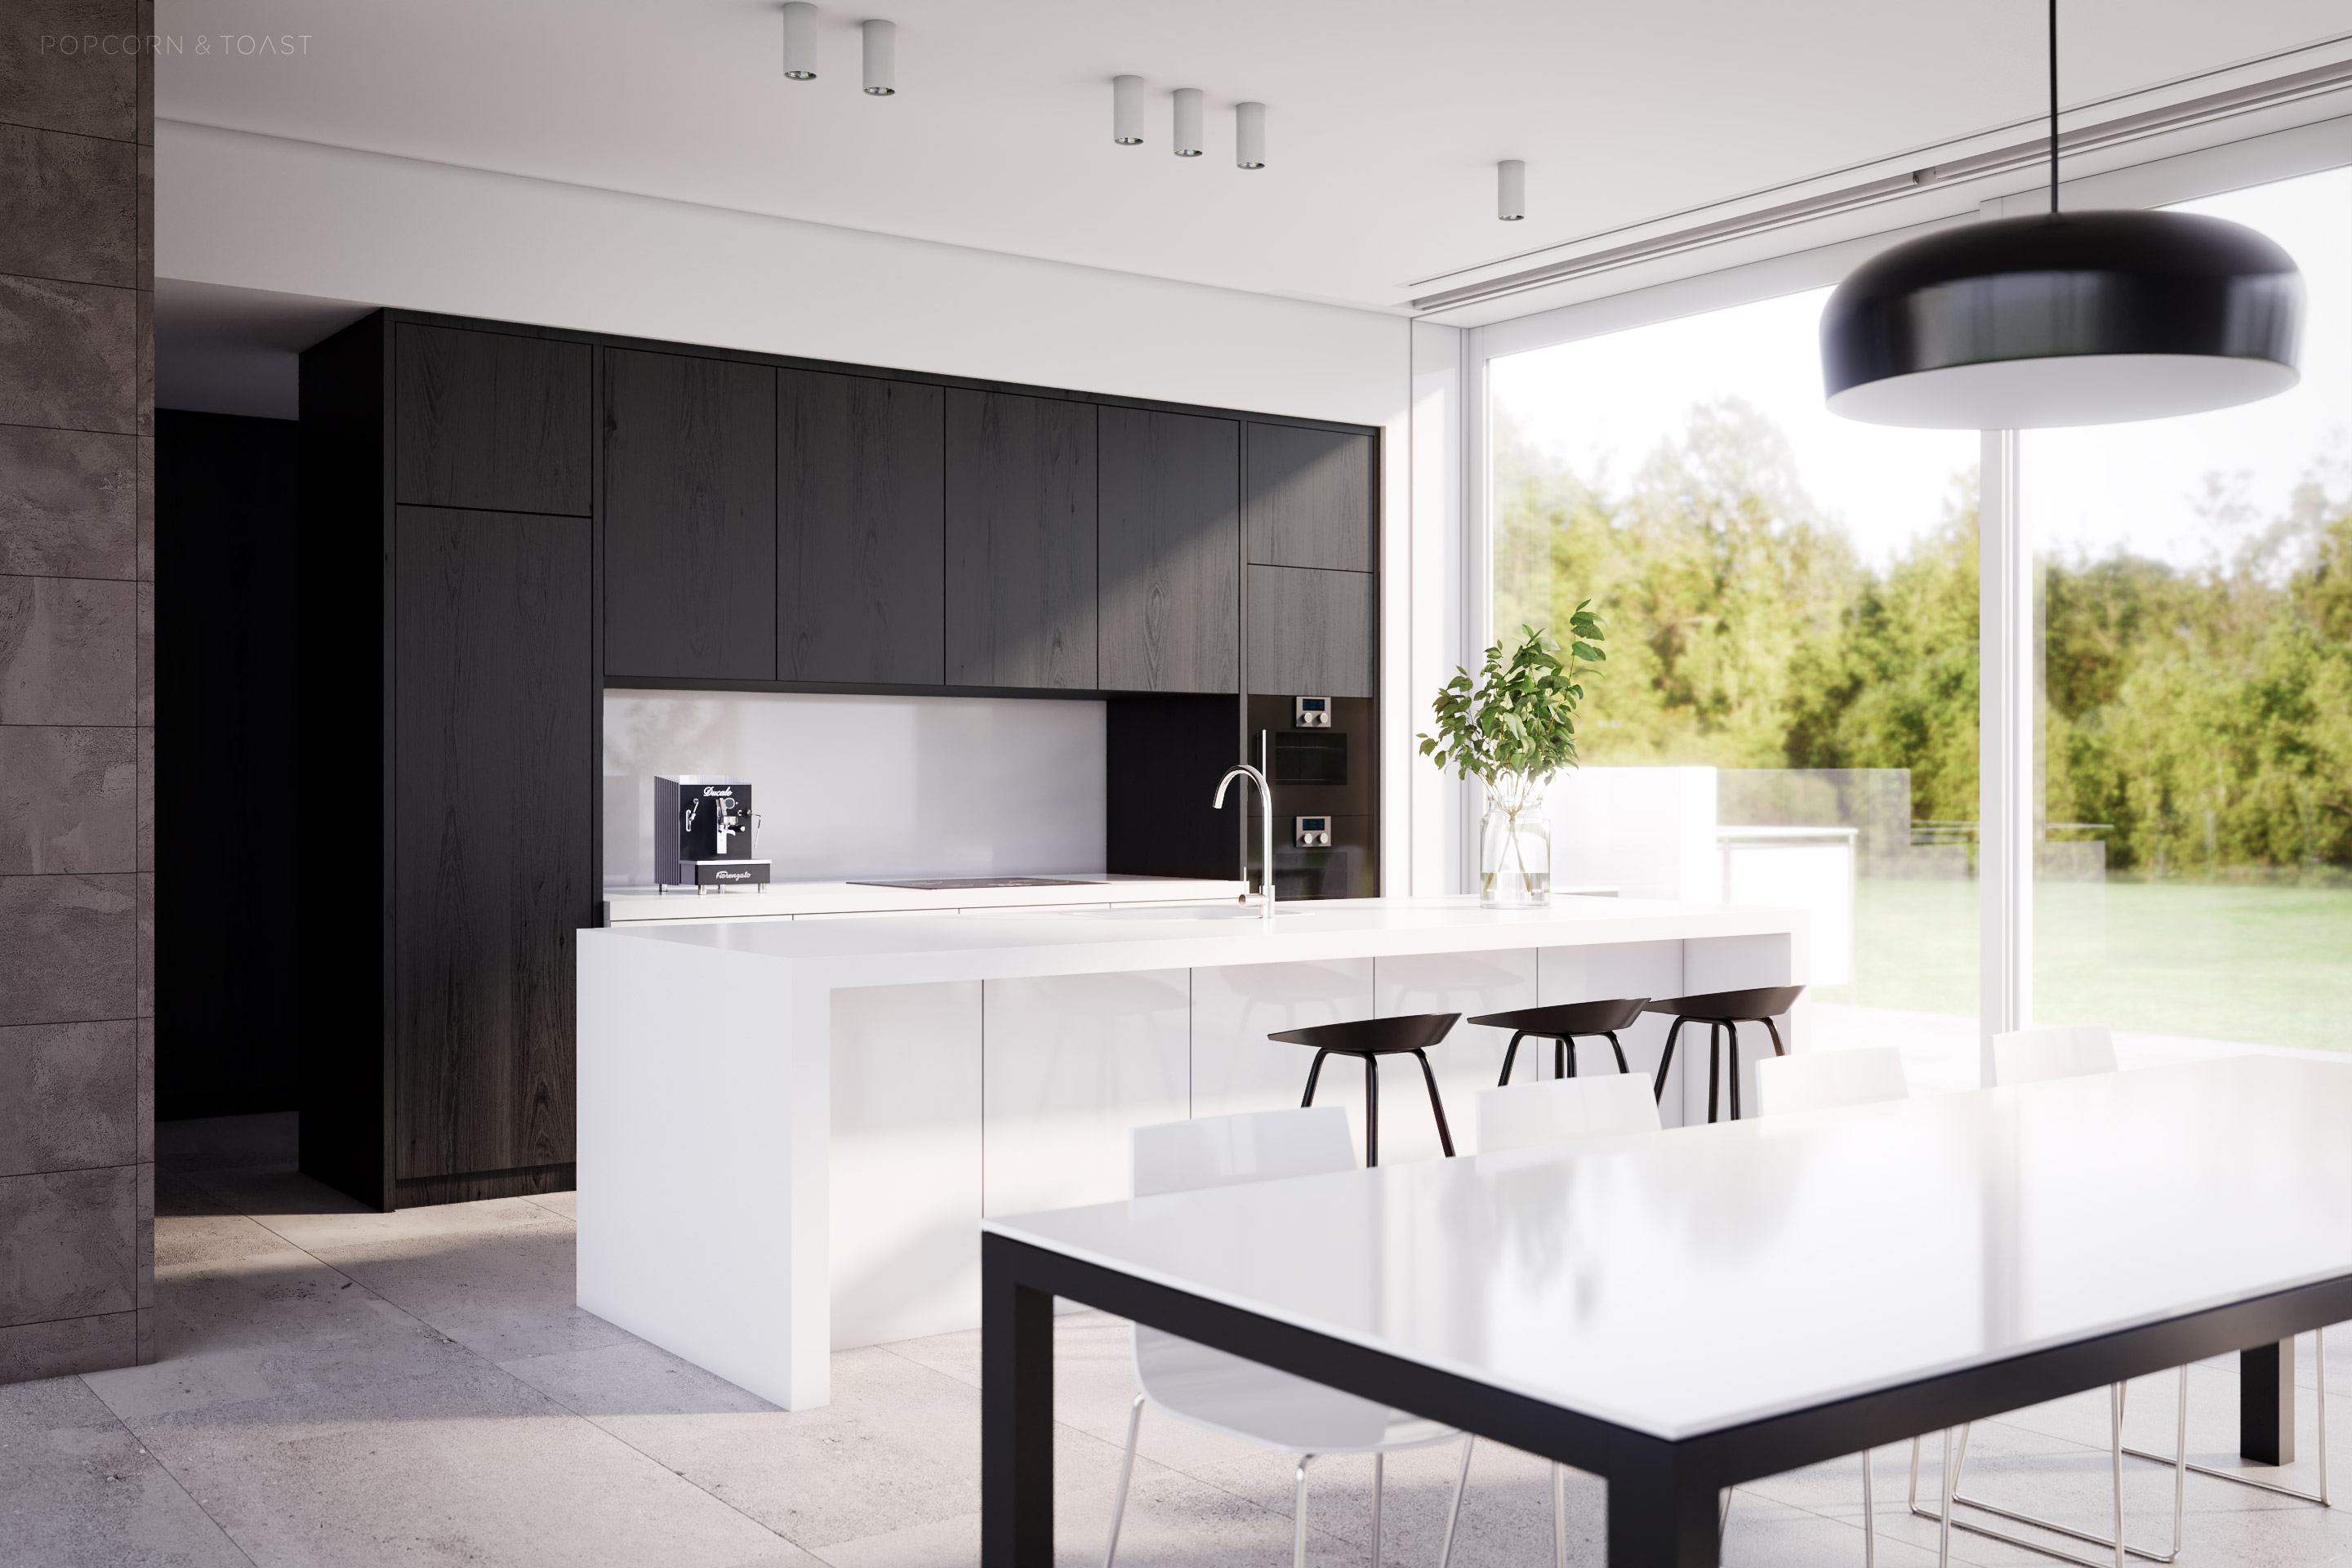
Break down of scene:
Render Samples: 4000
Blender Version 2.8
Lighting:
**Blackbody World on 7500kv Strength to 2
**Sunlamp with Blackbody colour temp 5000 and Strength to 5
*Rendered using E-cycles - which I am super impressed with speed increase. definitely worth the subscription fee in my opinion.
Hahaha yeah definitely would not work in my household… my kid would destroy the whiteness in about 10 min.
In this render I needed to make it cleaner than normal to match a look they were going for so even plug sockets were removed on the wall behind the coffee machine.
Very nice set of images. I’m curious about your lighting setup, could you explain a little more how the scene is lit? I’ve never managed to get lighting as nice as this in my initial tests using HDRI’s and I’m noticing a few topics where people are using simple setup’s (e.g. just area lights) however as a beginner with Blender I’m not quite sure how lighting like this is achieved.
Lighting can be a bit tricky and frustrating to begin with, and to be honest I still fight with it from time to time.
For this scene, I didn’t use an HDRI as I find that for interiors you don’t really need them and they can add noise and render time to your scene (exterior scenes are HDRI all the way for me - mostly ).
Instead, in the world settings I added a blackbody node to the color input and set this to 7500 kelvin which is around bright daylight (every light in the real world has a colour temperature and using realworld values will help you get things looking more real - check out https://en.wikipedia.org/wiki/Color_temperature to learn the different values)
I set this up first and use interactive preview rending to adjust the strength of the light source (in this case I picked a strenght of 3 and then I use the colour management exposure control (use filmic) in the scene settings to adjust the lighting (make sure you turn off all other light sources first). What I am trying to do with this step is bring the inside space to the desired brightness and this will automatically blow out (brighten) the outdoors / environment which is what happens in real life when taking a none hdri photo indoors.
Then once I am happy with the environment lighting I add a sun lamp and set this to slightly higher strength than my enviroment lighting (in this case I used 5) again I use the blackbody node in the color slot and set this to a warmer colour temperature of 5000 kelvin. Again use the interactive preview to move the sun into place and dial in the strength.
Dont forget to add portal lights to your windows as this will help reduce noise and render times.
I hope this helps you out, let me know if you want to explain anything further.

 ).
).