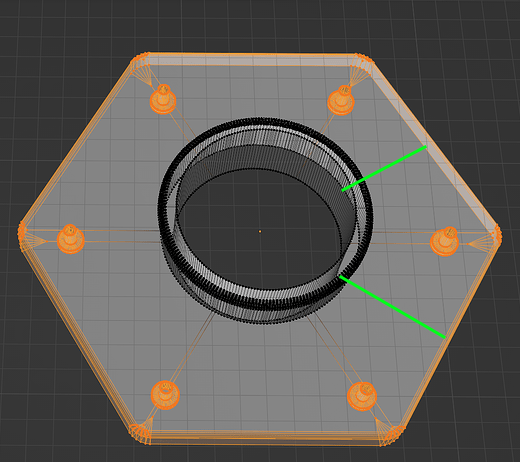
The inner larger hole is for 3" diameter flexible conduit. The 6 outer small holes are for M4 screws. I want to reduce the size of this plate so it fits on a vent hood I’m making. Normally I’d select all the vertices other than the ones around the vent connection:
Then I’d use S, Shift-Z to scale them on the X and Y axes and bring them all closer to the vent connector. The problem is by doing that, it also reduces the sizes of the screw holes. (I start with them at 4.4mm and by the time I pull them in where I need them to be, they’ve scaled down to 2.6mm.)
Is there a way to move all the outer edges and screw holes closer to the center without shrinking the diameter of the screw holes?I know I can do this by moving each one individually, but I’m betting there is some way to scale in the positions of the screw holes without scaling their *size) as well.
How can I easily move them all in a uniform distance? (I can handle the outer edge movement at the same time as I move the screw holes or handle that separately if needed.)
You can scale all of this as usuall, and then select only holes geo and scale again with Pivot Transform set to Individual Origins, but in this case you would need to eyeball the sizes, or enable edge length to check the dia.
And this is also would affect bevels on the edges.
In general theres no way to achieve such scaling as you wanted.
Add a couple of edge loops between some screw holes
Keep the new edges and the screw hole. Delete the rest.
Move the screw hole and outer edges.
Rebuild the rest with array, manually, whatever you prefer.
Remove doubles.
Remember it is a hole aligned with an axis that you want to keep.
Okay, I was sure there might be a way to do this, but I can accept there isn’t. I think the easiest thing to do is decide how much I want to move each screw hole in and use G to move the holes on whatever axis (X, Y, or Z) 2 of the holes are on. Move one a negative amount and one a positive amount. Then rotate it 60°, do the next to, and rotate it again another 60° and do the last 2. When done, either reset the rotation to 0 or use CTRL-A to handle it.
This would also let me handle the screw holes and the edges differently, so if I want to move the edges in closer to the screw holes, I can do that.
@Matakani : I’m not sure I follow just what you’re suggesting, but considering that the edges have bevels and that the screw holes have the narrower hole for the screw shaft and a wider one on one side for the screw head, it sounds to me like that method would take more work than anything else. Am I missing your technique or something?
Remove the screw holes, leaving only one.
(Clean up the surface after removing the screw holes)
After modifying the object, align the remaining screw holes to the desired location, copy the array, and create screw holes using the Boolean modifier.
You are missing the obvious. If you delete 5/6ths of the mesh you only have to move 1 screw hole, not all 6. The same with the outer edge - but that needs to be scaled. I scaled the edge to the cursor at 0,0,0 .
Then duplicate the 1 edited segment to make the whole object again. It is a standard way to fix your problem.
Do you know how to do a radial array in Blender? Or do it manually - as you just mentioned. Duplicate, rotate 60 deg. Press Shift R to repeat…
Its 1/6th of the work.
Oops. Just realized I made the mesh thinner as I scaled. My Bad. I should have pressed s > Shift Z to lock the Z axis when I scaled.You get the Idea…
Ah! Okay, I got it now. Read the different wording and got it clearly that time. (I have reading issues - sometimes a rewording of something makes a major difference for me.)
Yes, been using that a lot in another part of the same project, just had not thought I could apply that here. Clear now - should be rather easy to do it this way. Thank you!