There’s no video 
Looking forward to seeing your progress on this!
Heya Andy!
Check if your browser is blocking the vid – mine does unless I tell it not to (stupid tech!). In any case, here is the direct Vimeo link:
Thanks Chip!
Excellent stuff.
Good heavens that is incredible! Too much almost to even comment on. Spectacular work. The hip swing and soft body effects are shockingly good.
If you ever get a chance could you slap a moving texture on the floor, even opengl, I can’t tell if it’s simply because of that if I feel too much moon walk, and not enough lowness and weight transfer downward on the down frames.
Thanks, Andy & Photox. Yes, the walk cycle seems a bit slippery due to it being a “walk in place” (hence the moon walk effect), but because this is a technical demo of the muscle system + soft body FX, I decided to let that slide (pun intended!).
I rarely use true walk cycles when animating with full motion, especially in the foot locations, as the slippage tends to be more of a problem to correct than actually pinning the feet in the stride, and by tweaking such aspects as hip swing & weight shift throughout a full walk or run, it becomes more convincing. For such situations walk cycles are generally just the starting points.
I like the picture in post #17 very much. Great proportions, skincolor and poses of which I like the first one most, then the 2nd and 3rd. The shoulders and hip area look very good. Things that could be improved are possibly on your to do list anyway. Beautiful mesh, congratulations!
Cycles Skin Shader Breakdown

Above is the shader tree structure I use for all my skin shaders, with renderings of the specific example. I learned painting long before 3D imagery was even possible, so my shader is primarily based on image textures. Here are samples of the image components used, number-keyed to the above shader tree. All images show only a portion of the full-scale image texture unless otherwise noted.

- Veins Plate - functions as a very faint underpainting, on the edge of visibility in most cases. It is not anatomically accurate at all, just a means of introducing subtle color modulations, as actual veins do just under the skin, in a more or less random fashion. The image is scaled by the Mapping node, and is painted to tile effectively. If actual visible veins are needed, they should be painted on a separate UV-mapped plate, as in #2 below.
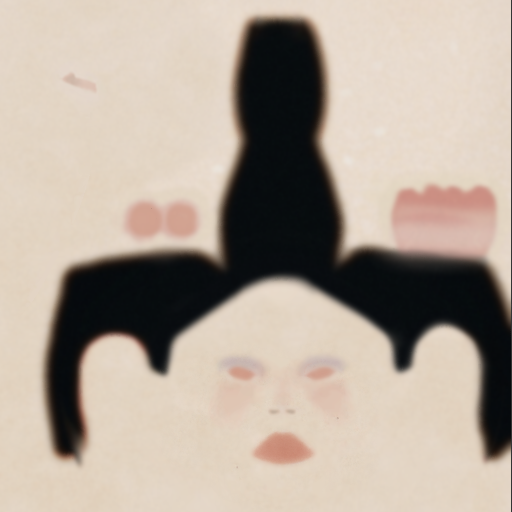
- Skin Paint - the principal skin texture image, including details of colorations (as in lips), blemishes and freckles, and overall skin tone. Most of the details are applied in Texture Paint and then refined in an image editor like Photoshop or Gimp.
(cont’d below)
Skin Shader breakdown, cont’d

- Dermis Plate - another “underpainting,” but which has major effects on pigmentation results, used primairly to tint the skin globally for various ethnic variations.

- Specular/Glossy Details - sets a general specularity to the skin but with painted areas of higher or lower gloss, such as the lips, cheeks and nose, eyesockets, inside of mouth, etc. Overall skin gloss also affected by the Skin Pores Bump image, which is used as a Factor for global specularity.
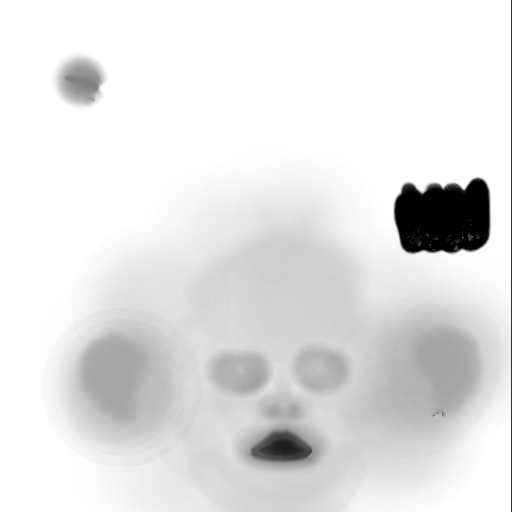
- Skin Pores Bump Mask - the Skin Pores Bump texture creates a global skin surface relief, but requires modulation for certain parts of the body such as lips, around the eyes, ears, etc., where a smoother effect is desirable. This Texture Painted mask acts to selectively reduce the Displacement of the global pores texture.
(cont’d below)
Skin Shader Breakdown, cont’d

- Skin Pores Bump Plate - The global skin pores texture image, scaled by the Mapping node. Generally a subtle effect is used, but this can also be made quite dramatic for special roughness effects. The RGB curves node linked to this image is used to adjust the strength of the global effect separately from the Skin Bump Details (#7, below)
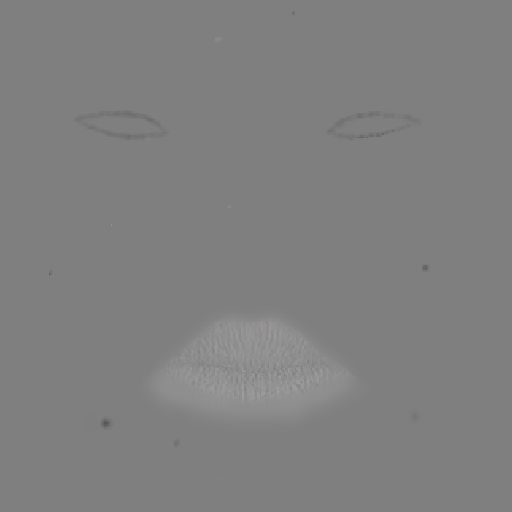
- Skin Bump Details - self-explanatory: lip wrinkles, blemishes, etc. Can also be used to enhance anatomical detail, as in the knees and ribs, as an alternative to normal-mapping from a sculpted higher-resolution version. Generally careful bump (Displacement) mapping can be much more subtle than normal mapping, and works well in Cycles.
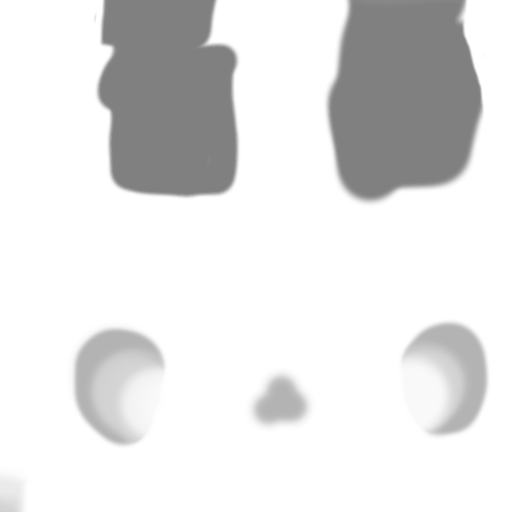
- SSS modulation - Another Texure Painted, UV-mapped image to modulate the Scale component of the Sub-surface Scattering node. Thin mesh areas like the ears, nose, and fingers can appear too translucent and waxy if the full SSS scale is used, so this plate is used to subtly reduce that value.
All images that directly affect skin coloration & tone can be adjusted using HSV nodes. These are also useful farther down the pipeline for more global adjustments to the Diffuse and other node inputs. The various Color modifier nodes like Multiply, Overlay, etc., were chosen after many test renderings, and provide effective means of combining image effects such as global bump and bump details, while also providing a means to adjust each effect discretely.
(cont’d below)
- Skin Shader Breakdown, cont’d – starts on post #27 *
Node values shown are for the Oriental variation of the generic female model, code-named “Sake,” featuring very pale and quite smooth, nearly perfect skin. But the same shader tree is also used for other pigmentation variations, with many of the same image textures used as well. The many color-modifying nodes make this possible.

“Ivory” employs settings for a Caucasian skin tone with freckles and a more pronounced pores texture that is very visible (perhaps too much so) in the CU below:
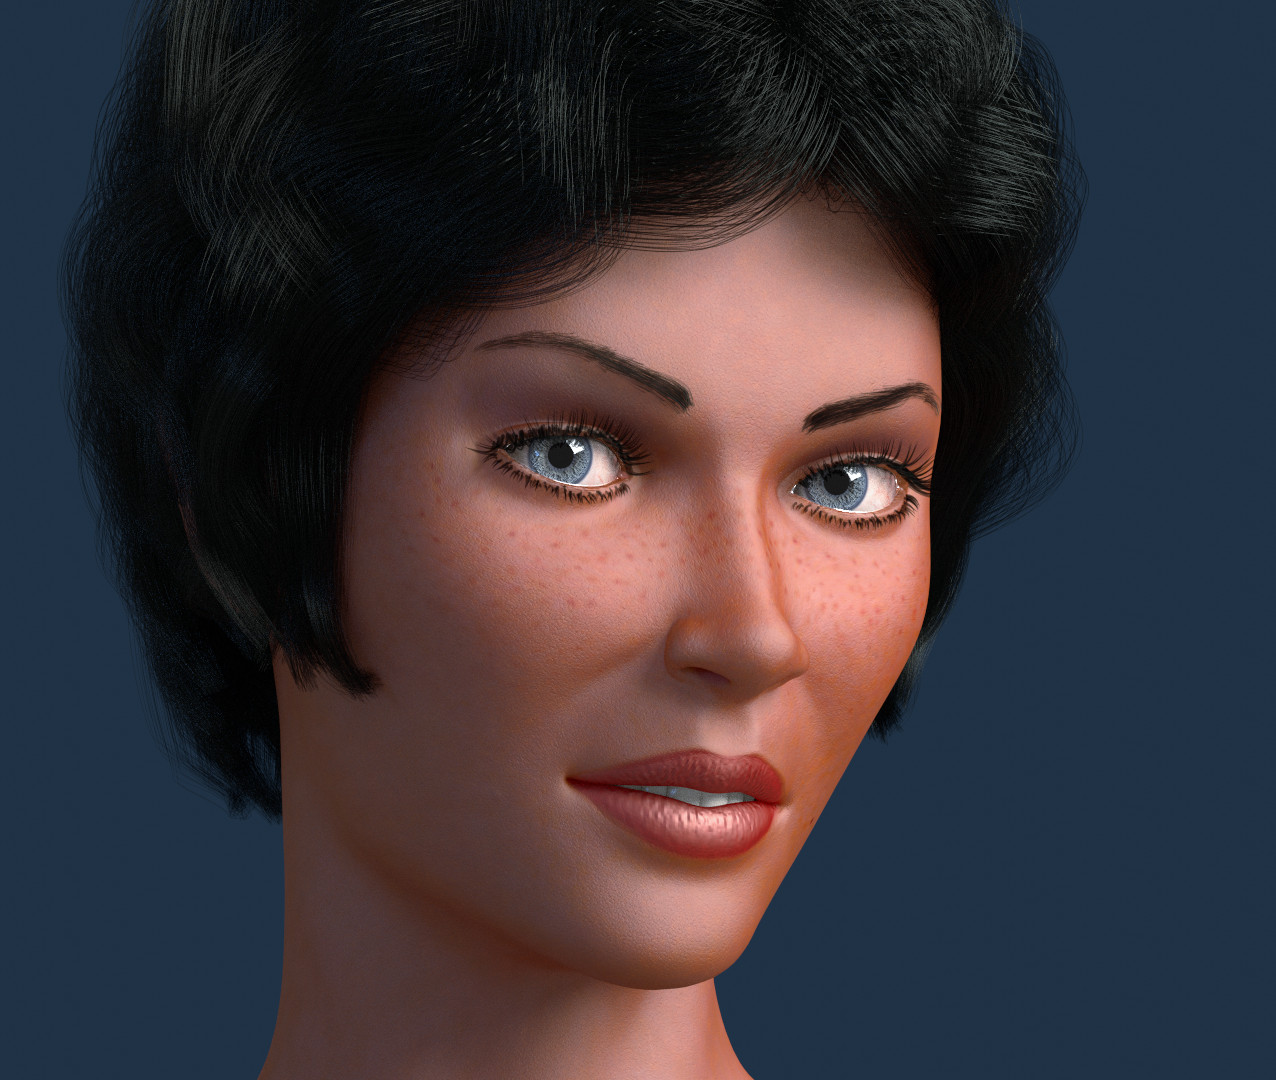
The value of a finely-tunable skin shader is that discrete elements such as pores visibility can be easily adjusted not only for character qualities, but also for such variables as camera angle, lighting, etc.
Stunning work!
Keep posting 
Regards
TJ
Glad to see this is still an active project!
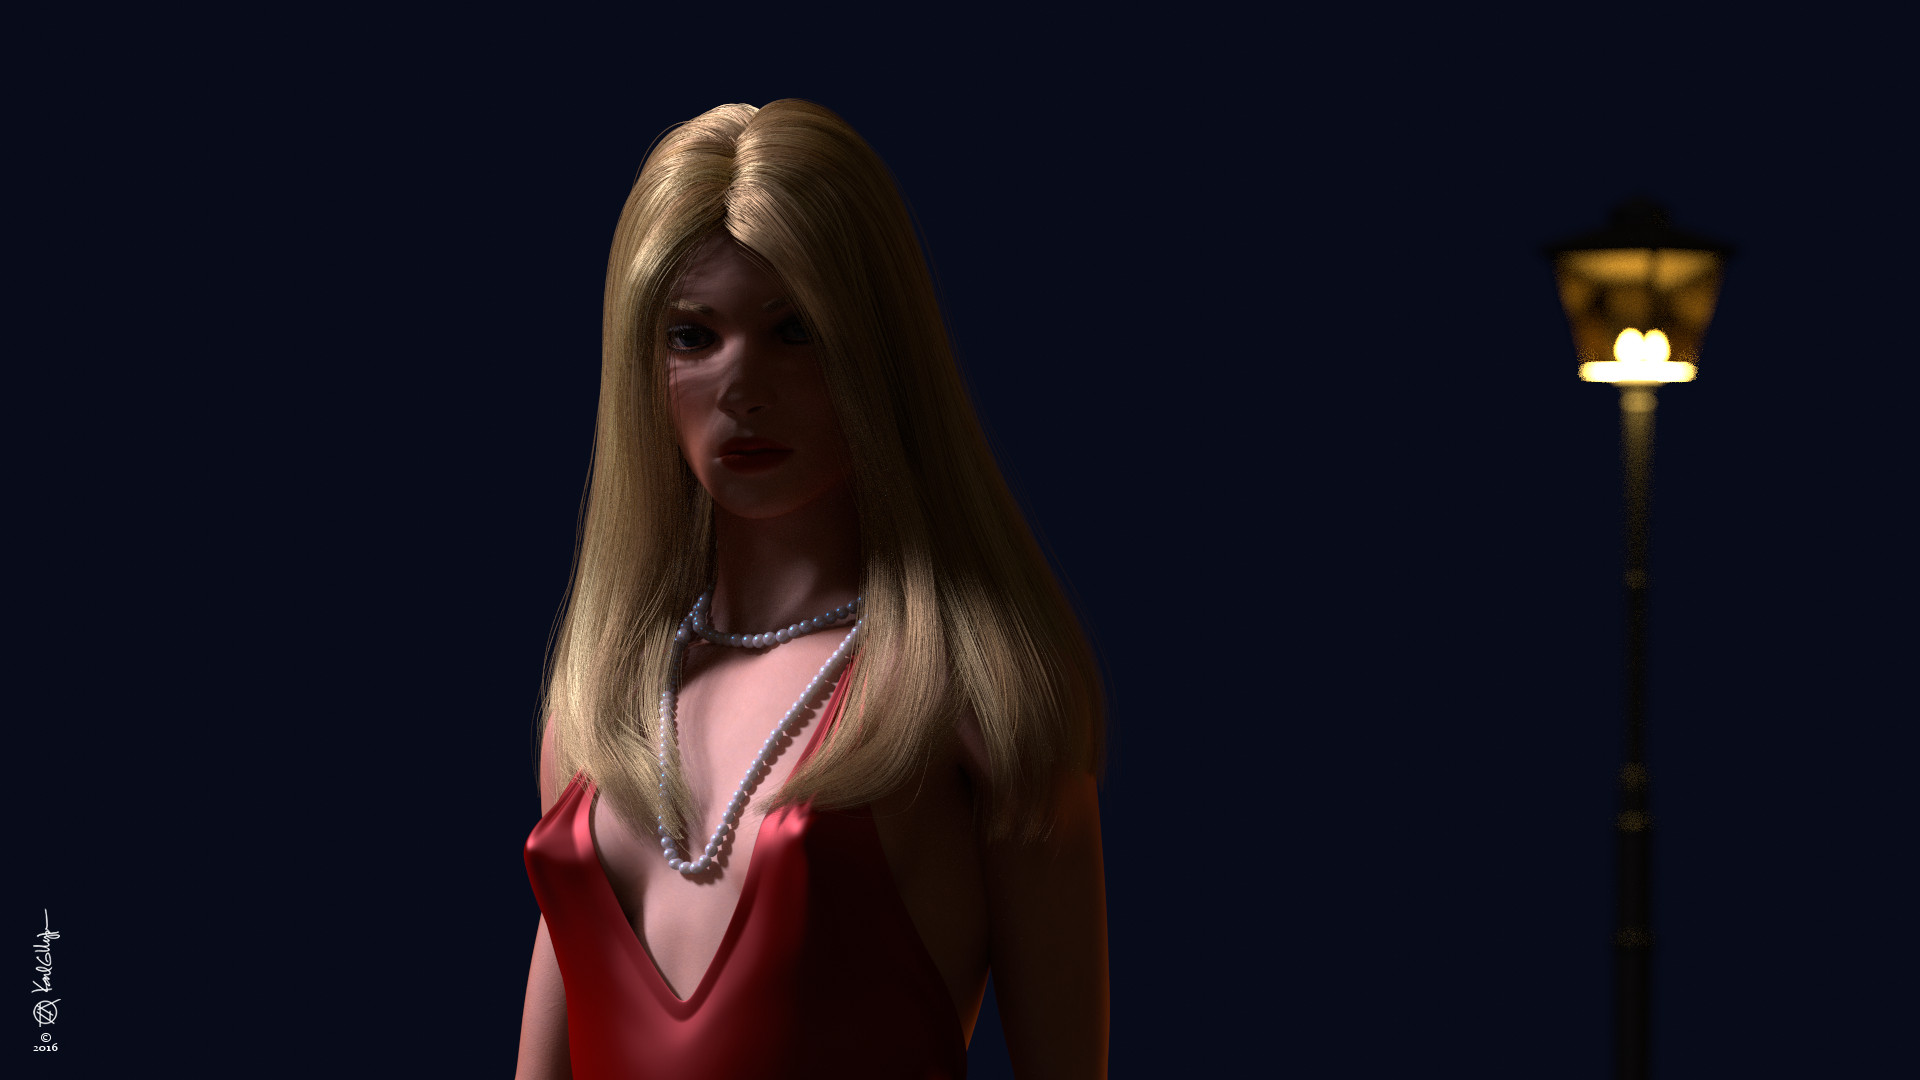
Until now I’ve been using black hair for my Universal Figures models, but have now developed a standardized shader tree for hair shaders as well as skin shaders. My first trial is honey-blonde (the shader is capable of producing many different shades of a basic hair color), incorporated into a character with a story:

Roxanne Norris is a sultry Southern belle who works undercover for the Dept. of Justice in New Orleans’ French Quarter, as exotic dancer Roxie Noir, giving her inroads into the less savory side of the city, a side the tourists never see.
I really had to resist diving into full development of this concept and refocus on the hair shaders! I plan to post them all with wigs on Blend Swap once I finesse the red & brown shaders.

Big Shout-Out! Thanks to Composite on Blend Swap for the excellent revolver model
Congrats. Great work you’ve done here. Following with interest.
A note, if interested in new tech… http://zivadynamics.com/
Thanks for that link to Ziva, burnin – WOW! Looks like quite an in-depth sim, way beyond anything I could manage since my coding skills are rudimentary at best. But it does spark a small fire in me regarding the accuracy of my muscle system – after I get the male figure adapted and some other Universal Figures details finished, I plan to took more closely at the interplay between my skeleton’s bones and my muscles, with the idea of improving the response at attachment points, and to look at ways of imitating the fascia sheathes that enclose many joints, with an eye to reducing vertex-hopping during animation.

Hair shader systems number two: Maureen
I decided to do my example as a classic carrot-topped ginger, but the shader can cope with many variations. Next up – the classic brunette.
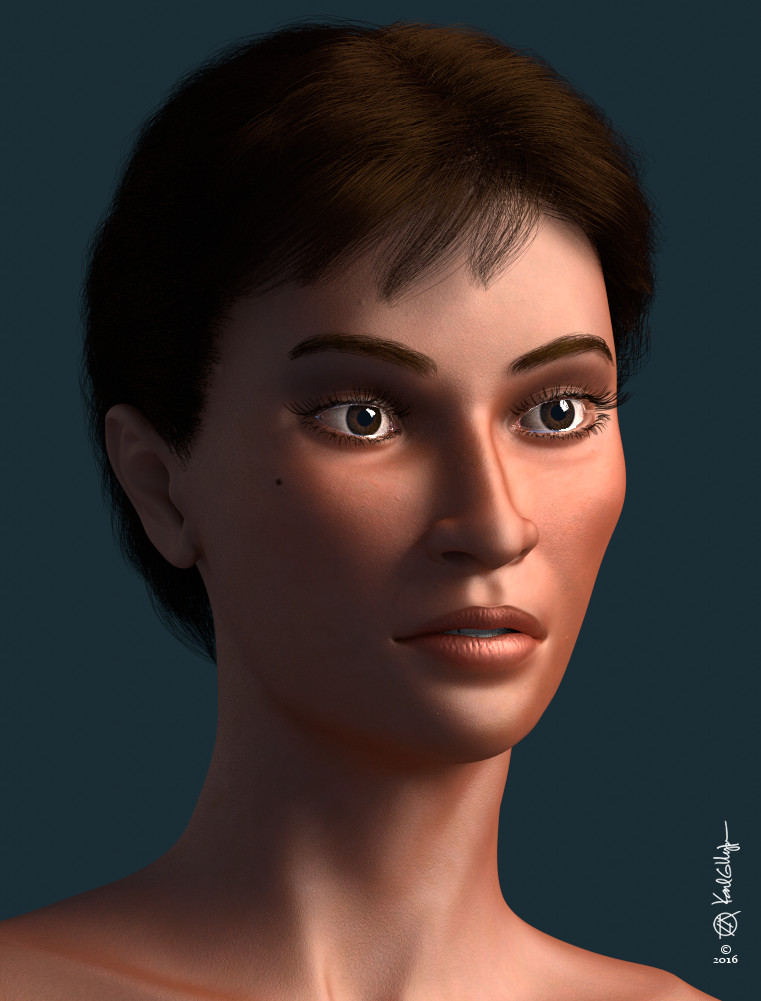
A Study in Umber
This is the last of the basic hair coloration schemes. I’ll be prepping the hair systems for placement on Blend Swap, so keep an eye here for a heads up if you’re interested in scoping my methods.
WOOW This is just amazing! I dream about this! Some day I’ll try to replicate. Amazing work, amazing anatomy! (I have much to learn!!! yeah)
Are you planing in add a relax and contract control of the muscle? in the example you put of a woman doing force with the braquial biceps, it seams relax, and not contract.
(just a small critic about the face, I find the eyes to be too separate compare to the whit of the nose. This relation has to do with the bones that made the superior maxilla, and the inner wall of the eye orbit (same bone). And the lacrimal (inner angle) it is to open. Hey, but maybe it is just an aestheticall choice, in that regard it is perfect)
@Tonatiuh: Thanks for the comments and crits, I’ll keep them in mind as I move forward. I have bone constraints in place intended to imitate muscle contraction & relaxation in the skin mesh, but now’s a good time to thoroughly review their functionality, as they were set up prior to the muscle system work. Some of them I have eliminated, others may need fine-tuning.
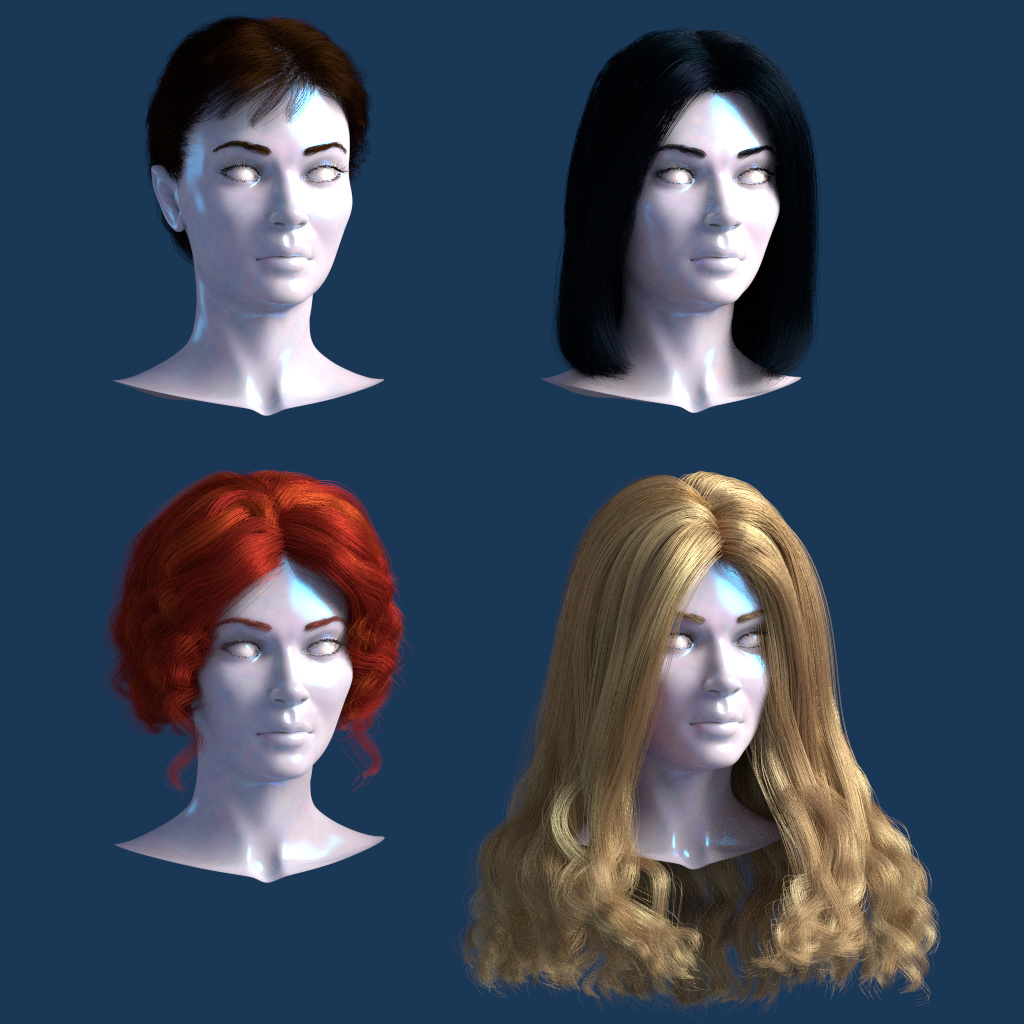
The .blend file with 4 hair system examples is now on Blend Swap (or will be as soon as it’s approved), look for Chip’s Hair Systems. Please feel free to posts questions or comments about them here in this thread.
Glad to see this project is still going on! It’s quite an undertaking. That red hair is quite captivating as well!
If you need some help with the movement physiology, I think I can help. In every movement, there are muscles that contract to approximate bones (concentric contraction) and muscles that contract to control separation of bones (eccentric contraction). A easy to see example is a jump, muscles contract to jump and muscles contract to control the fall (and not fall to the floor)
Amazing hair systems!!!