Mustang Animation Work in Progress Journal

Ground dust test, and another shot ‘finished’, which is code for ‘when I learn or improve something in the next shot I will go back and add it to this one too’. Need to add some of these elements of the environment and lighting into the previous shot at some point. Colour grading has also been re-thought as I have opted remove the yellow tones now. Looks more natural this way without losing the bold red.

Tried adding various debris and junk to the floor but it never really felt right and distracted from the car. Which I feel the blowing dust does a little too, but that’s open for feedback.

Despite playing with the clamping values, the denoising on the windscreen is quite noticeable. This is at 1000 samples, and increasing to two or even three-thousand doesn’t really help much unfortunately. Will have to try something else.

Newspapers blowing about also didn’t look right, so scrapped that early on.

4 Likes

I feel like something needs to be in the fore ground, maybe some sort of parts to work on the car, or a jack or something like that. But it really matters how you feel about it.

1 Like

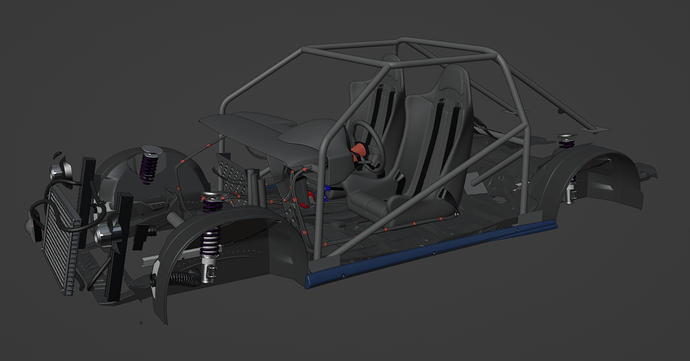
Minor update: I am quite deep into modelling chassis parts as well as sourcing chassis parts from stock models to save some time. I don’t intend to do macro close-ups of this part, and they won’t be on screen for more than 5 seconds, but it still represents a lot of work, especially as this all needs re-texturing before lighting and rendering.

Even if I don’t use much of these stock models, they are a useful reference and starting point for some parts.


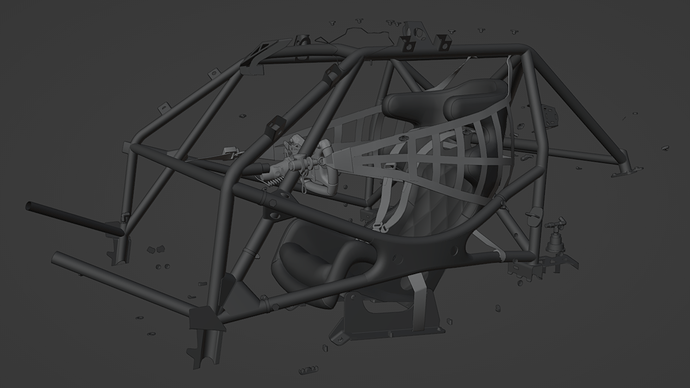
Main chassis taken from a Subaru Impreza WRX model included with the Launch Control car rigging add-on, Will adapt the tubular parts to fit the silhouette of the Mustang and try to use the wiring looms, which I am worried may take more time to adapt than just to remake.


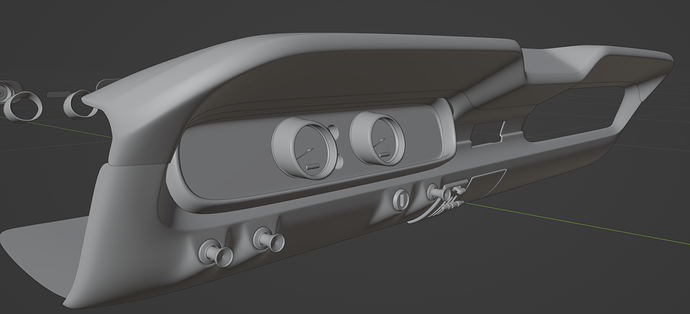
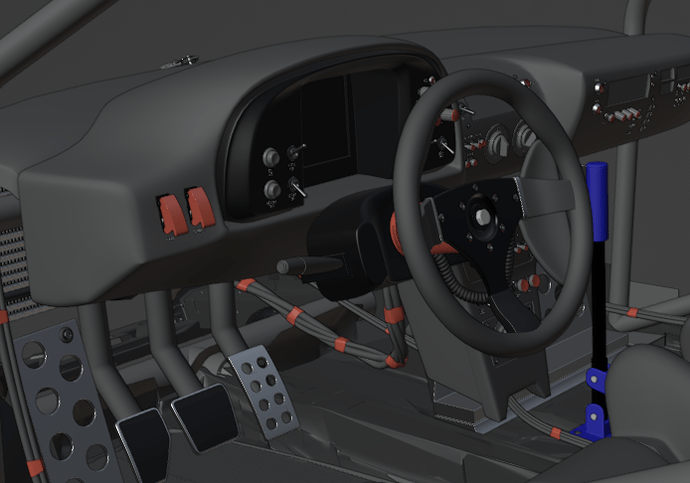
The dashboard on this is detailed at this distance, more than enough, but I need to take these elements and adapt them to my work in progress Mustang parts (see below). I like the steering wheel from the Subaru as it is 90s ‘modern’, not saturated with buttons, dials and screens like a car from 2024. A nice stop-gap between '65 Mustang and now. Things like the basic foot pedals will need remodeling, and the wheel needs something where the parts connect, as they are just overlapping geometry.


My own adaptation of the Mustang dashboard.

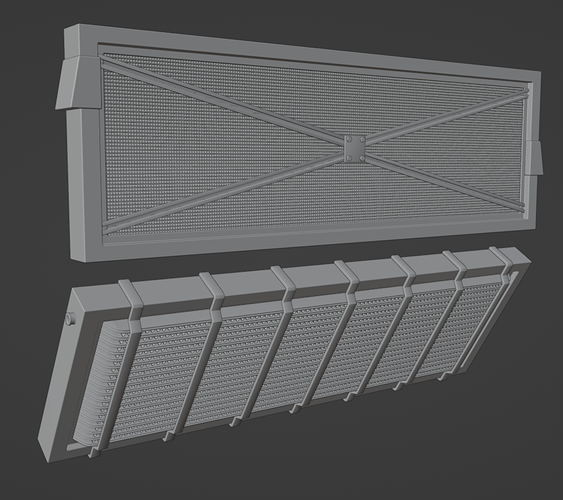
My own radiator models to fit my modernised custom Mustang


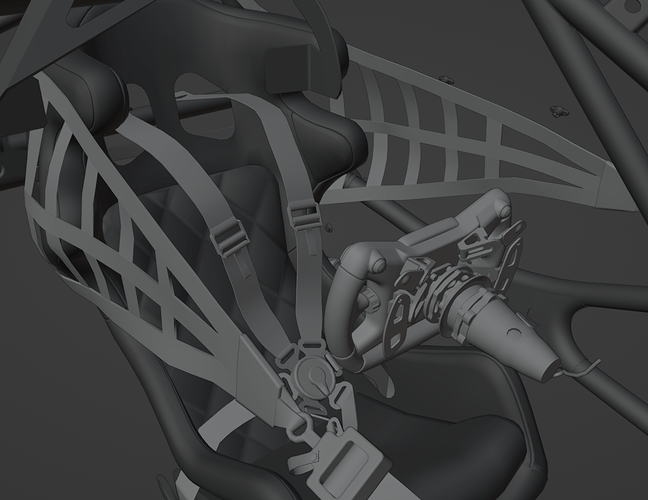
Taken from a Porsche model on Sketchfab This is unfortunately in tris not quads, so I will remodel a lot of this most likely. Namely the nice door parts of the tubular frame and the netting.

Another view of that Porsche netting.

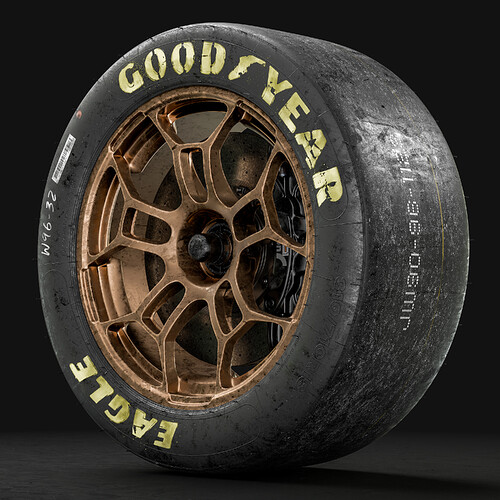
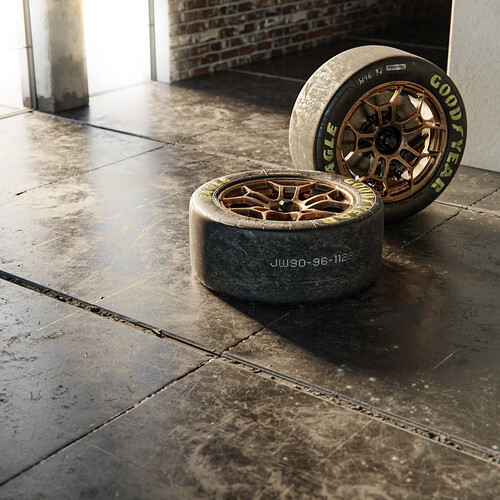
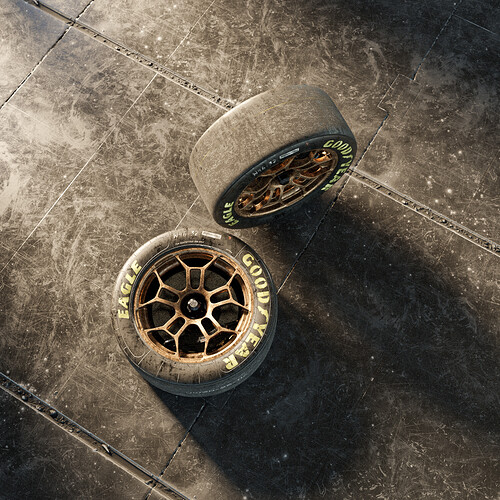
Also an update to tyre, with a retro-themed Goodyear logo and overspray (still unsure about using a yellow Goodyear logo). I have updated the rim shader to include some edge detection wear-and-tear, which are some nodes I created when developing the shader for the dirty abandoned '65 Mustang seen in the last post.


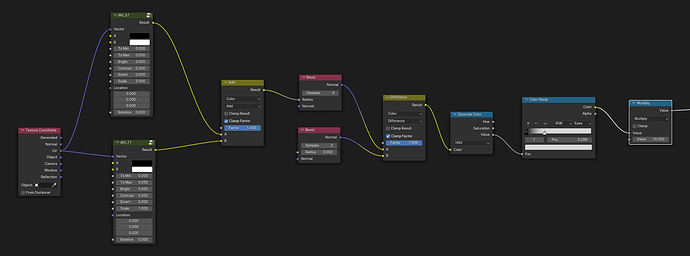
The nodes for said edge detection with wear, it is more visible in the shots of the car body from the previous post. The grouped nodes are roughness images from the Realistic Touch add-on, you could use a noise/voronoi/musgrave or whatever you like in place of these.

Personal note: The Realistic Touch add-on is fine, however it is essentially a lazy-mans go-to for adding preset roughness textures to the shader editor via the asset library. I still use my old library of roughness texture images.
2 Likes

Some ground texture tests. I do often enjoy just mixing textures together in Blender’s shader editor. A mix of procedural and image-based to create this one.

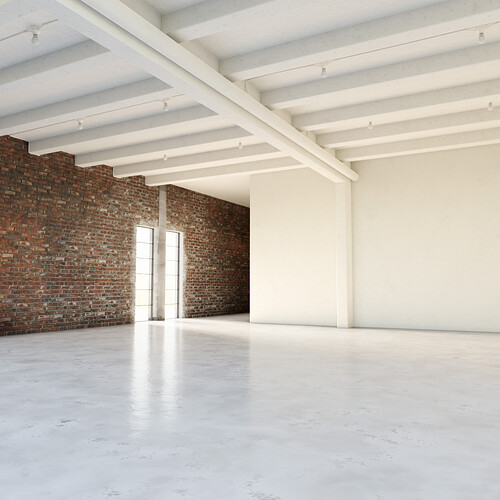
The amazing artists at Make Haste Corp have released some new work recently which is nice reference for a ‘clean’ garage scene. I did an internal render test in late 2022, which I have used as a starting point for my own garage scene, although it will look quite different by the end I imagine:

I was never especially happy with the concrete texture on the walls, it is basically non-existent and settled for simpler is better than over-complicated rubbish in this instance. Looking back I am surprised I struggled with the concrete texture, given I did a lot of work on the brick texture and that came out great.

I did however have to do various concrete texture variations for a job recently, so that was a handy earn-while-I-learn:


These images are in the public domain now, clients don't normally put imagery up so fast, handy. Of course these textures are 75% derived from images I have sourced online.

So here’s the ground texture tests I mentioned at the beginning:


Tyres included for context and to see if their materials stand up to a more natural lighting environment. Quite happy with this, now for the walls.

2 Likes

New shot, which is going to replace a previous side-on shot that I wasn’t happy with. Slow progress, but it’s positive steps.

This new shot is also in the works, where we transition to the ‘clean’ garage for tear-down and rebuild. This needs populating with some tools but I do want it to stay relatively sparse, but I like this lighting. This will use the floor and concrete wall explorations I talked about in the previous post.

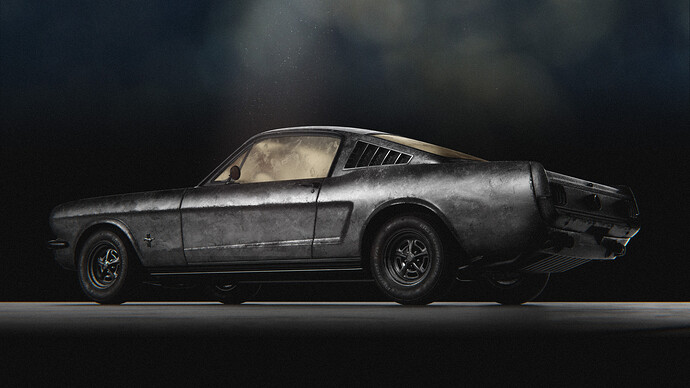
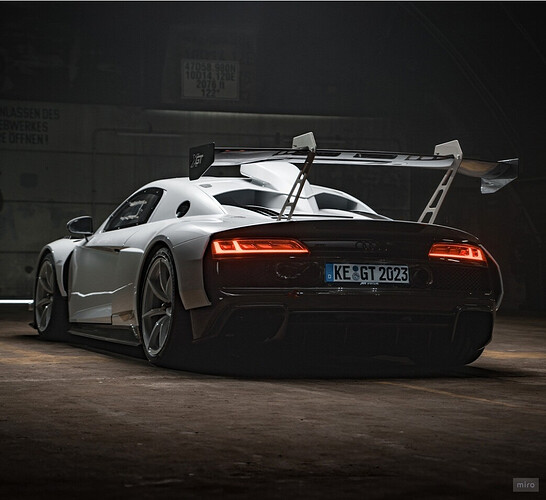
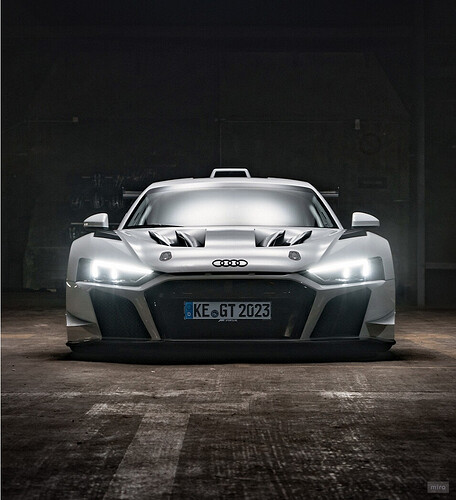
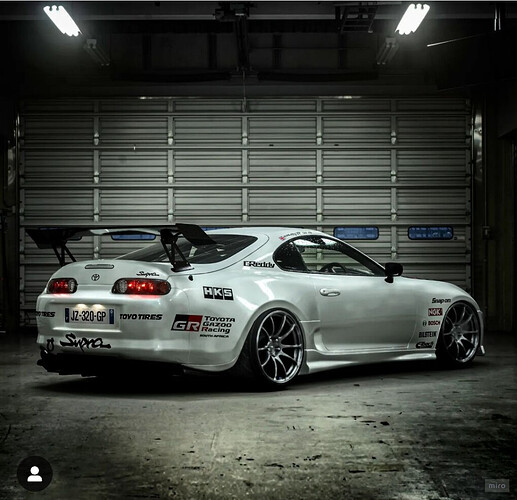
These are the main references, so you can see what the goal is: Big spotlight over the top, dark subtle hints of modern workshop/garage/pit-garage. This will eventually be used in a brighter context for the cliche garage door opens and car drive out to pitlane shot/s:


Unfortunately I have lost track of the source for these reference images. I have a habit of screenshotting Instagram posts to send to myself, putting them on a Miro board.

4 Likes

A quick update as I have been MIA for a month now on this project.

I have started a 12-month contract working as a part of a large team that uses Blender alongside 3DS Max, VRay, Unity and a host of other software I have never touched before.

Once I have settled in more, I will return…

1 Like