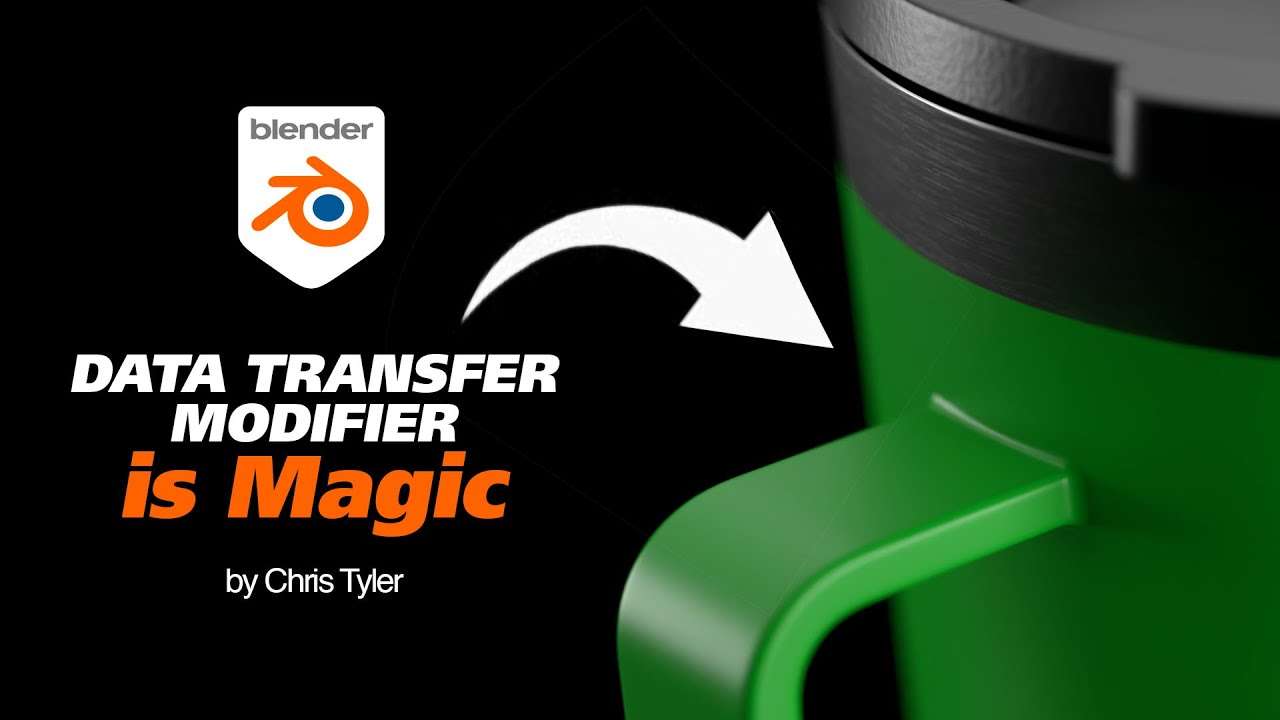
Yes there is a way to do more precise blending than the method I showed. See this video by Christopher3D. It uses the Shrinkwrap and Data Transfer modifier to blend just the connecting edge instead of a globby metaball effect:
Also, I don’t know if this is the look you’re going for, but I had another idea inspired by this Kev Binge video:
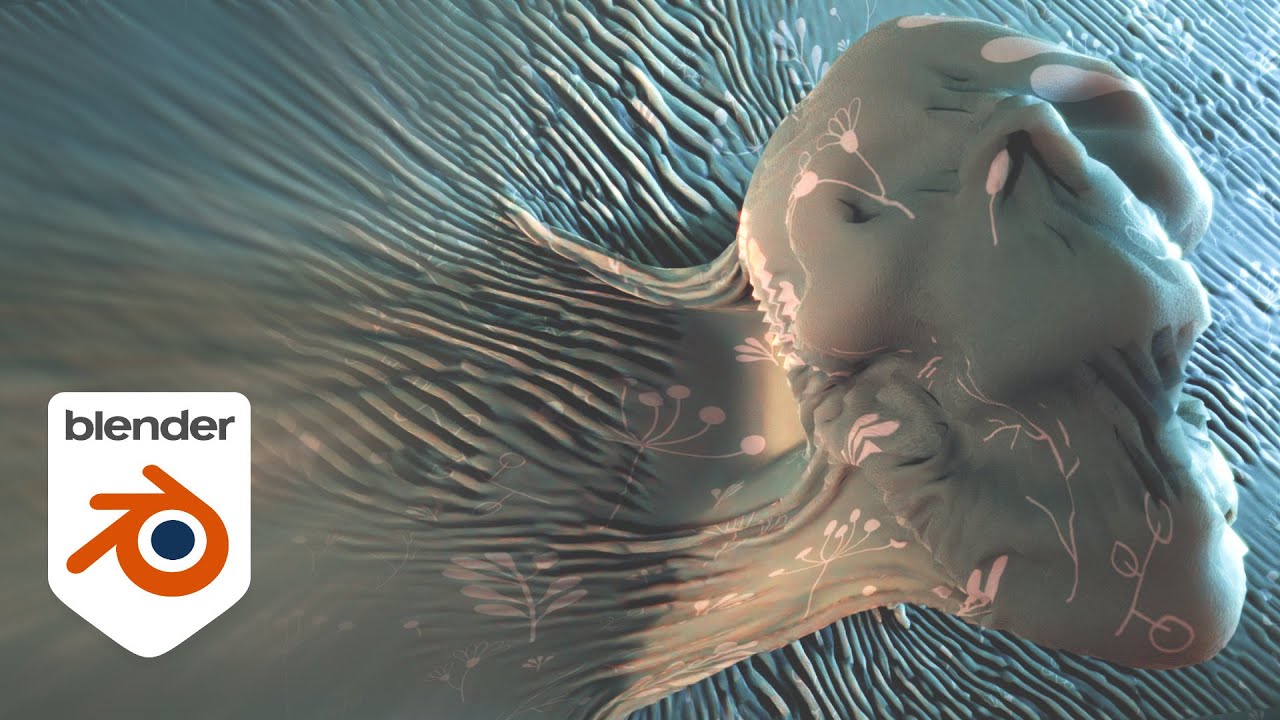
For your case the idea would be:
- Grab a chunk of the character’s back where you want to arm to come from and duplicate it into a separate mesh. Give it a high subdivision surface and a cloth modifier. Similarly, grab an extra arm and give it a collision modifier (and maybe decimate it a bit so the collisions require less computation).
- Normal blending to hide the seam.
- Animate the arm pushing through the cloth a little, just enough to give the viewer an idea of what is happening…
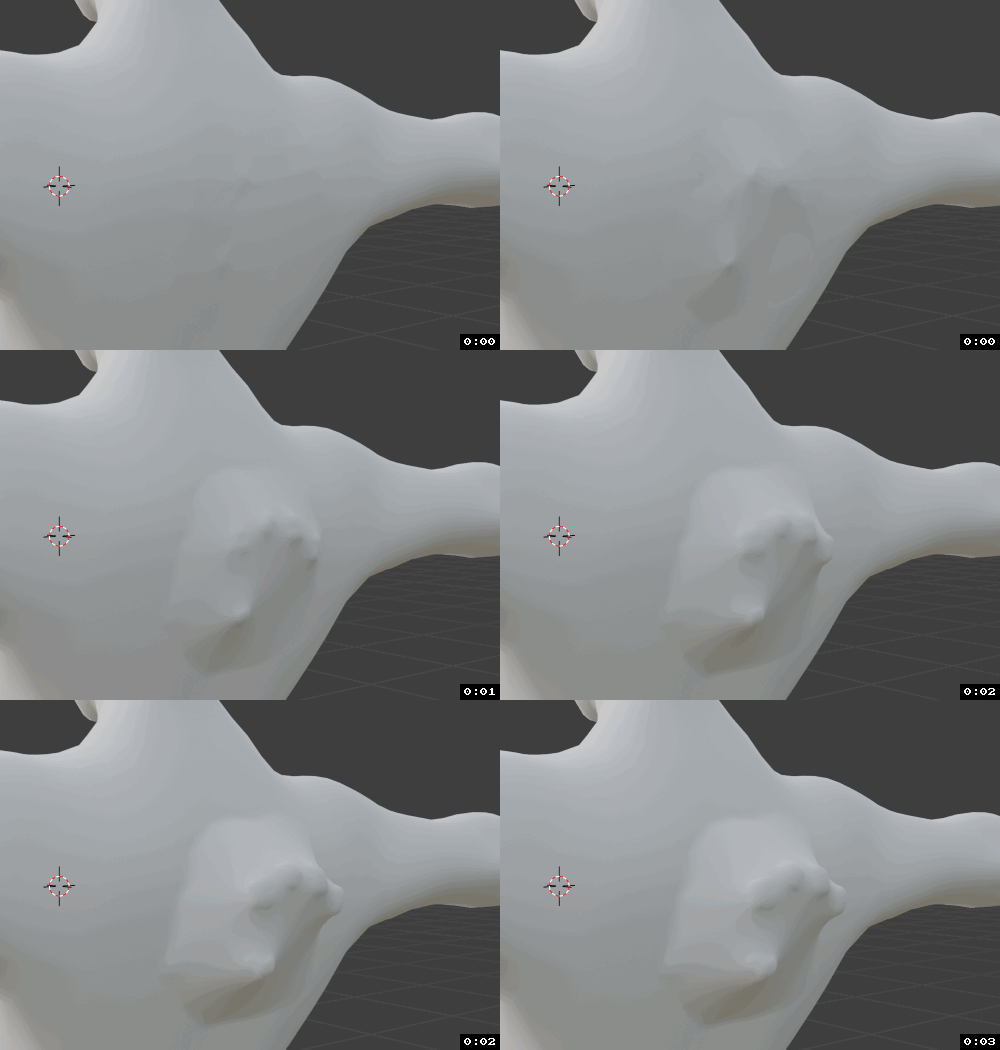
(If you were to animate the fingers it would look creepier too) - …and then as @sozap suggested, use some camerawork to hide the complicated area and save cloth simulation wait time. You could change the shot to focus on the side/front of the character, such that most of the character’s back is hidden but you can still see the mutant arm. And you could switch to a full-resolution copy of the arm now that you don’t have to worry about simulating.
Here is the .blend I used to make the gif:
mutant_arm_cloth.blend (3.7 MB)
And, the human mesh was made by Jeacom: Free basemeshes