Hi all,
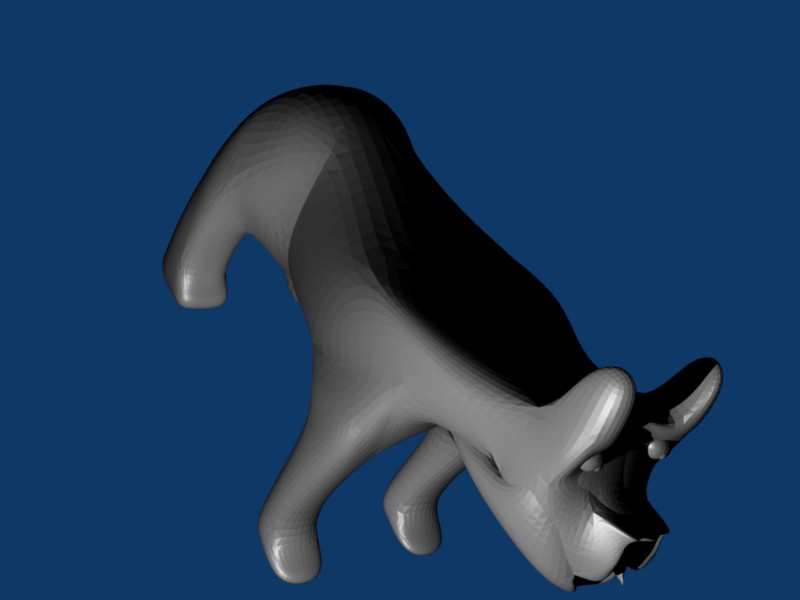
This is my first post on these forums. I’ve only been using Blender for a week, so I’m still a complete n00b!:o Just thought I’d share a project I’ve been working on. It’s a dog-pig thing(I’m not very artsy, as you can see!) and I’m quite proud of it, as a first work in Blender. I think I got the body done quite nicely, but the head, eyes, and jaw still need a lot of work. Obviously texturing, lighting etc. still need to be done.
What do you think of it?
Well… I guess that’s quite a nice dog…er…pig 
Try smoothing your character instead of using solid. In edit mode, select all by press W and then set Smooth.
Also try to put sockets for the eyes instead of just balls on top of the head.
I would also suggest extruding the front paws a bit towards the bottom and then match the back paws with it.
Other than that - welcome!
you need to scale the two verts at the back of its shoulders. also ether have no indent by the eyes or add actual sockets(extrude indevidual face scale down by indevidual centers then repeat to form actual socket)
You’re off to a good start, but let me give you a few modelling suggestions. When you are modelling with a low poly cage, as you are doing, it’s best to use quads instead of triangles. Most of the time, details should be added, not by subdividing a localized area, but by making loop cuts, and extruding. There’s a thread in basics and interface that I started called ‘modelling techniques and strategies’, that is kind of old, but it covers alot of basic modelling know how. It goes into depth on the quads vs tris issue a few pages in. There are many new tools and means at our disposal with recent versions, that weren’t covered in the thread, since they didn’t exsist at the time, but one thing, you’ll definately want to check out, which is not covered, is the sculpt brush. But , to get the full benefits of the sculpt brush, it’s good to know how to make a nice solid base mesh, out of quads. Also, you’ll want to try out ‘multires’ which is like subsurfacing, only when you go up in multires levels, the vertices become denser, and so, can be manipulated, by regular modelling techniques, or the sculpt brush, on a fine level. And the great thing about it, is, if you need to make general changes to your model, you can go back to a low multires level, make some changes to it as a low poly model, and then go back up a couple of levels, and the high polly version will reflect the changes you made at the low level. I hope that’s not too much information, anyway, it’s all explained in the release notes. It’s always a good idea to familiarize yourself with the release notes for all versions, just to get an idea of all the stuff blender can do, and get some basic documentation on it. You can get to the release notes using the same link, on the homepage, that you would click to download blender.