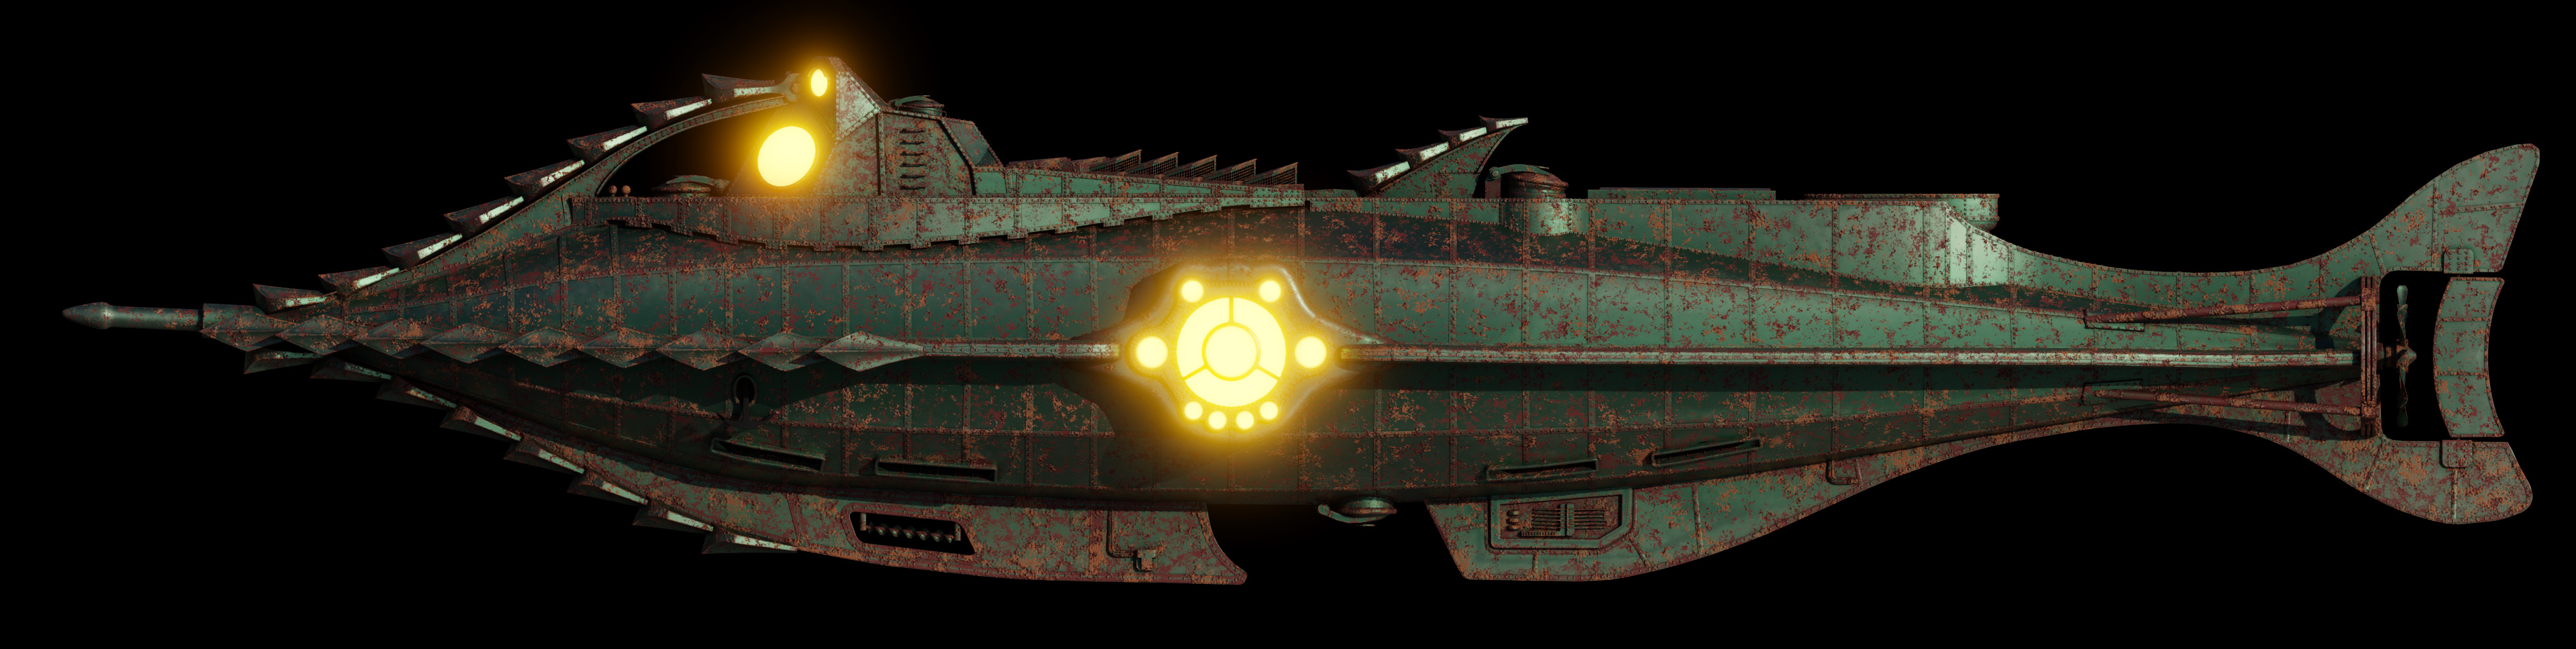
Thumbnail update:
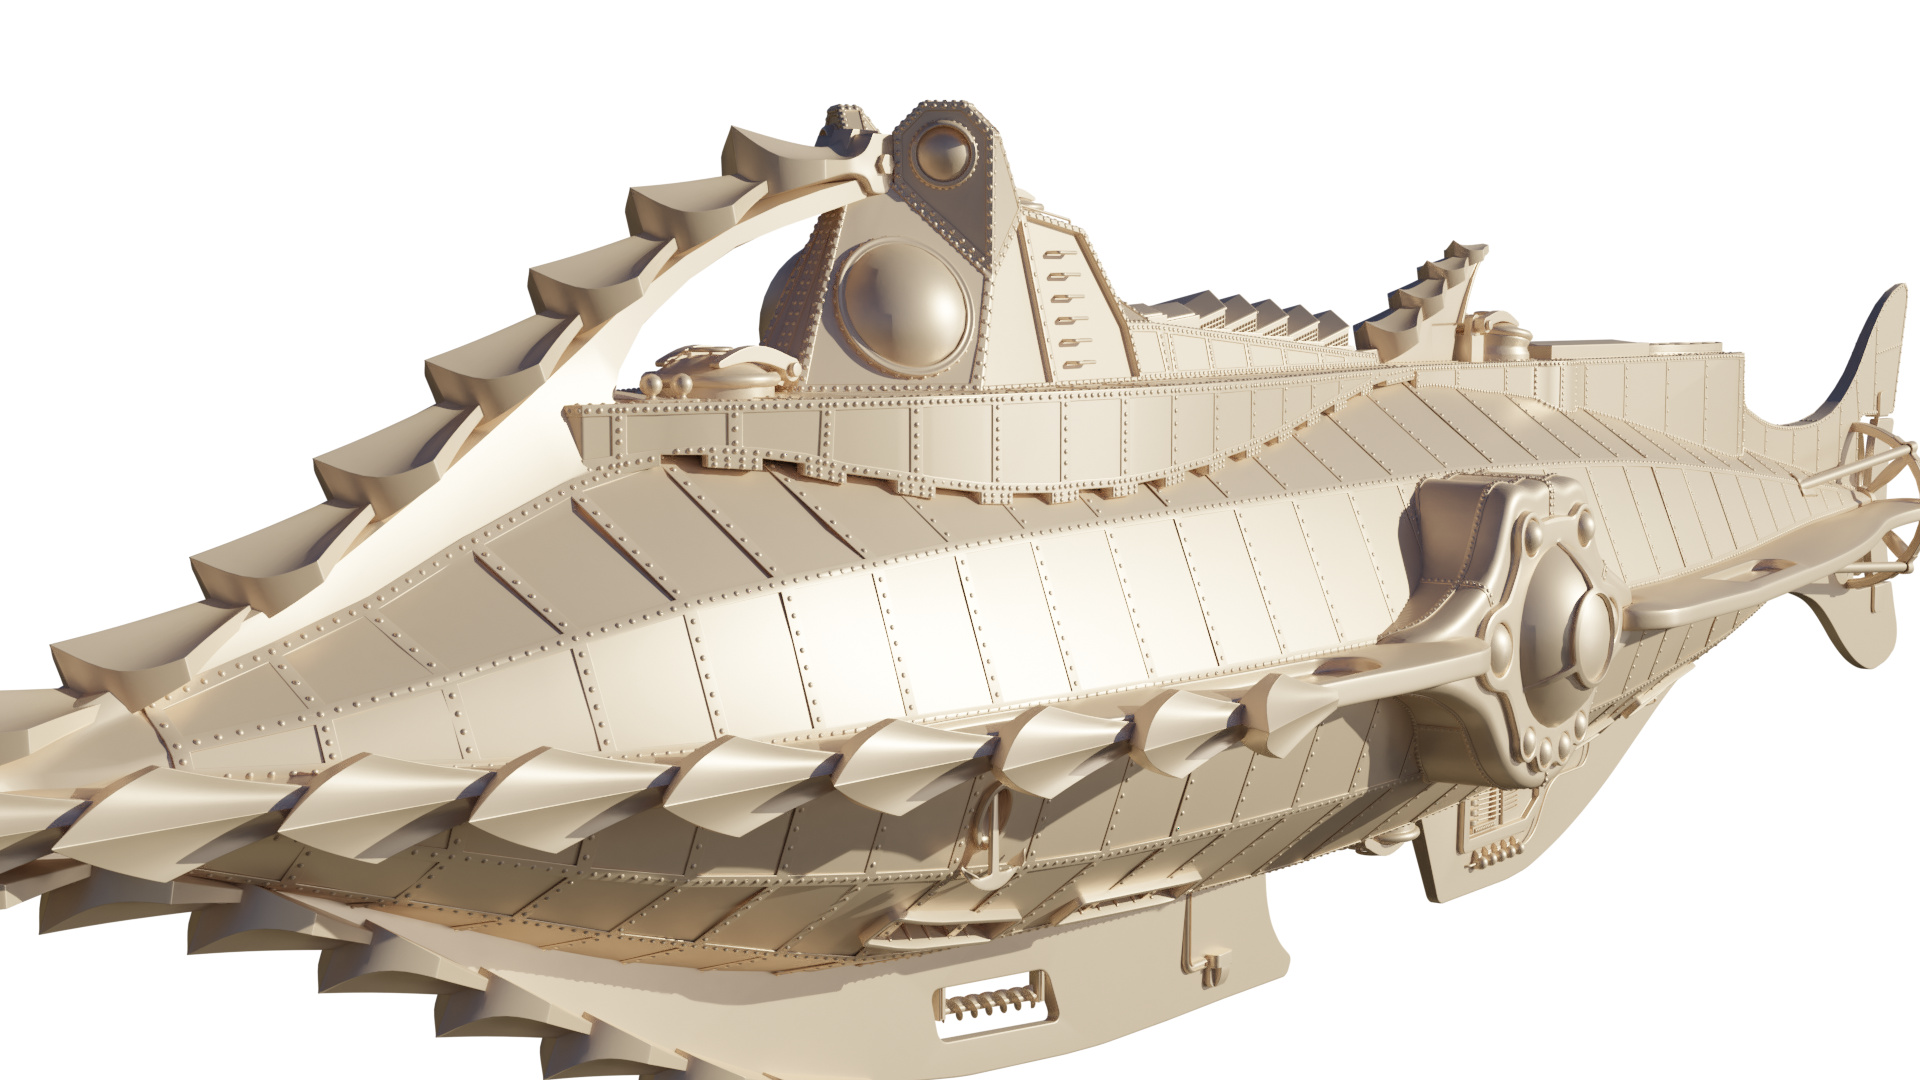
Been working on this for a bit. For the past few days I have just been placing rivots. Still a ways to go with those as you can seem some blank areas lacking detail.
Thumbnail update:
Been working on this for a bit. For the past few days I have just been placing rivots. Still a ways to go with those as you can seem some blank areas lacking detail.
Very nice. It’s an iconic design. Looking forward to your progress.
Most of the riveting is done - just the top two fin pieces are left.
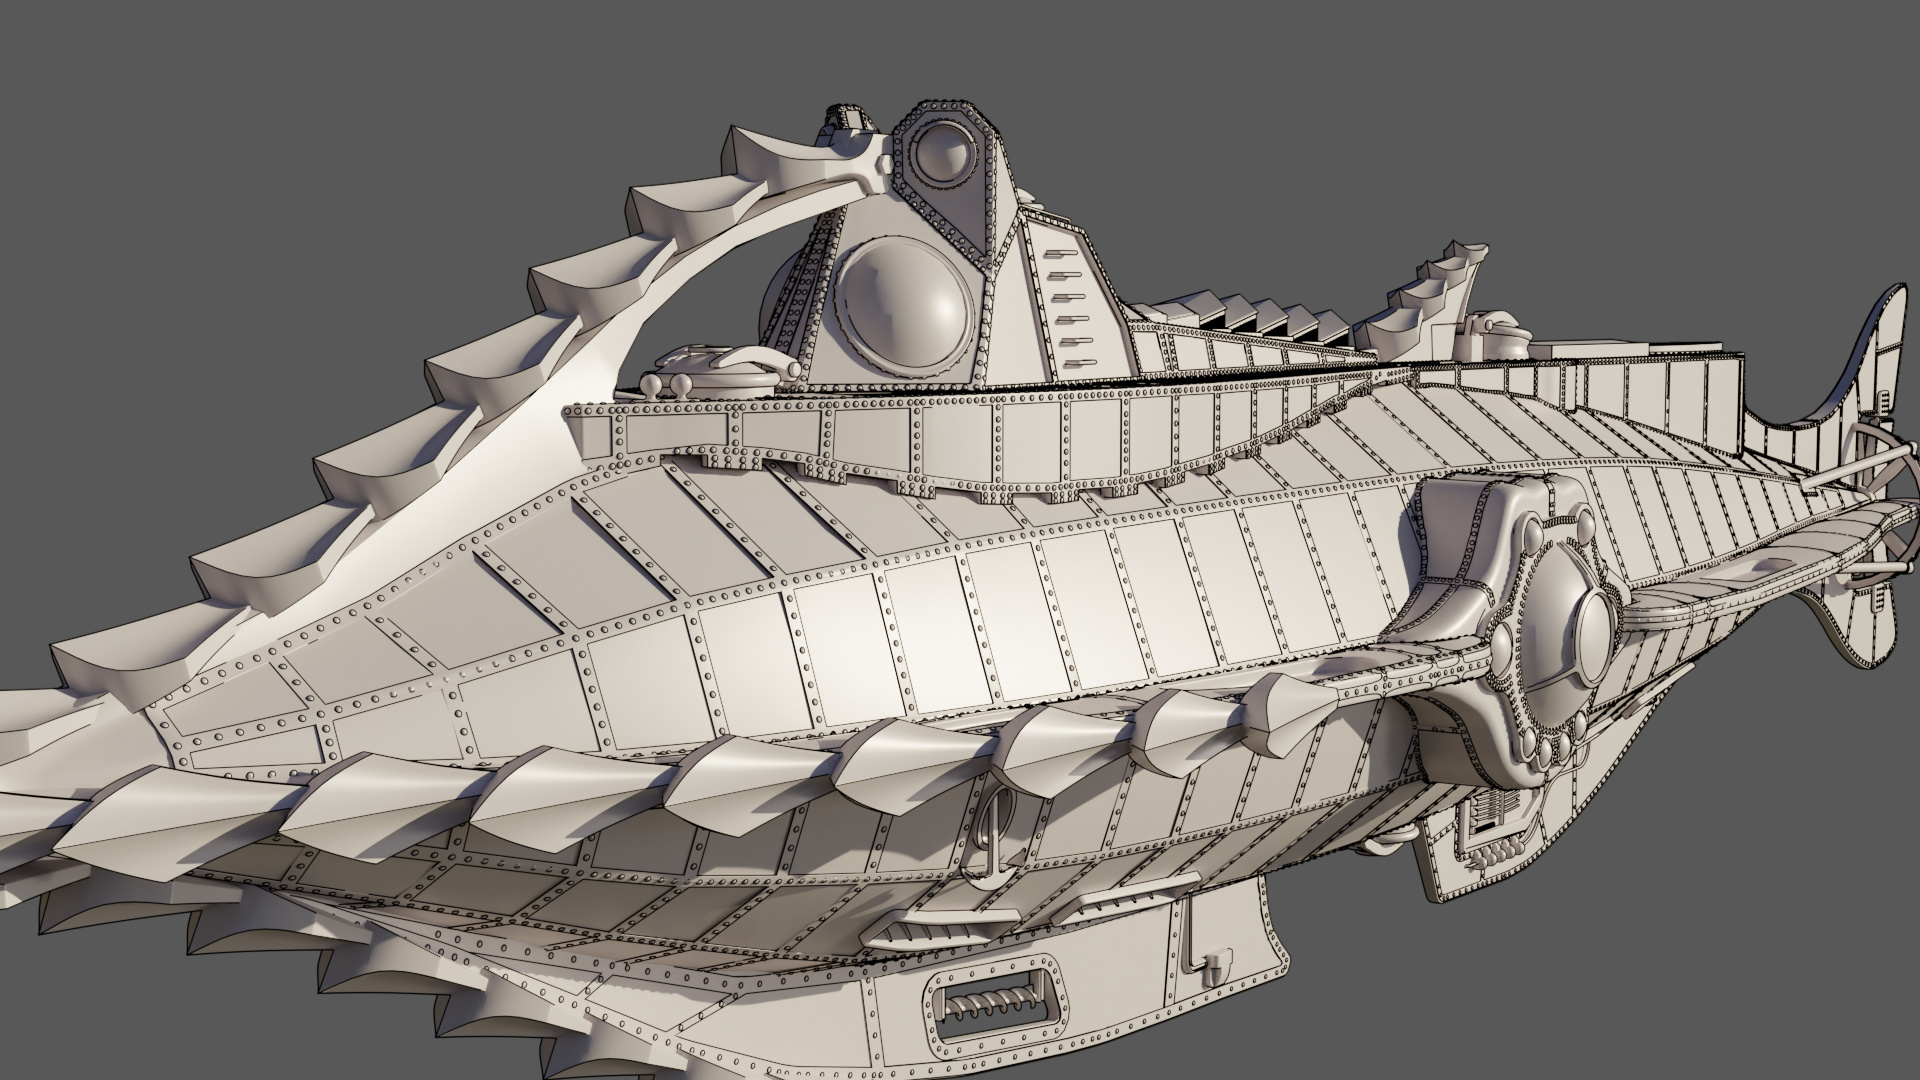
My technique for riveting works pretty well:
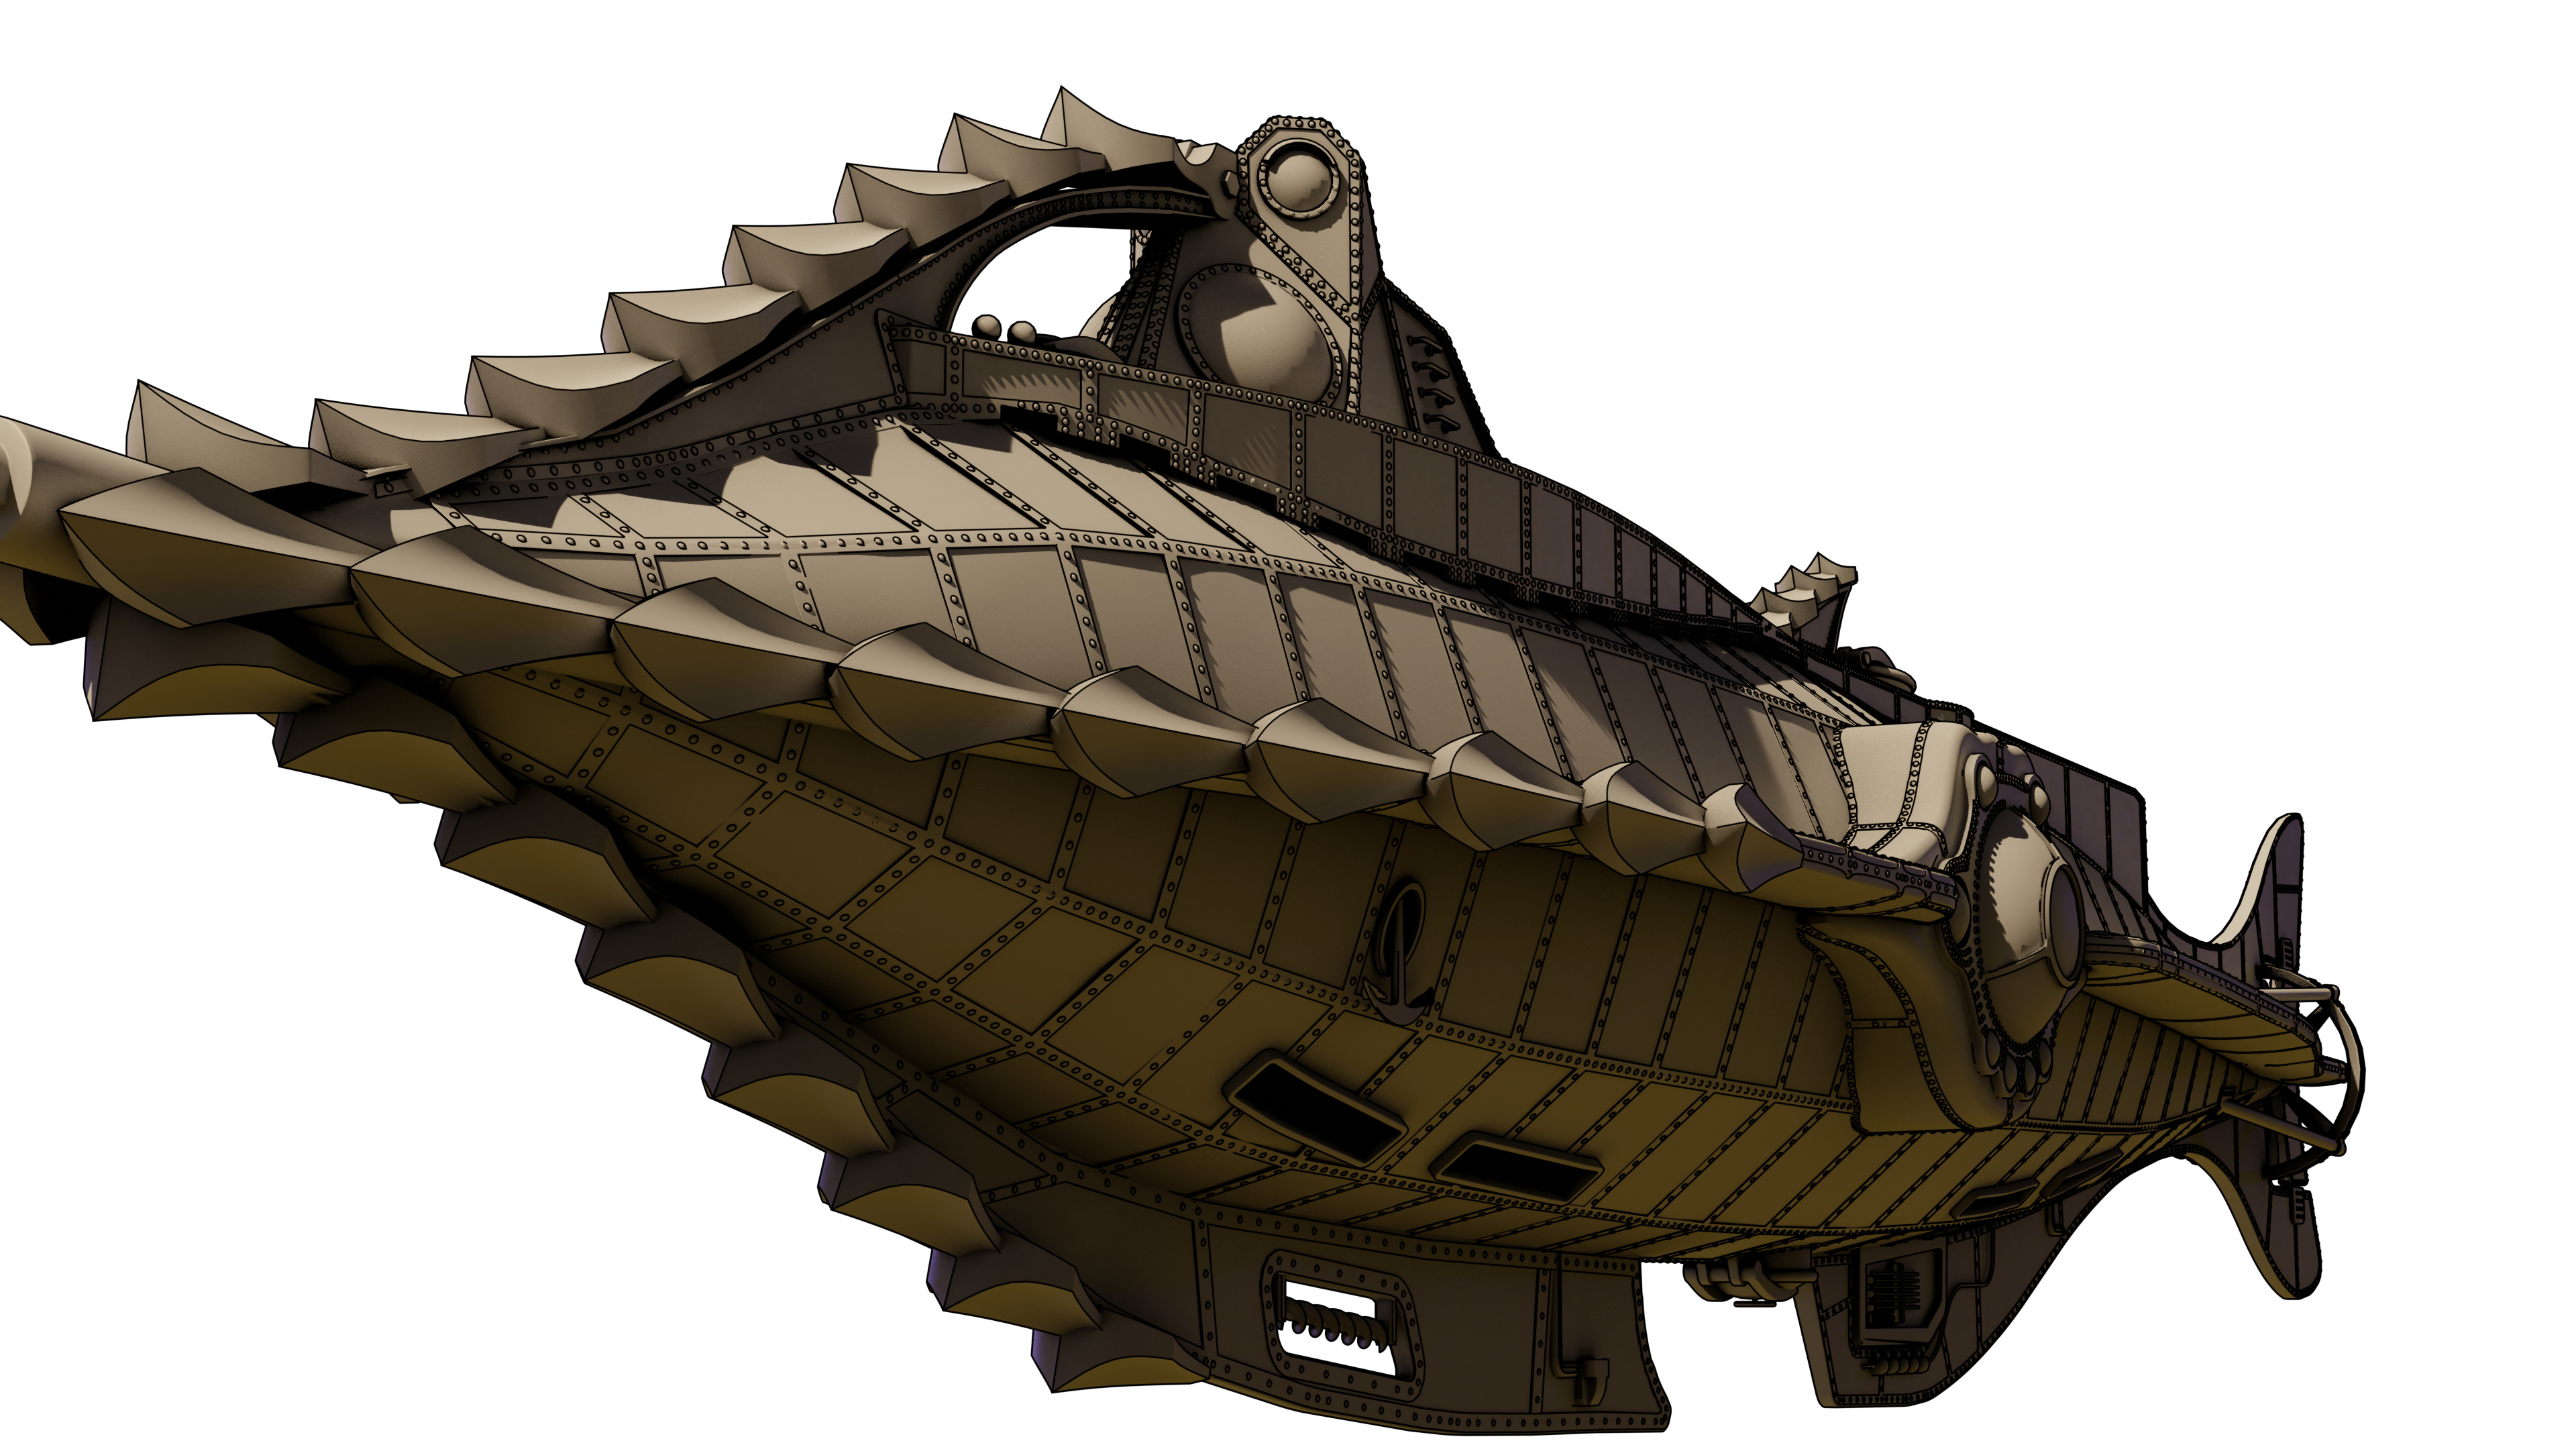
Working on main hull texture - all procedural textures.
For the texturing, I learned a lot from the “Become a Material Guru” course:
https://www.udemy.com/course/become-a-material-guru-in-blender-cycles/
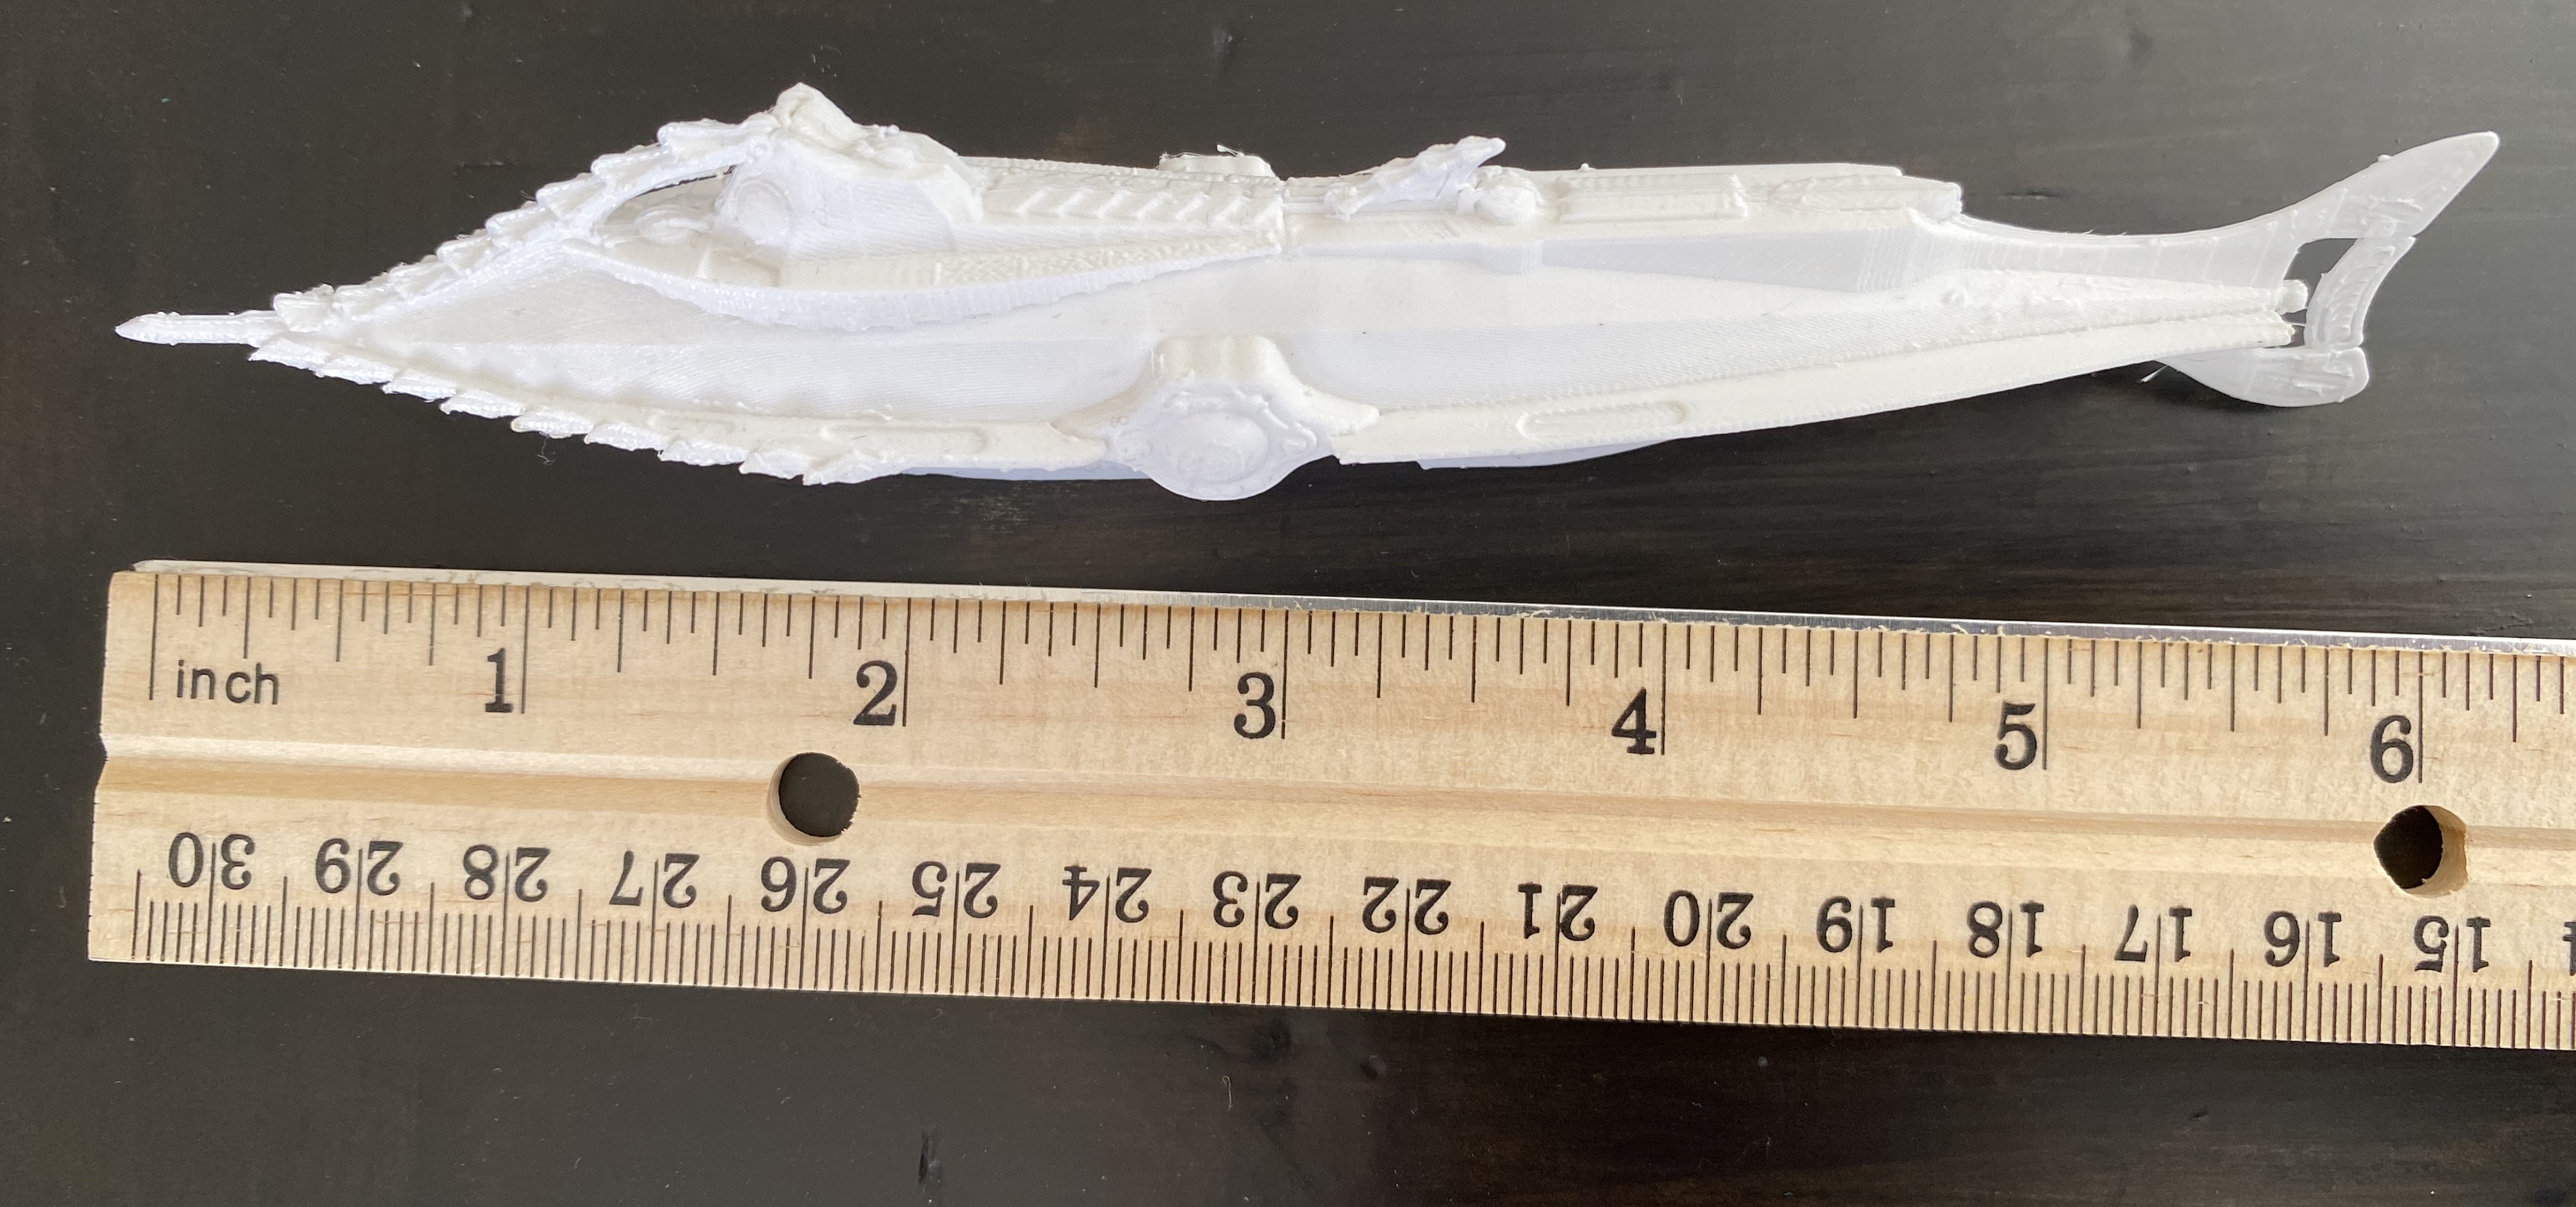
I decided to see if I could 3d print this one. I have a basic PLA printer: Qidi Xmaker
I did it in the simplest way to see how sloppy I could be.
I removed the mirror modifiers to get half a model (that way would minimize print overhang).
Applied all other modifiers.
Selected all parts and press ctrl+J.
Duplicated the half, then scaled in Y direction by -1 to get mirror image, then applied the scale.
On both halfs I recalculated ourside for the normals.
Print!
I didn’t worry about non-manifold or anything and it worked pretty well.
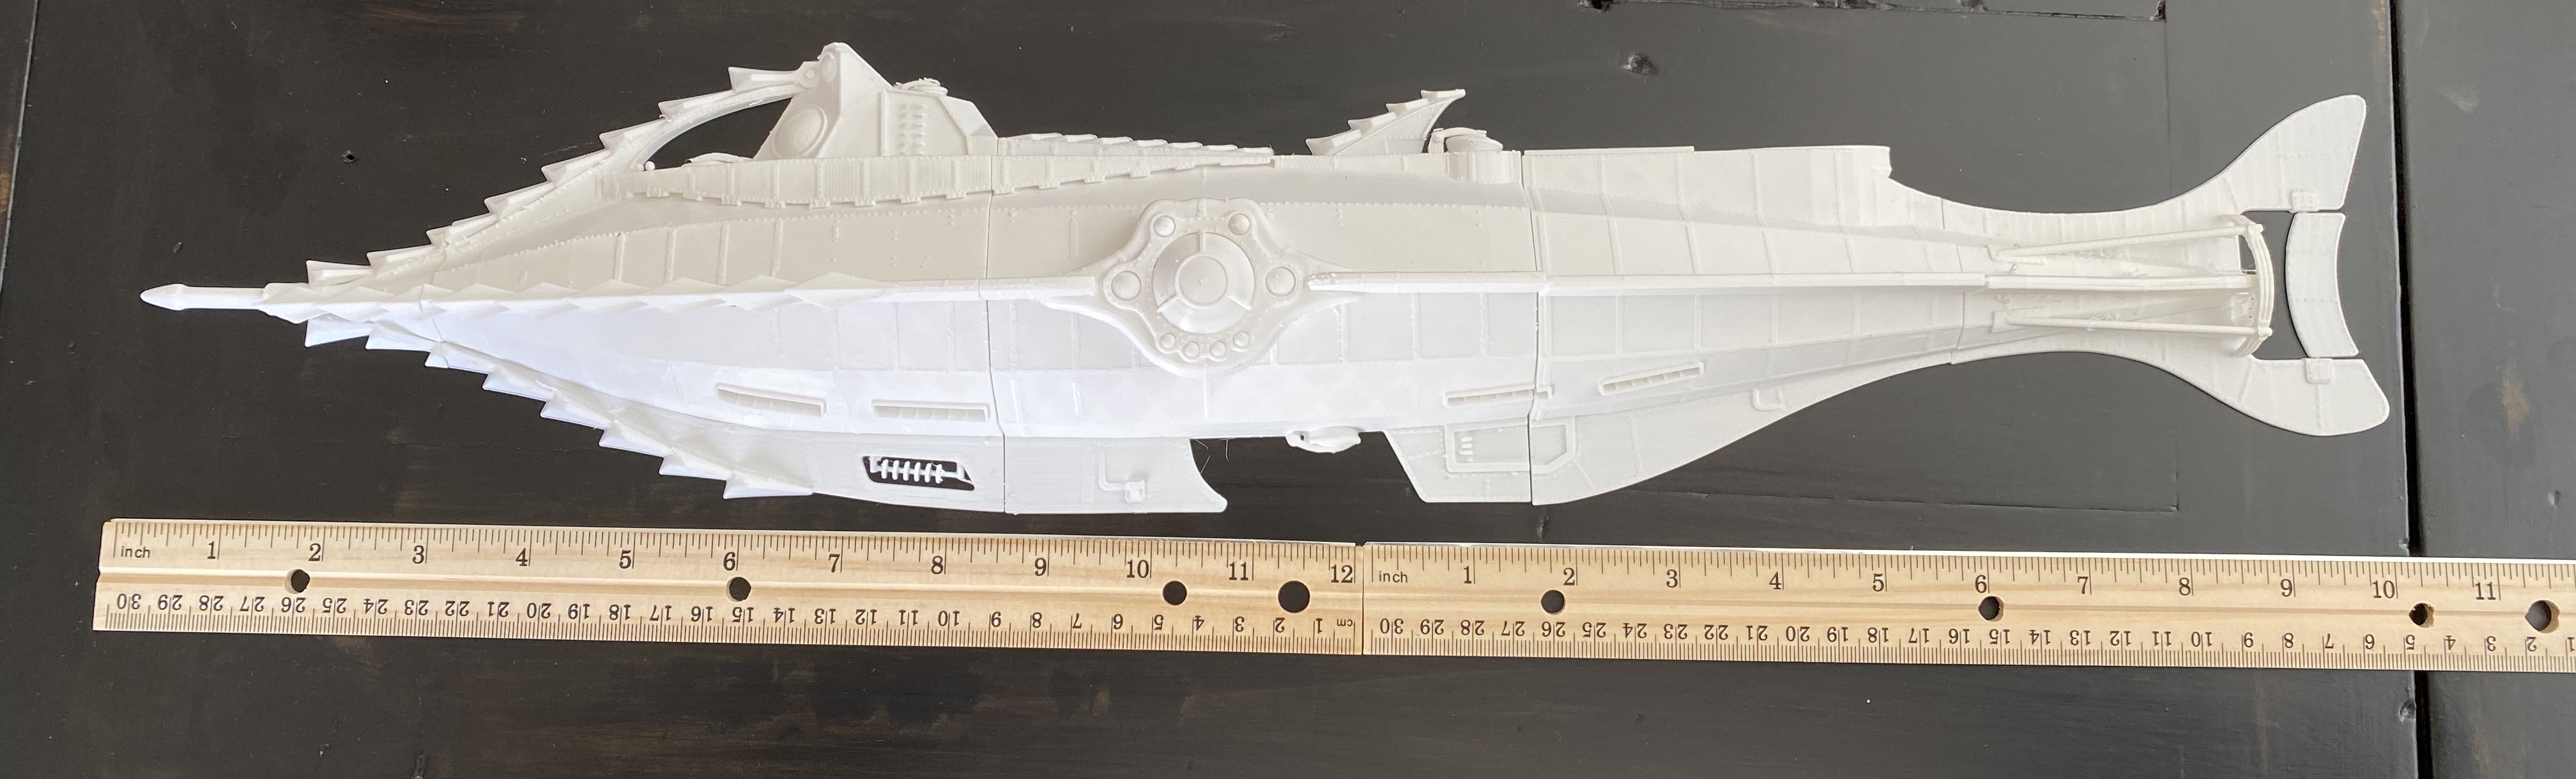
I then decided I needed a big version. I did essentially the same thing, but sliced the model into pieces that would fit the build plate. These took more work as it was then more sensitive to non-manifold geometry. Each part probably took an hour or two of adjusting to make sure it would print cleanly.
All the parts took about 90 hours to print in total. The largest pieces took about 13 hours.
I had the printer set on “extra fine” to get as clean a print as I can.
The propeller was difficult to find a flat way to print.
Next up - clean up with a hobby knife, then will glue it all together, paint, display stand etc.
Great model & print 
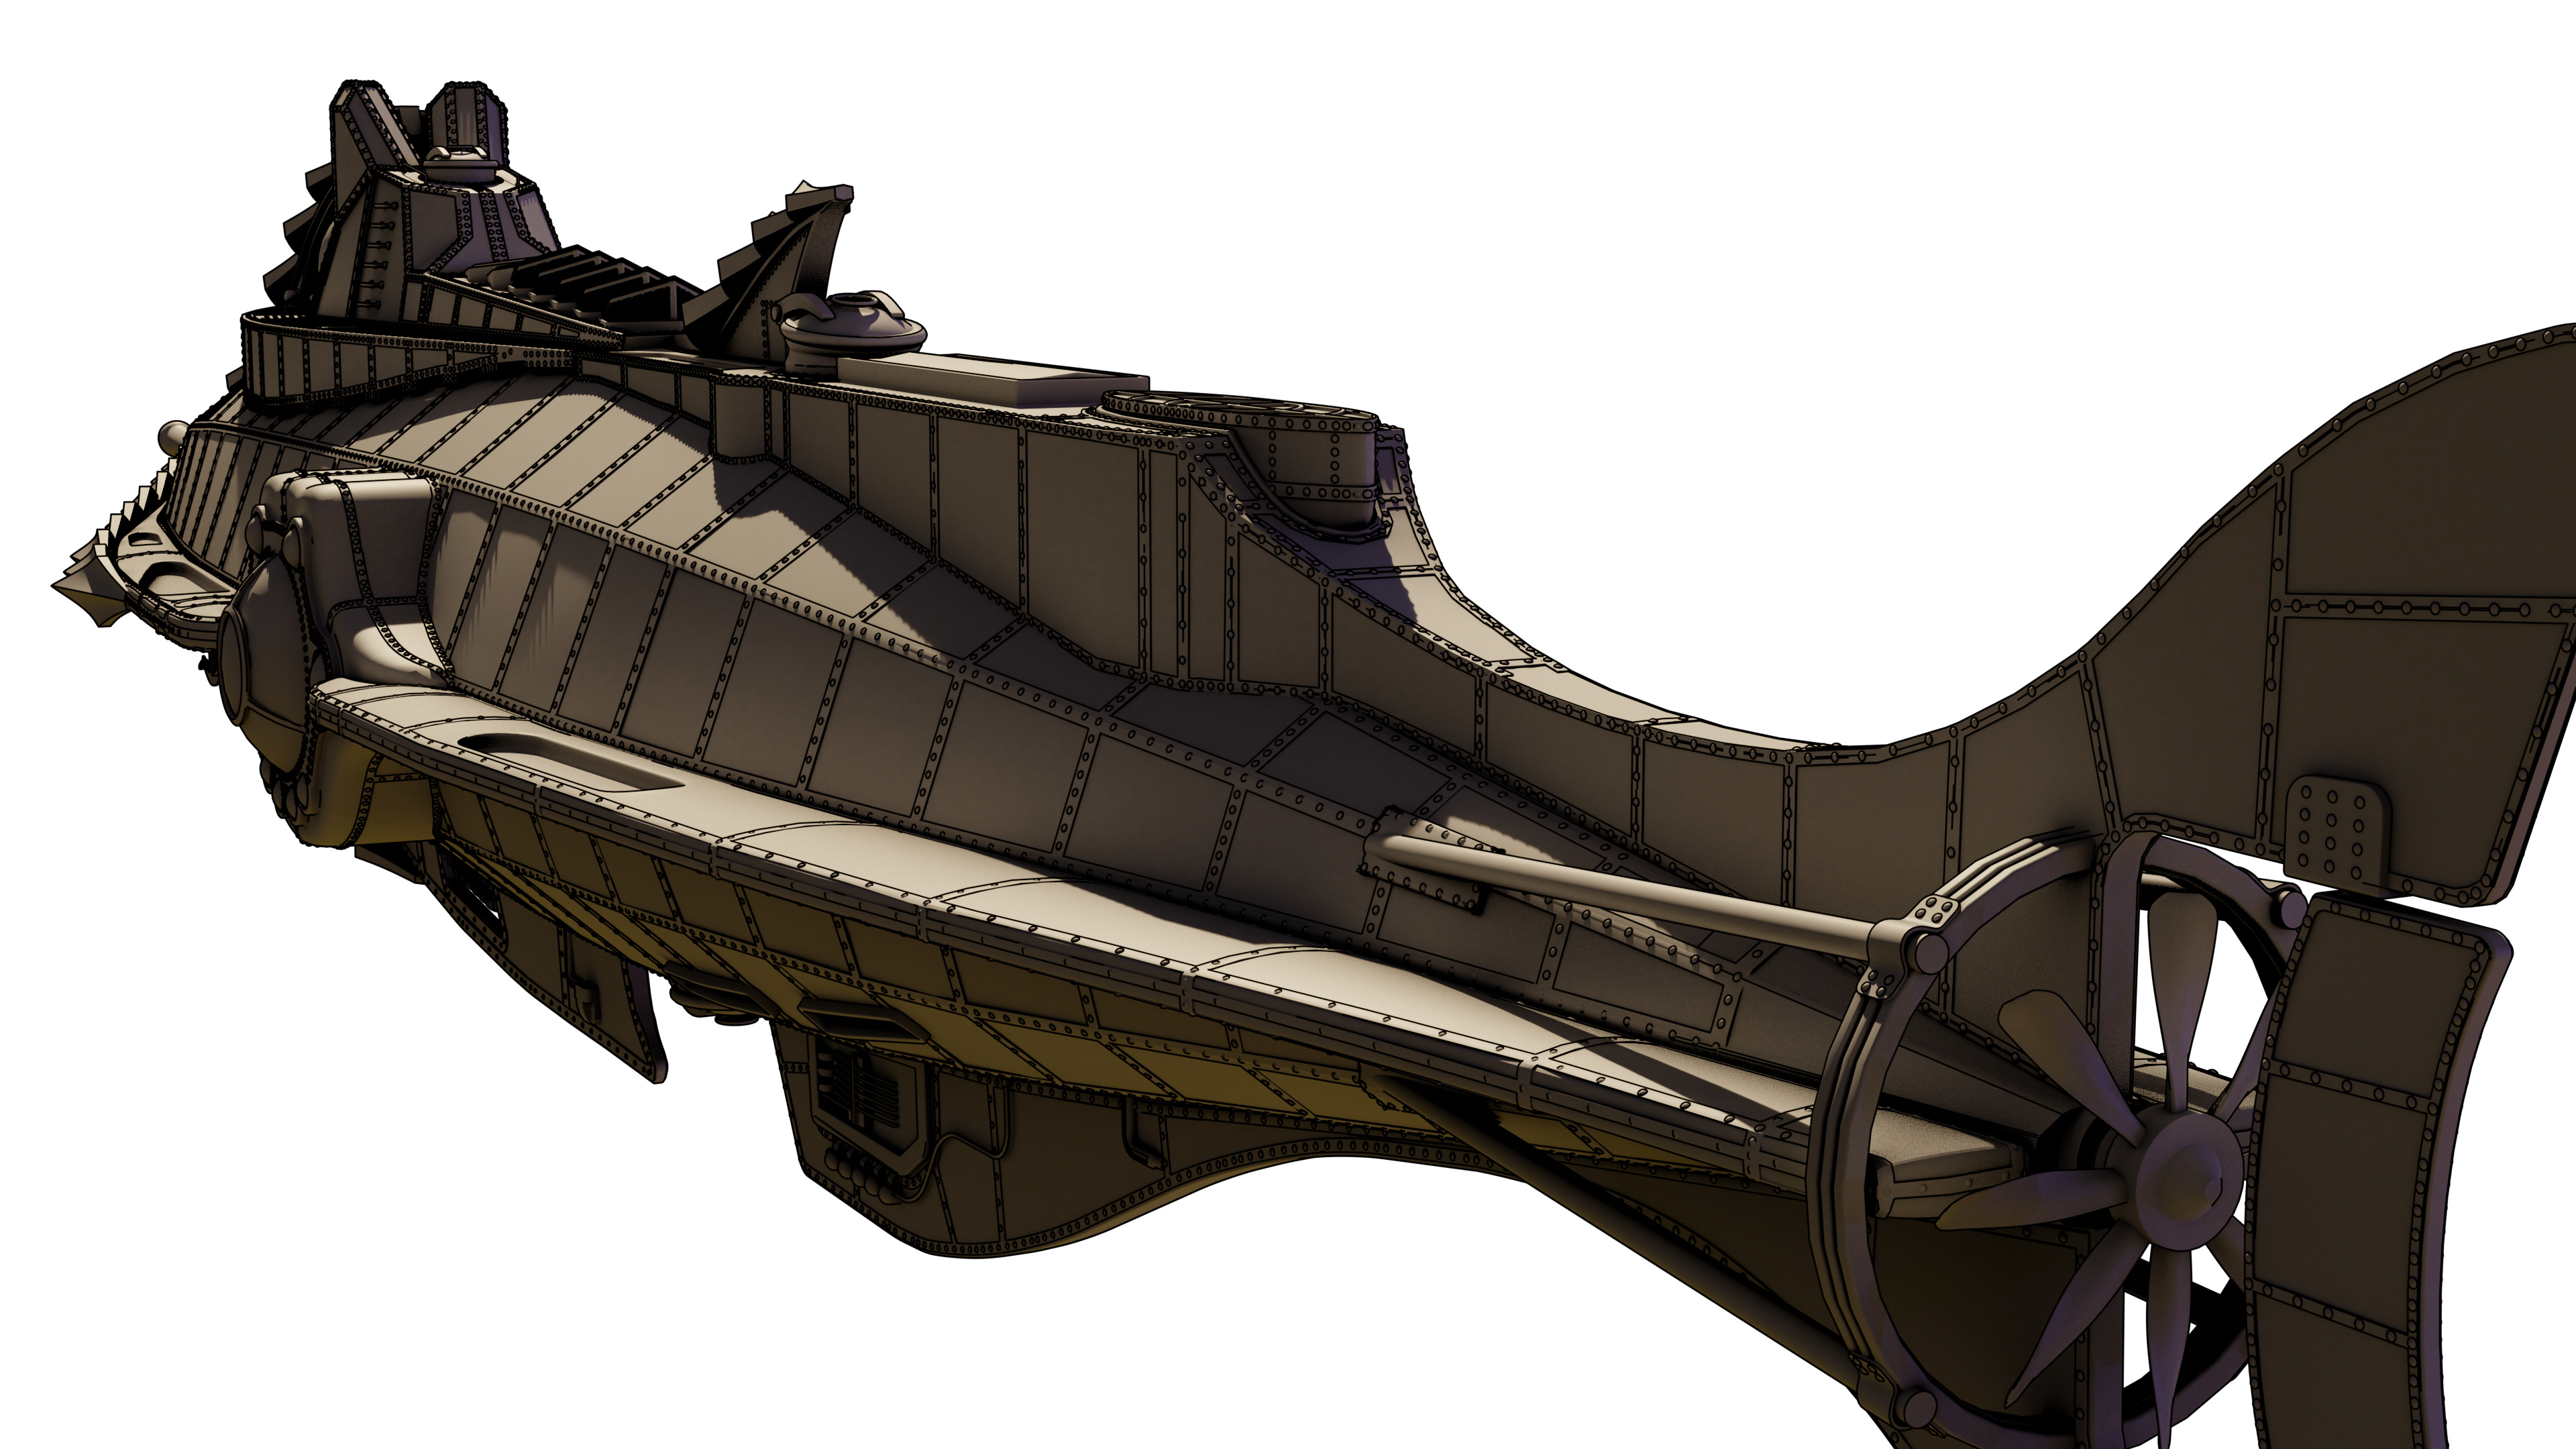
Although I love the classic design, I still feel the rudder size is to small for a ship that big.
Interesting to see how you finish the printed model btw
Ha - now that you called it out, the rudder does look a wee bit small.
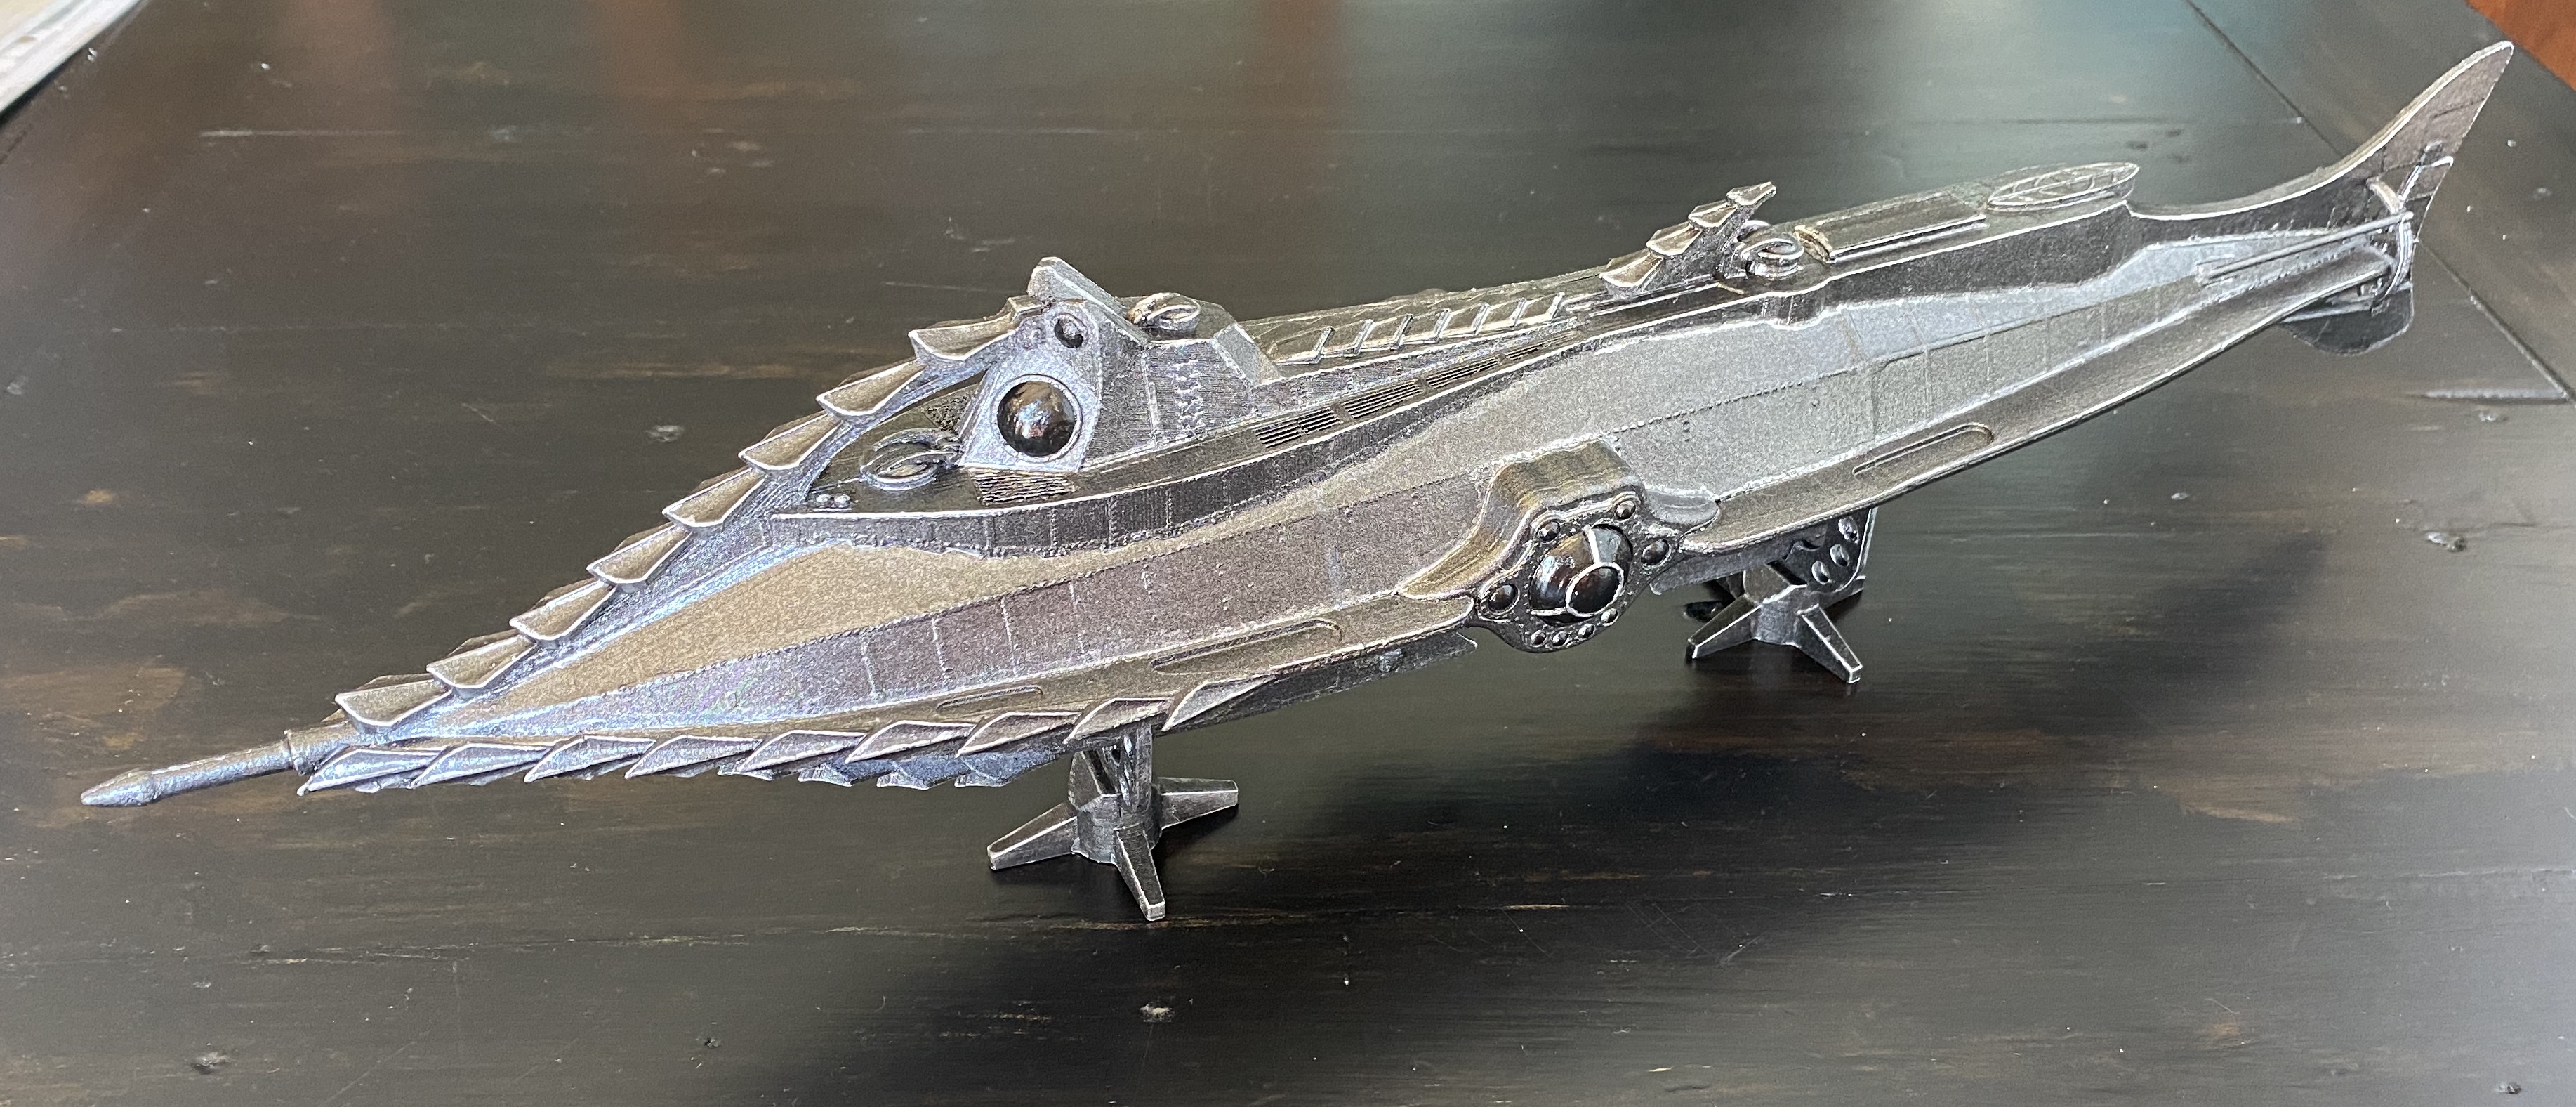
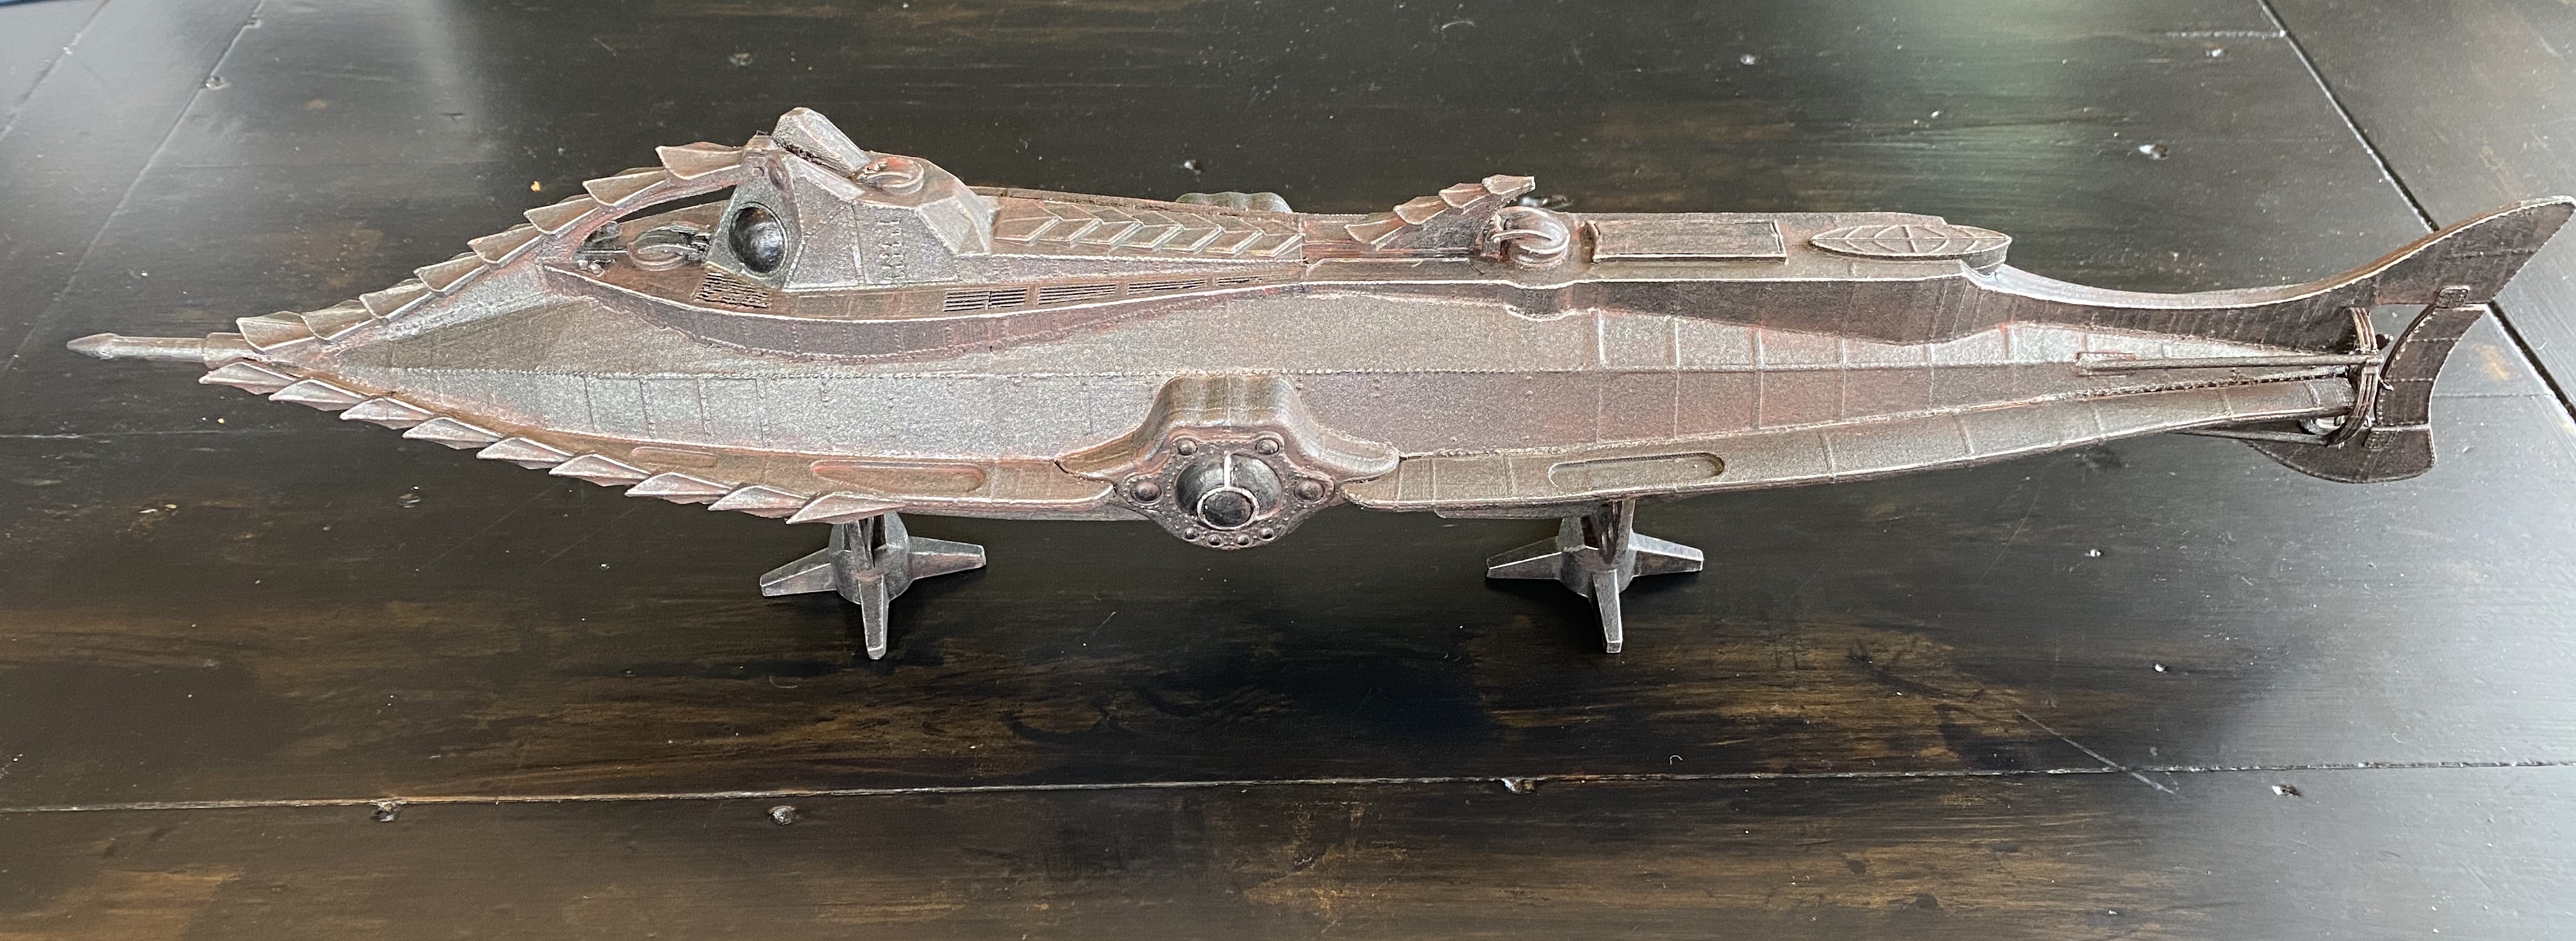
Final steps:
glue all pieces together
fill gaps with elmer’s wood filer. I needed a small putty knife, so not finding one, I just printed a small one.
After sanding, I applied 2 coats of sand-able primer with a little more sanding (400-600 grit)
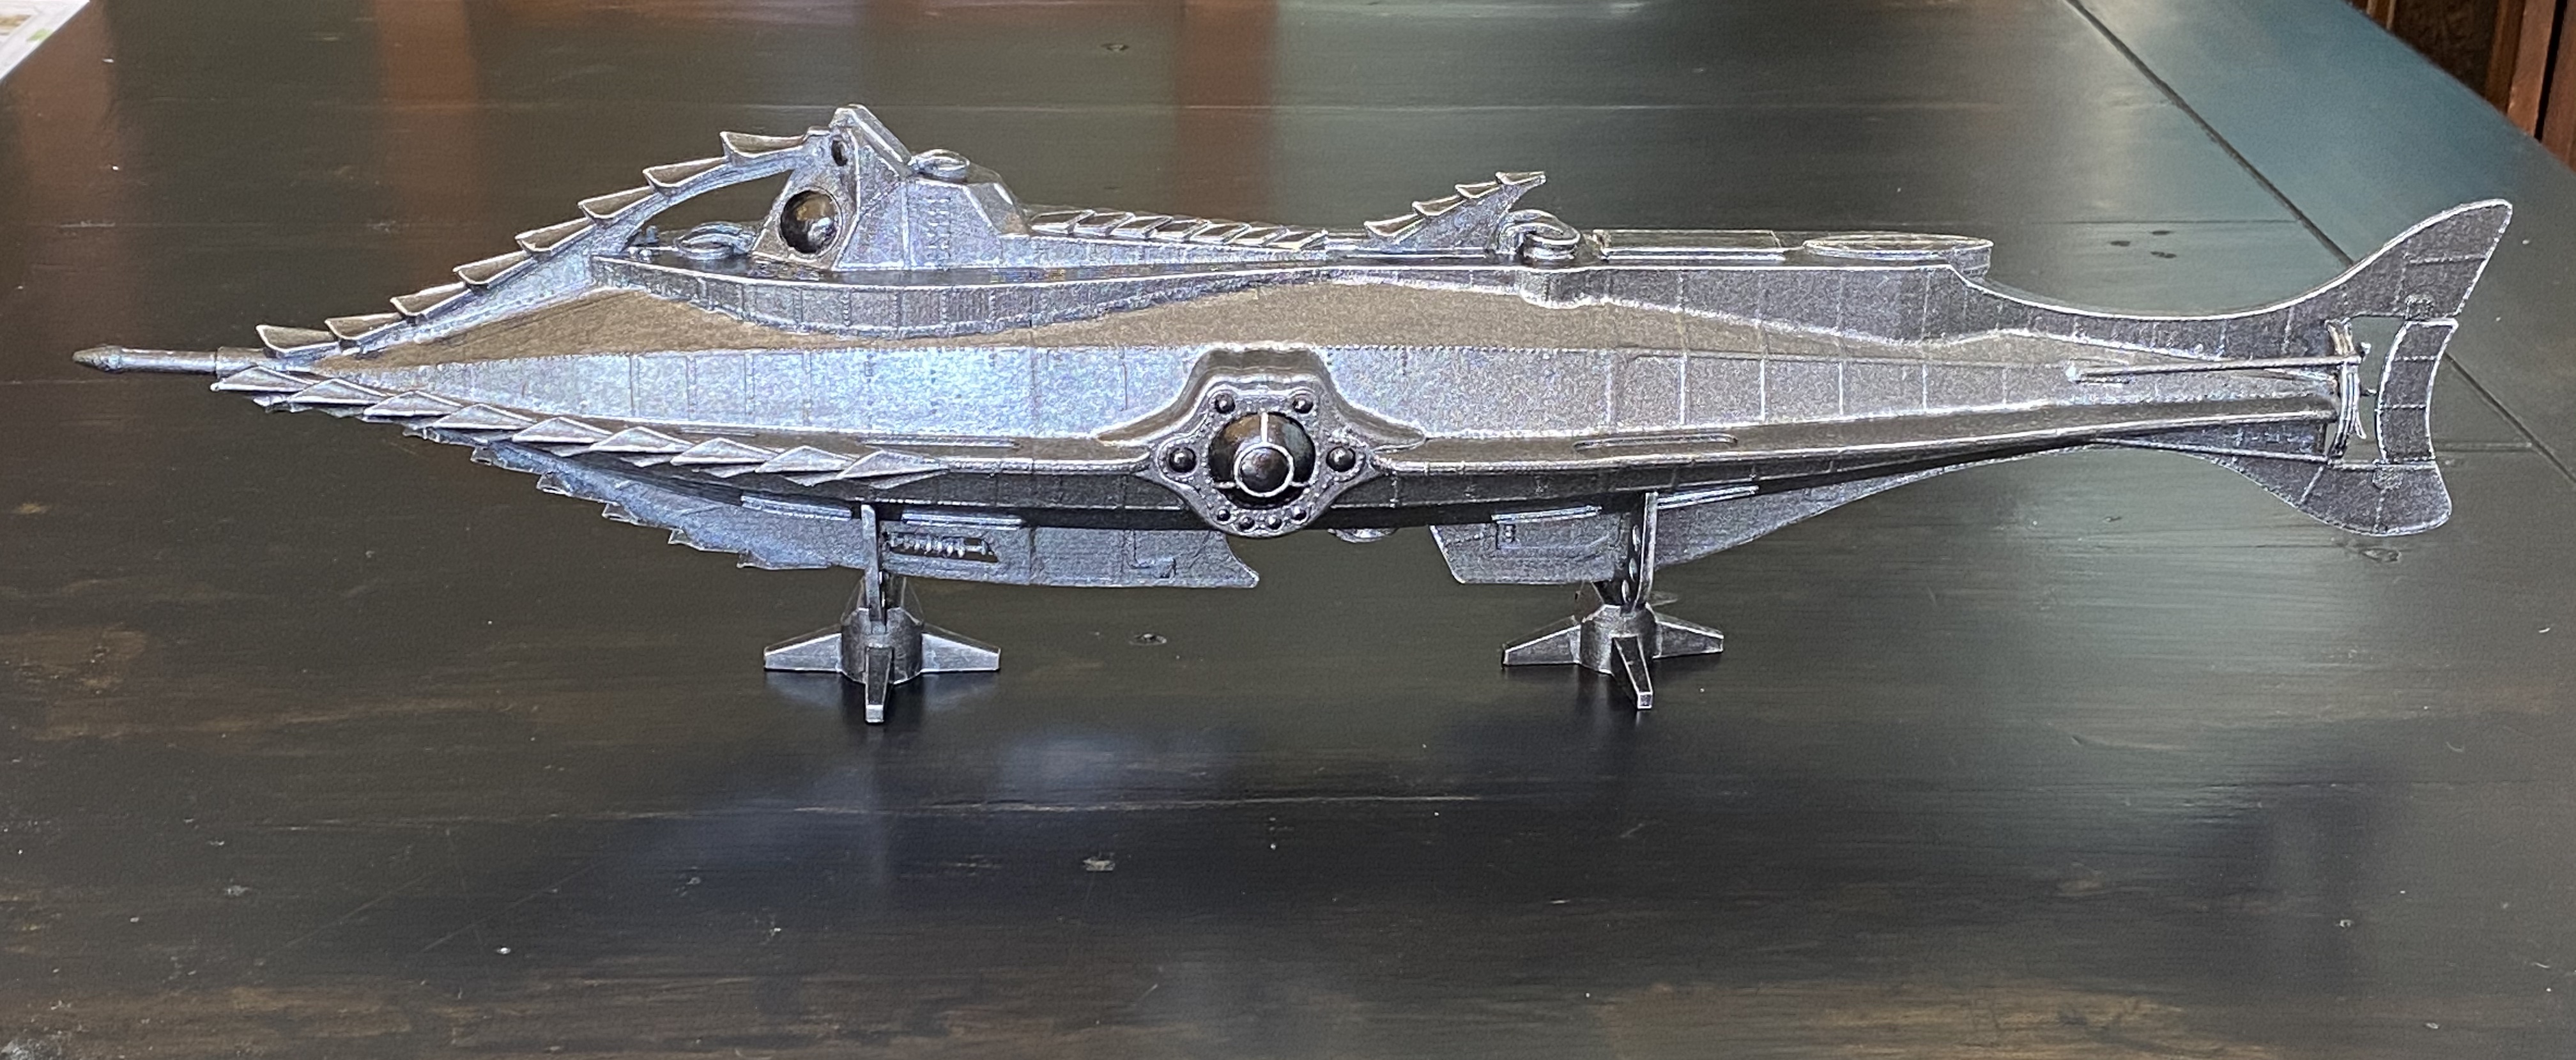
base paint is Krylon dark bronze
last thing was an attempt at dry brushing with a steel model paint (real world pointiness node)
I’m calling this good enough to sit on my bookshelf.
Nice!
Maybe some weathering to add to the details if you’re up to it?
Adam Savage has some nice videos on that on his channel
But great stuff!!
rob
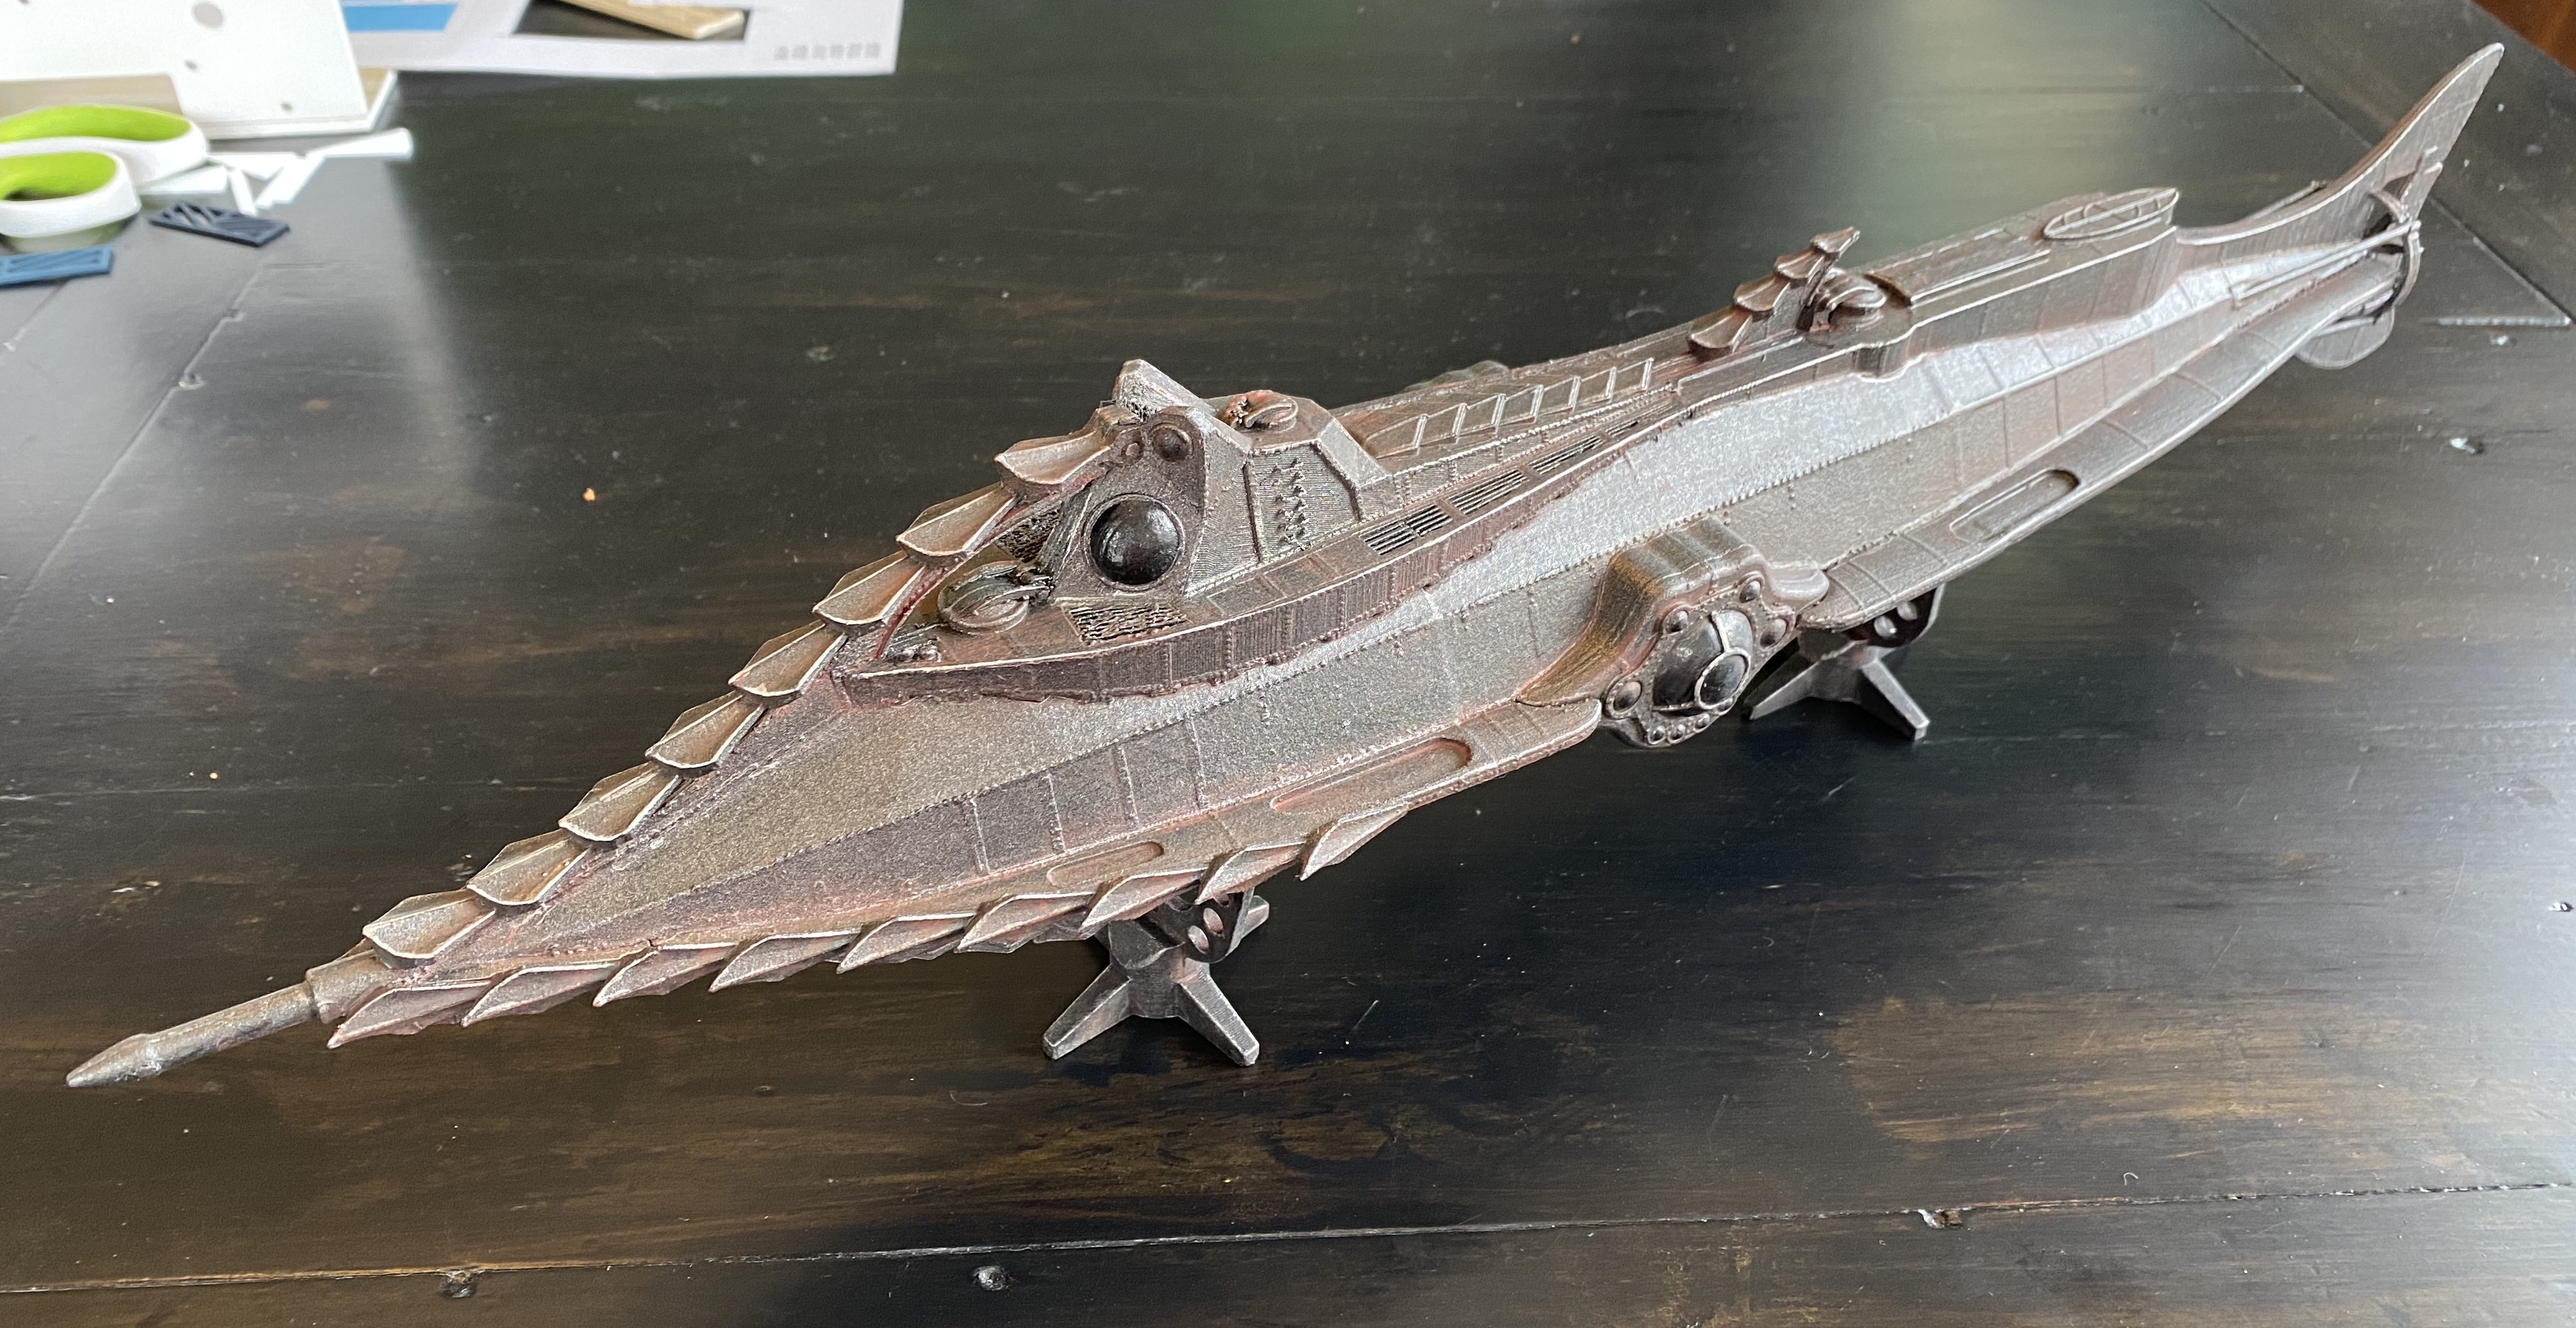
Thanks for the tip on Adam’s videos @RobWu.
I watched a few and then gave it a go trying to add some rust/wear. I had tried before by just thinning the paint with pain thinner and applying, but Adam’s technique of wetting the model, then wiping off the paint right after worked pretty good.