Hey, everyone
I need some critique on my twenty hour plus WIP of my Na’Vi.
here it is…
navi with no number is my original render from file #3
navi 10 is older
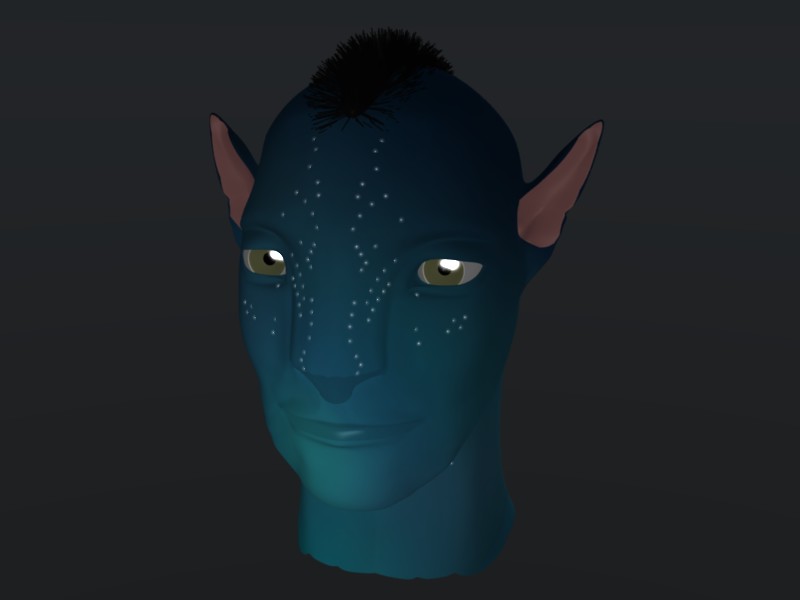
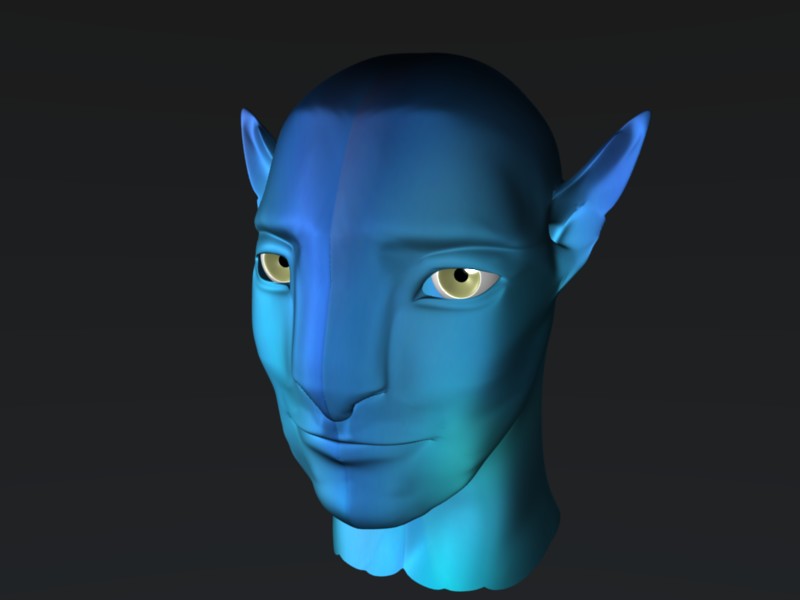
navi 15 and 17 are light and dark of current model
Thanks!
Hey, everyone
I need some critique on my twenty hour plus WIP of my Na’Vi.
here it is…
navi with no number is my original render from file #3
navi 10 is older
navi 15 and 17 are light and dark of current model
Thanks!
Are you trying Jake Sully?
I think the eyes are too much separate and the mouth seems bigger too. The nose seems also too wide. But just my impression of what I remember of Jake Sully.
I WOULD have to delete all my shape keys right… or could I just mess with the base?
the nose is wide, and it doesn’t have much shape. the eyes may just be othographic, because my camera lens is 30mm instead of the 35mm, but I may be wrong and you may very well be right.
to my reference pic (which was my BG for the mesh) everything should be where it is. actually I was concerned that the ears were set too close to the eyes. Thank you!
I’ll post the reference pic…
Reference picture…

The front is way too big in comparison to the back of the head. I think it might be a good idea to use more than one reference to even out perception problems… (the sides of the chin bulge out, for example…)
The pic is way too big to post, so I’ll link instead:
![]()
Also, I don’t think the nose’s width is the problem, it’s more the overall size of it… Compare the nose tip to the lips in your reference and in your render and you’ll see what I mean 
And for shape keys, I think you could just mess with the base but you might have to tweak some poses later depending on what you edit. I’ll go test this, just a sec…
That picture is Amazingly high-res, Thanks.
uh, I DID use more than one picture, but the pictures available aren’t fantastic in the least.
and “Oh!” for the shape, I guess I haven’t compared them to each other enough.
also I noticed that the shape of the faces around the nose to the mouth and down to the chin were thrown quite haphazardly together to form a rough shape.
I should note that I’m a high-school Junior in an animation class that utilizes Blender 2.49b as the main program. This is for an expression project. I must apply six emotions to my mesh. I’m the first to finish my mesh, I have the most complicated composition, and I do the best work of the class.
I’ve used blender for about a year and I’m still learning.
So, in advance thank you all whom post their comments on my meager attempts to make something viable. THX to Chameleongirl and Bao2!
You’re doing pretty well considering it’s your first year. Keep it up! 
Sorry for assuming you had only used the one reference, that was wrong of me.
Anyway, I found a couple more reference pics for emotions:
http://fc01.deviantart.net/fs71/f/2009/364/4/f/the_two_sides_of_Jake_Sully_by_WizeEyez.jpg
![]()

I’m looking forward to seeing the next version of your model!
Wonderful! Thank you for the links to the reference photos. I’ll get to looking over my mistakes and see how I can fix them best. (with some help of course.)
I was taking a look at SSS.
can some one please explain, since all I did was mix color and mess with my alpha for the main skin material.
Also, how would normal and difuse maps help?
SSS is a bit of a fuzzy topic for me, but I’ll try to explain as best I can. Subsurface Scattering is like using translucency, I guess. You can change the depth and length of how much light it scatters underneath the basic rendering, so you can get a material looking like marble or milk. Jade is a good example too. It’s great for skin though, because you can get the reddish glow from when light hits the surface.

Normal maps are to make bumps and add texture to the surface of a material, and they work pretty similarly to a color map. Here’s an example, below the ear:
![]()
As for diffuse maps, I’ve never tried them so I wouldn’t be of much help in that area…
I see, does that mean layers of material and texture stack, and they are reflected at varying values, based on distance from a lamp and the energy of the lamp?
As for normal and diffuse maps, I believe so. It also depends on the strength of the offset, alpha of the texture, etc. Each different element is controlled by a different value in the Map To panel.
SSS like a layer of rendered material used as an underlay to the top layer, but a modified version of such.
Check blenderart number16 magazine for a multilayer SSS setup explained in detail.
(free download in blenderart.org)
I will thanks.
I have started to work in Blender 2.5-A2, and It’s not as bad as many are complaining. You CAN change the buttons layout in user prefs for the camera center and ‘space-bar’ for a call down menu.
Only thing that is upsetting is because it’s Alpha software it isn’t backwards compatible with 2.49b.
Also, I’ve got some shape keys in the works (also much better in 2.5) So I will try to render those, but rendering for me takes anywhere from twenty to thirty minutes. no to fabulous, but it works. I also got around to fixing some other minor issues with teeth, eyes, jaw, and the lips. Will post pics soon.
Some Expressions and progress pics
Also, can someone tell me how to play back my rendered animations in 2.5.2, because it just won’t do it, but I can open 2.49b with the rendered images still in ‘temp’ and play it, but I can only save it as a .py, then I can never open it again as a python script.
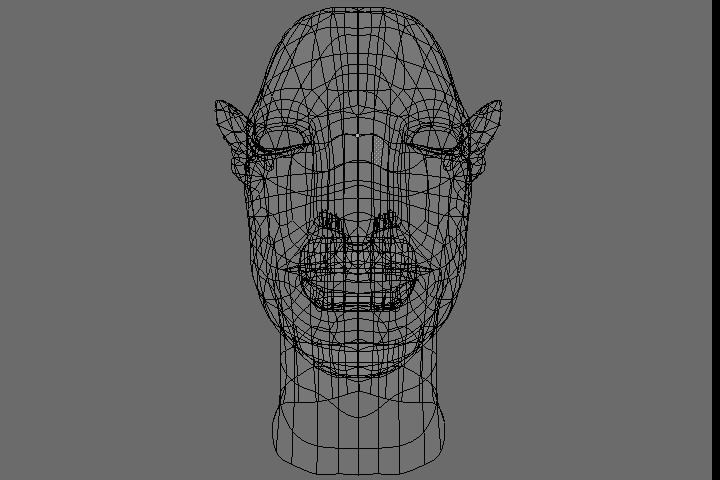
That’s not a bad start, let’s see the wireframe. Also, I’m not sure if you know that, but there’s an empty spot between the head and the eyes. You’ll have to adapt that. I can explain in a more comprehensive way if you don’t see what I mean.
I saw that animating some facial expressions earlier, I would have to kill all of my shape keys in layer eight to refit the base…
Thank you though, and I’ll have a wireframe up in as sec.